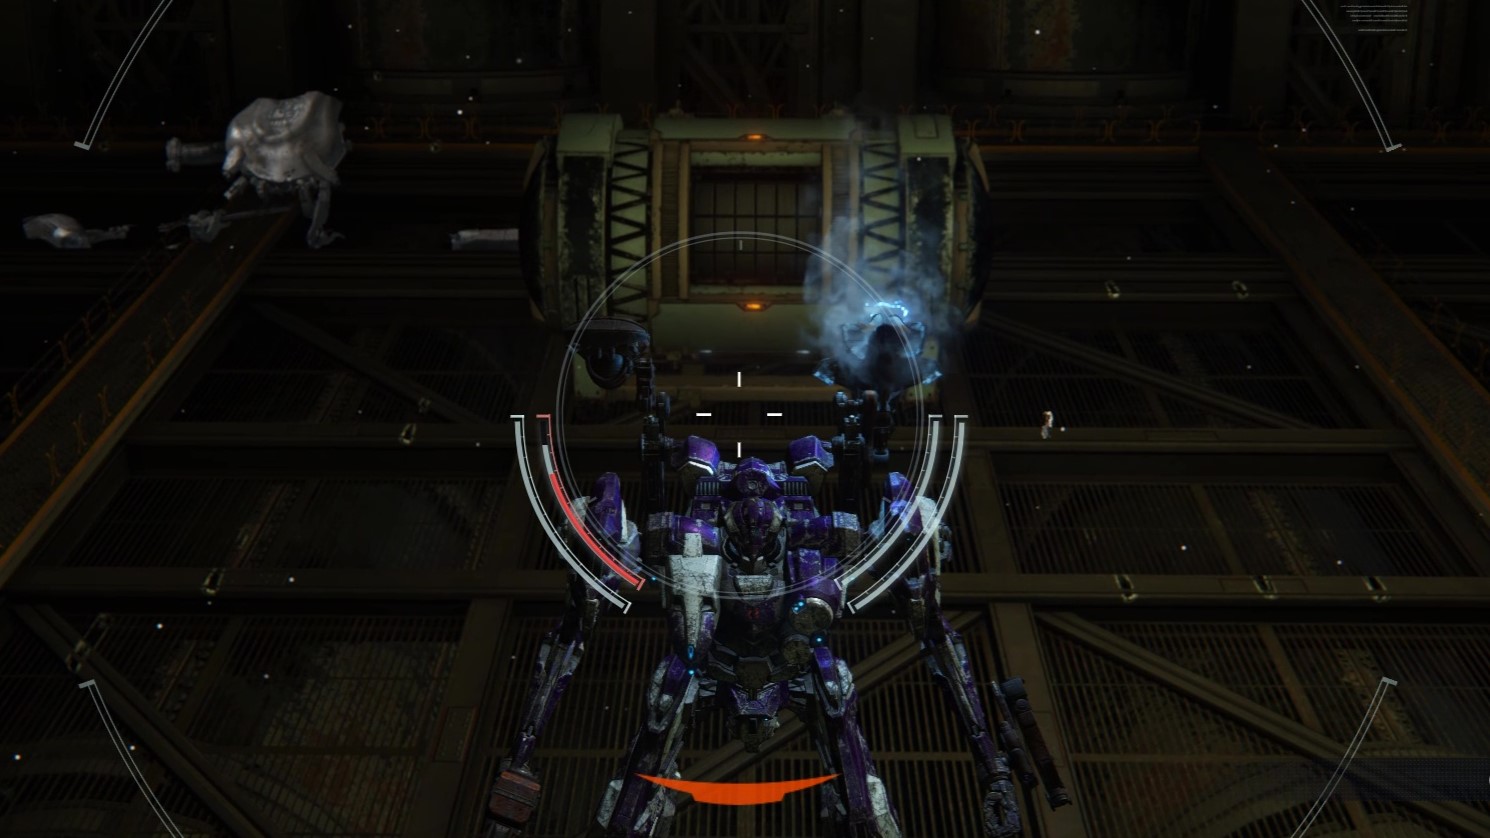
Some secret upgrades for your mech are hidden away in Armored Core 6's levels. Here's where to find them.
Didn’t know you were signing up for a treasure hunt, did you?
Armored Core 6 is primarily a game about blowing up big, powerful mechs with your own monstrous machine, but sometimes there’s a little downtime between the fighting. And what’s a mech pilot meant to do with a little peace and quiet? On Rubicon 3, the best use of that time is searching for hidden chests that contain upgrade parts for your mech.
Some of Armored Core 6’s stages are big, while these mech part chests don’t even come up to your mech’s knee. In other words, they’re easy to miss. In this AC6 chest guide I’ll show you where to find all the chests I’ve discovered in my own playthrough, and also give you some tips on tracking the chests down yourself if you’re game for a treasure hunt.
Mild spoilers for mission names and locations below.
How to find Armored Core 6’s hidden part chests
One of your mech’s basic abilities in AC6 is Scanning, which emits a pulse to highlight nearby enemies and hidden objects. Scanning is the best way to track down chests unless you want to exhaustively scour every map. But as I mentioned in my Armored Core 6 tips guide, there’s a trick to getting the most out of that Scan ability.
Every head part for your AC has a stat called “Scan Distance” that isn’t immediately visible in the AC Assembly menu or in the Parts Shop. To see it, you need to press the “Toggle Display button (Y on a controller, F key on keyboard) to expand the full stat breakdown for the parts you’re cobbling together. Scan Distance can range quite a bit: I have one head part with a 280 meter range, while another from late in the game with a 700(!) meter range.
I recommend assembling a scouting-focused mech using the head with the highest Scan Distance stat available to you, as well as a booster that prioritizes total thrust so you can cover ground more quickly. Head parts also have a Scan Effect Duration stat that isn’t quite as important for finding chests, since you really just need the highlight to pop up on your screen to help you zero in on your target.
Once you’ve cleared a mission, you can tackle it again from the Replay Mission menu and go on the hunt for hidden chests. Below are the ones I’ve found so far.
Chapter 2: Infiltrate Grid 086
Total chests found: 4*
Chest #1
Mission timing: When you reach the interior section, after defeating not-so-Invincible Rummy and traversing the second open area
This mission—and specifically this small enclosed area—is a bounty of AC parts. The first is the easiest to find. As you first enter this enclosed area, you’ll drop through a torn-up hole in the ceiling into a small room with two weak mechs. Kill them, then check the back corner for a chest.
Chest #2
Mission timing: Continuing through the interior section, shortly after the first chest
And another one! Keep making your way through this interior section until you reach a two-level room containing several enemies and a smelting furnace. This is Armored Core’s equivalent of a waterfall, and you have to put treasure behind a waterfall, right? Head past the magma flow into another room with several enemies and a parts chest.
Chest #3
Mission timing: After the second checkpoint, in the last big open area
After you grab that second chest, head to the door marked by your next waypoint. This will open out into the last large explorable area, peppered with enemy mechs. Head up and to the right to the higher of two inset platforms. Near the back of the second you’ll find a couple enemies waiting to ambush you and the third chest.
Chest #4*
Using the scan function I’ve been able to detect a fourth chest that’s located below the room where chest #2 is located, but I haven’t been able to find out how to access it. It’s either very well hidden, or possibly not accessible until an alternate version of this mission on New Game++.
Chapter 4: Underground Exploration – Depth 2
Total chests found: 2
Chest #1
Mission timing: Following the G5 Iguazu checkpoint and large cavern
After you fight Iguazu, you’ll enter a long, vertical cavern, then make your way into another chamber with a familiar blast door that needs opening. Duck off into a side room that looks identical to one you were in a few minutes earlier, but this time with a chest in the back.
Chest #2
Mission timing: After you enter the ventilation duct
After grabbing that first chest, you’re tasked with finding a ventilation duct to find a way to turn the power back on. Head back to that large cavern, then float off to your rich into what seems like a whole lot of empty space. Through the fog you’ll eventually spy a duct. Enter it, kill the enemies, and jump onto the vertical lift. It’ll rocket you upwards, and directly ahead you’ll spy a few more enemies guarding a chest.
Chapter 4: Reach the Coral Convergence
Total chests found: 1
Chest #1
Mission timing: After the first checkpoint, across the lake
Start this mission by dealing with the ACs that are already battling one another in this ruined city. After making it through that fight, you’ll get a waypoint that puts you on the precipice of a shallow lake with a bridge spanning its breadth. Head across the lake and then instead of climbing up to your objective, look down. You’ll see a grouping of very dangerous giant wheel enemies circling around a chest.
The wheels can easily stunlock you, so be ready for them—explosive damage is particularly effective. Alternately, you can jump down, grab the chest, and then quickly boost away, but if you’re unlucky you might die in the process. Don’t worry too much about your ammo or repair kits here—there will be a resupply point not far ahead.


