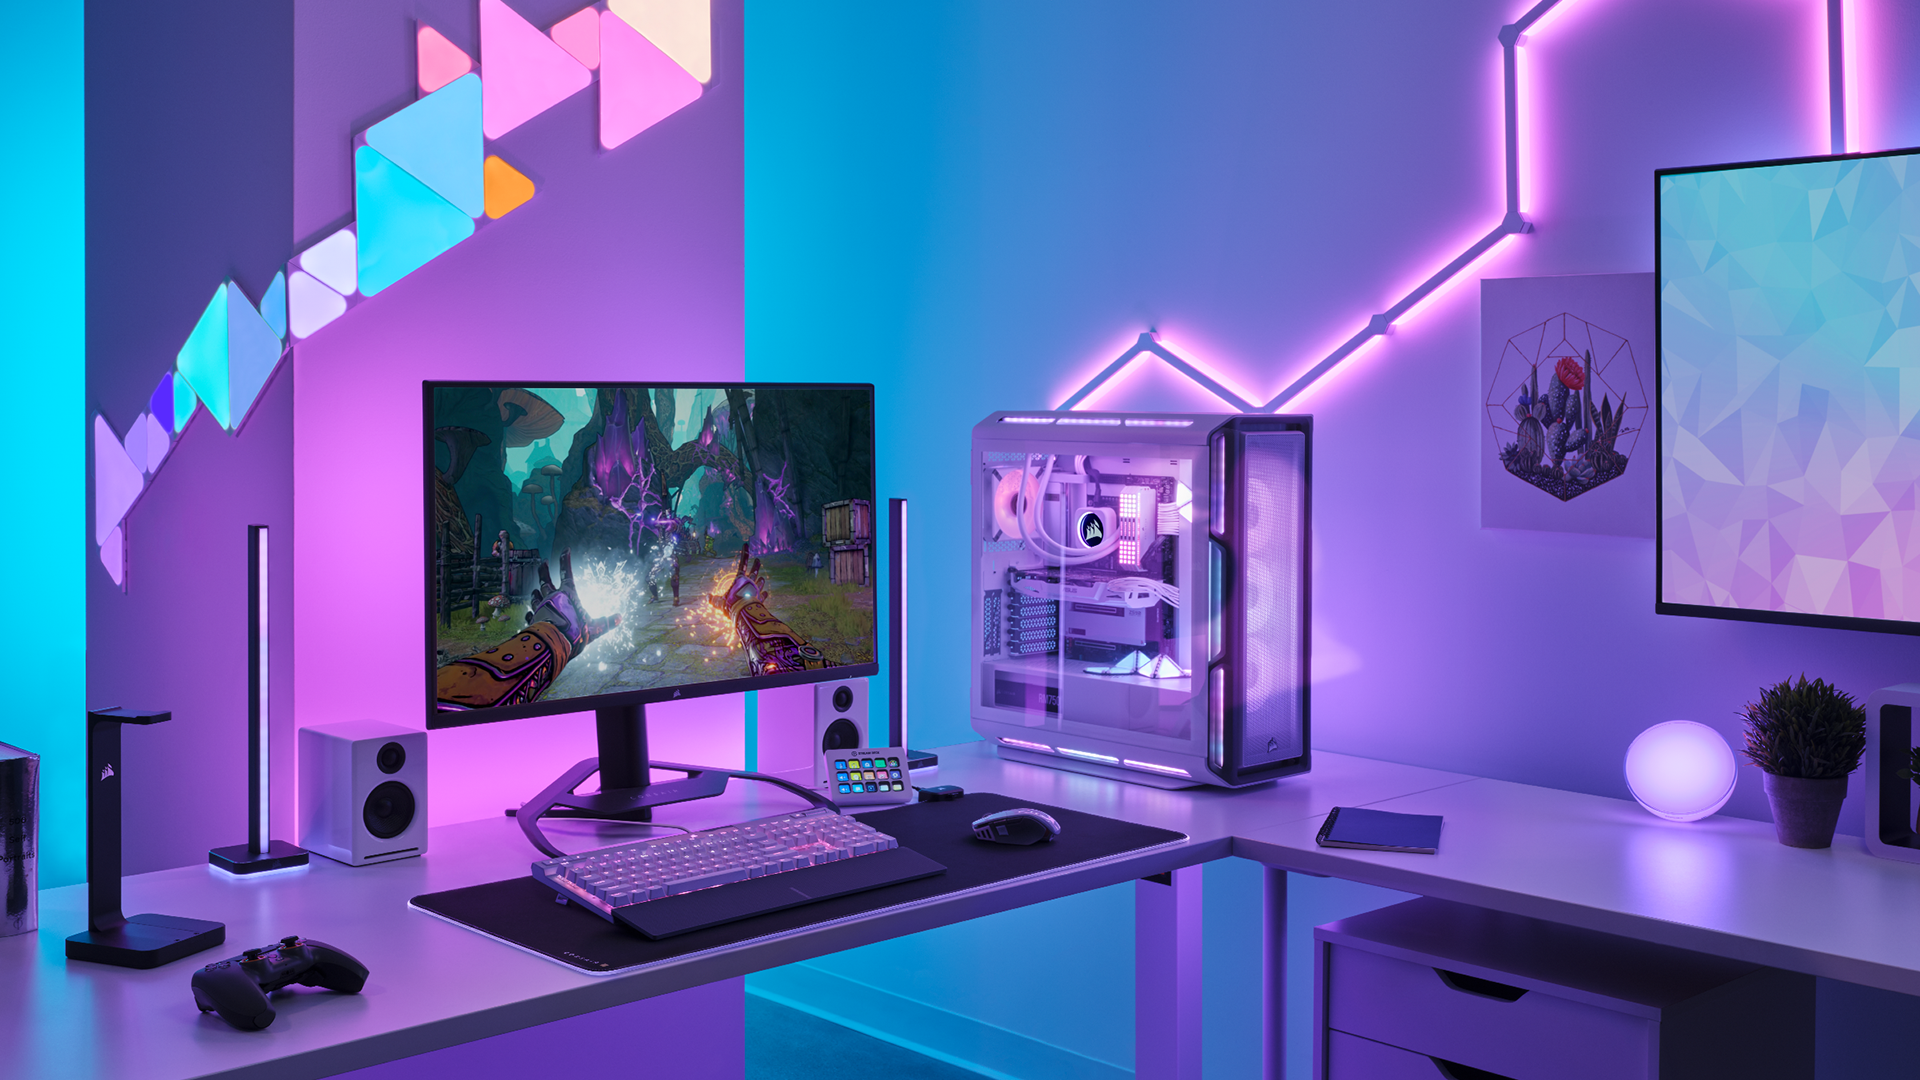
Whether pulsing to the beat or following the on-screen action, Corsair Murals lets you sync up your lighting to your liking.
Lighting is an integral part of every PC gamer’s setup. Bad lighting can cause glare, distractions, and disadvantages as you seek to bring home the victory in an online shooter, or immerse yourself in the magical landscapes of an epic open-world RPG. A good lighting setup, on the other hand, can add an impressive new layer of immersion.
Gaming hardware veteran Corsair know this as well as anyone, and for years they’ve been integrating RGB lighting into their accessories to bolster your desktop loadout with tasteful colours. This is all brought together by iCUE Murals, a tool that lets you sync your lighting not only across Corsair devices, but Phillips Hue and Nanoleaf ones too. Using Murals, you set up countless custom profiles—whether you want the on-screen action to bleed out onto your walls, or whether you’re seeking a zen lightscape while you kick back with a cozy building sim.
(Image credit: Corsair)
Here, we’re going to show you how to get started with Corsair’s iCUE Murals tool.
First, you’ll of course want to make sure all the accessories you want to sync are connected (we’ll be using a pair of LT100 Corsair Smart Lighting Towers, the M65 RGB Ultra Tunable Gaming Mouse, the K70 RGB Pro Mechanical Gaming Keyboard, and the HS80 Wireless Gaming Headset). Once that’s done, download and install the latest Corsair iCUE software.
Once the iCUE software is installed, open it, and install any firmware updates it recommends (which may require restarting your computer). With that out the way, it’s time to start playing with the Murals!
On the iCue Home screen, you can choose from several fancy ‘default’ Murals in the left-hand pane. Simple enough, but you can also create your own ones by clicking the ‘+’ icon.
(Image credit: Corsair)
There are lots of options here. You can select Audio Lighting to sync your lighting up with music, for example.
Monitor Screen will track the colours of whatever’s happening at the edges of your screen—great for immersing you in the action.
(Image credit: Corsair)
Using Video or Image Capture, you can select from a bunch of patterns to project across your accessories, or even use your own images and videos to set the lighting pattern. Here, just to mix things up we’ve turned the LED Towers to face us rather than projecting onto the wall.
(Image credit: Corsair)
Or perhaps you just want some classic Gradient lighting, set the colours it uses, the speed at which it changes, and the direction of the lighting.
(Image credit: Corsair)
Once you’ve created your Mural, just name it and save it, and it’ll be available to activate with the click of a button.
(Image credit: Corsair)
Click Murals at the top of iCUE, and you’ll be able to change the layout of your Devices, which will affect the order in which the lighting effects travel across your devices. We set it up to reflect the placement of the different devices on our desktop, but you have complete control here over (you can also create extra Device Layouts by clicking the ‘+’ icon at the top of the Device Layouts screen.
All of Corsair’s latest RGB gaming accessories are designed to work with Mural seamlessly. Beautify the inside of your gaming PC with the H150i Capellix XT Liquid Cooler, surround your mouse with colour with the MM700 RGB Extended Mousepad, or create a compact lightshow with the K65 RGB Mini Keyboard. It’s all there.
(Image credit: Corsair)
Corsair has been delivering dazzling and powerful devices to gamers for decades, and will continue to do so deep into the gaming darkness of the far future. You can grab all these peripherals on Amazon (US, UK) as well as the official Corsair site.
To keep up with the latest happenings at Corsair, follow them on Instagram, Facebook, Twitter, and TikTok. Happy gaming!


