Where we dropping, boys?
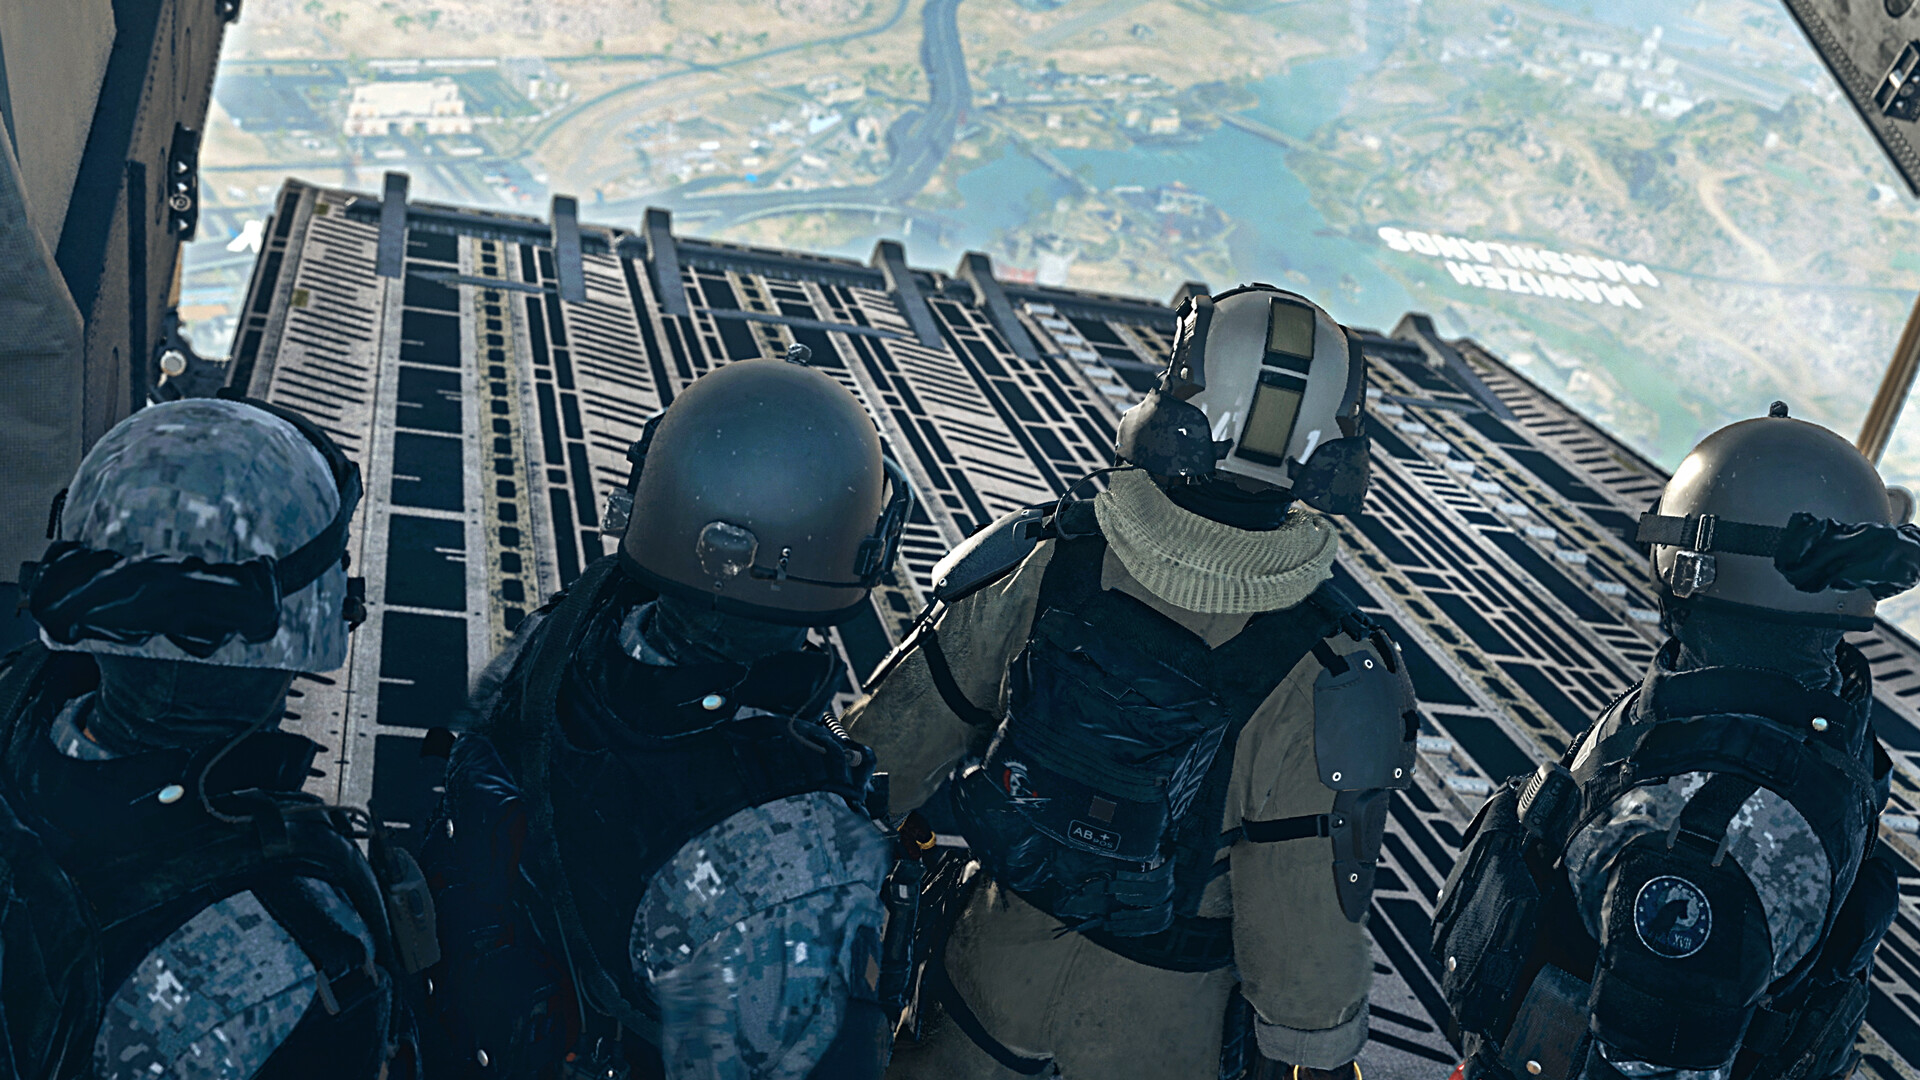
Call of Duty: Warzone 2 is now out in the wild and we’re all asking the same question: where we dropping? There are many POIs and cool places to visit on the Al Mazrah map including a new airport you can wreck, the usual towers, and even some mountains to camp, I mean, strategically hide in.
There are also Strongholds you can visit that are guarded by AI soldiers, and if your group is the first to take over the Stronghold, you’ll get a Blacksite key for your troubles. It’s also worth visiting landmarks like police and fire stations, medical centres, comm centres and towers to find some of the best loot available. Of course, some starting points are better than others, so here are the best drop zones in Warzone 2.
Warzone 2: Best starting locations
The Al Mazrah map is split into different areas and named locations and, like most battle royales, you’ll need to traverse the map to avoid being stuck outside the circle. Each named location has different building styles and landmarks that could prove useful in a match or, in the likes of the Observatory with many high vantage points, get you eliminated much earlier than you’d like.
Here are the top picks for the best drop points where you’ll find the best loot, safes, crates, vantage points and more.
The Quarry
The old favourite from Warzone has undergone a little home improvement. The Quarry can be found in the top left of the map and is quite a large area, making it a decent spot to land first if you want to avoid immediate detection. There’s a lot of high ground to keep you hidden for the most part, and although the loot drops aren’t the best here, it’s a decent place to start to get you near the centre of the map.
Taraq Village
A good starting point with decent loot and close to other named locations if you need to make a quick exit or want to hunt for better gear. It’s a good first drop point for those looking to grab a quick stash before bailing to more challenging areas.
Sawah Village
As this area is in a corner and a bit out of the way, it’s another good starting zone as it’s relatively quiet. There are a good number of landmarks here to access loot and supplies and, more importantly, there’s a Stronghold in the area that won’t be as hotly contested.
East Suburbs
The East Suburbs are the largest sector on the Al Mazra map, having one of each landmark type, meaning that you can refuel vehicles, find armor and medical supplies and get a good view of the map from tall vantage points. There’s a hospital and a store here so you can stock up on some consumables, too. It would be a good place to start and load up early, or to hit mid-game when things start getting spicy.
(Image credit: Activision)
(Image credit: Activision)
(Image credit: Activision)
(Image credit: Activision)
Hafid Port
While smaller in scale, there are also several landmarks you can visit in Hafid Port that will let you stock up on consumables and medical supplies while also hunting for better loot. There’s also a Stronghold in this area that you can hit to get a Blacksite key and boats you can access to easily make your way around huge swathes of the map.
Ahkdar Village
This is often highly populated by players in the mid to late stage of a match, so don’t head here unless you’re ready to fight it out. Landmarks are all close together so you need to decide on one or two areas to focus on as you’ll be easily overrun. The loot here is worth the risk but you face a quick elimination.
Sarrif Bay
While close to the airport, Sarrif Bay has way more landmarks on offer as well as a marine gas station. It’s an excellent spot to grab loot, there’s a stronghold and because of its position, it’s easy to flee by water if things get too hot.
Al Mazrah City
If you want to hit the ground running—and I obviously mean running away from opponents—then test your metal by landing in Al Mazrah City. It holds some of the best loot and there is lots of it, so it’s up to you to decide if the risk is worth it. The northern area of the city seems like the lowest-risk place to land but of course, that’s assuming none of your opponents have the same idea.
The Observatory
Much like the city, there’s a lot of loot to be found here and keeping control of the Observatory could give your squad the advantage that wins you the game. You can spread your squad over the high ground and pick off opponents easily to defend your loot and position. Be warned that players who do an Obi Wan Kenobi and have the high ground are usually pretty good at the game, so don’t wander gormlessly into this area.