Raid the Holy City on dragon-back.
Doom: The Dark Ages‘ fifth mission introduces you to your dragon, letting you duke it out in the air, but also land at specific locations unlike the Atlan missions. This makes finding the Holy City of Aratum secrets and collectibles much more complicated, as you’re no longer dealing with linear corridors.
After searching high and low, I’ve found all the Doom: The Dark Ages secrets in The Holy City of Aratum mission, including the secret dragon landing zones. Below you’ll find all the secrets and collectibles laid out in chronological order, though keep in mind that this mission lets you tackle its main objectives in roughly any order, so I’ll explain how that changes things.
Doom: The Dark Ages Holy City of Aratum secrets and collectibles
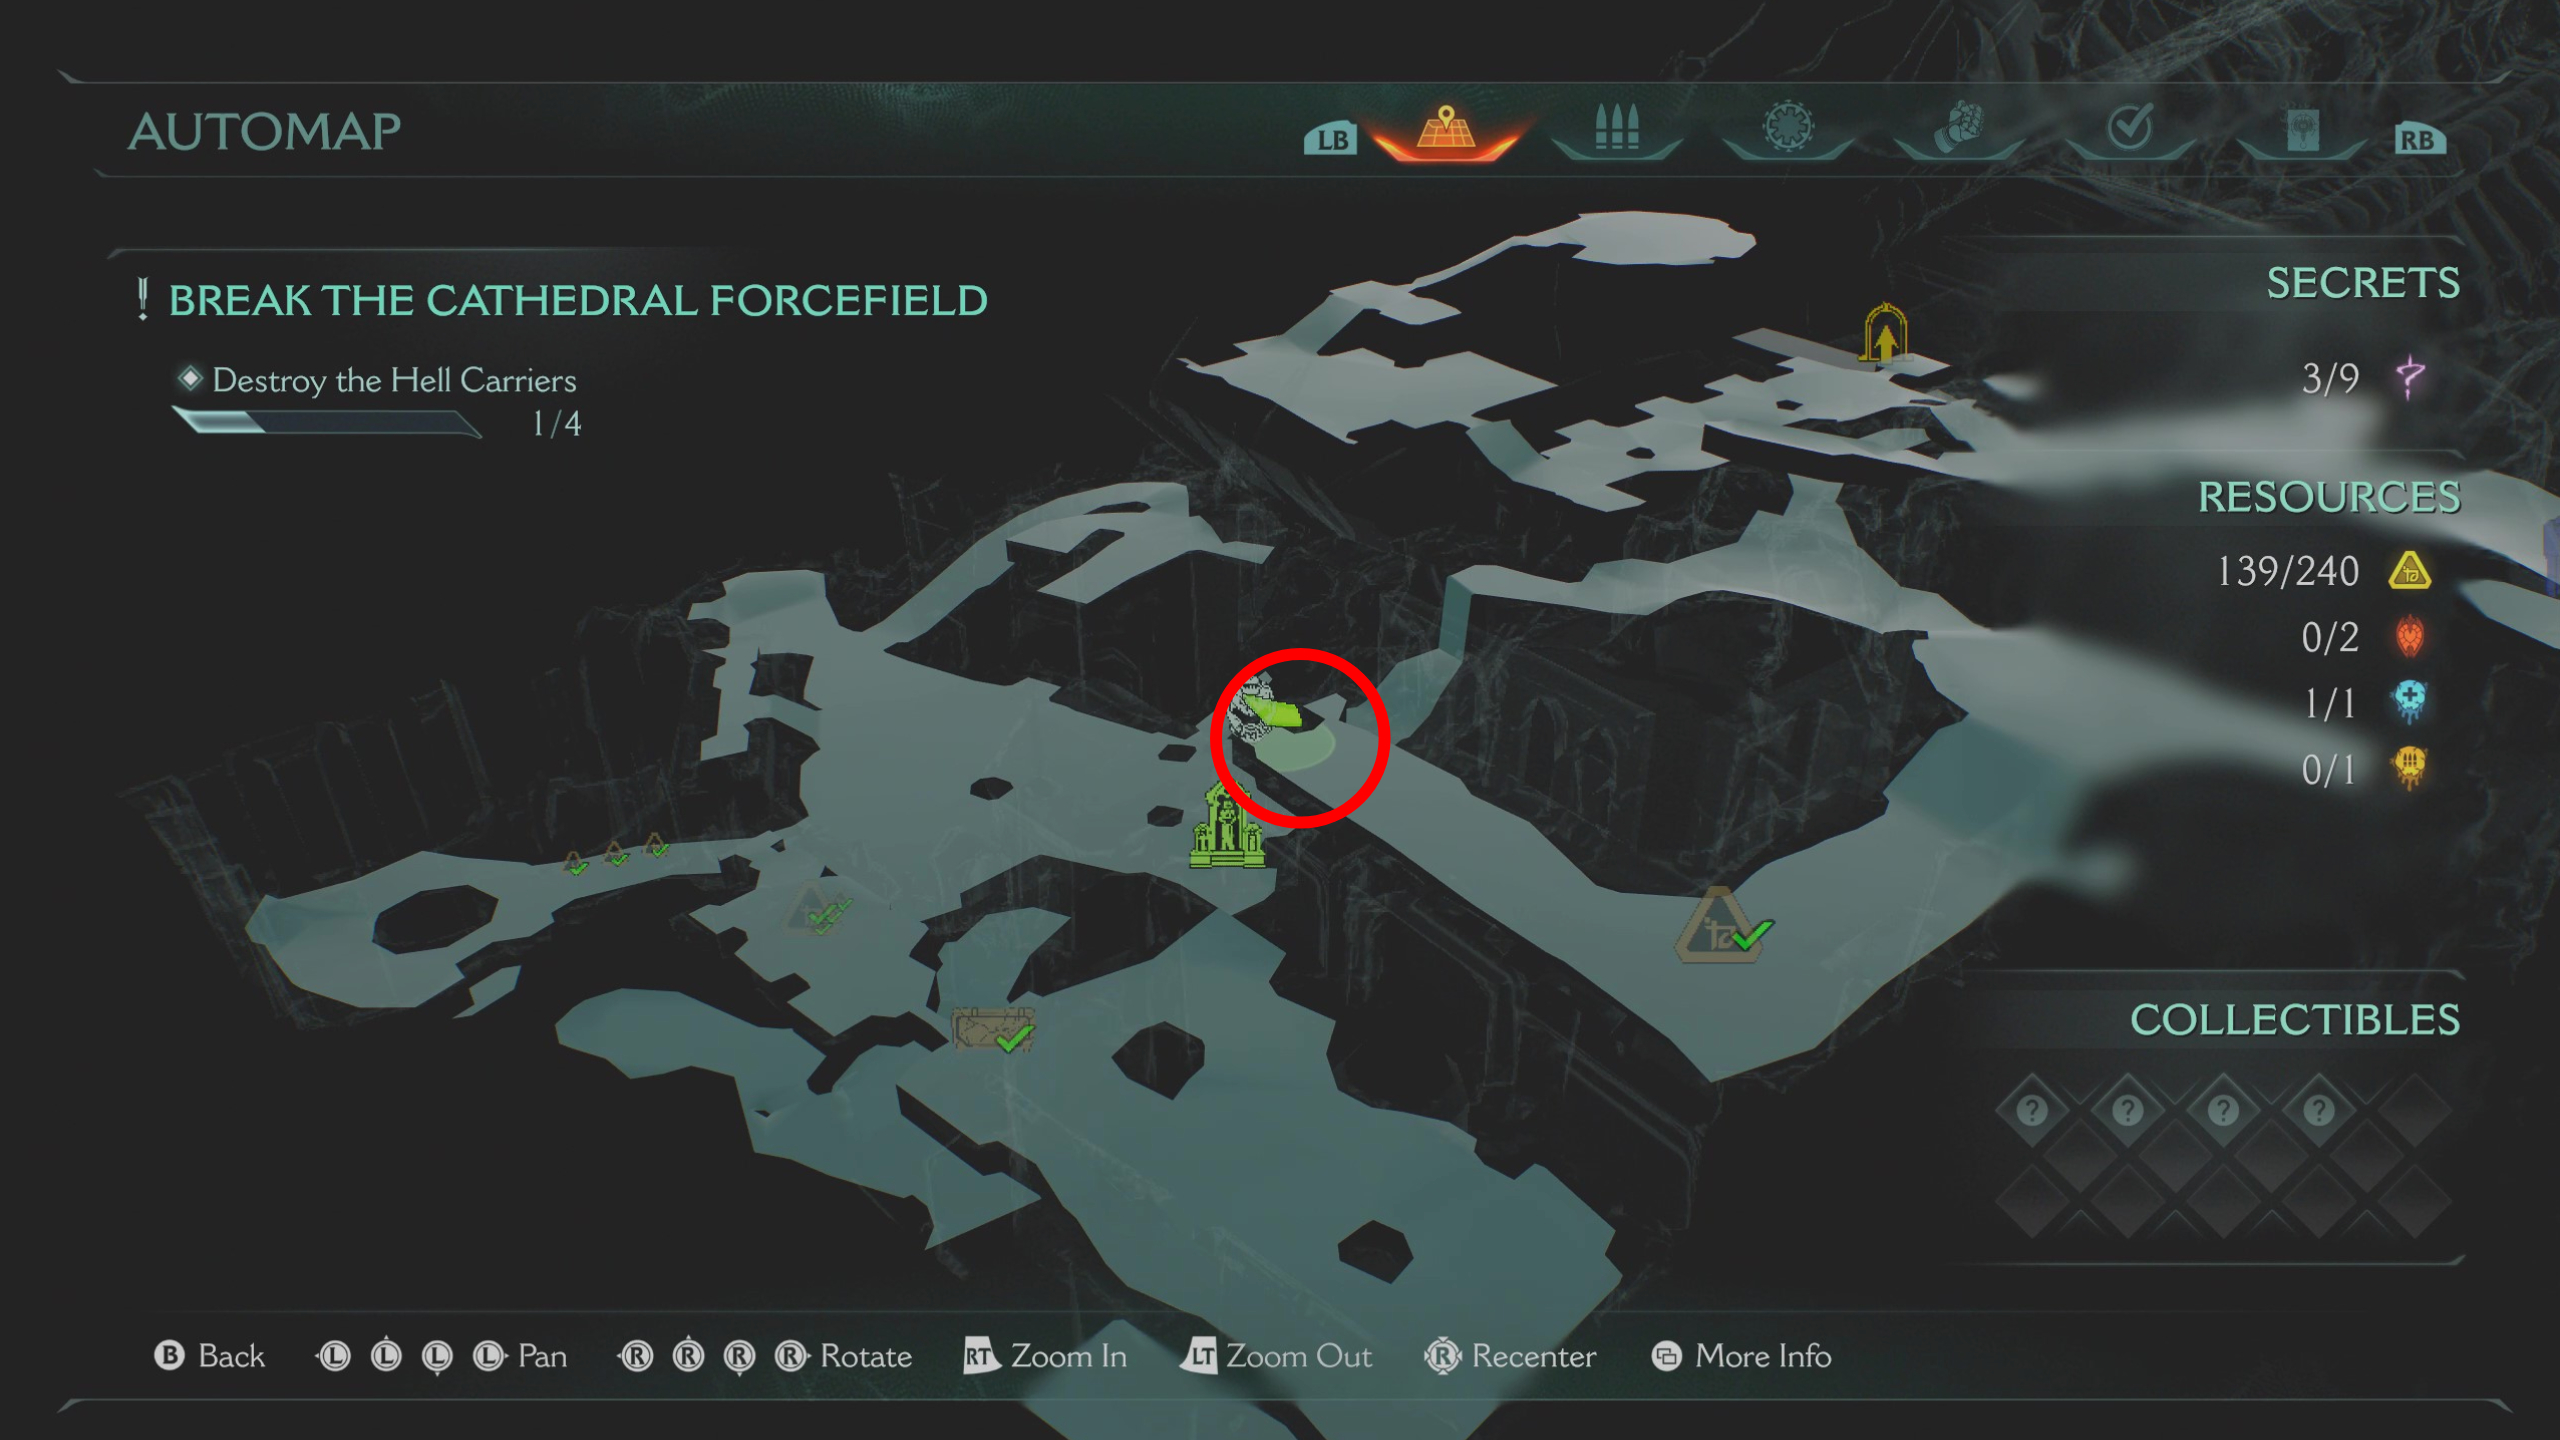
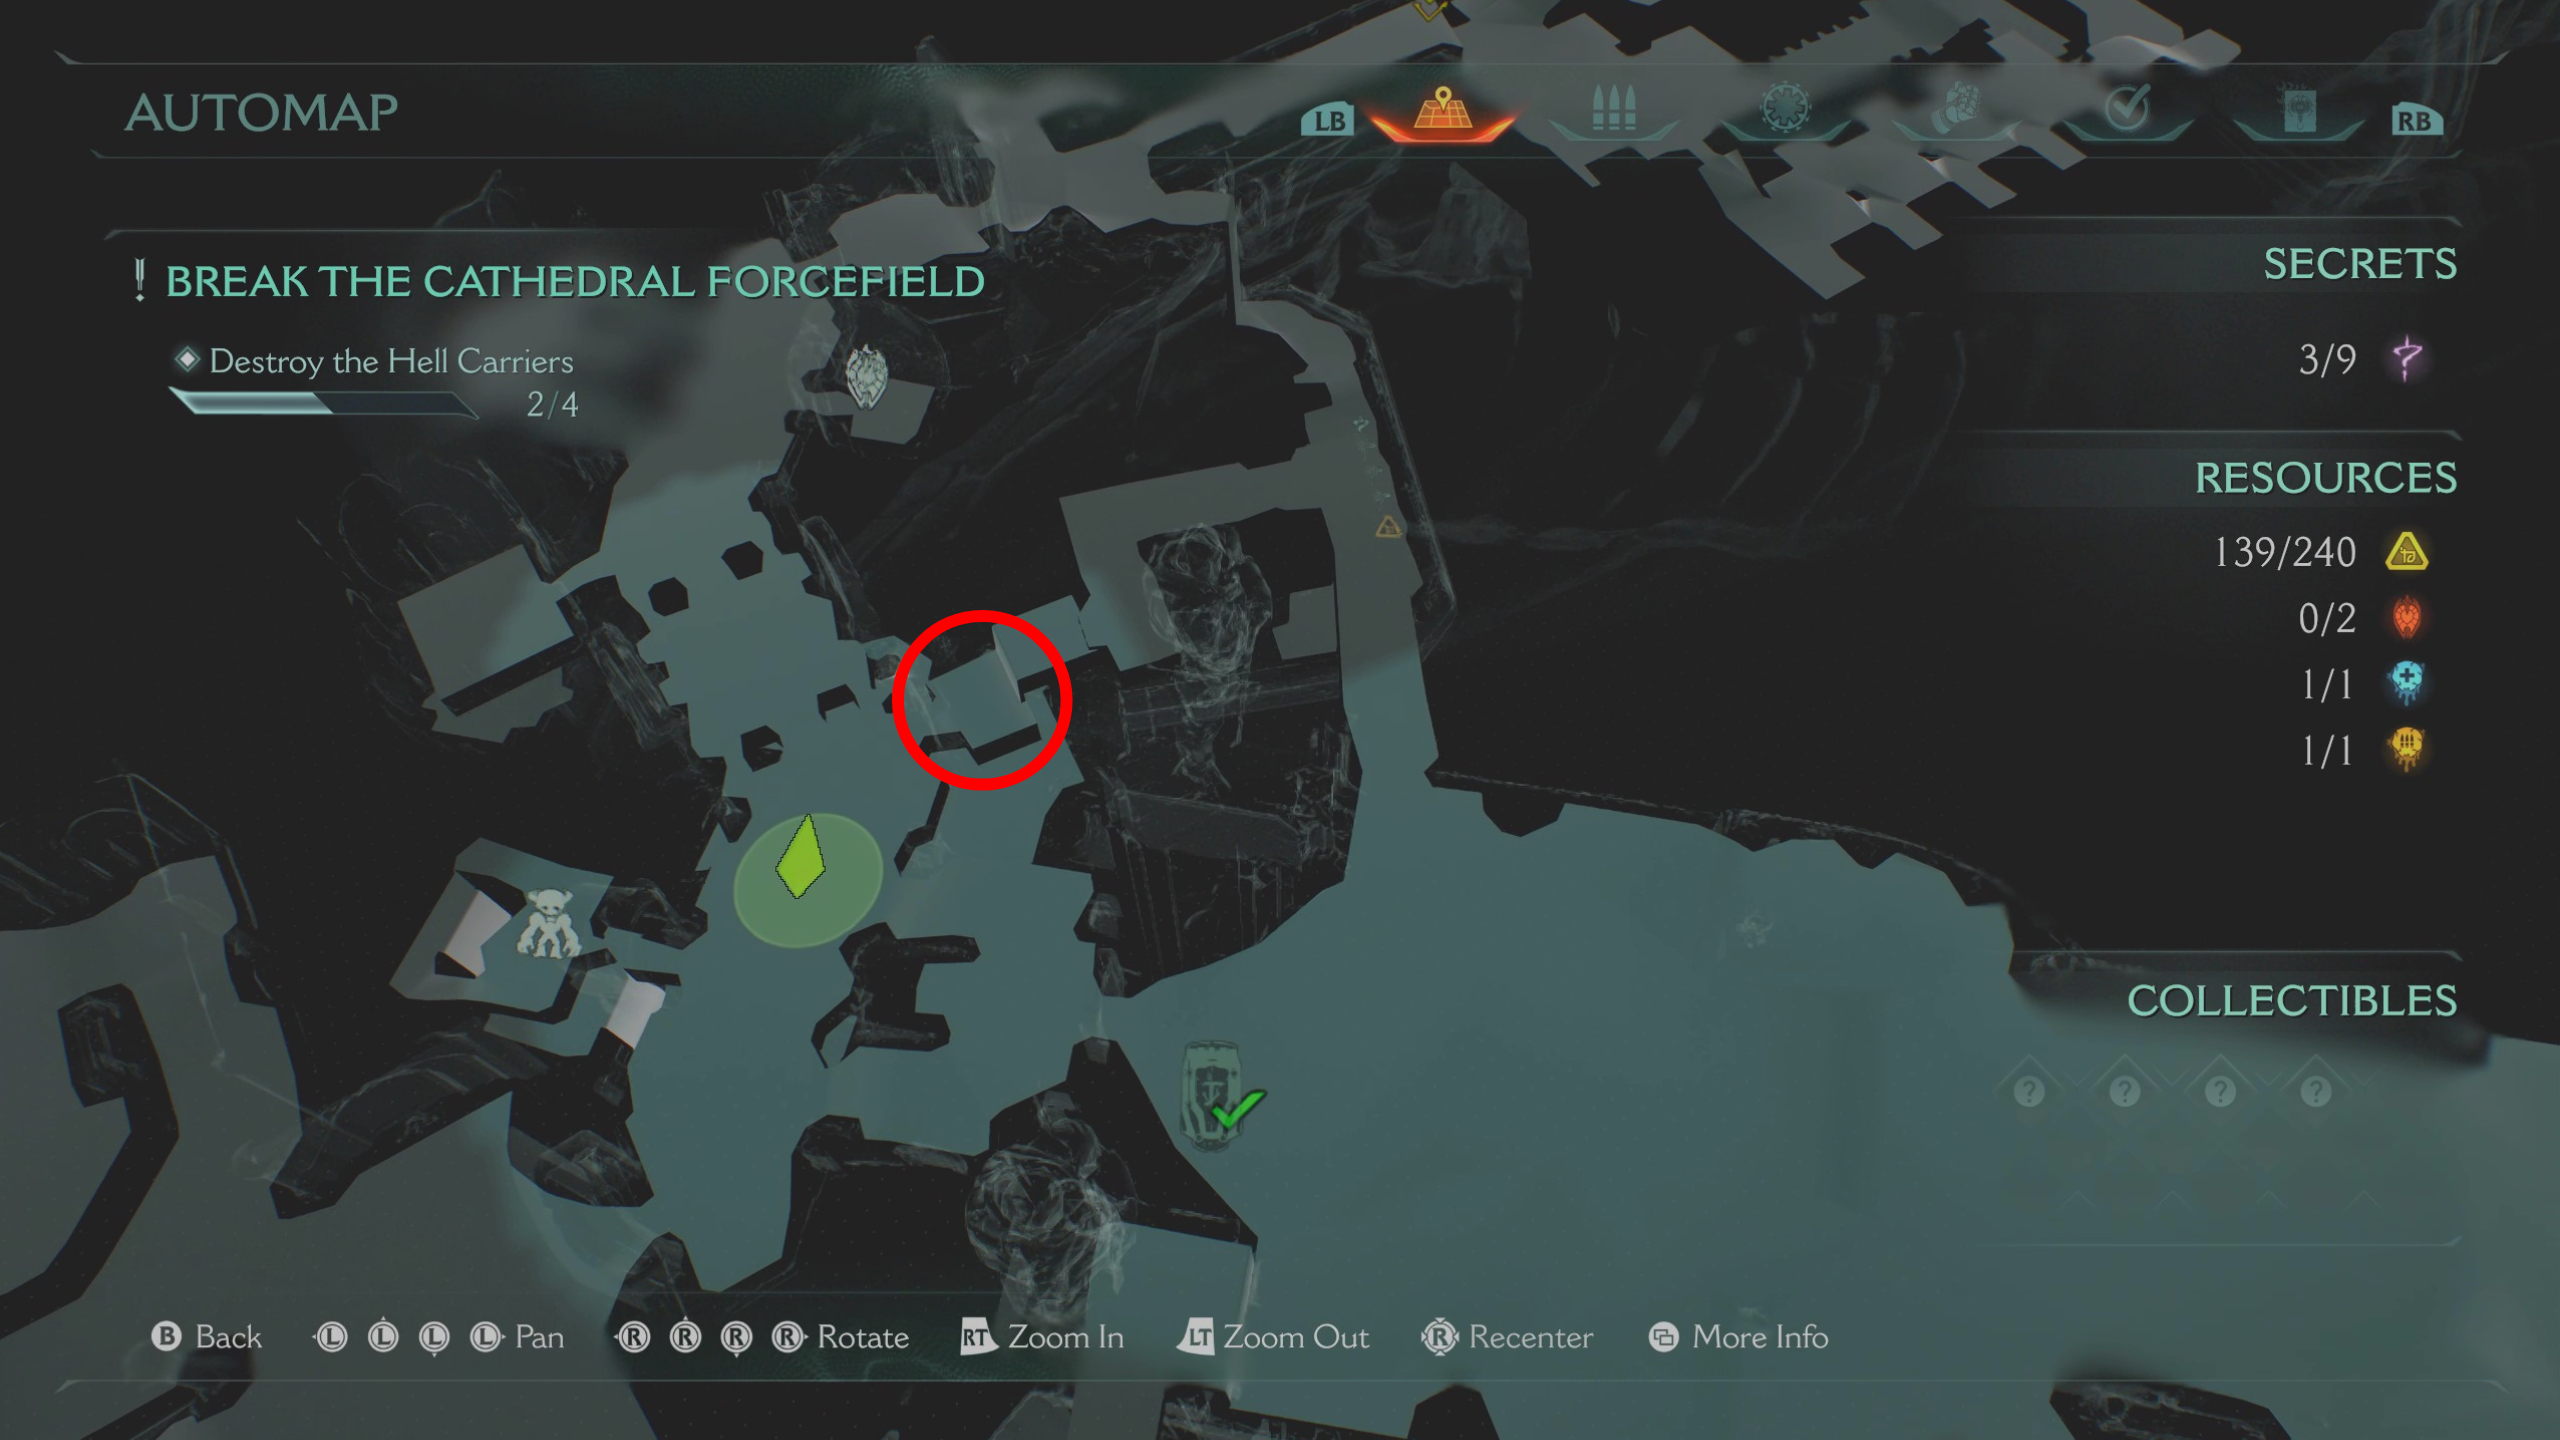
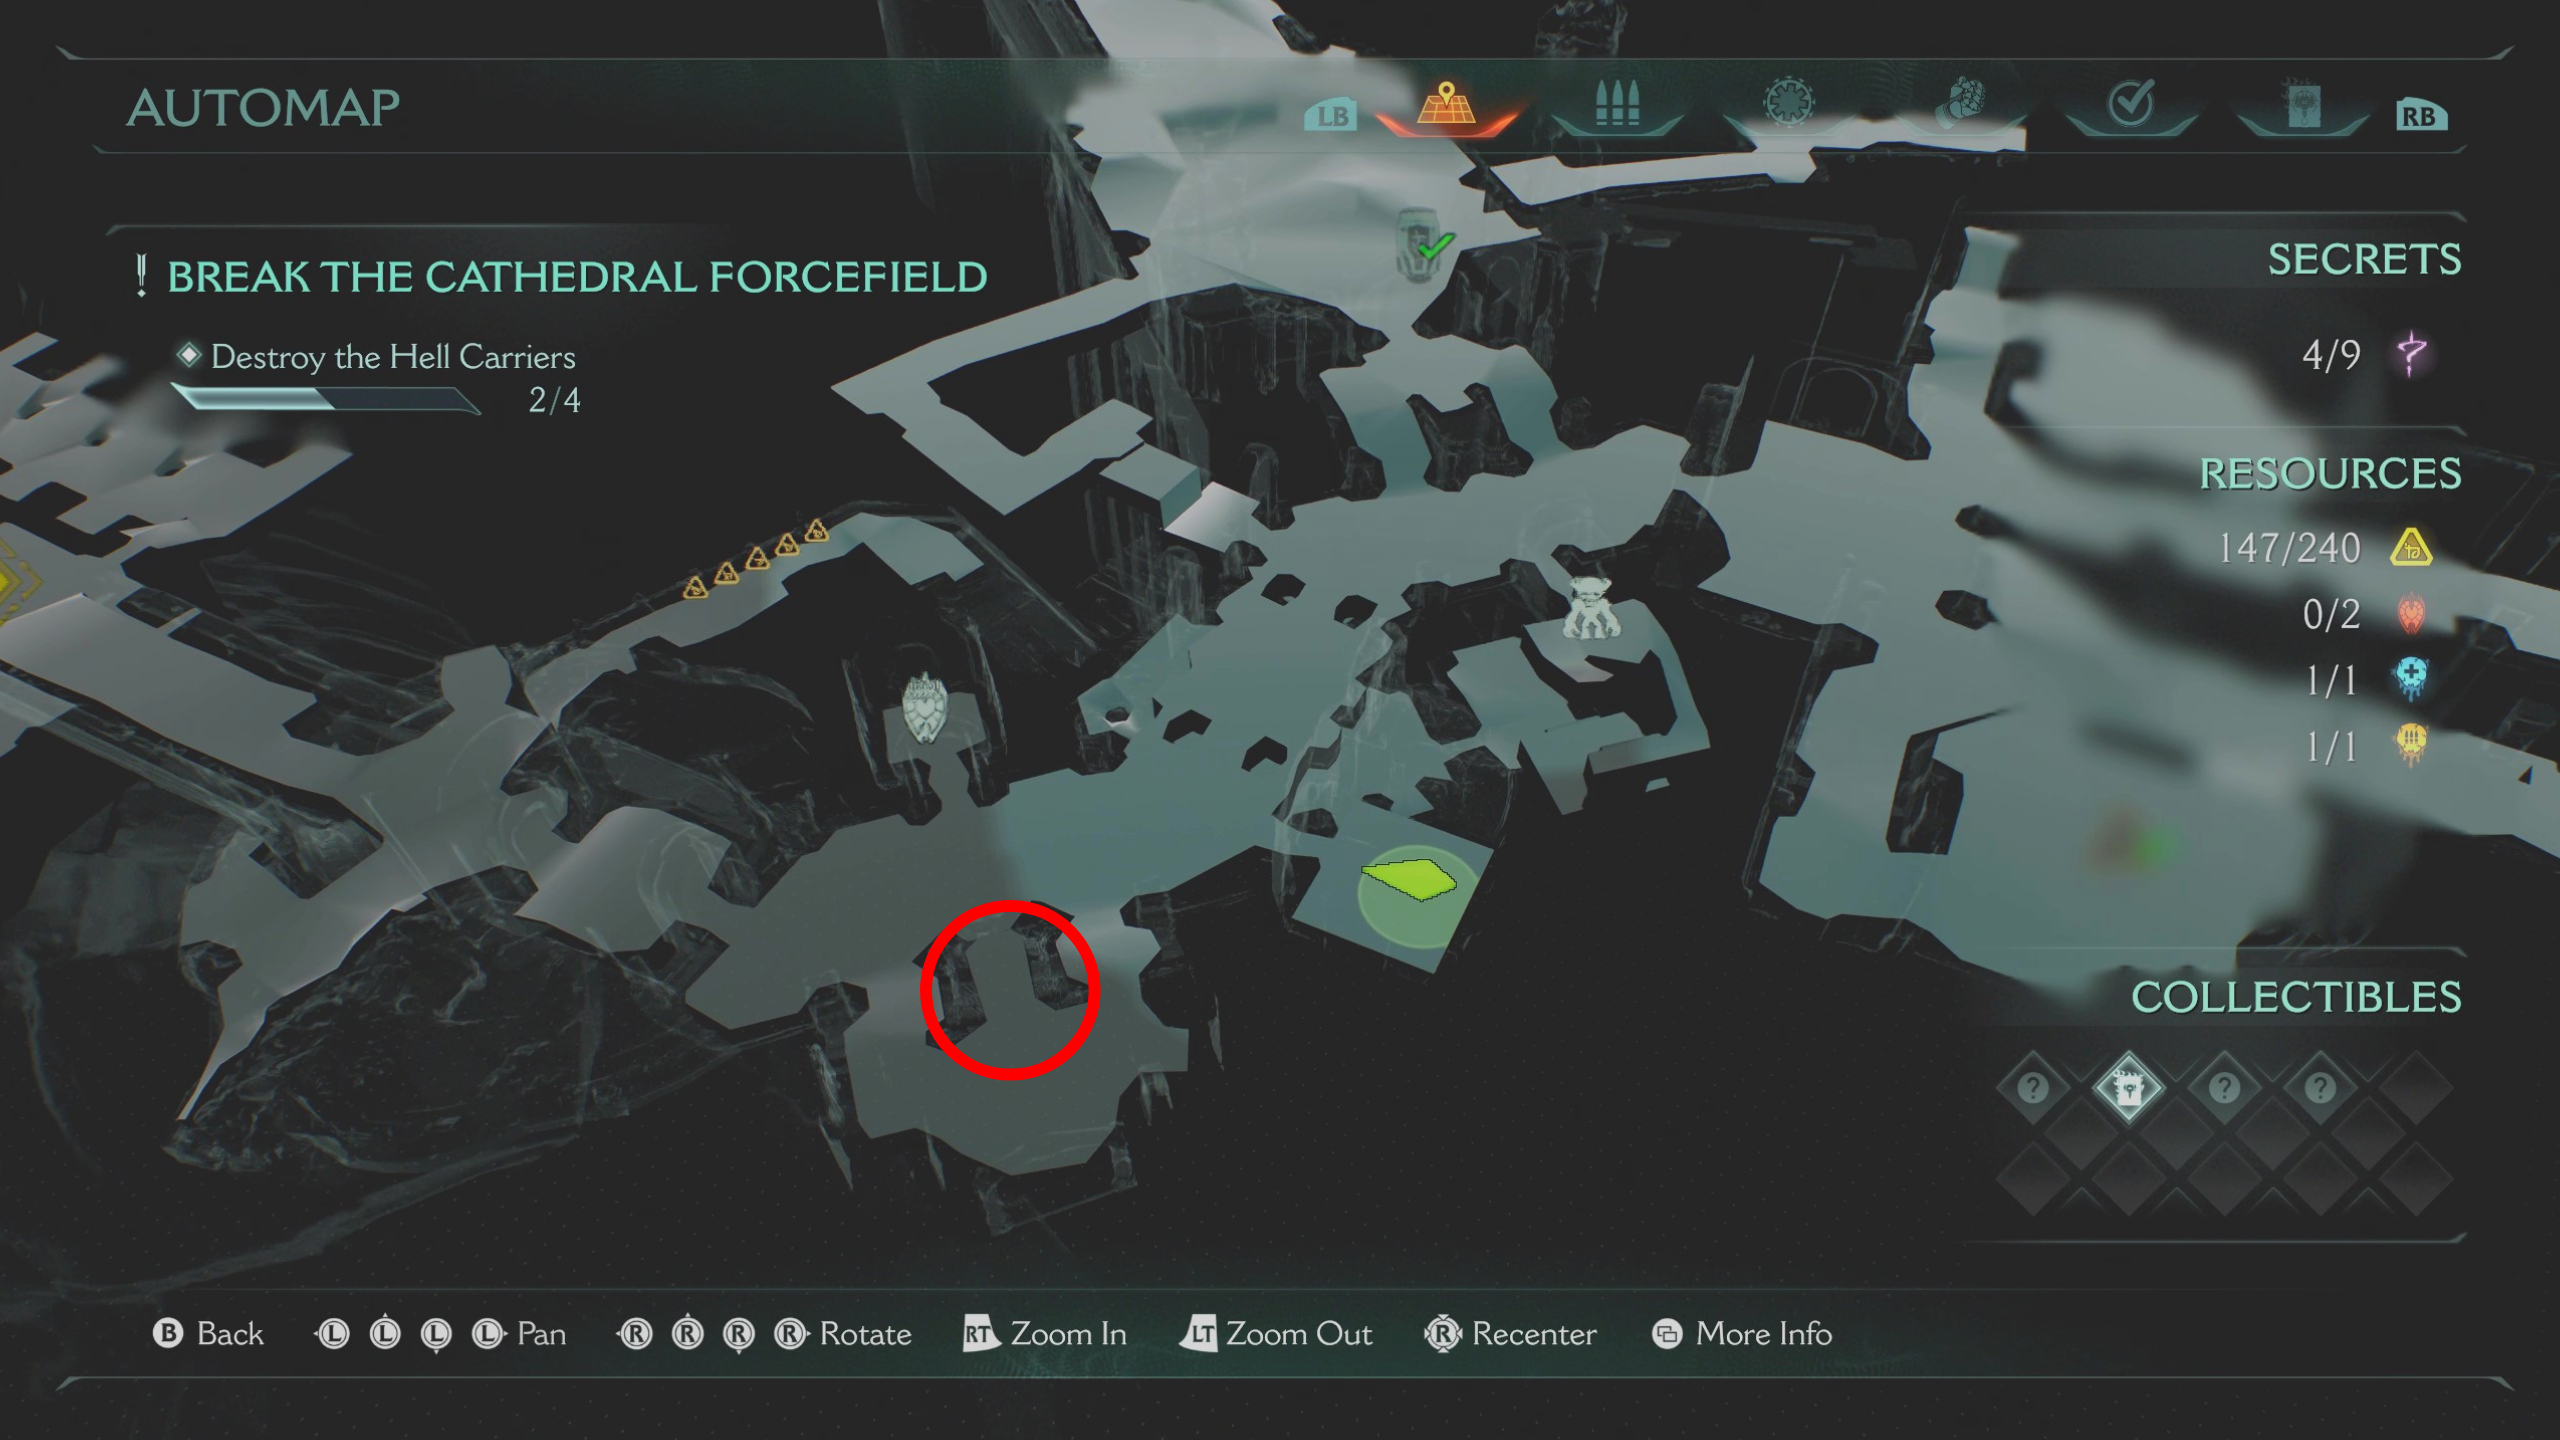
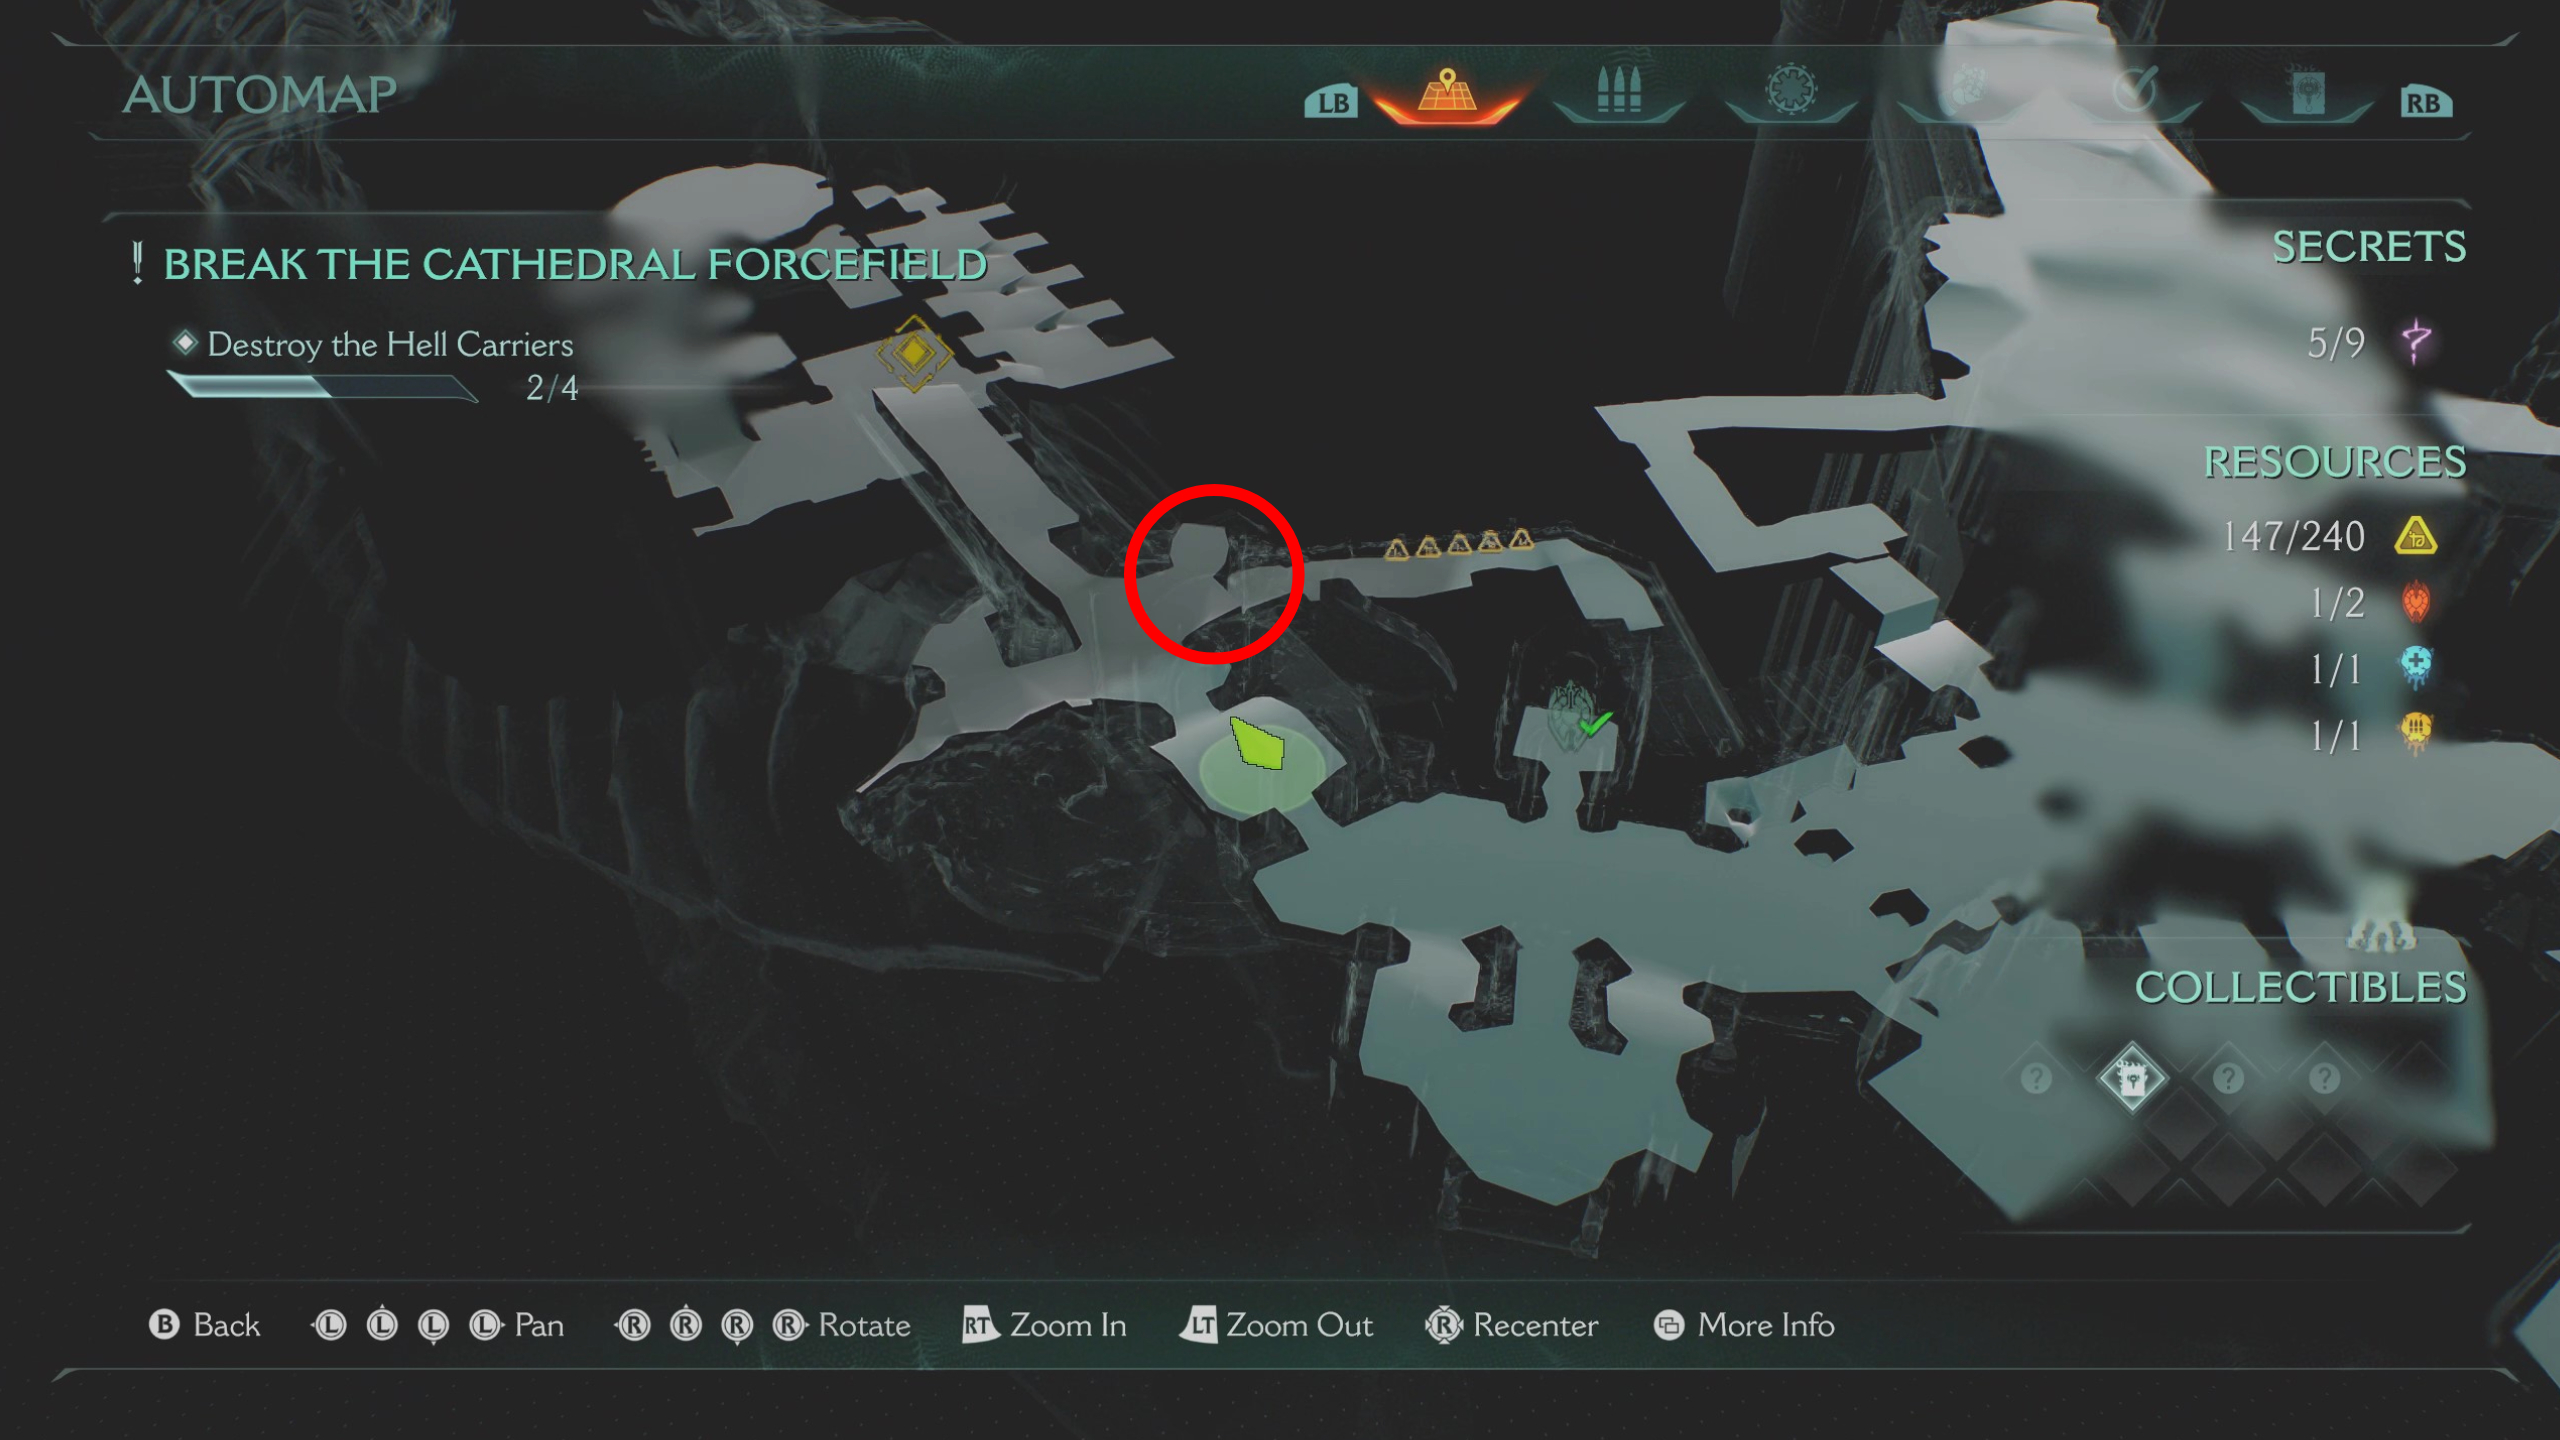
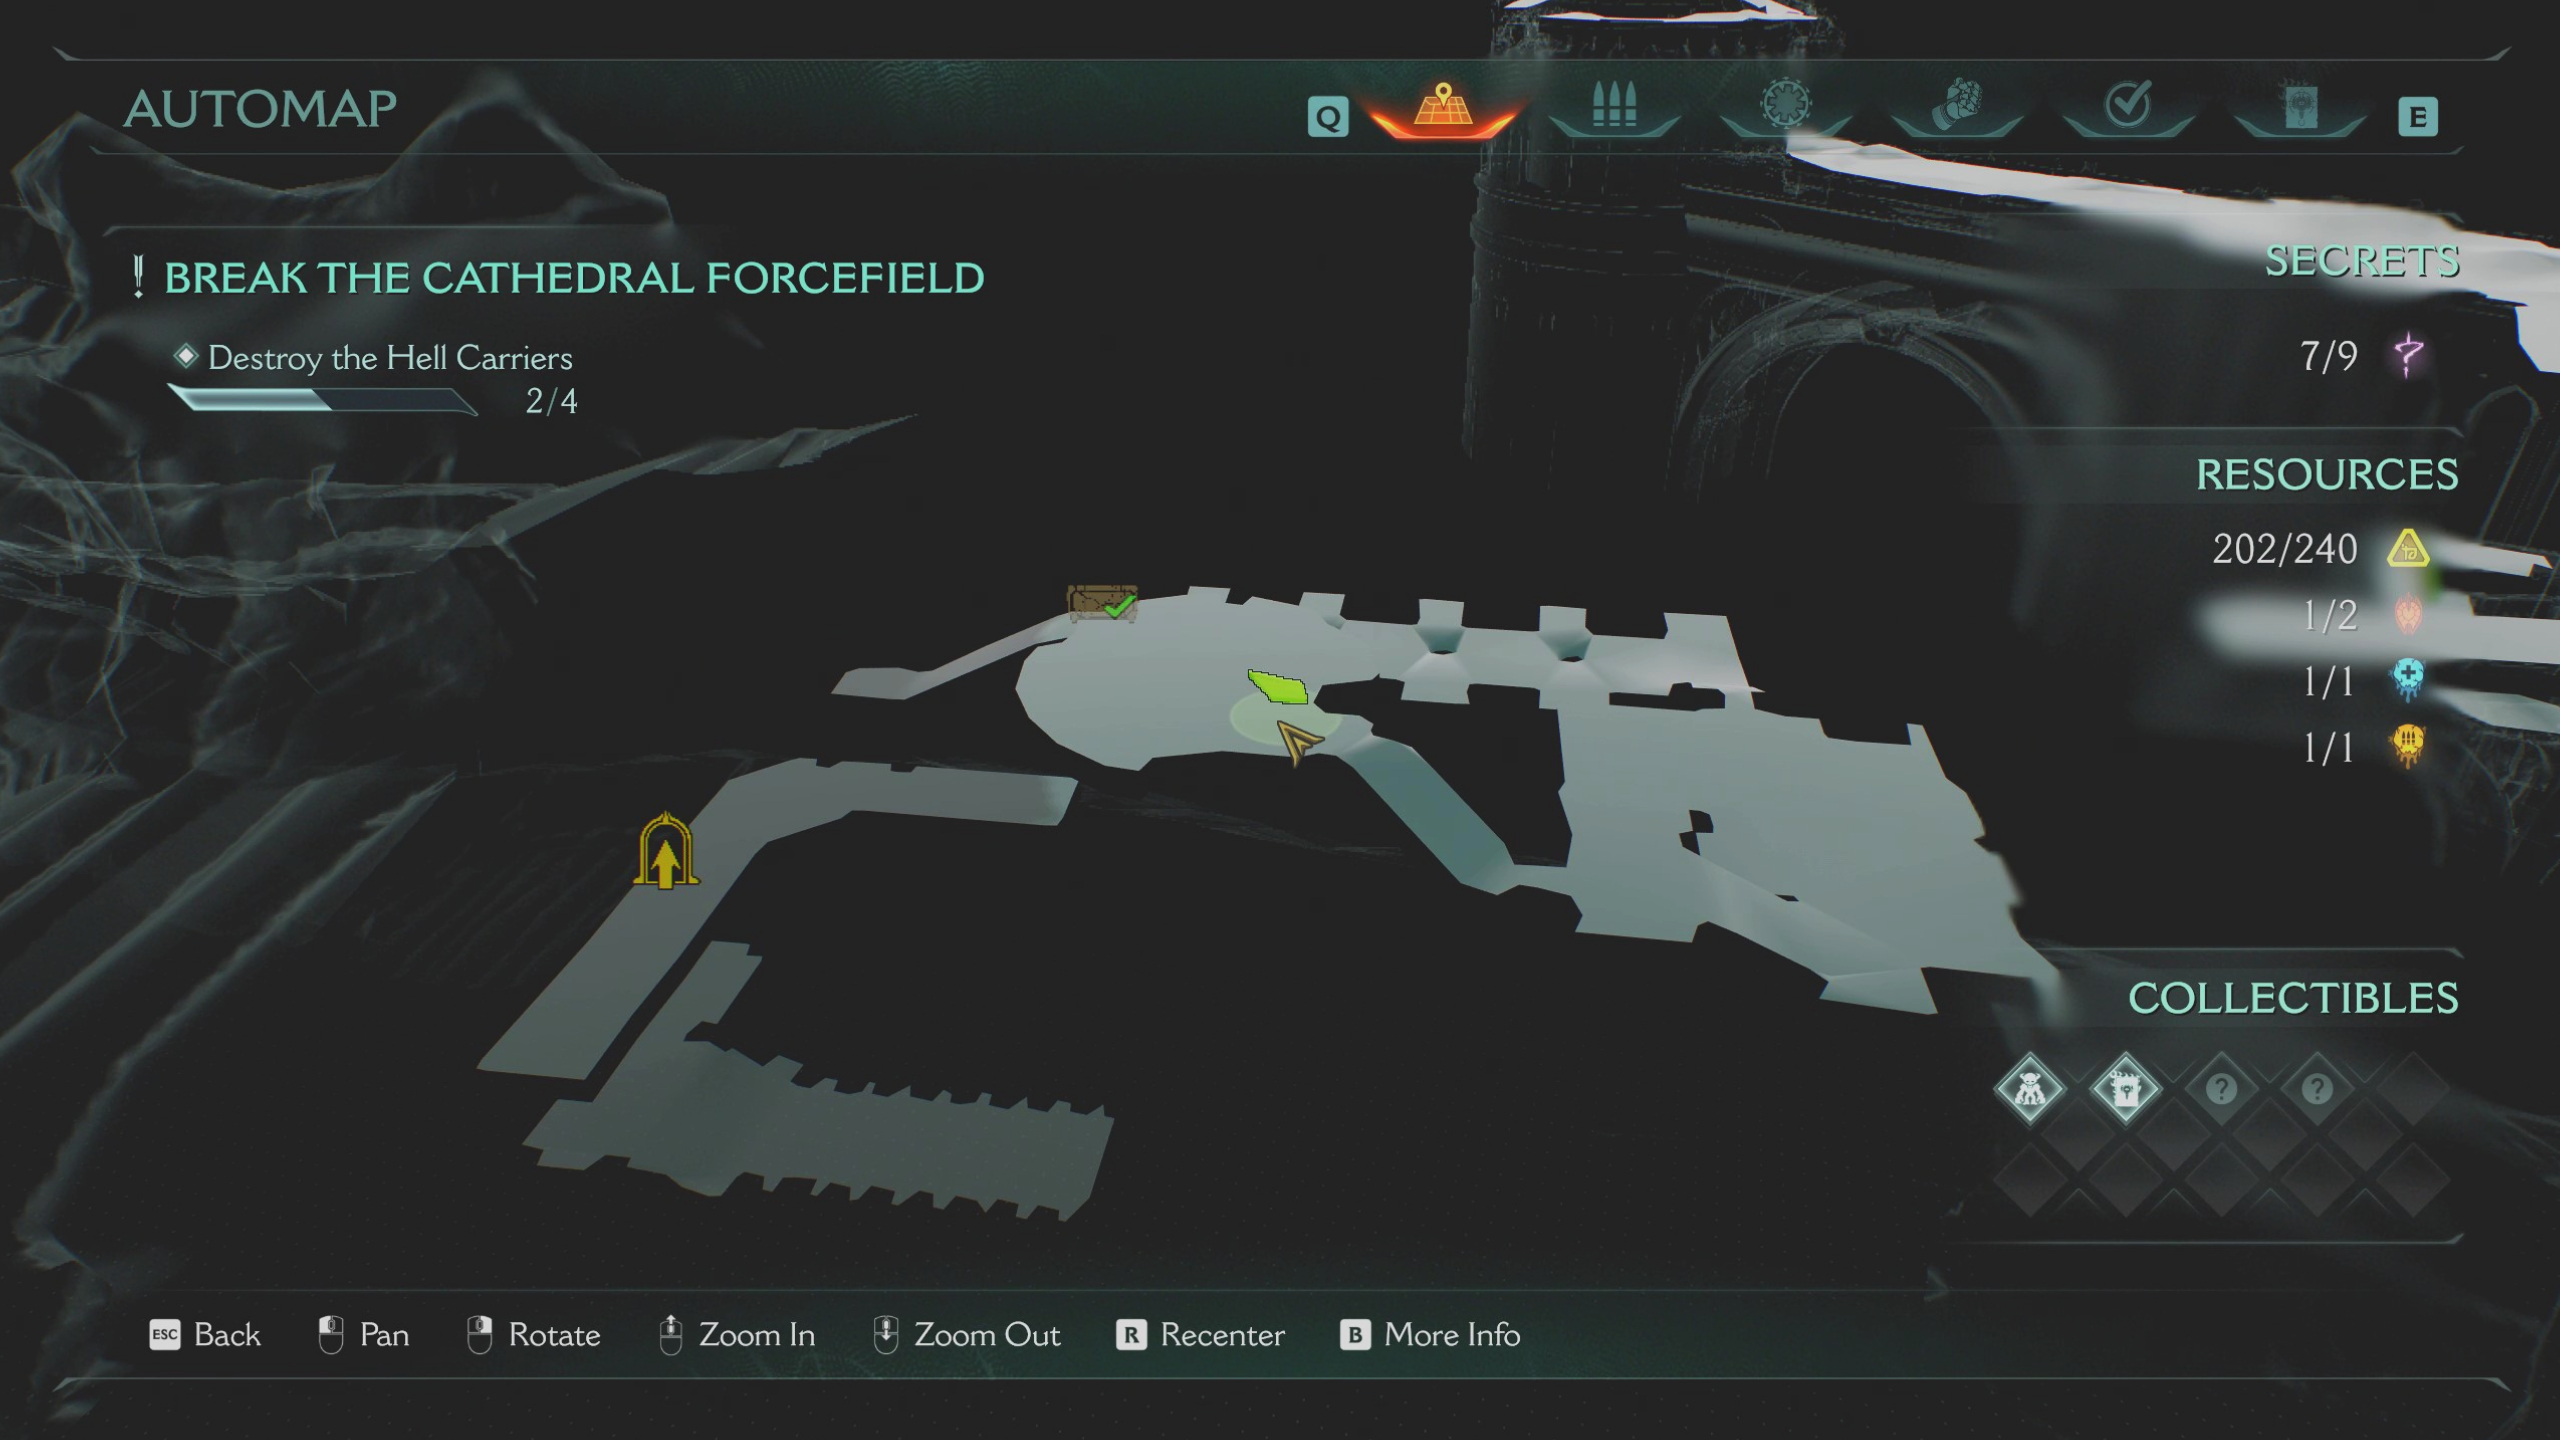
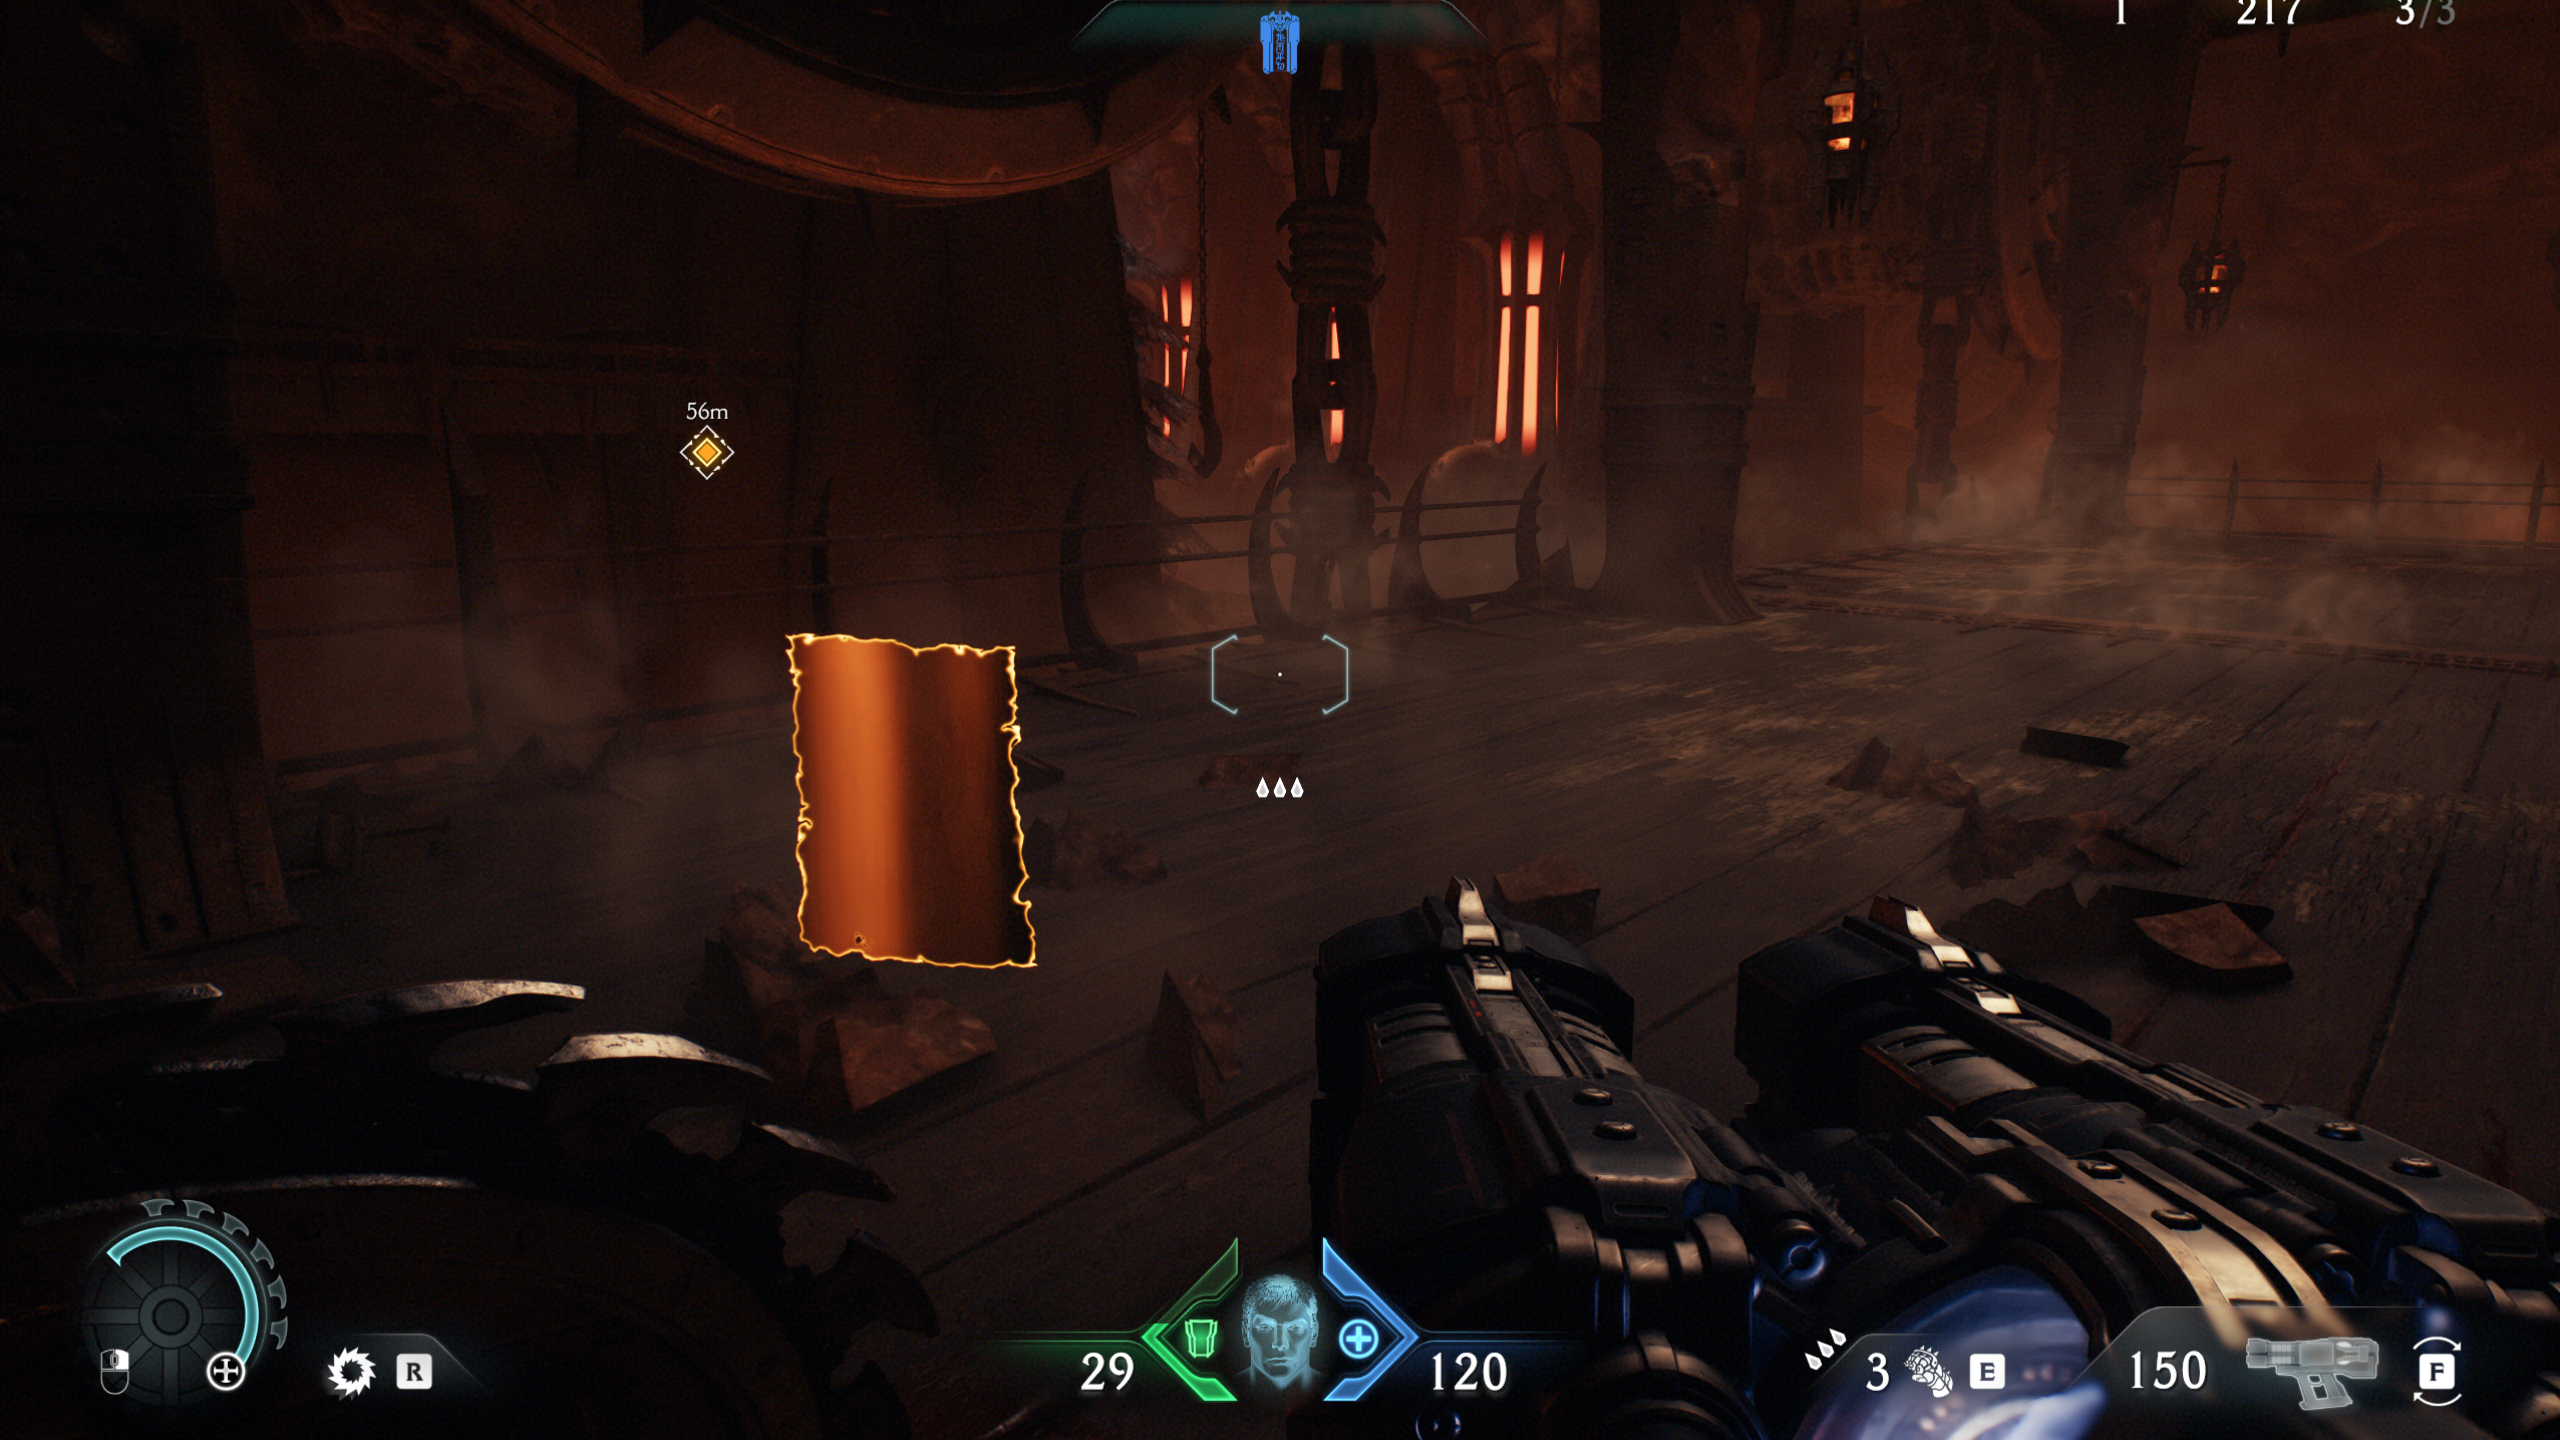
There are nine secrets and four collectibles in The Holy City of Aratum mission, many of which are tucked away at hidden dragon landing spots you’ll have to find and clear out before you can unlock them.
All of the secrets in this mission come after the dragon-riding tutorial, so keep going until you move on to the main objective of destroying four Hell Carrier ships. This can be done in any order, but I’ve laid them out in the most efficient way.
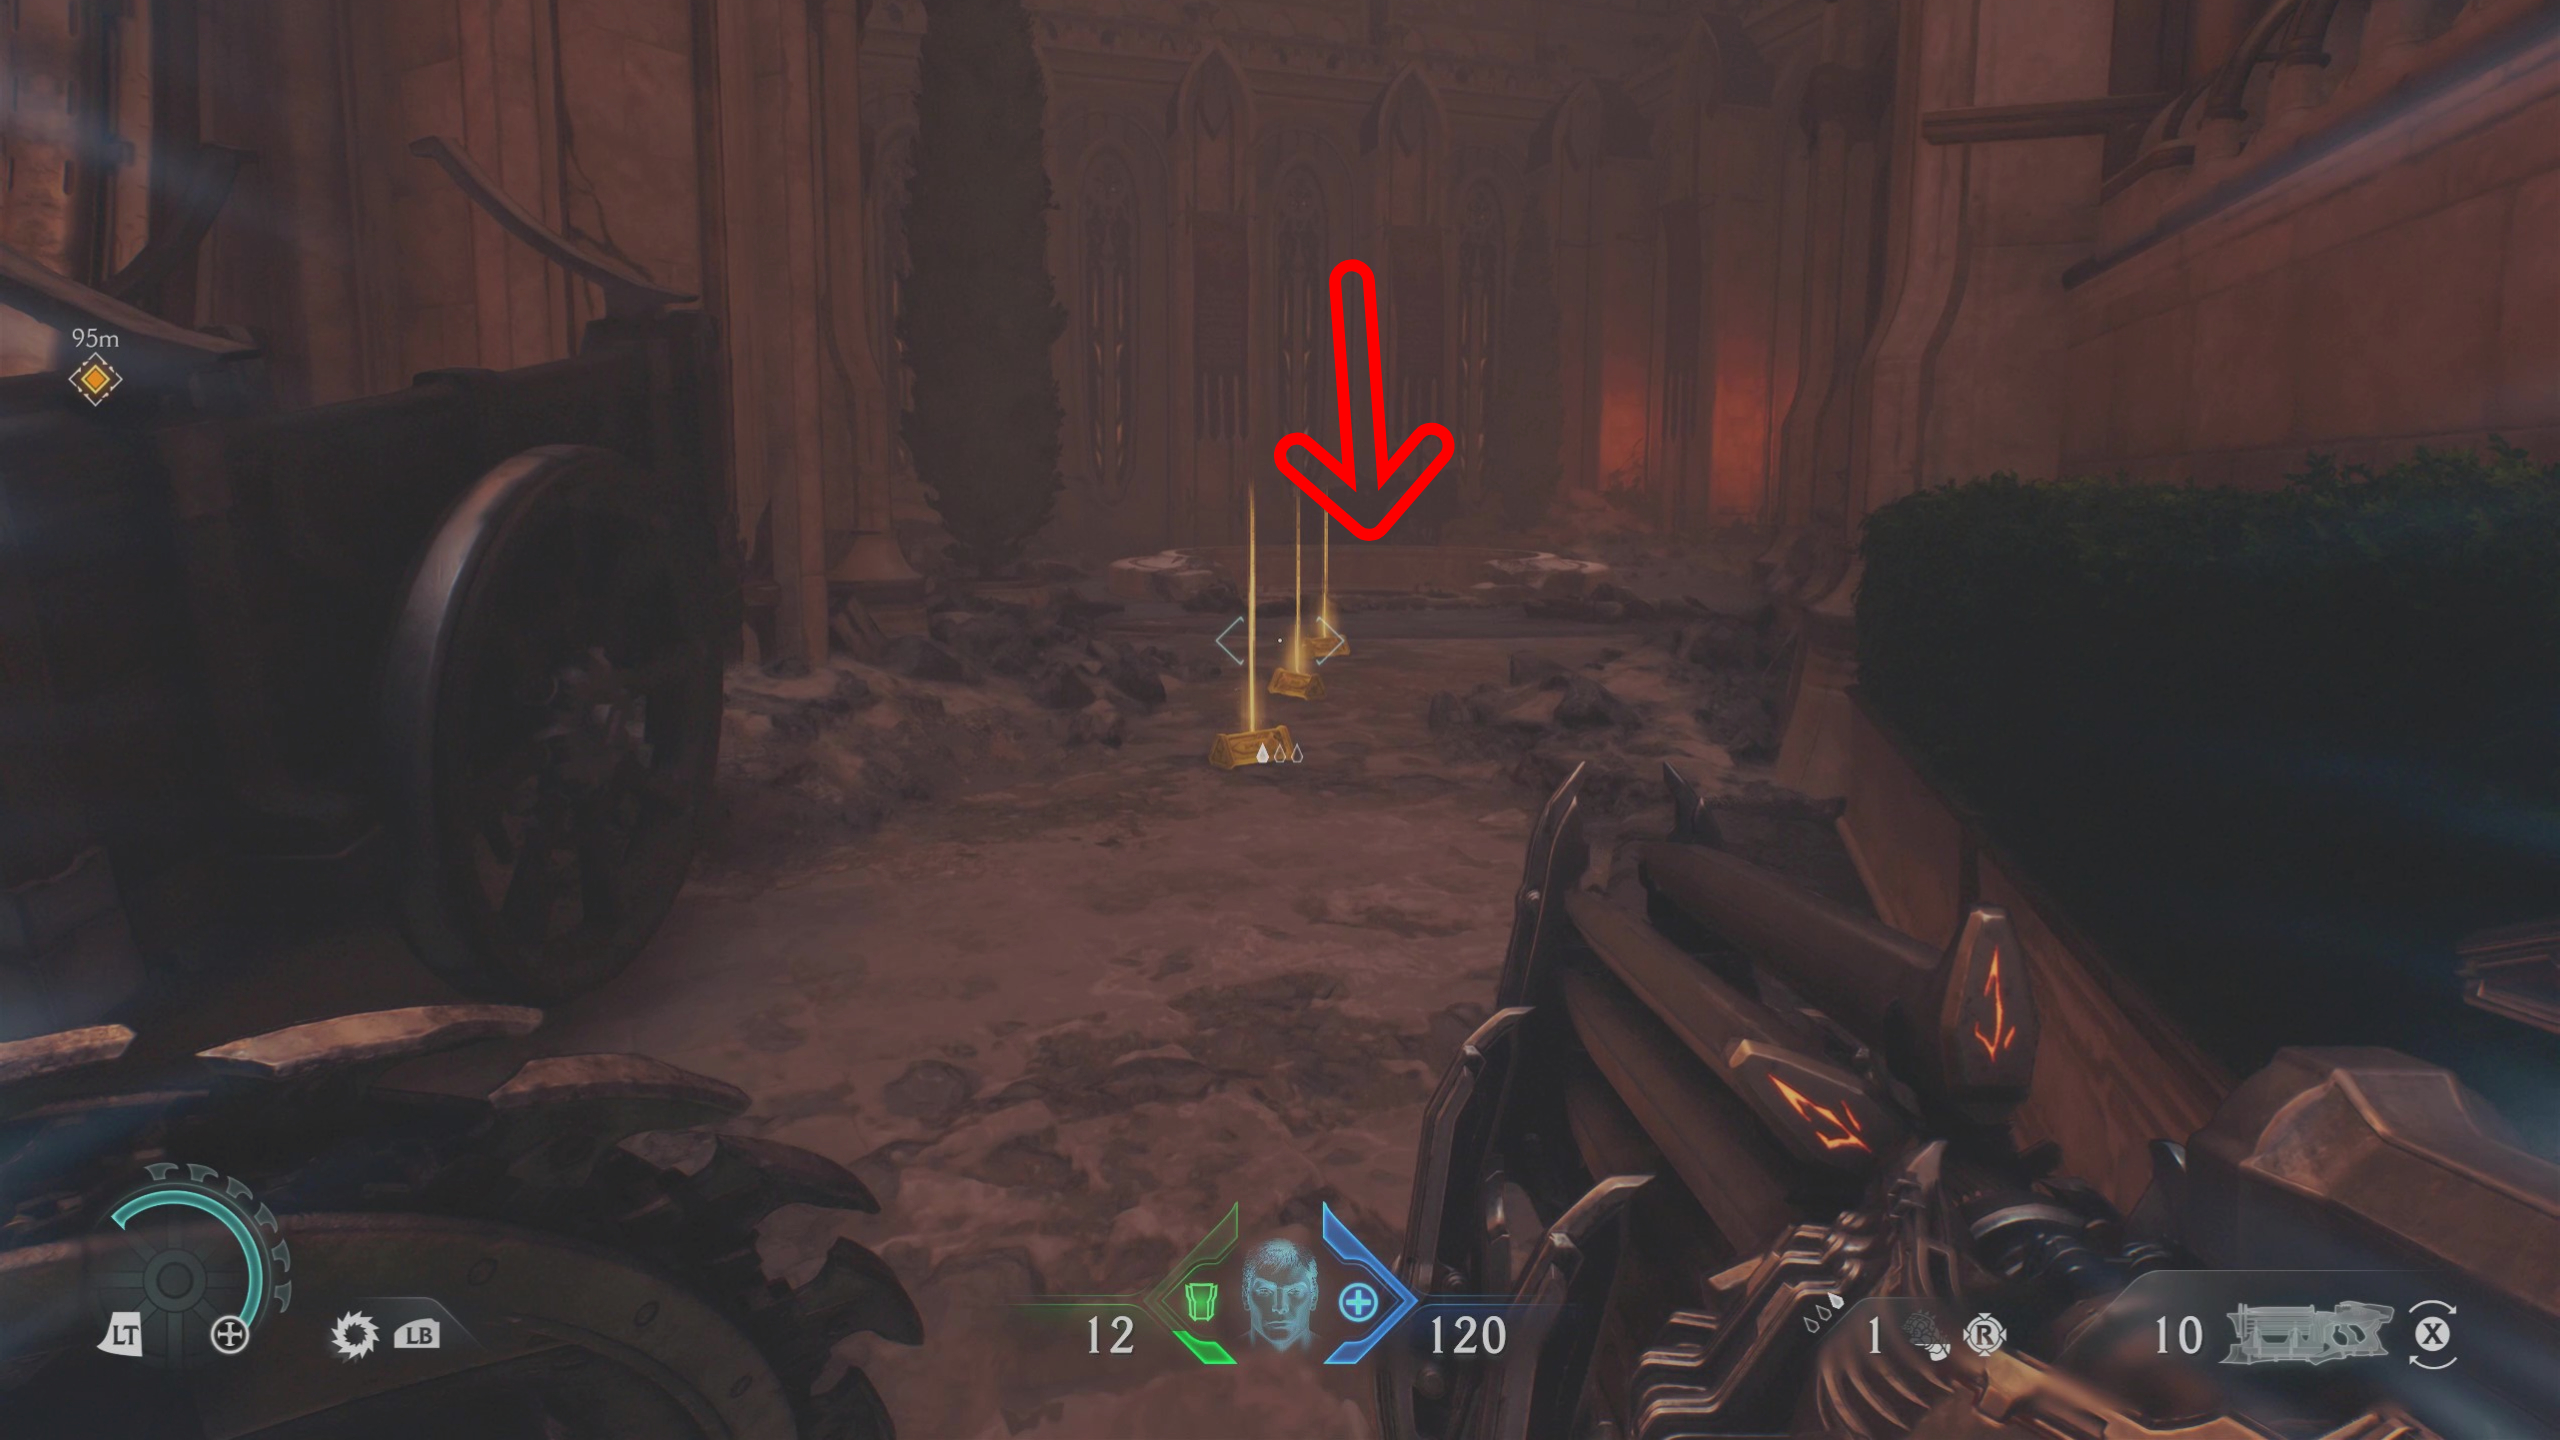
1 – Gold chest
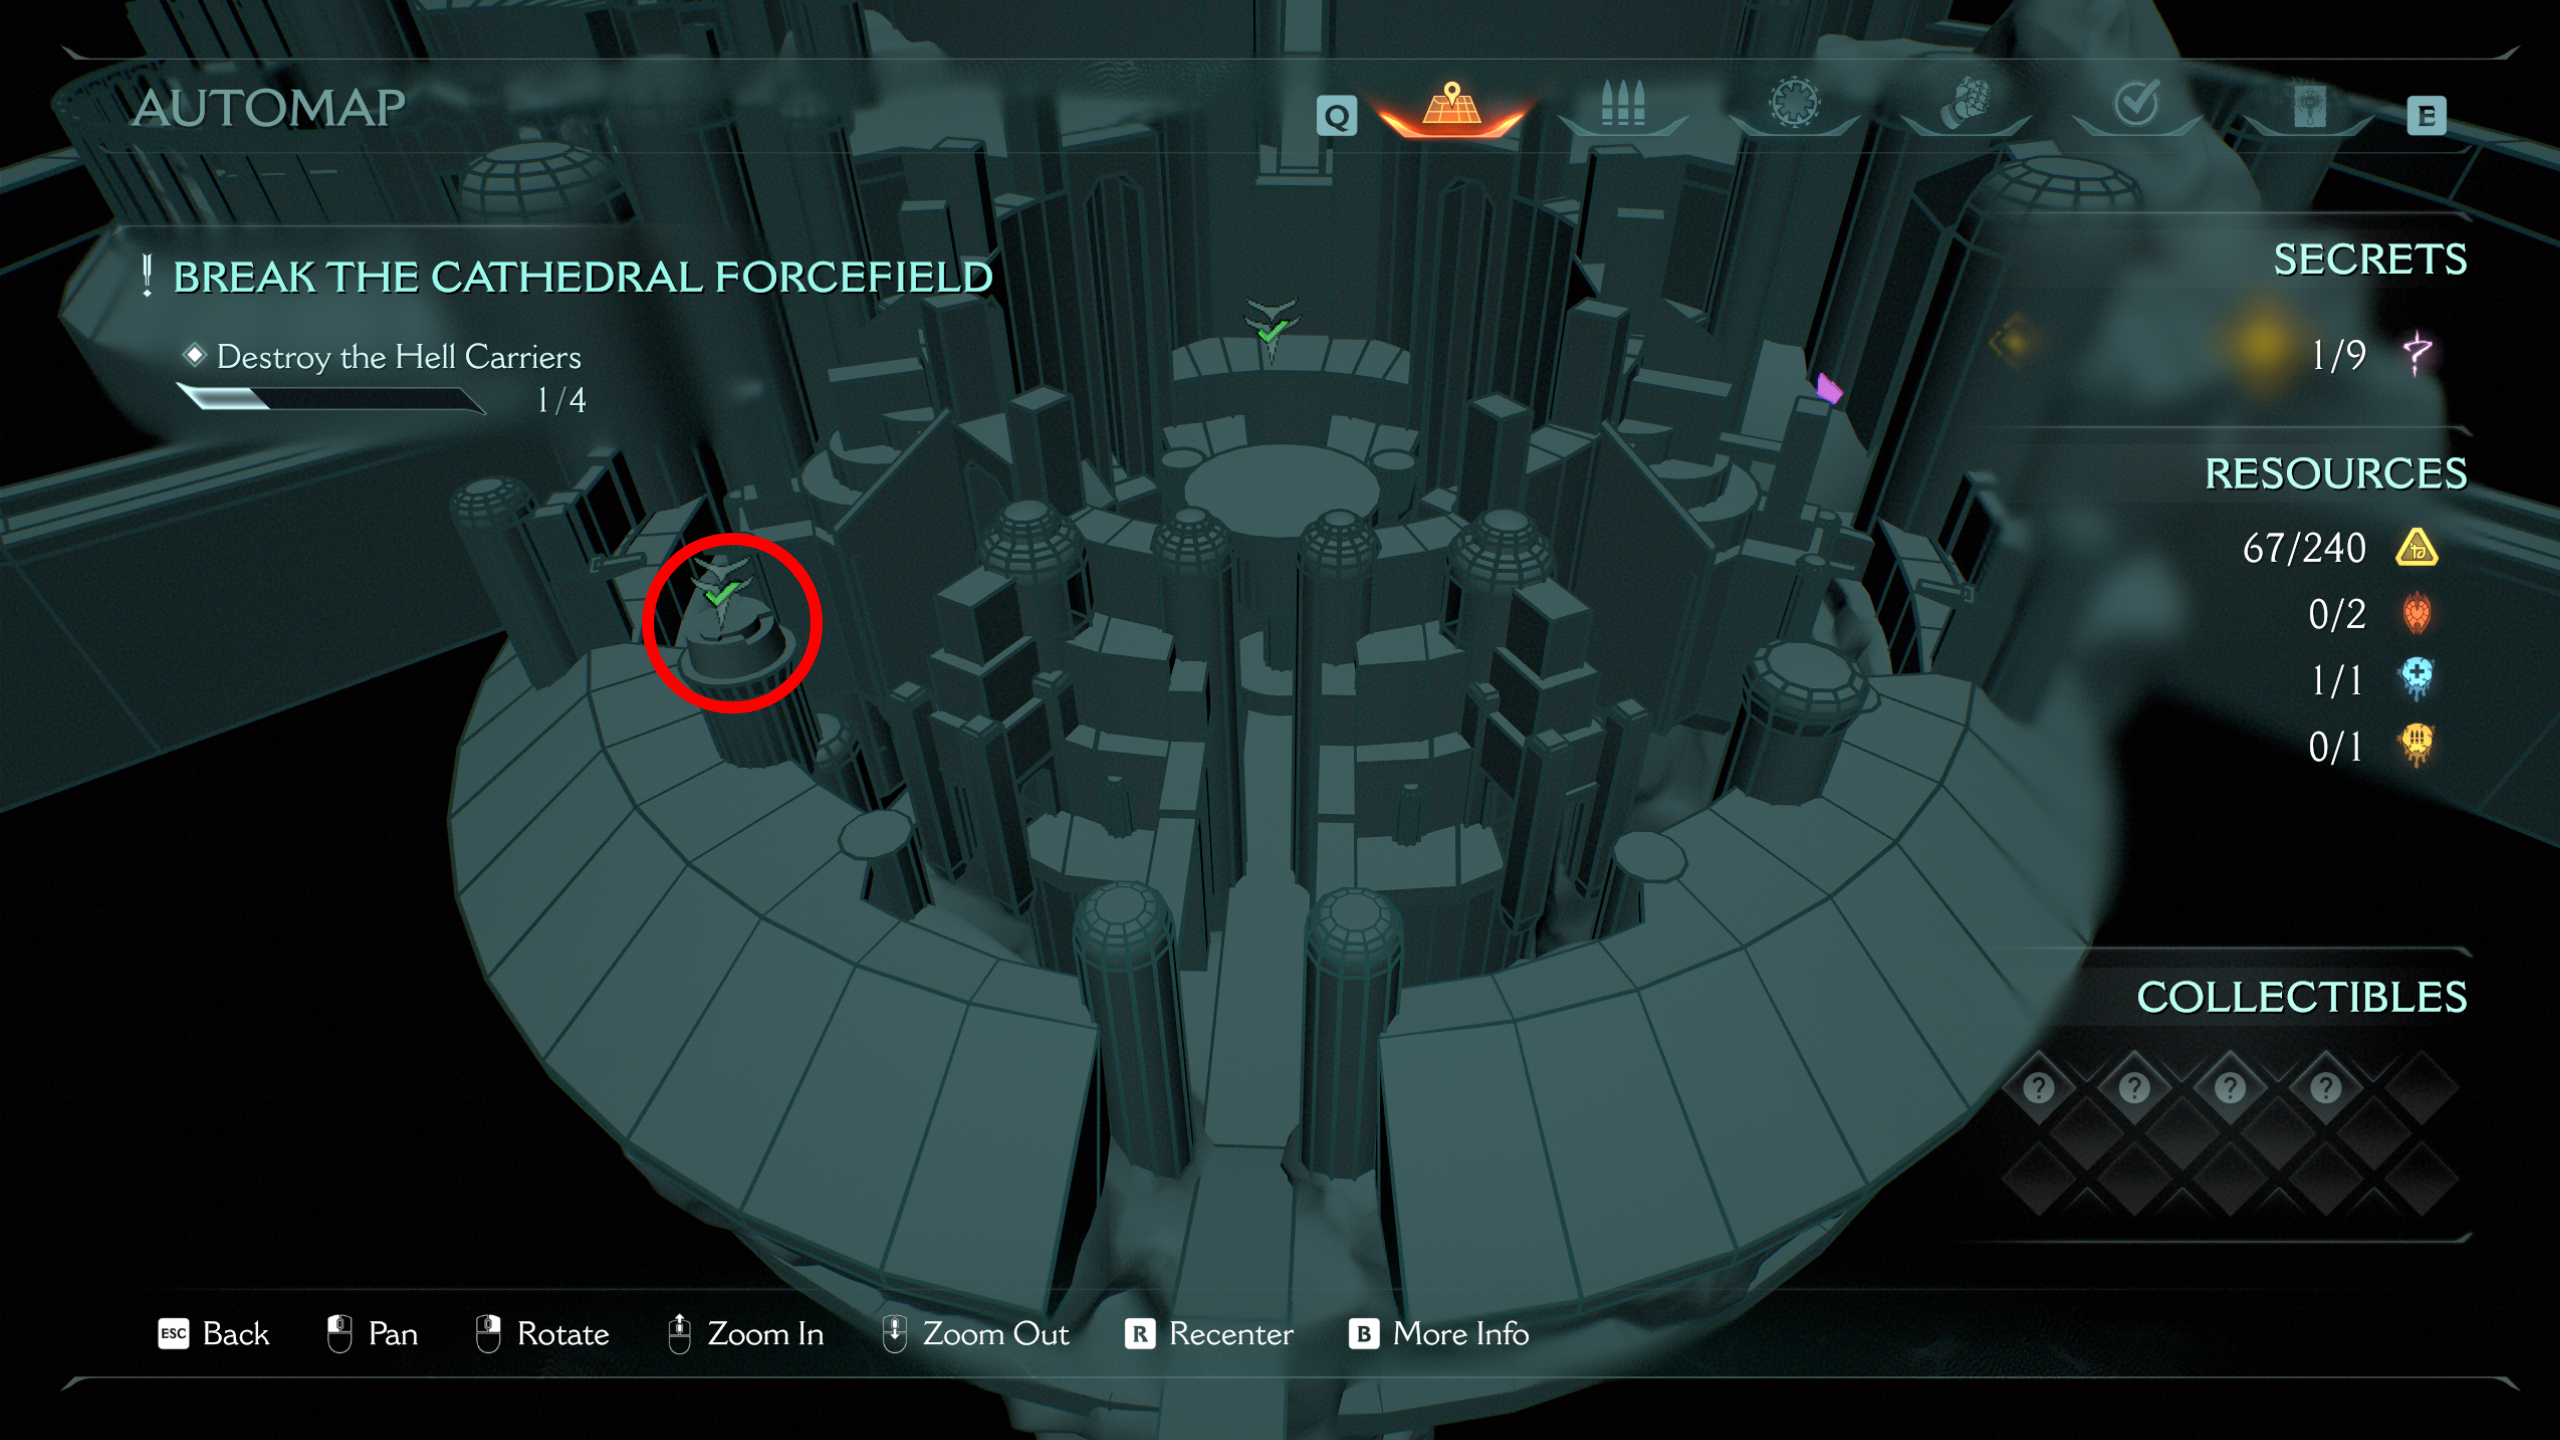
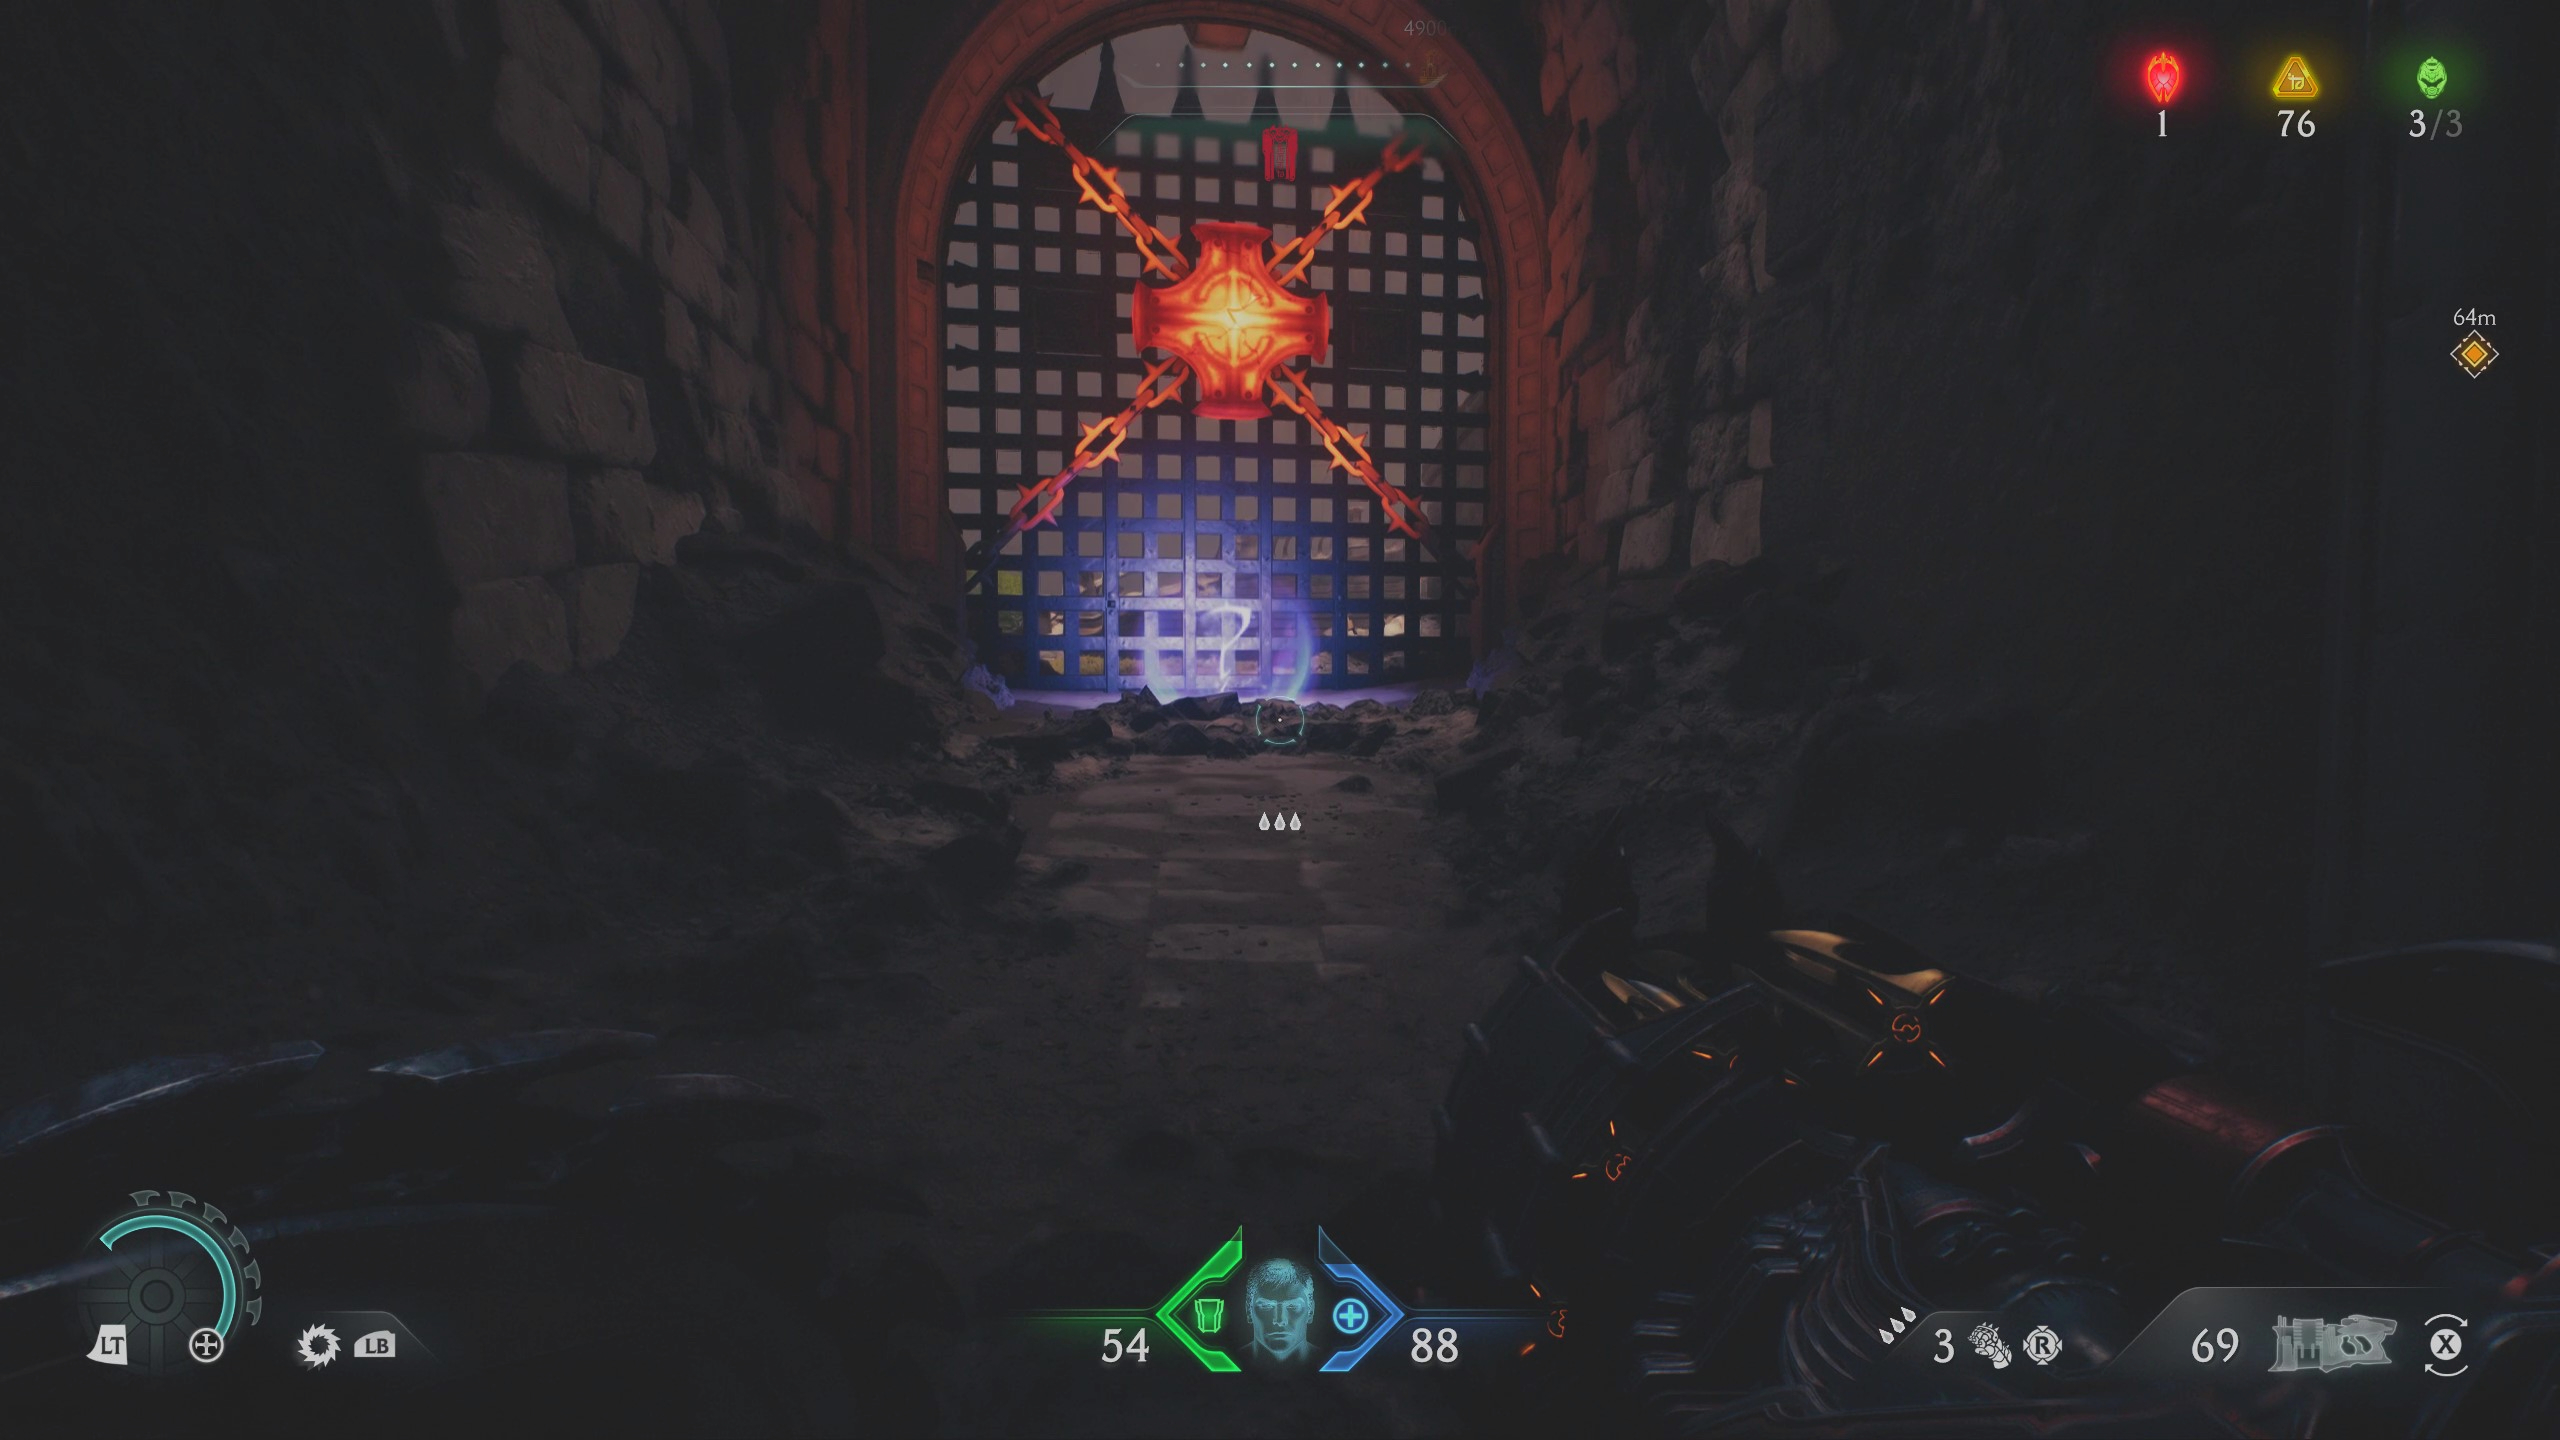
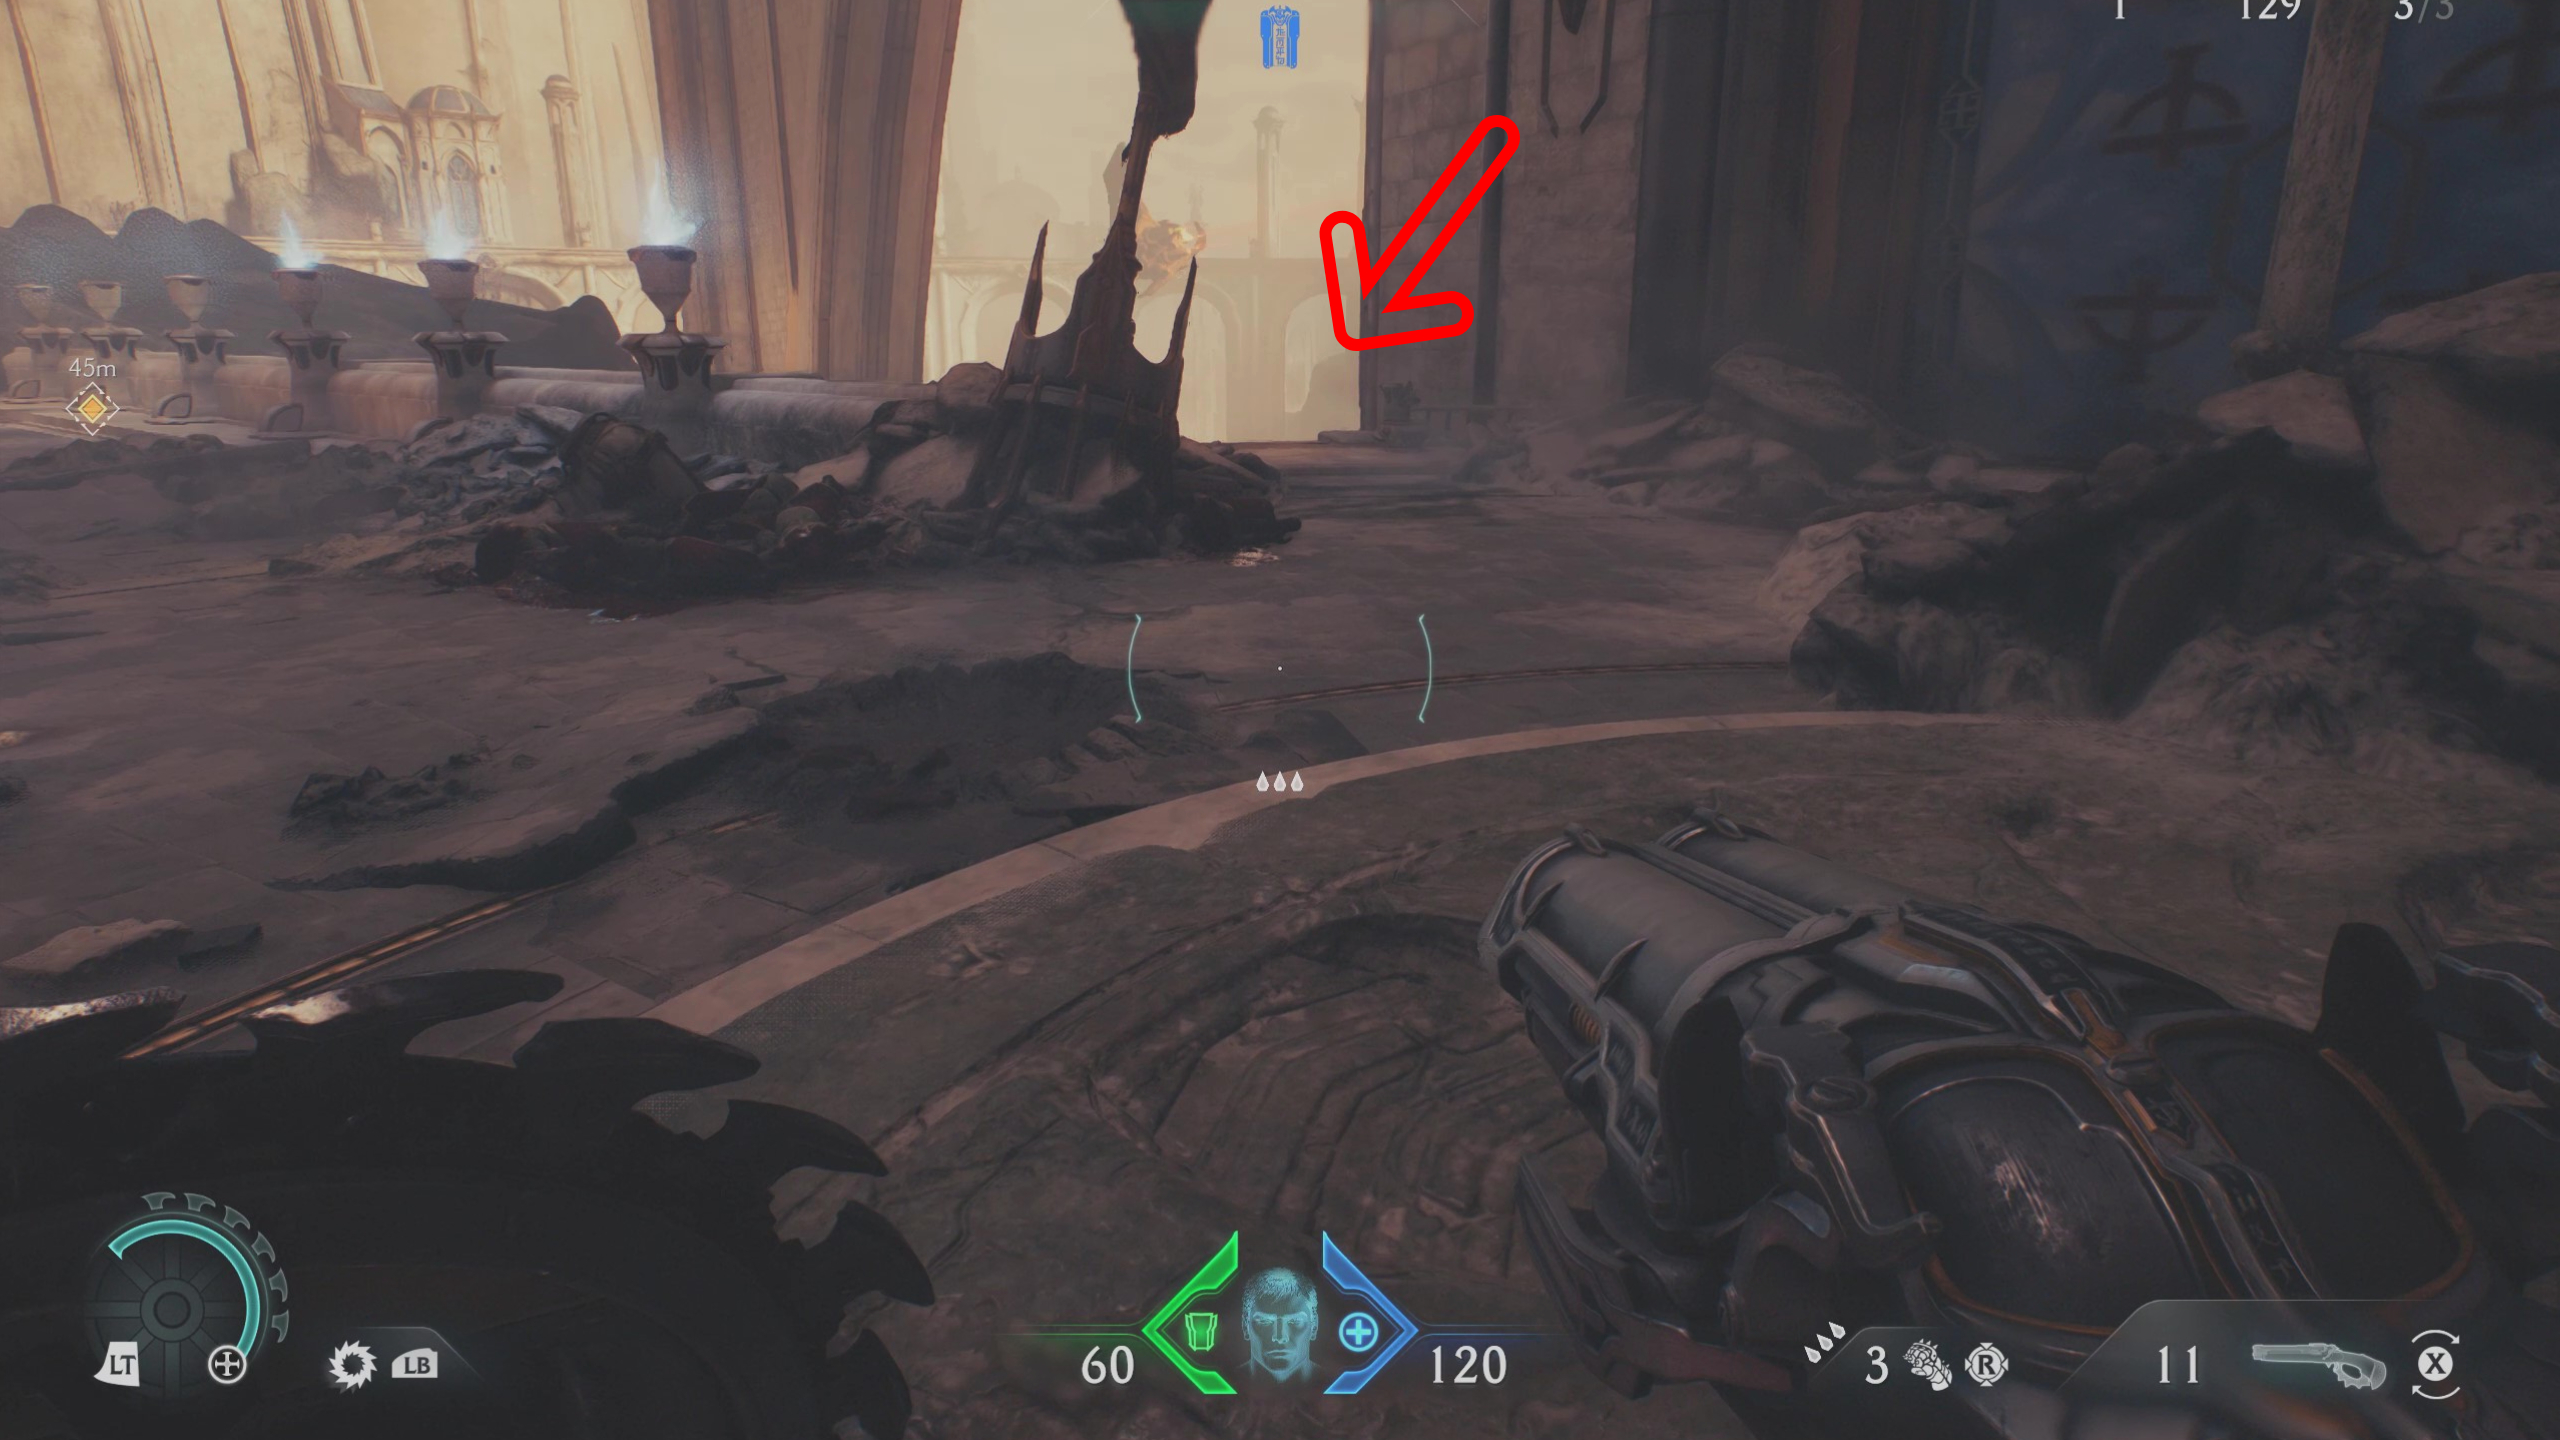
The first secret you should collect is in a secret dragon landing zone. Facing the Hell Carrier straight ahead of you as you enter the area, look to your bottom left to find a titan demon standing on a circular tower. They’re hard to spot, but you can lock onto them, and they’ll attack you if you get close. Kill them and you’ll unlock a secret dragon landing zone.
Once you land here, shield bash the totem in the plaza and defeat the waves of enemies, finishing with a boss fight that rewards you with a maximum health Demonic Essence. All you need to do to find the gold chest is follow the path around the outside of the tower, which leads underneath the plaza.
2 – Nightmare Pulverizer weapon skin (collectible)
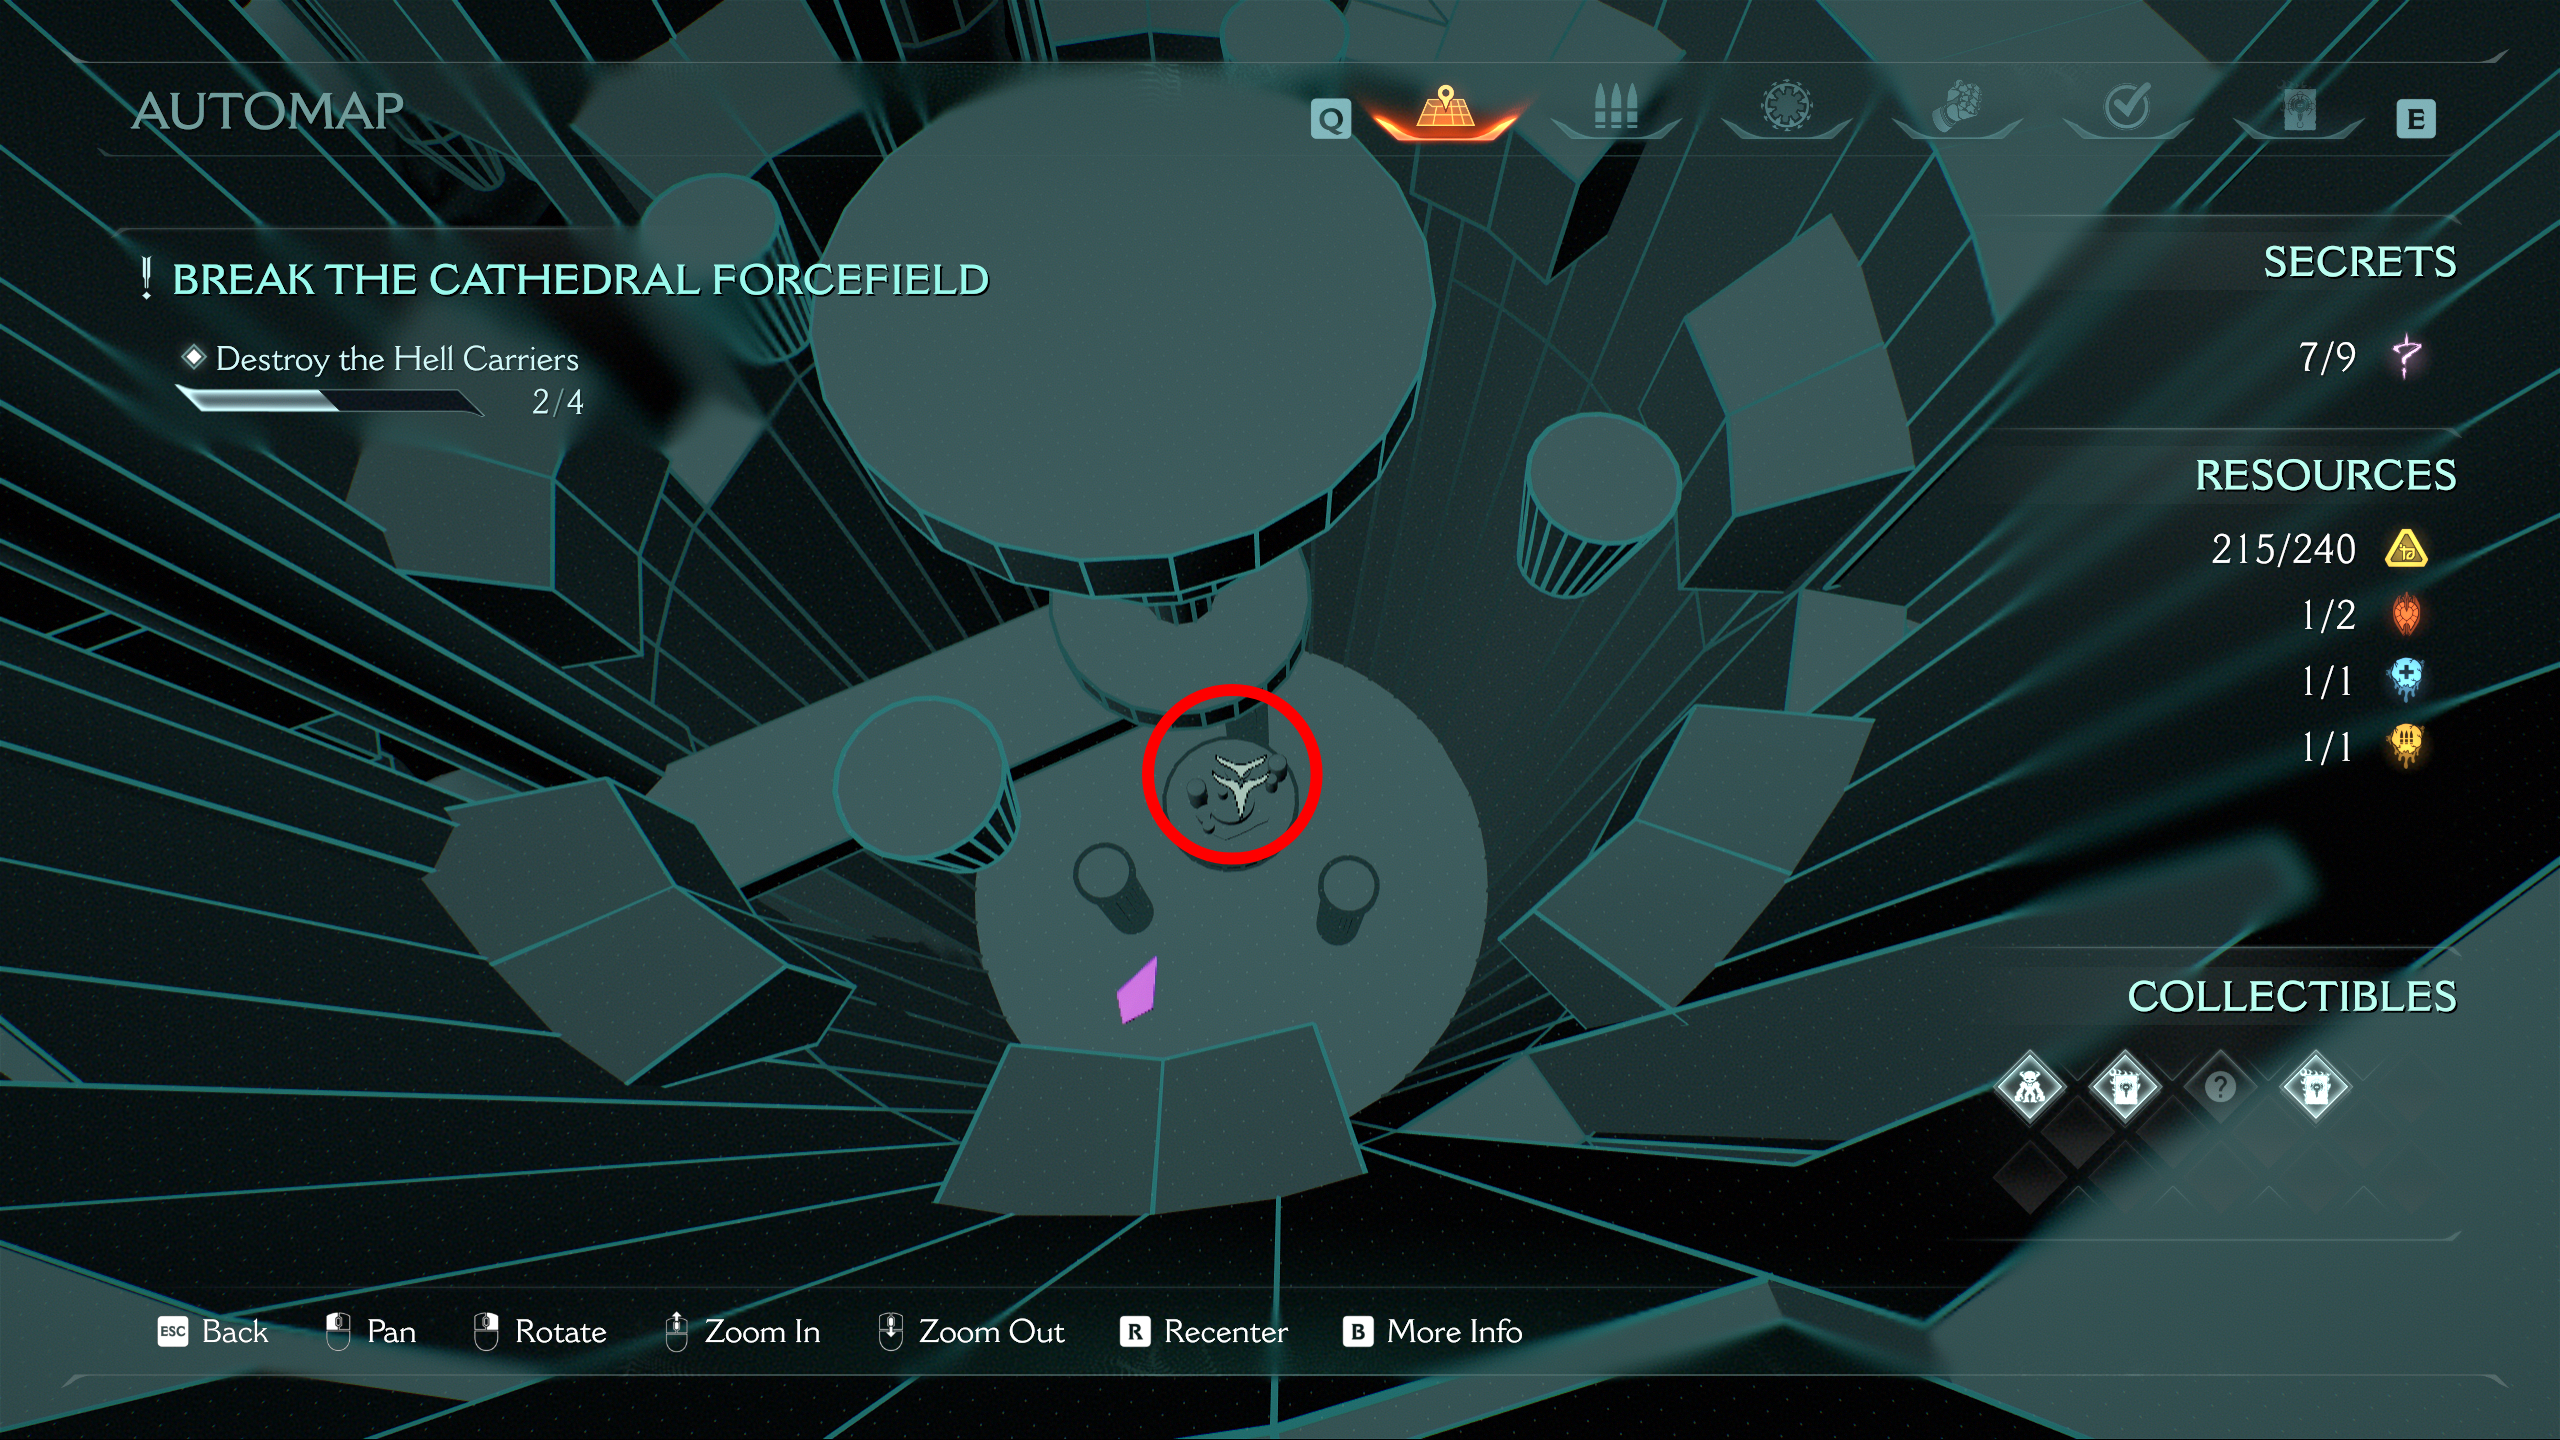
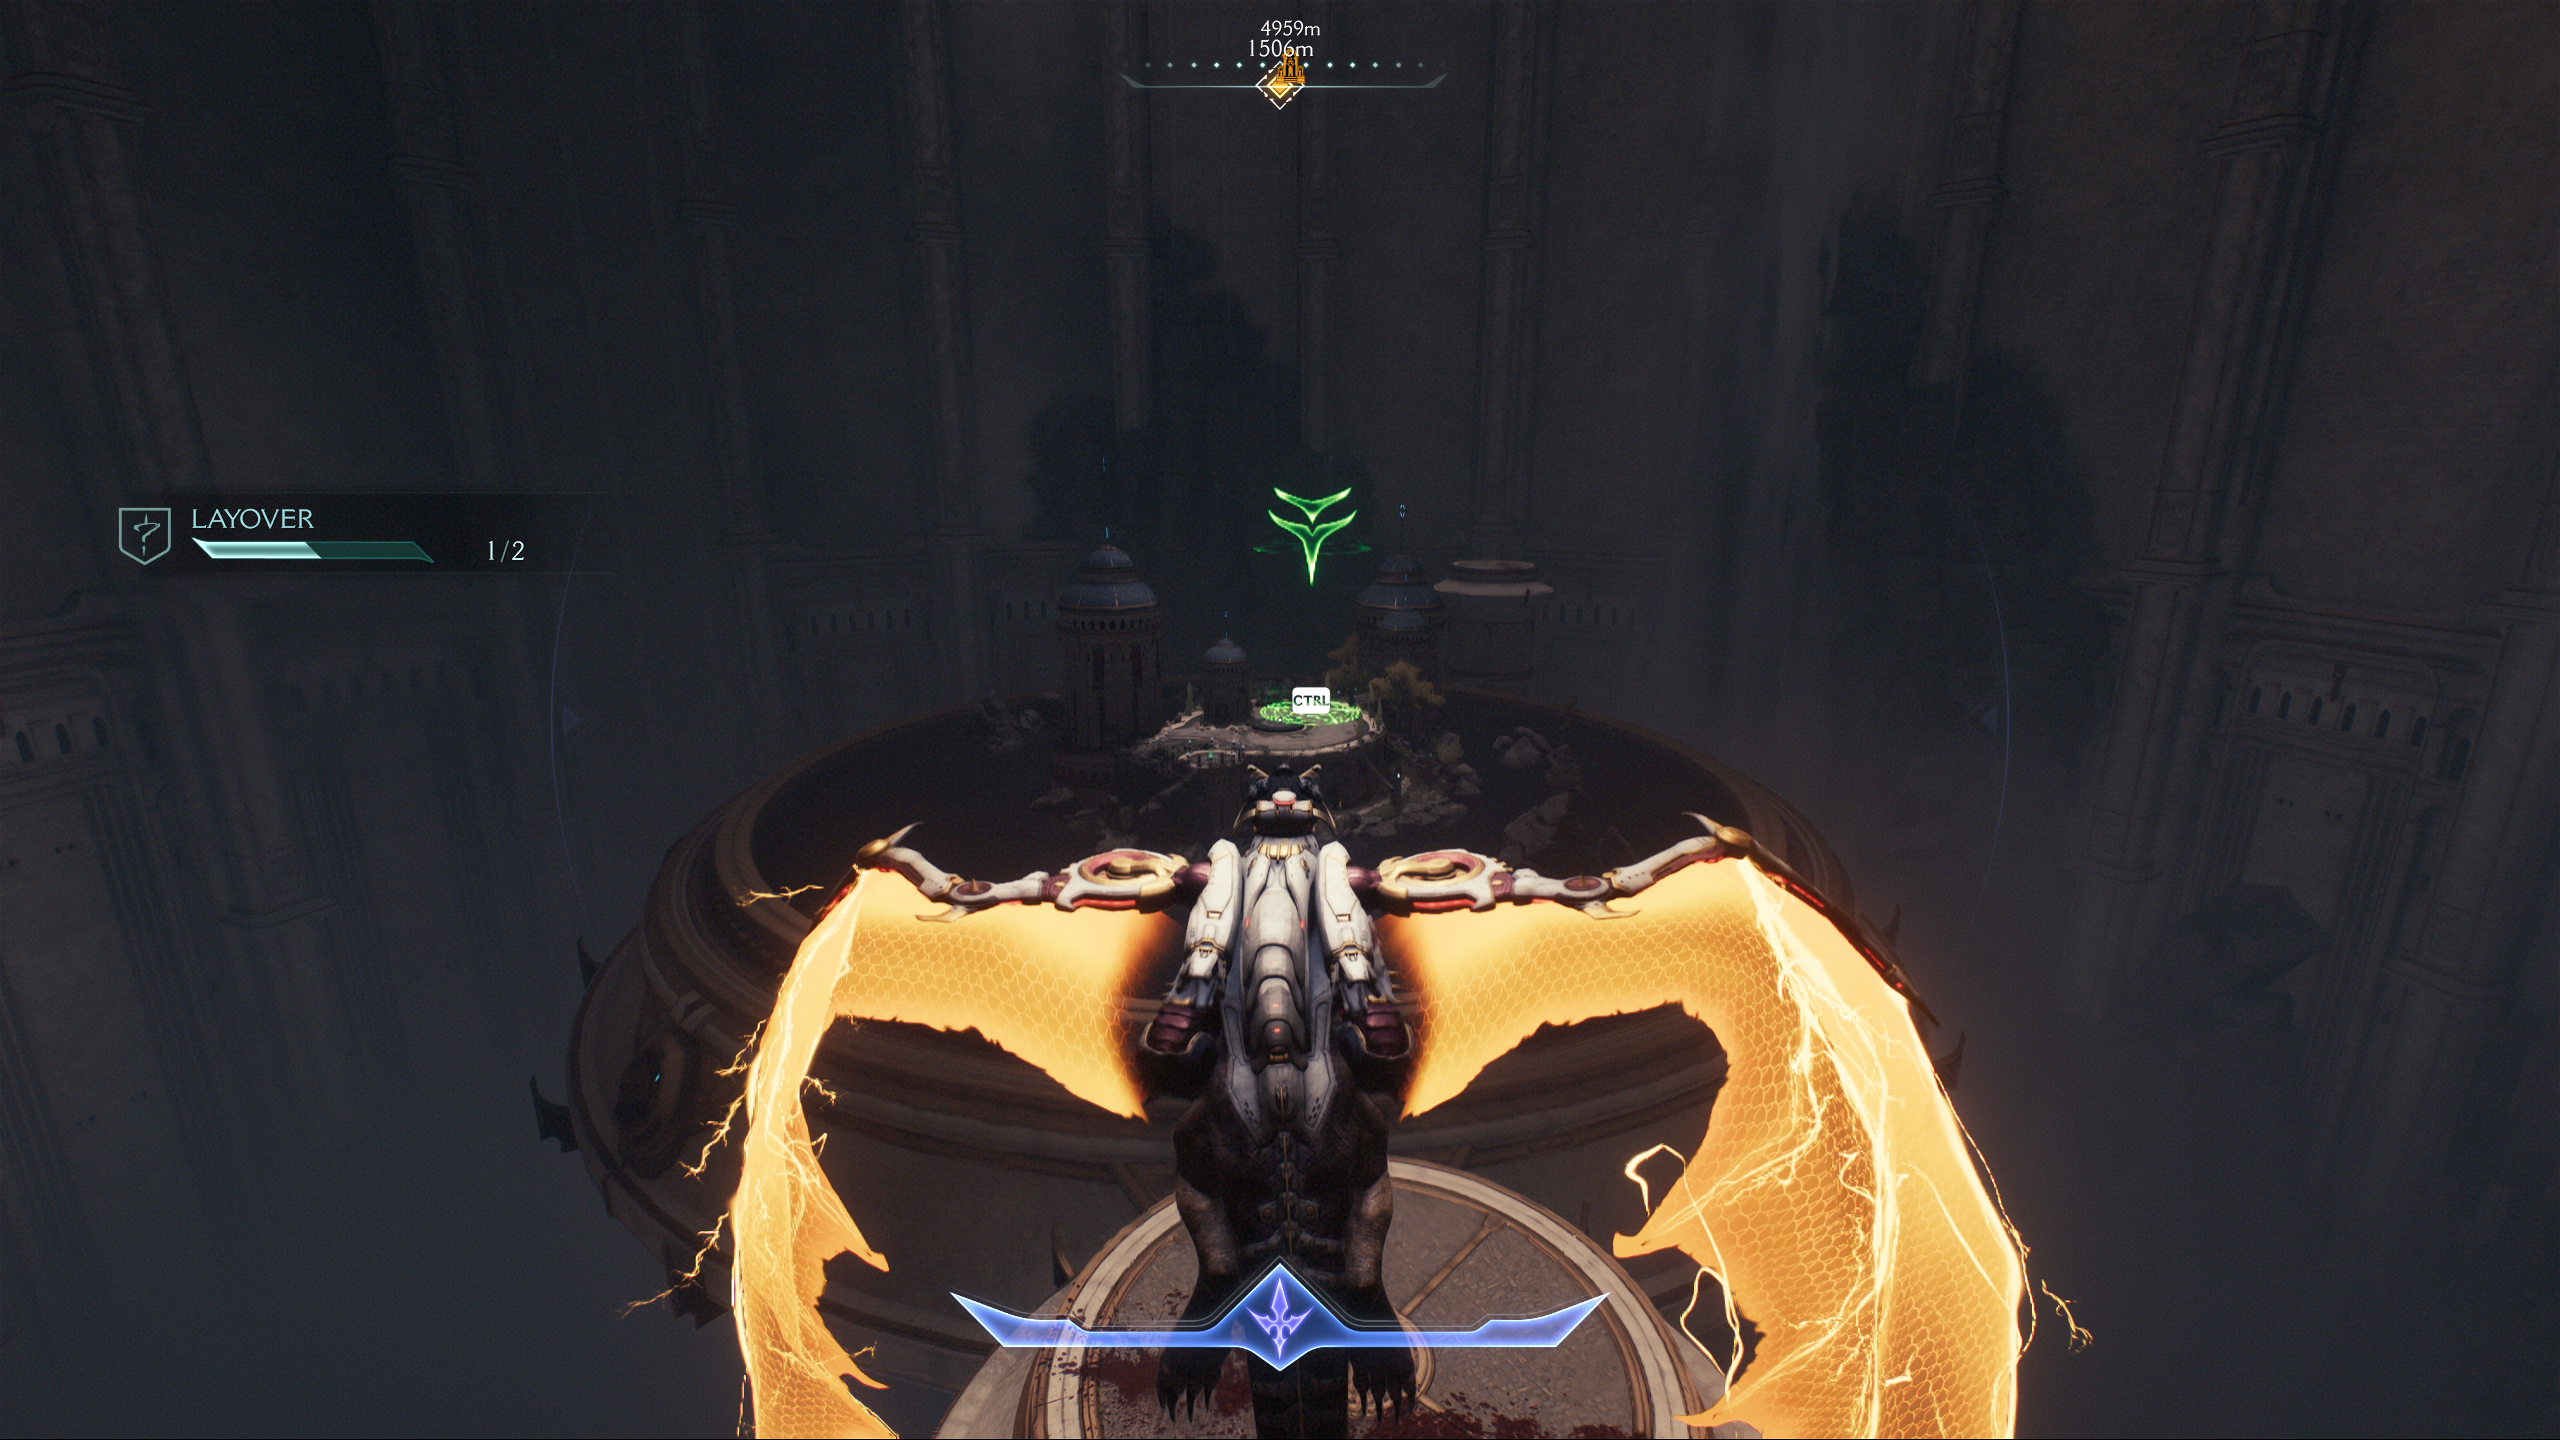
The next secret, the Nightmare weapon skin for the Pulverizer, is located at the second secret dragon landing zone. Once you’ve discovered both secret landing zones, you’ll also complete the Layover challenge.
To unlock this hidden area, dive to the bottom of the circular area under the Hell Carrier directly ahead of you when you load in, and kill the two titans guarding it.
Once you’ve landed, drop down onto the lower beach area and head inside the outer ring of the building through a hole in the wall, then continue on until you reach the weapon skin. Don’t leave this location yet though, as there’s another secret to find…
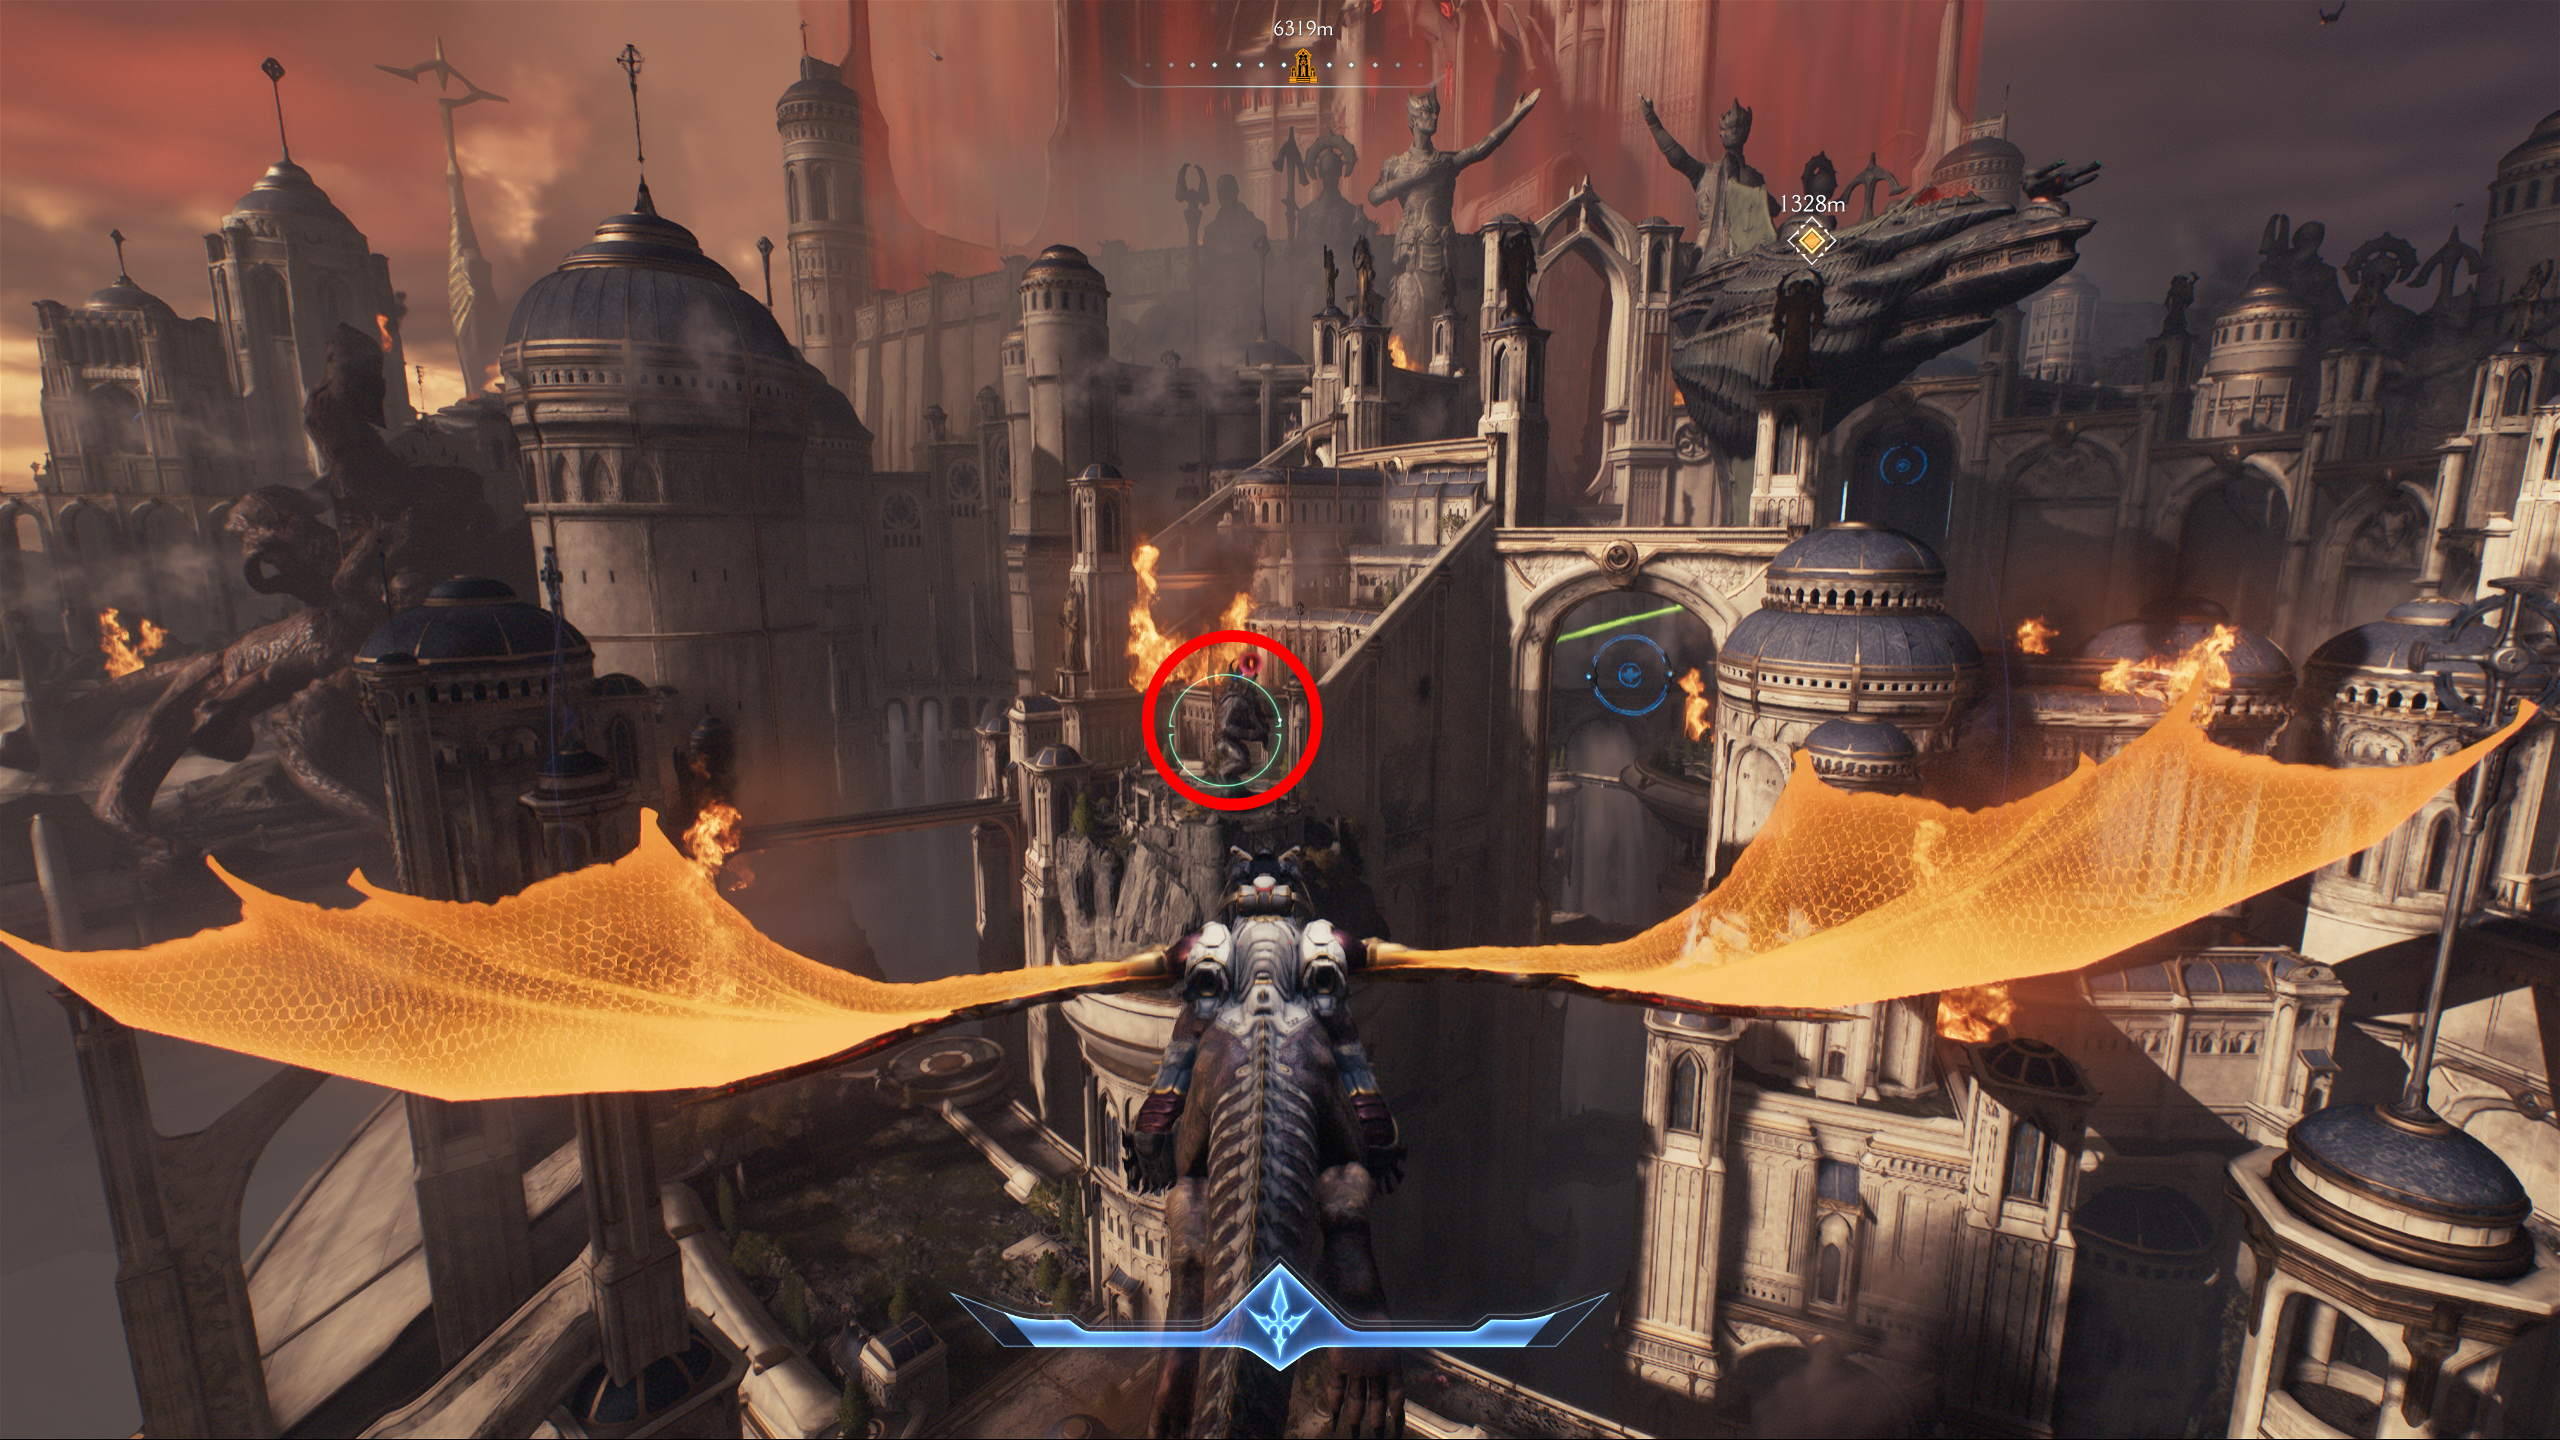
3 – Ruby
While you’re at the second secret landing zone, you can also grab a ruby, though you’ll need the red keycard first. Here’s what you need to do:
- Near where you land, there’s a lone enemy on a circular platform surrounded by blue torches. Kill them and stand on the green pressure plate at the centre, which raises a platform back where you started
- Throw your shield at the lock on the platform you raised to break it and reveal a well
- Dive down into the well and turn the valve wheel to drain the water
- Throw your shield at the lock inside the room at the centre of the well and enter to grab the keycard
- Return to the surface and enter the main tower using the red keycard, where you can then grab the ruby from the statue
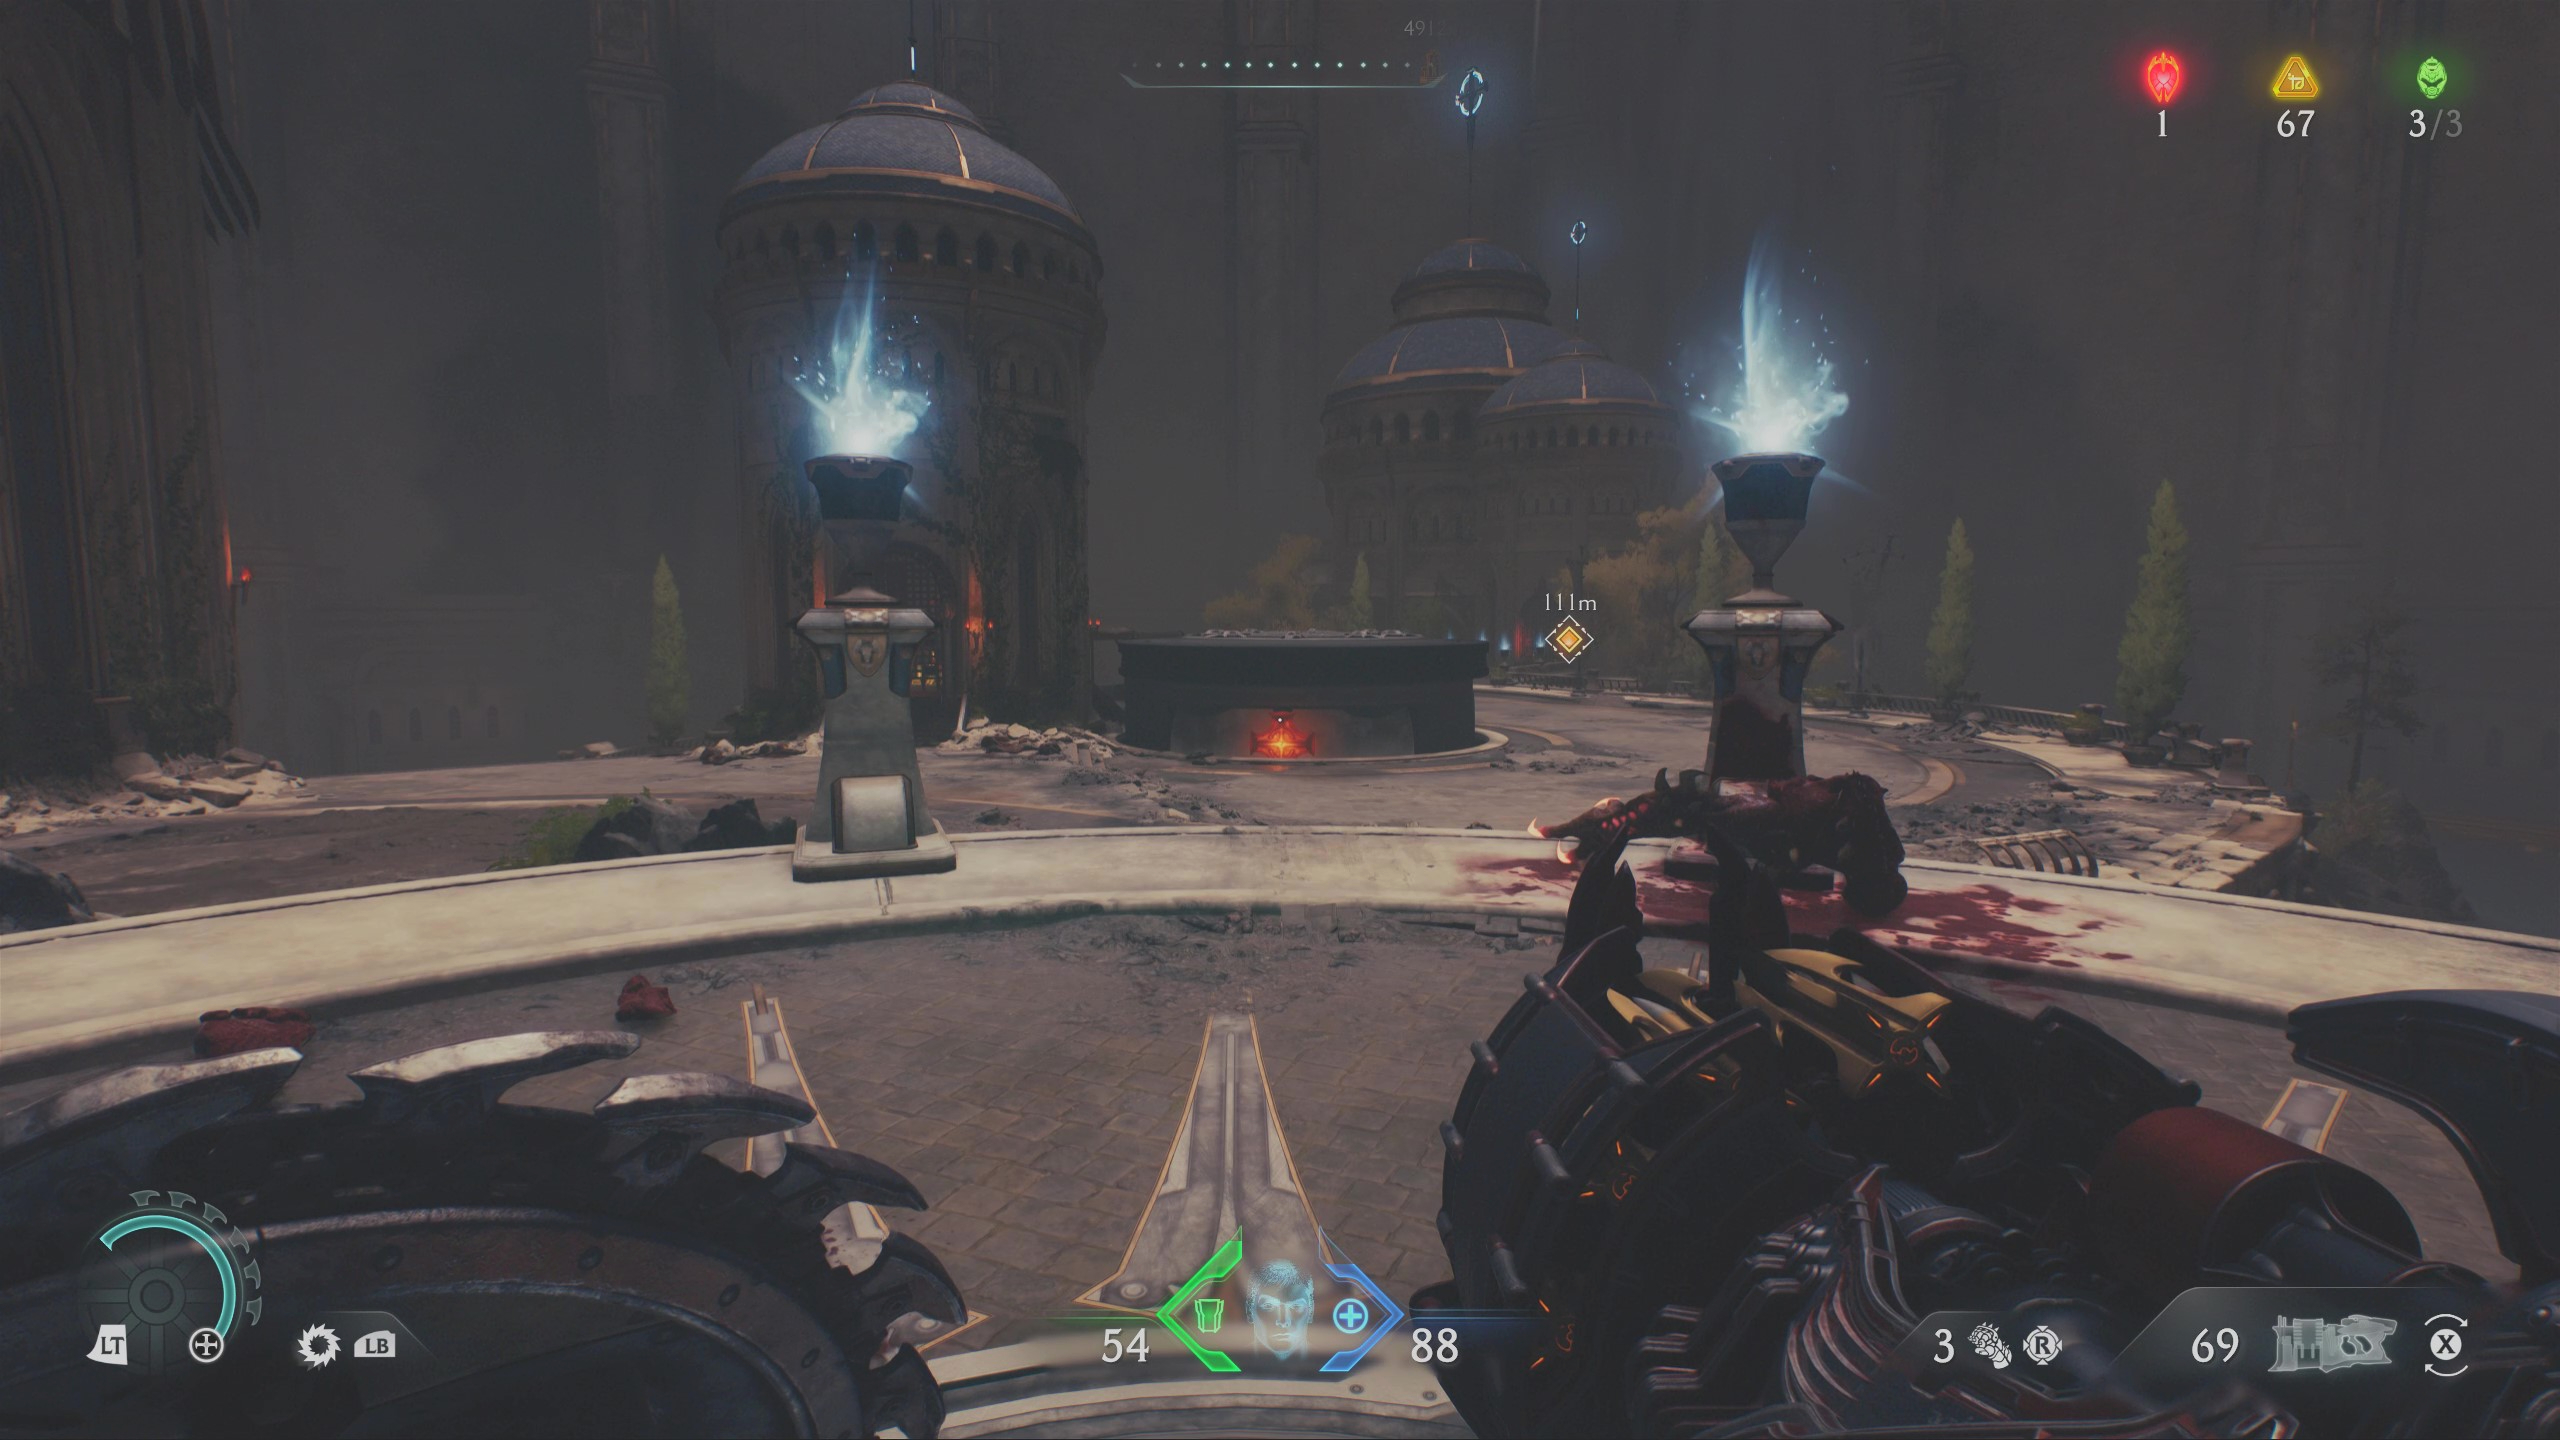
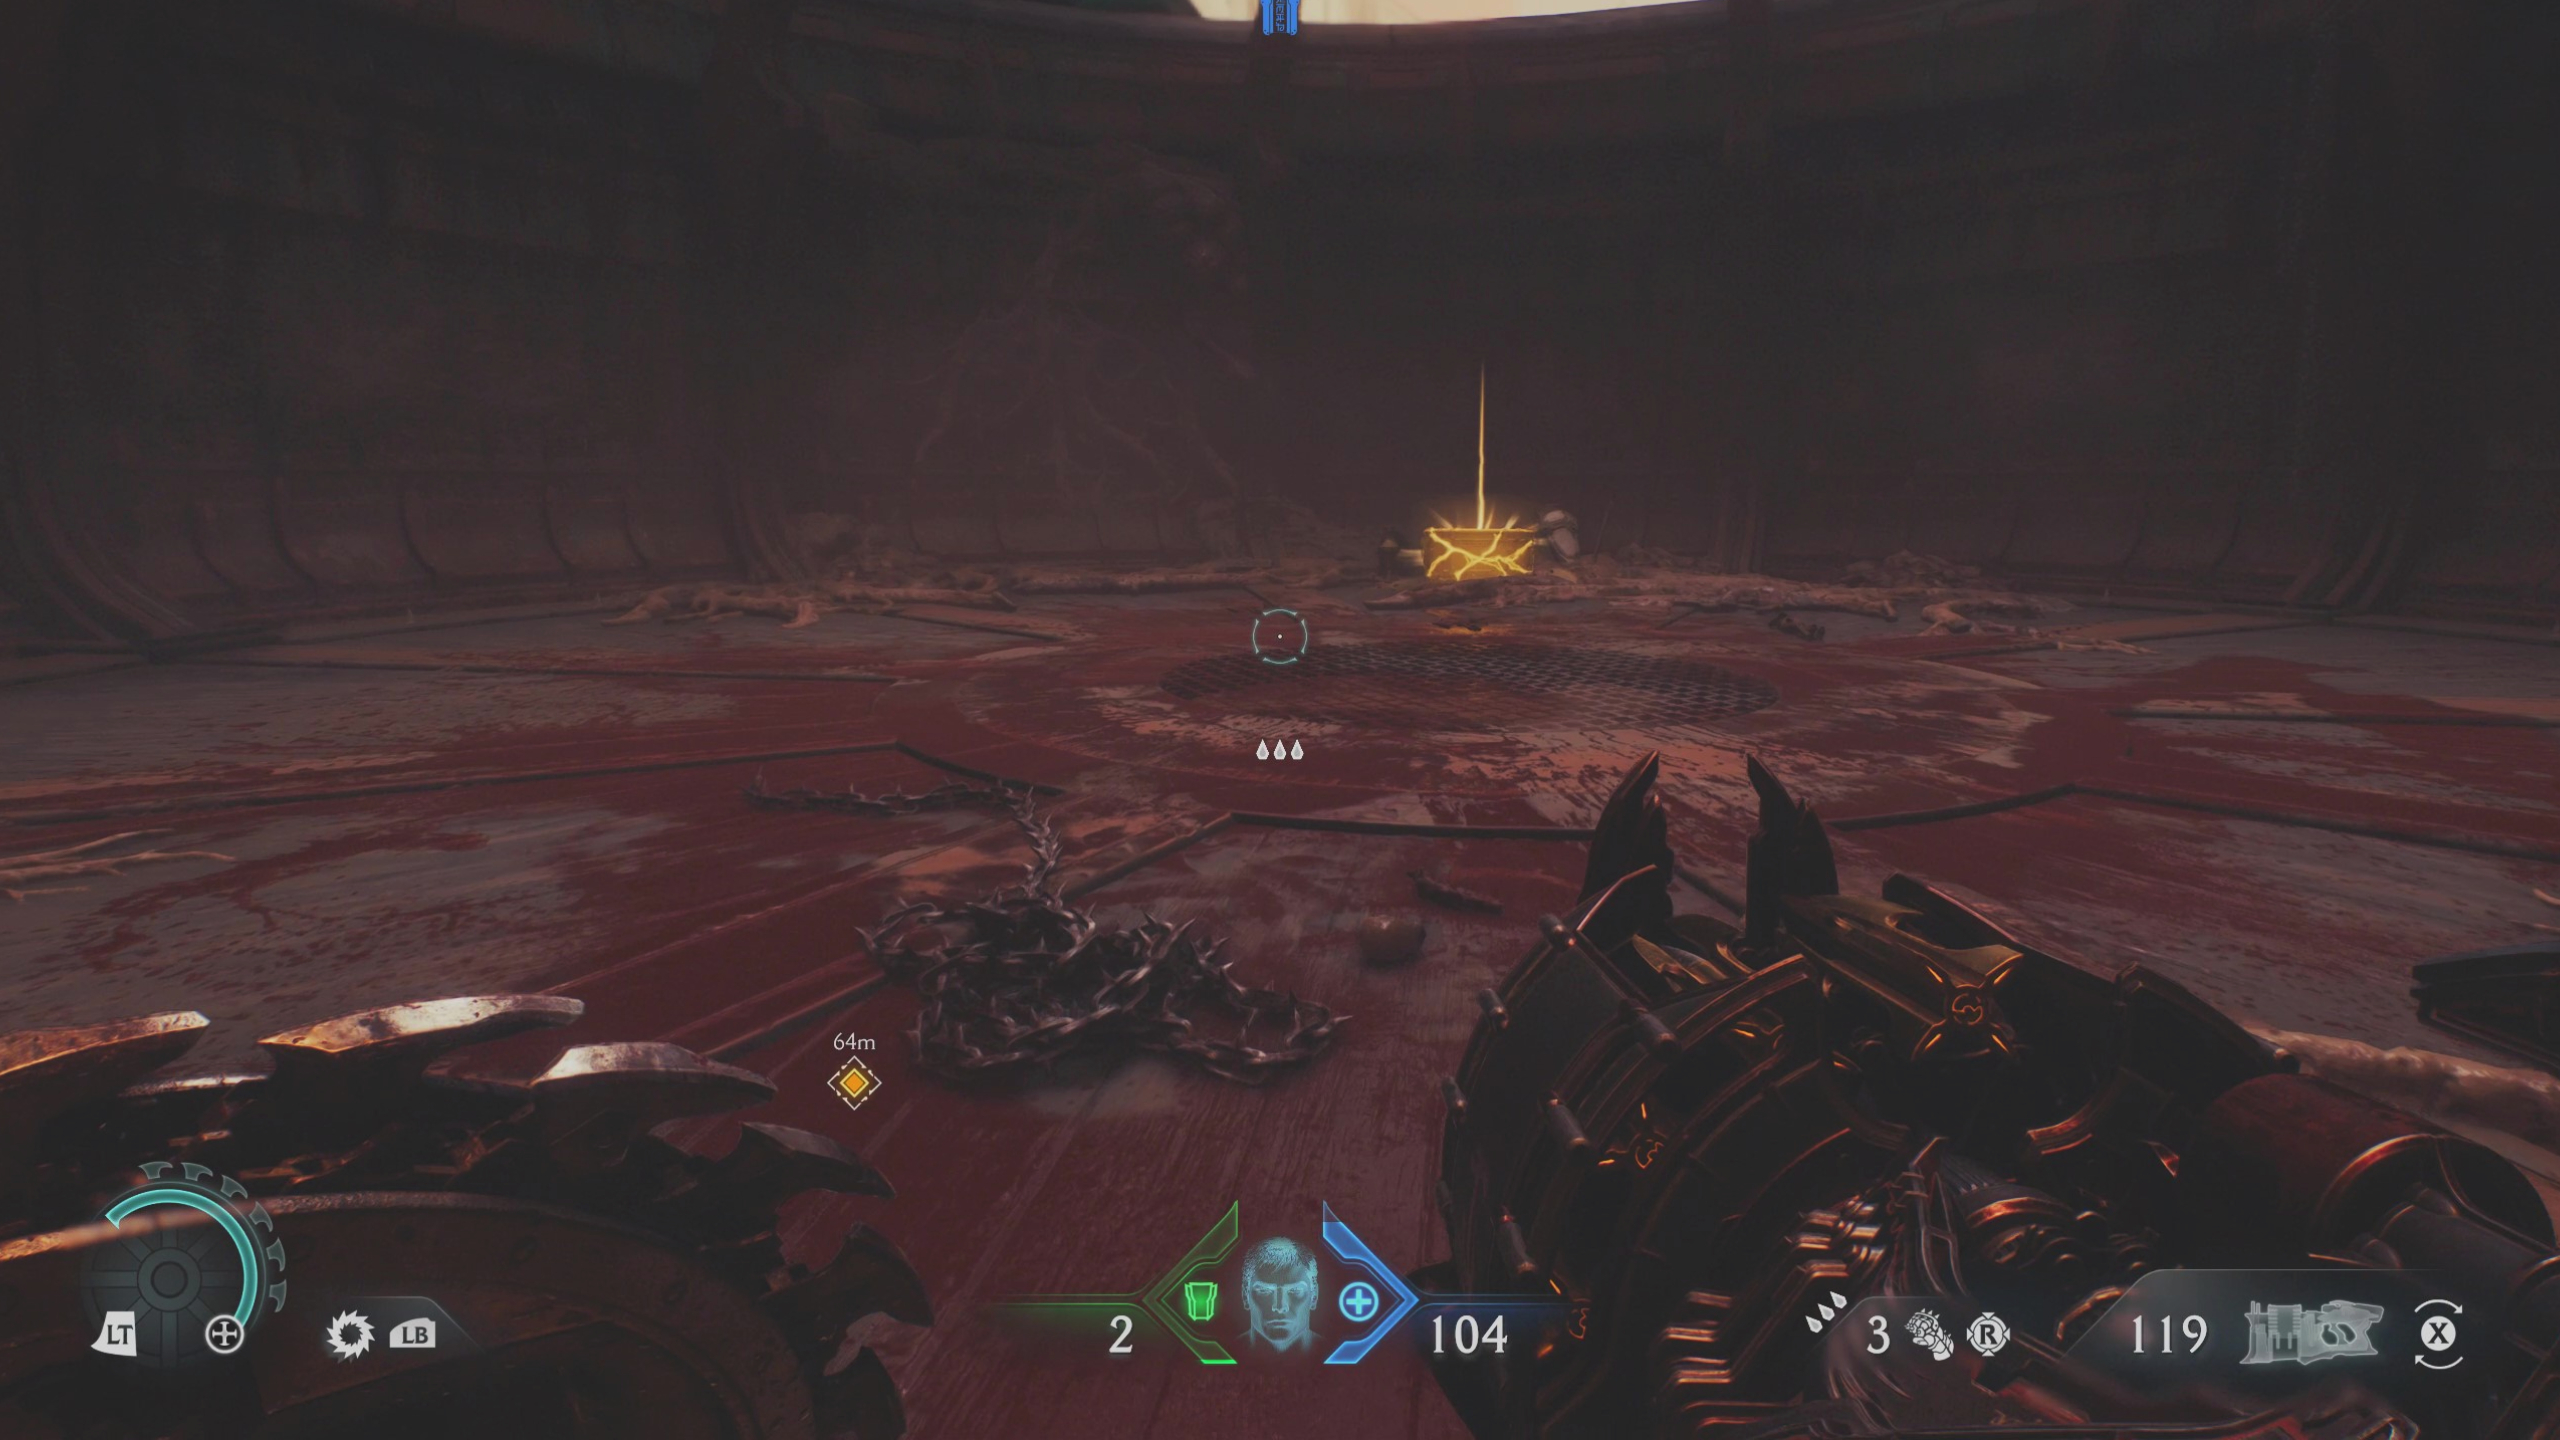
4 – Gold chest
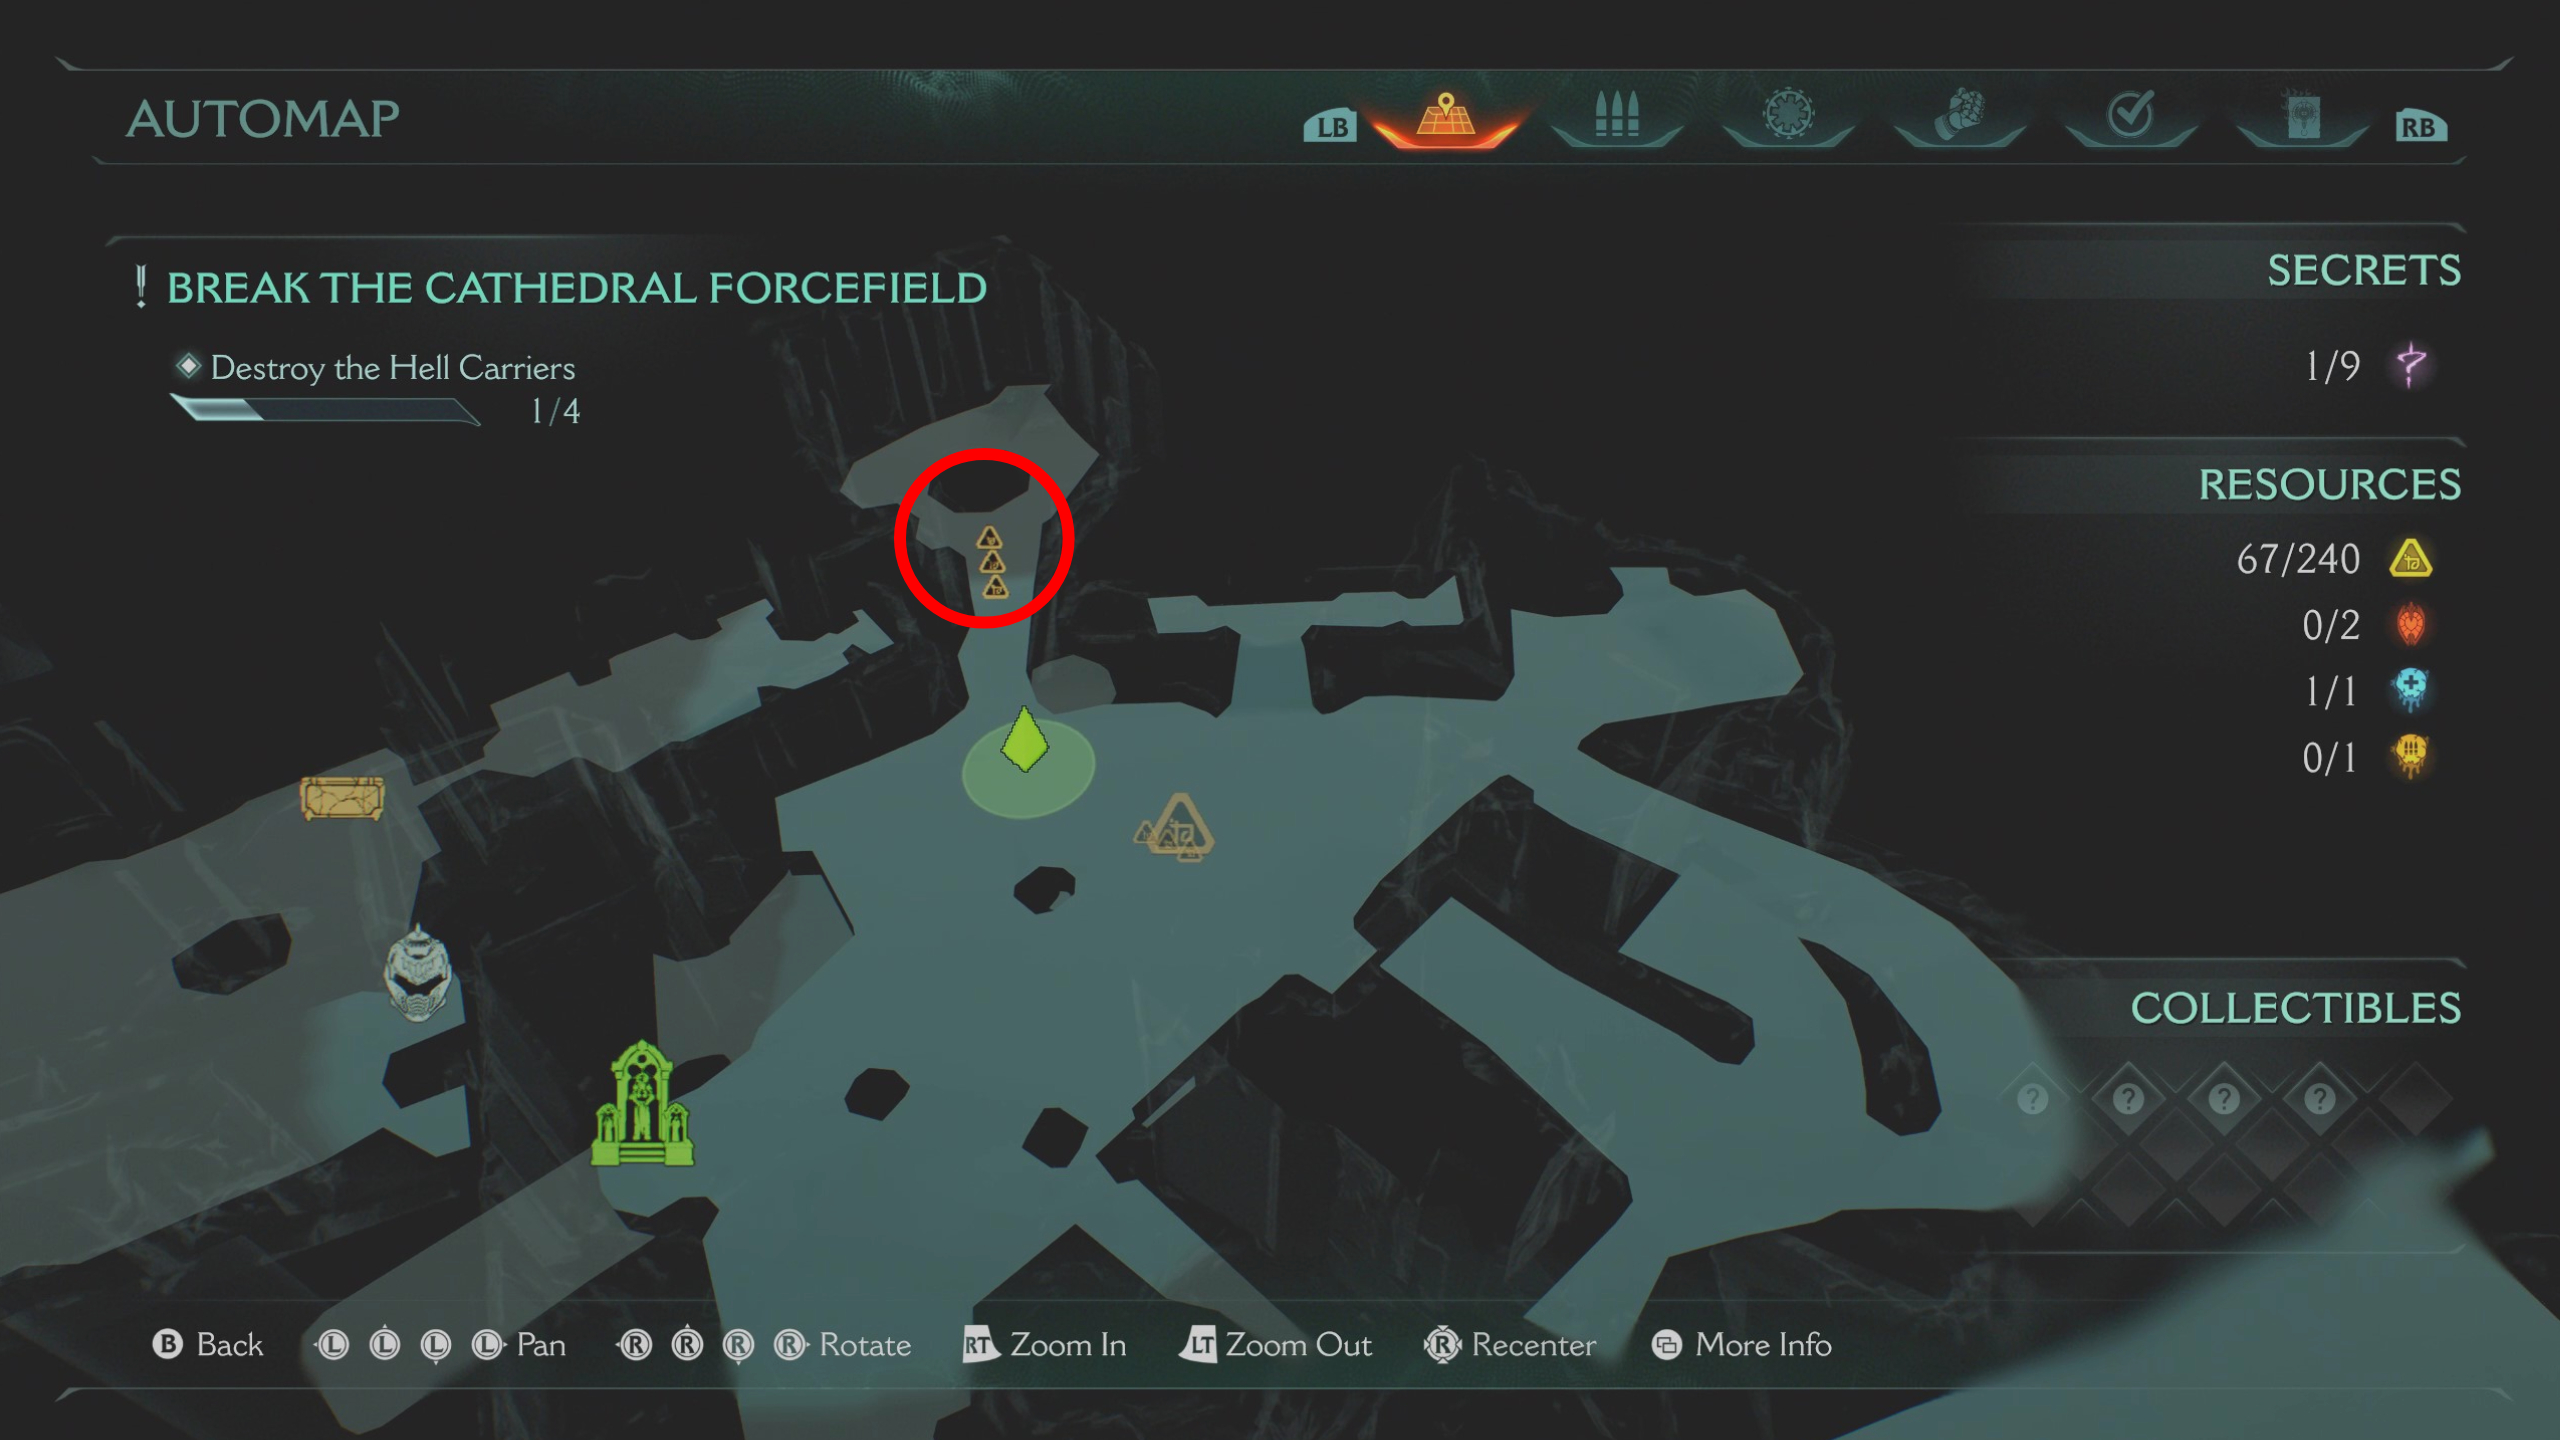
Landing on the second ship—the one to the right from where you start—takes you to a small area of the city. From the Sentinel Shrine at the centre of the area, turn right and jump down the well, where you’ll find heaps of supplies and gold. Swim up to the exit and you’ll find a gold chest, too.
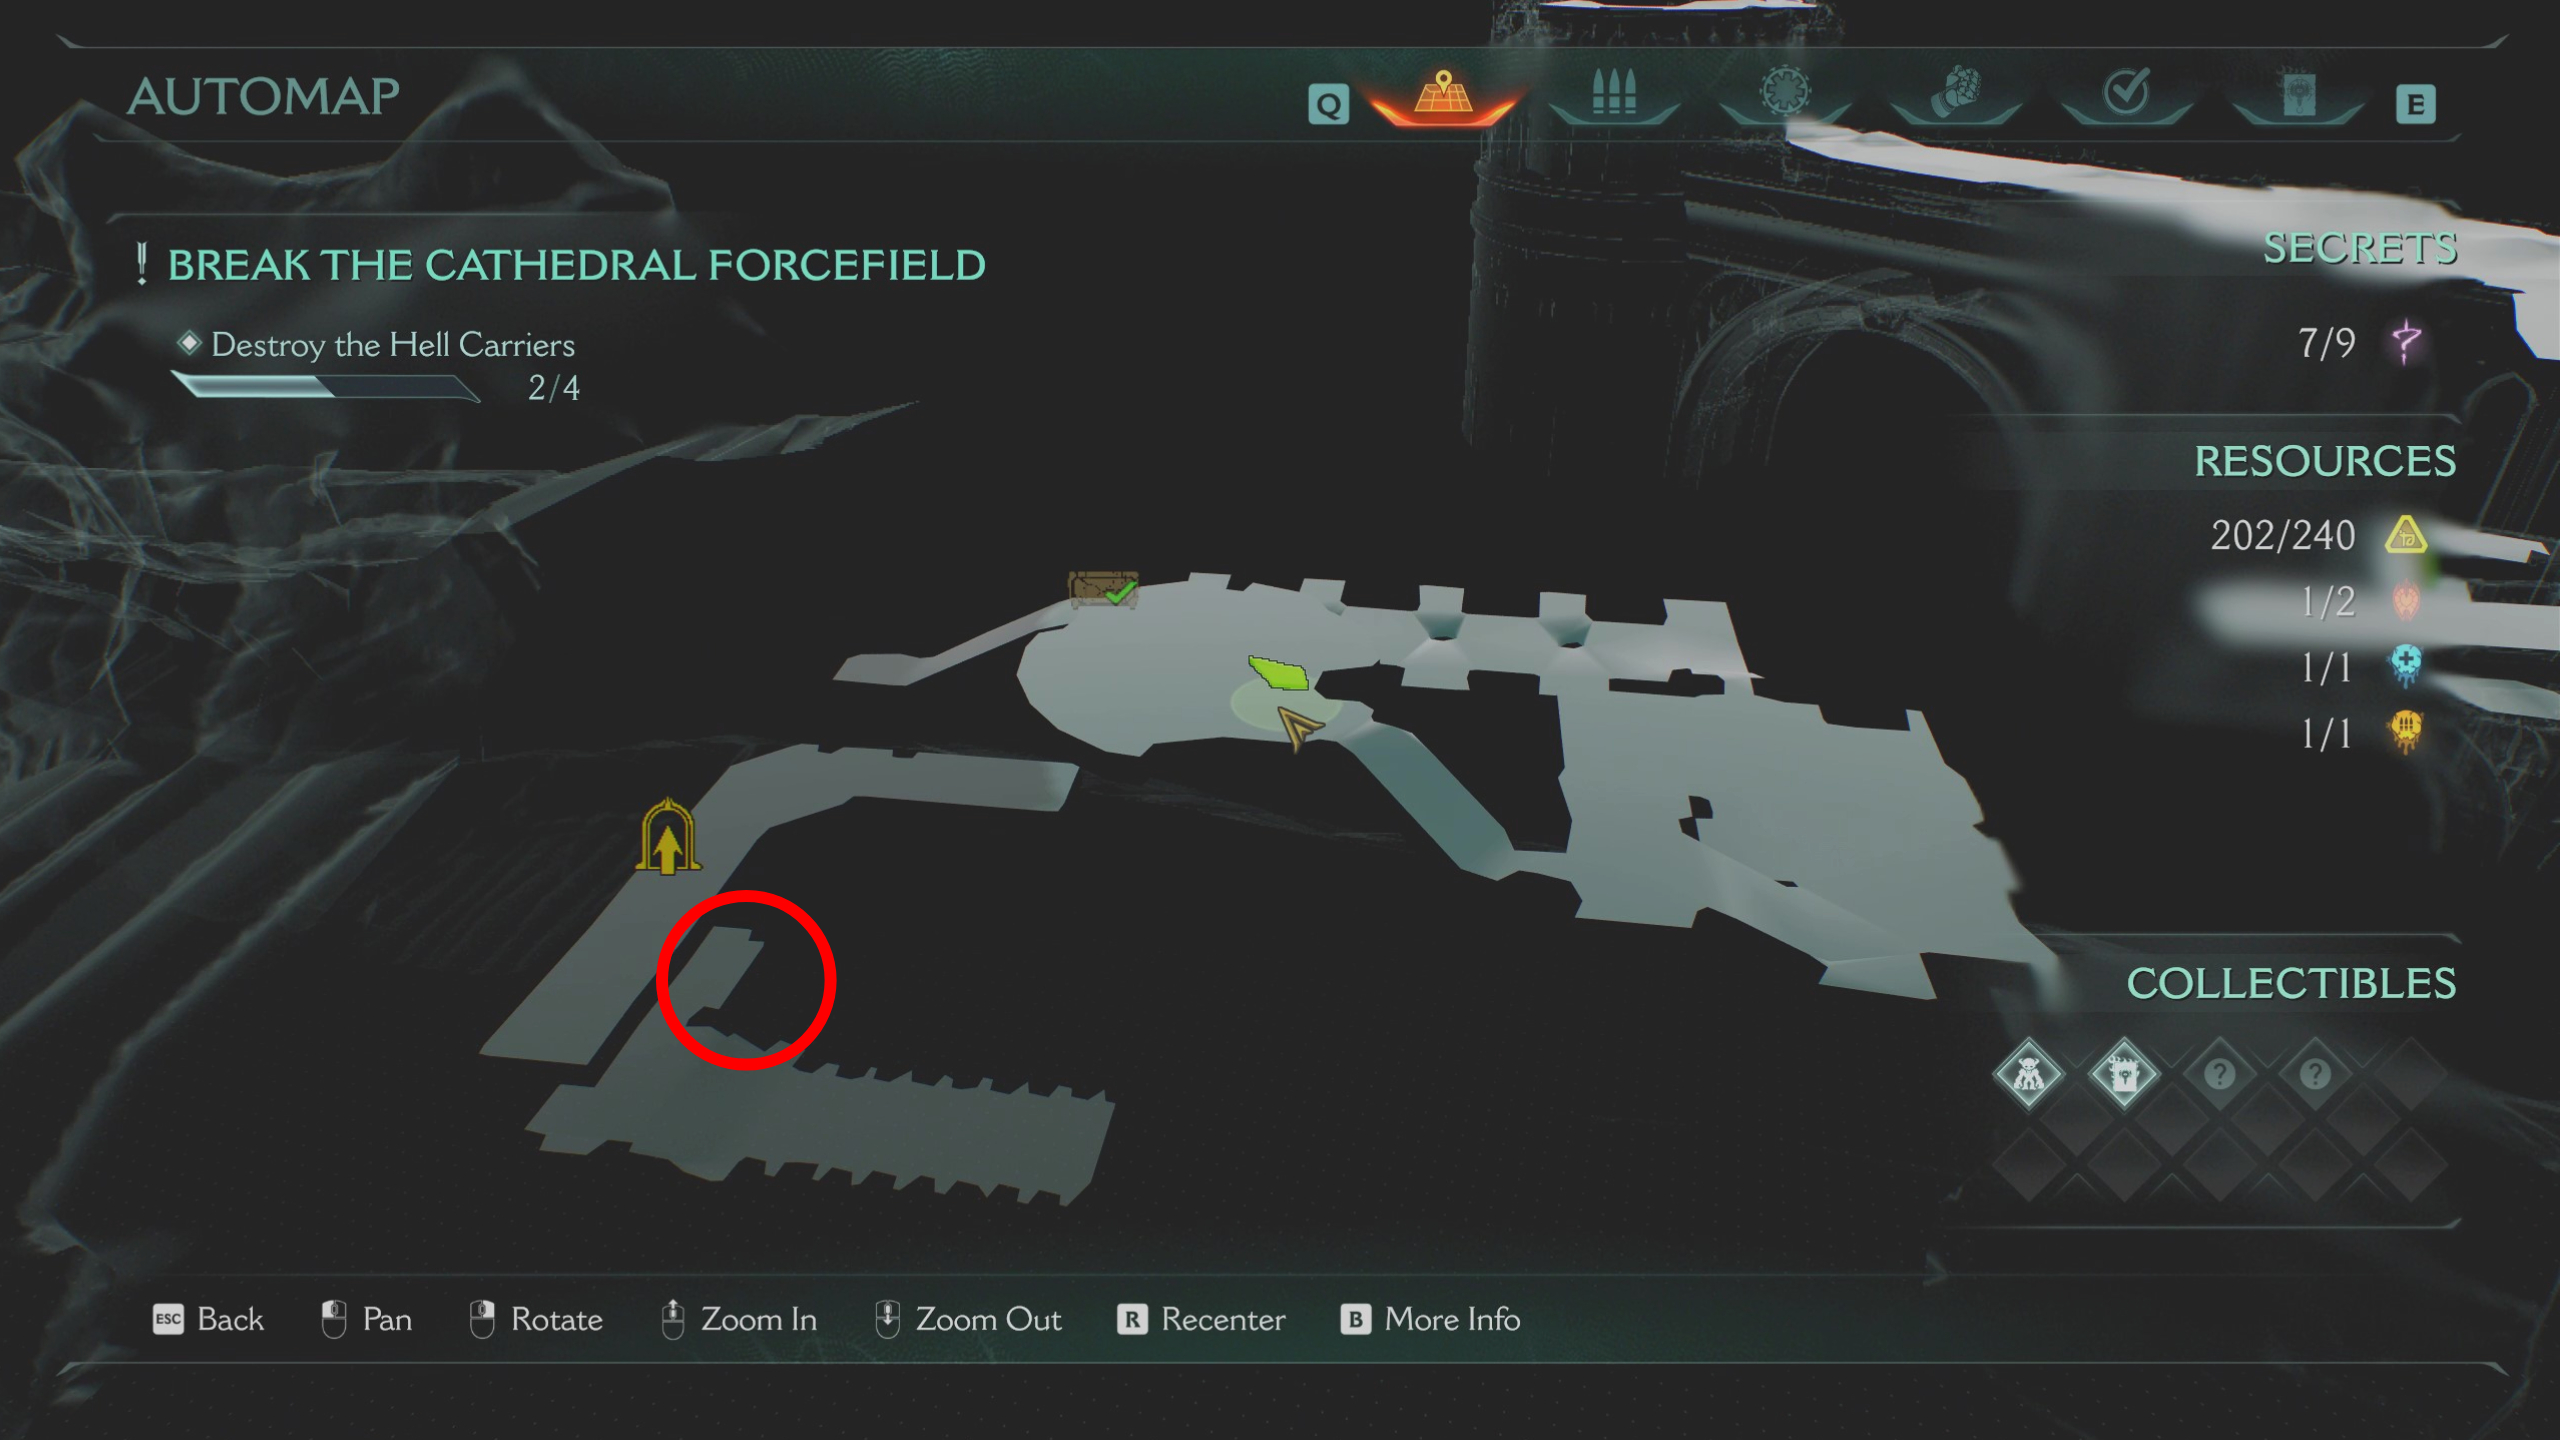
5 – Life sigil
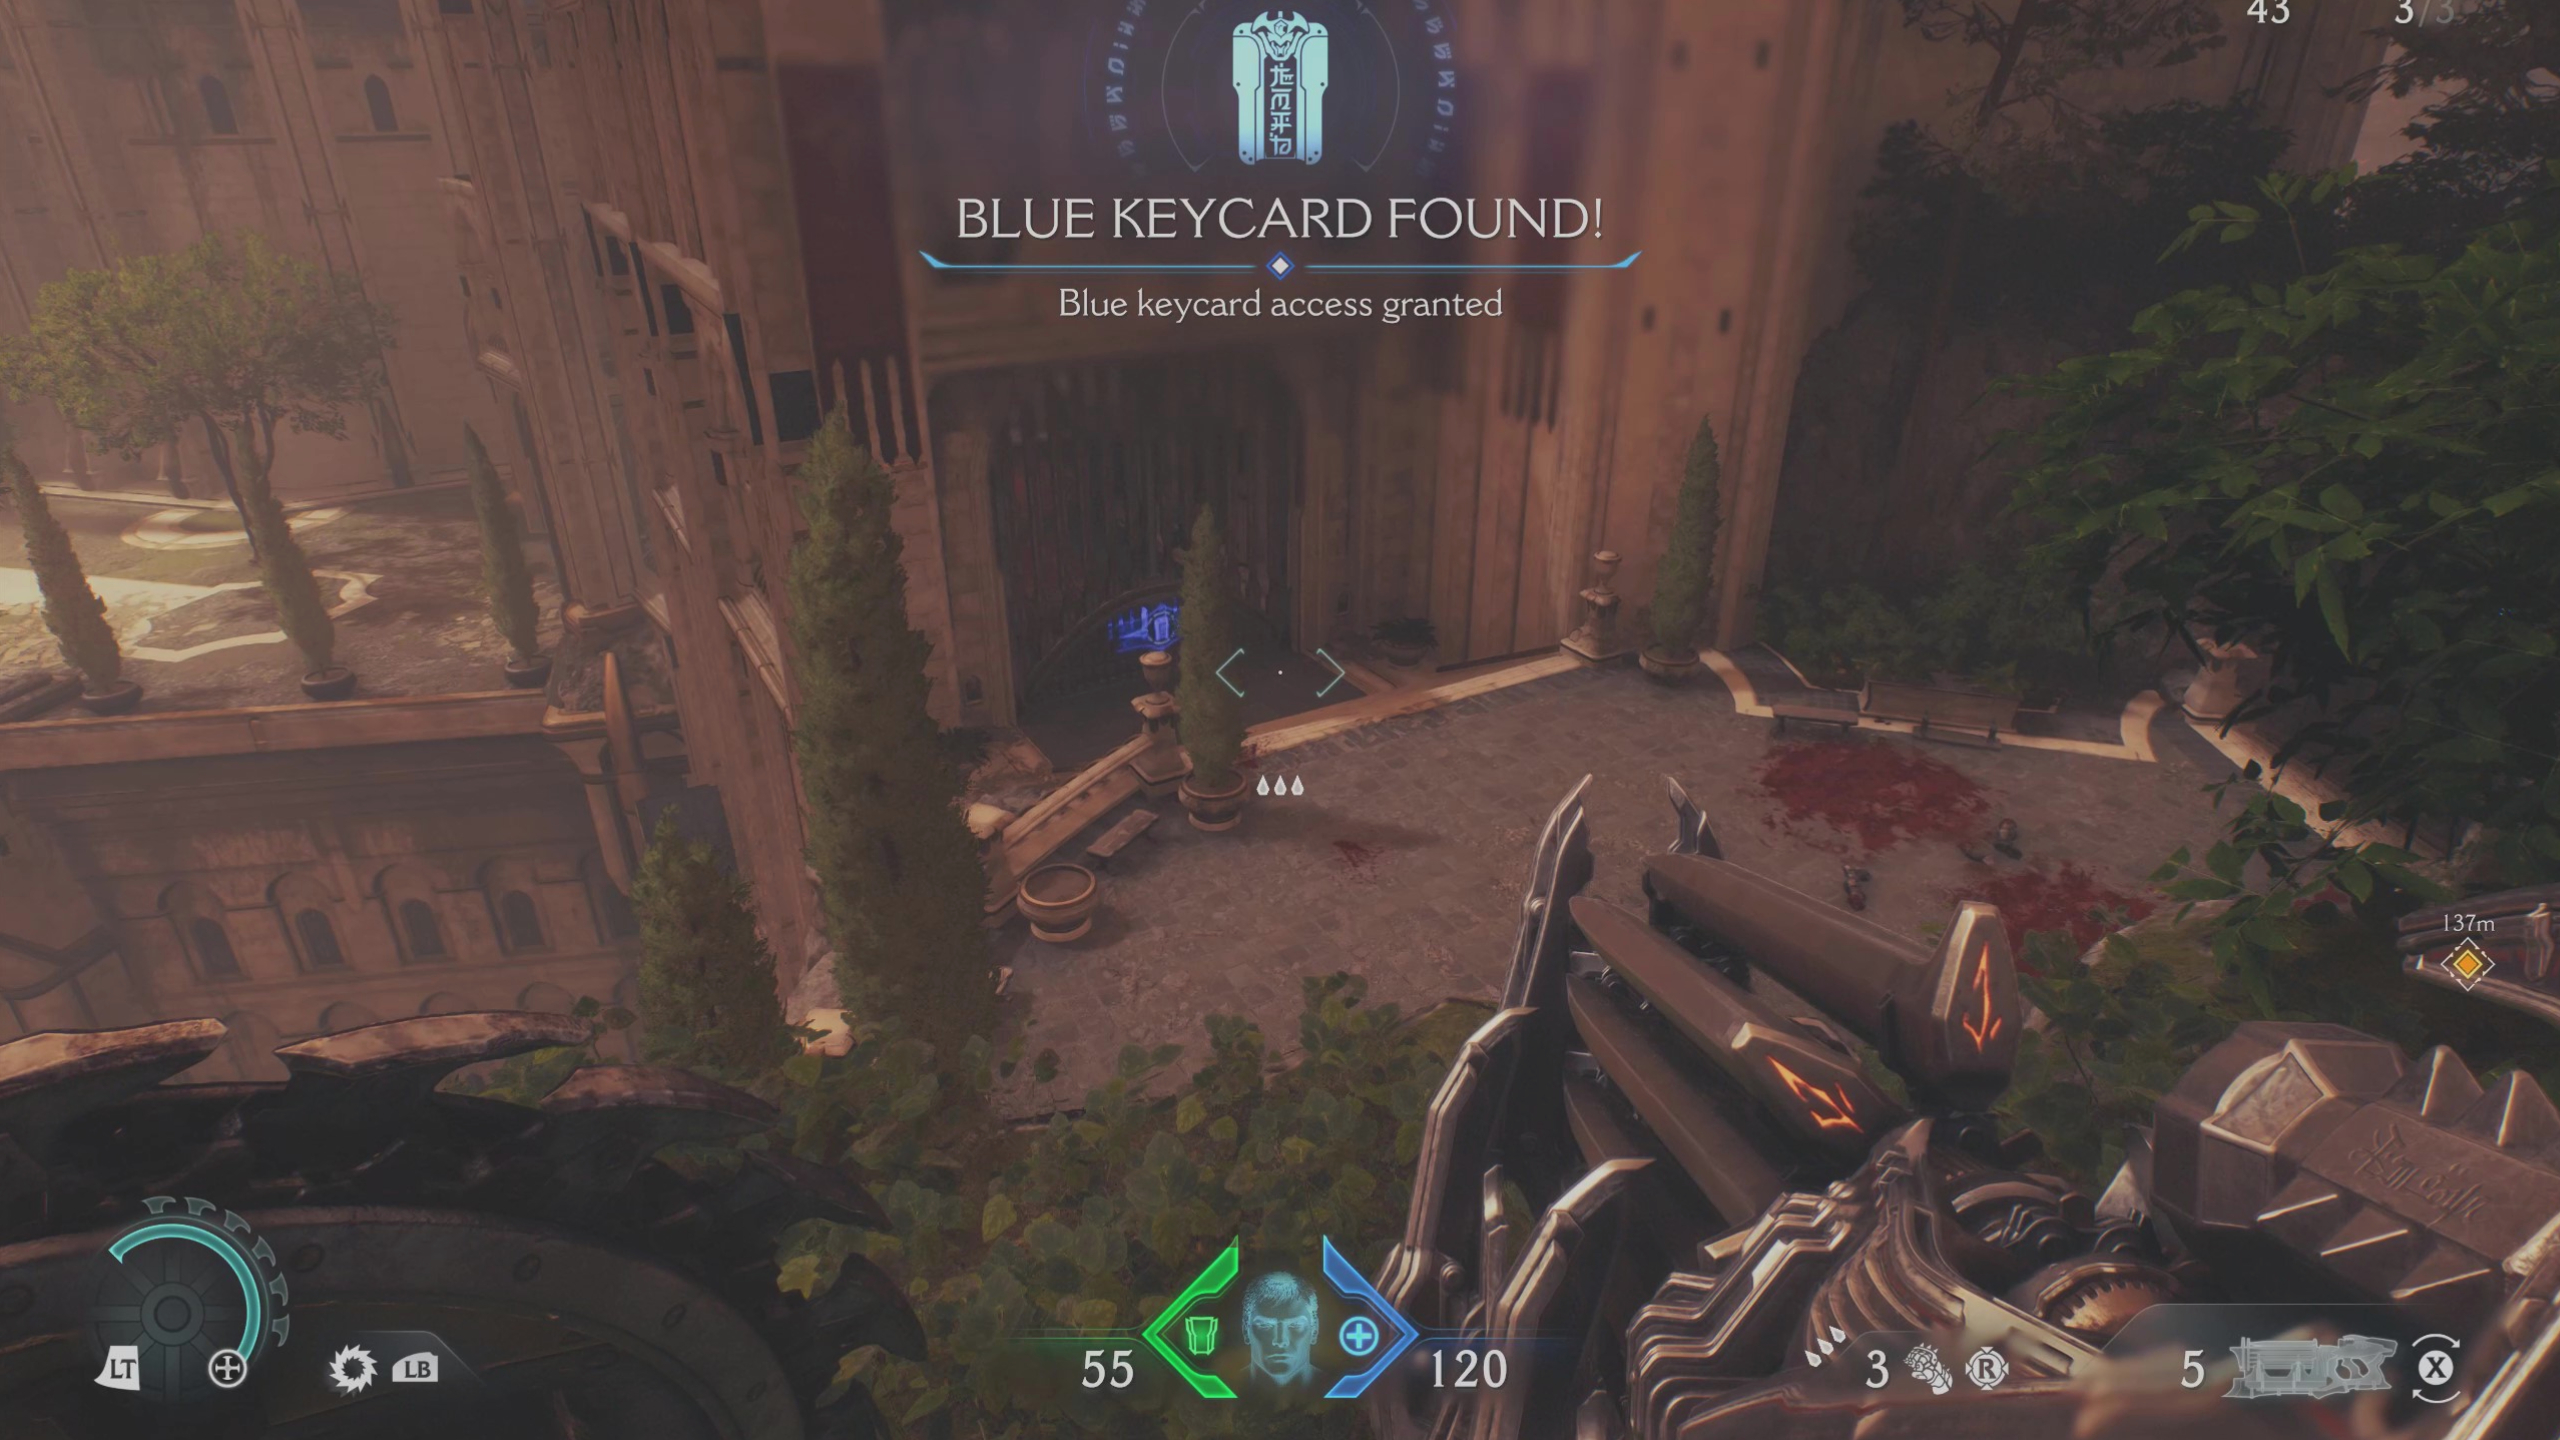
The next secret on the second ship is a measly life sigil and some gold, requiring the blue keycard to access it:
- Return to the Sentinel Shrine but this time go up the hill to your left and into the ship, before taking a right to exit into a demon-infested graveyard
- Kill the enemies and climb up the cliff at the back
- Grab the blue keycard from the corpse overlooking the locked gate
- Drop off the ledge and open the locked door to claim your life sigil
6 – The Holy City of Aratum codex entry (collectible)
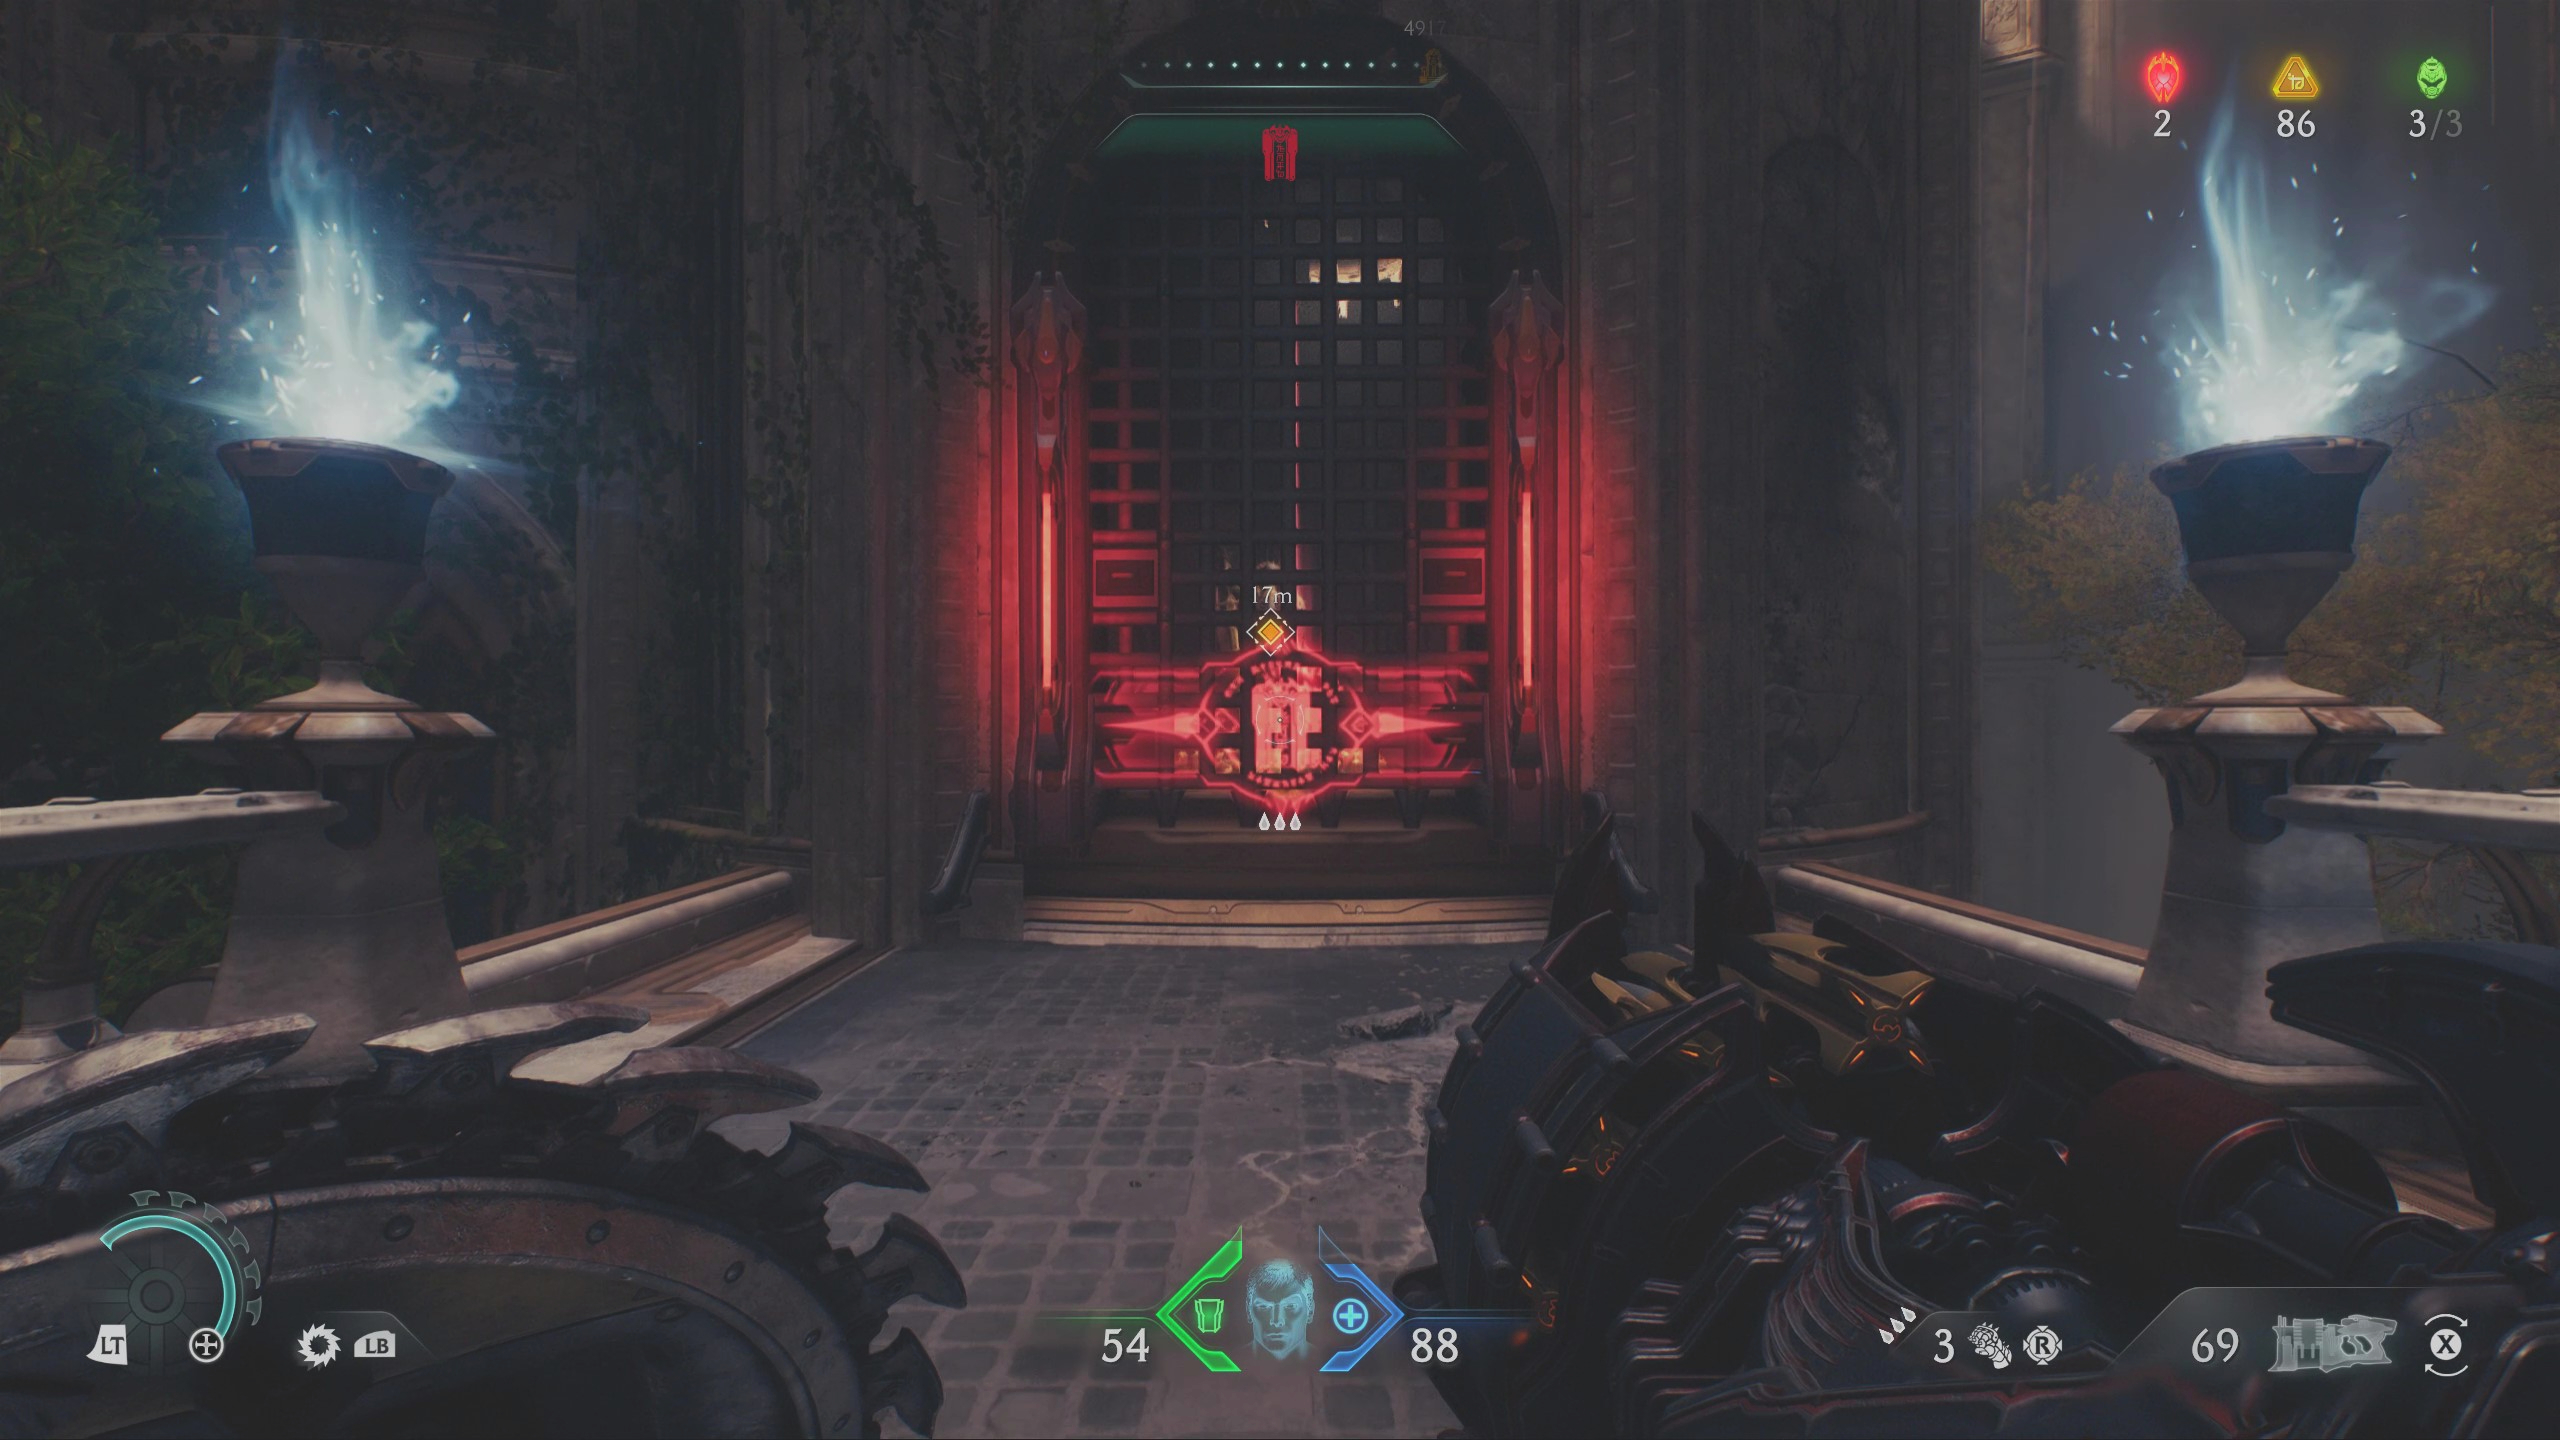
The next secret is on the third ship I entered—the one to the far left of where you start—which also takes you to a city area before you blow up the Hell Carrier itself.
To get The Holy City of Aratum codex collectible:
- Turn right at the entrance of the main building (where you get the Super Shotgun) and climb onto the scaffolding
- Throw your shield at the chain to break it and drop the drawbridge
- Shield bash the box to push it to the other side
- Climb up the makeshift block stairs and continue along the scaffolding until you re-enter the building, where you’ll find the codex and some gold
7 – Ruby
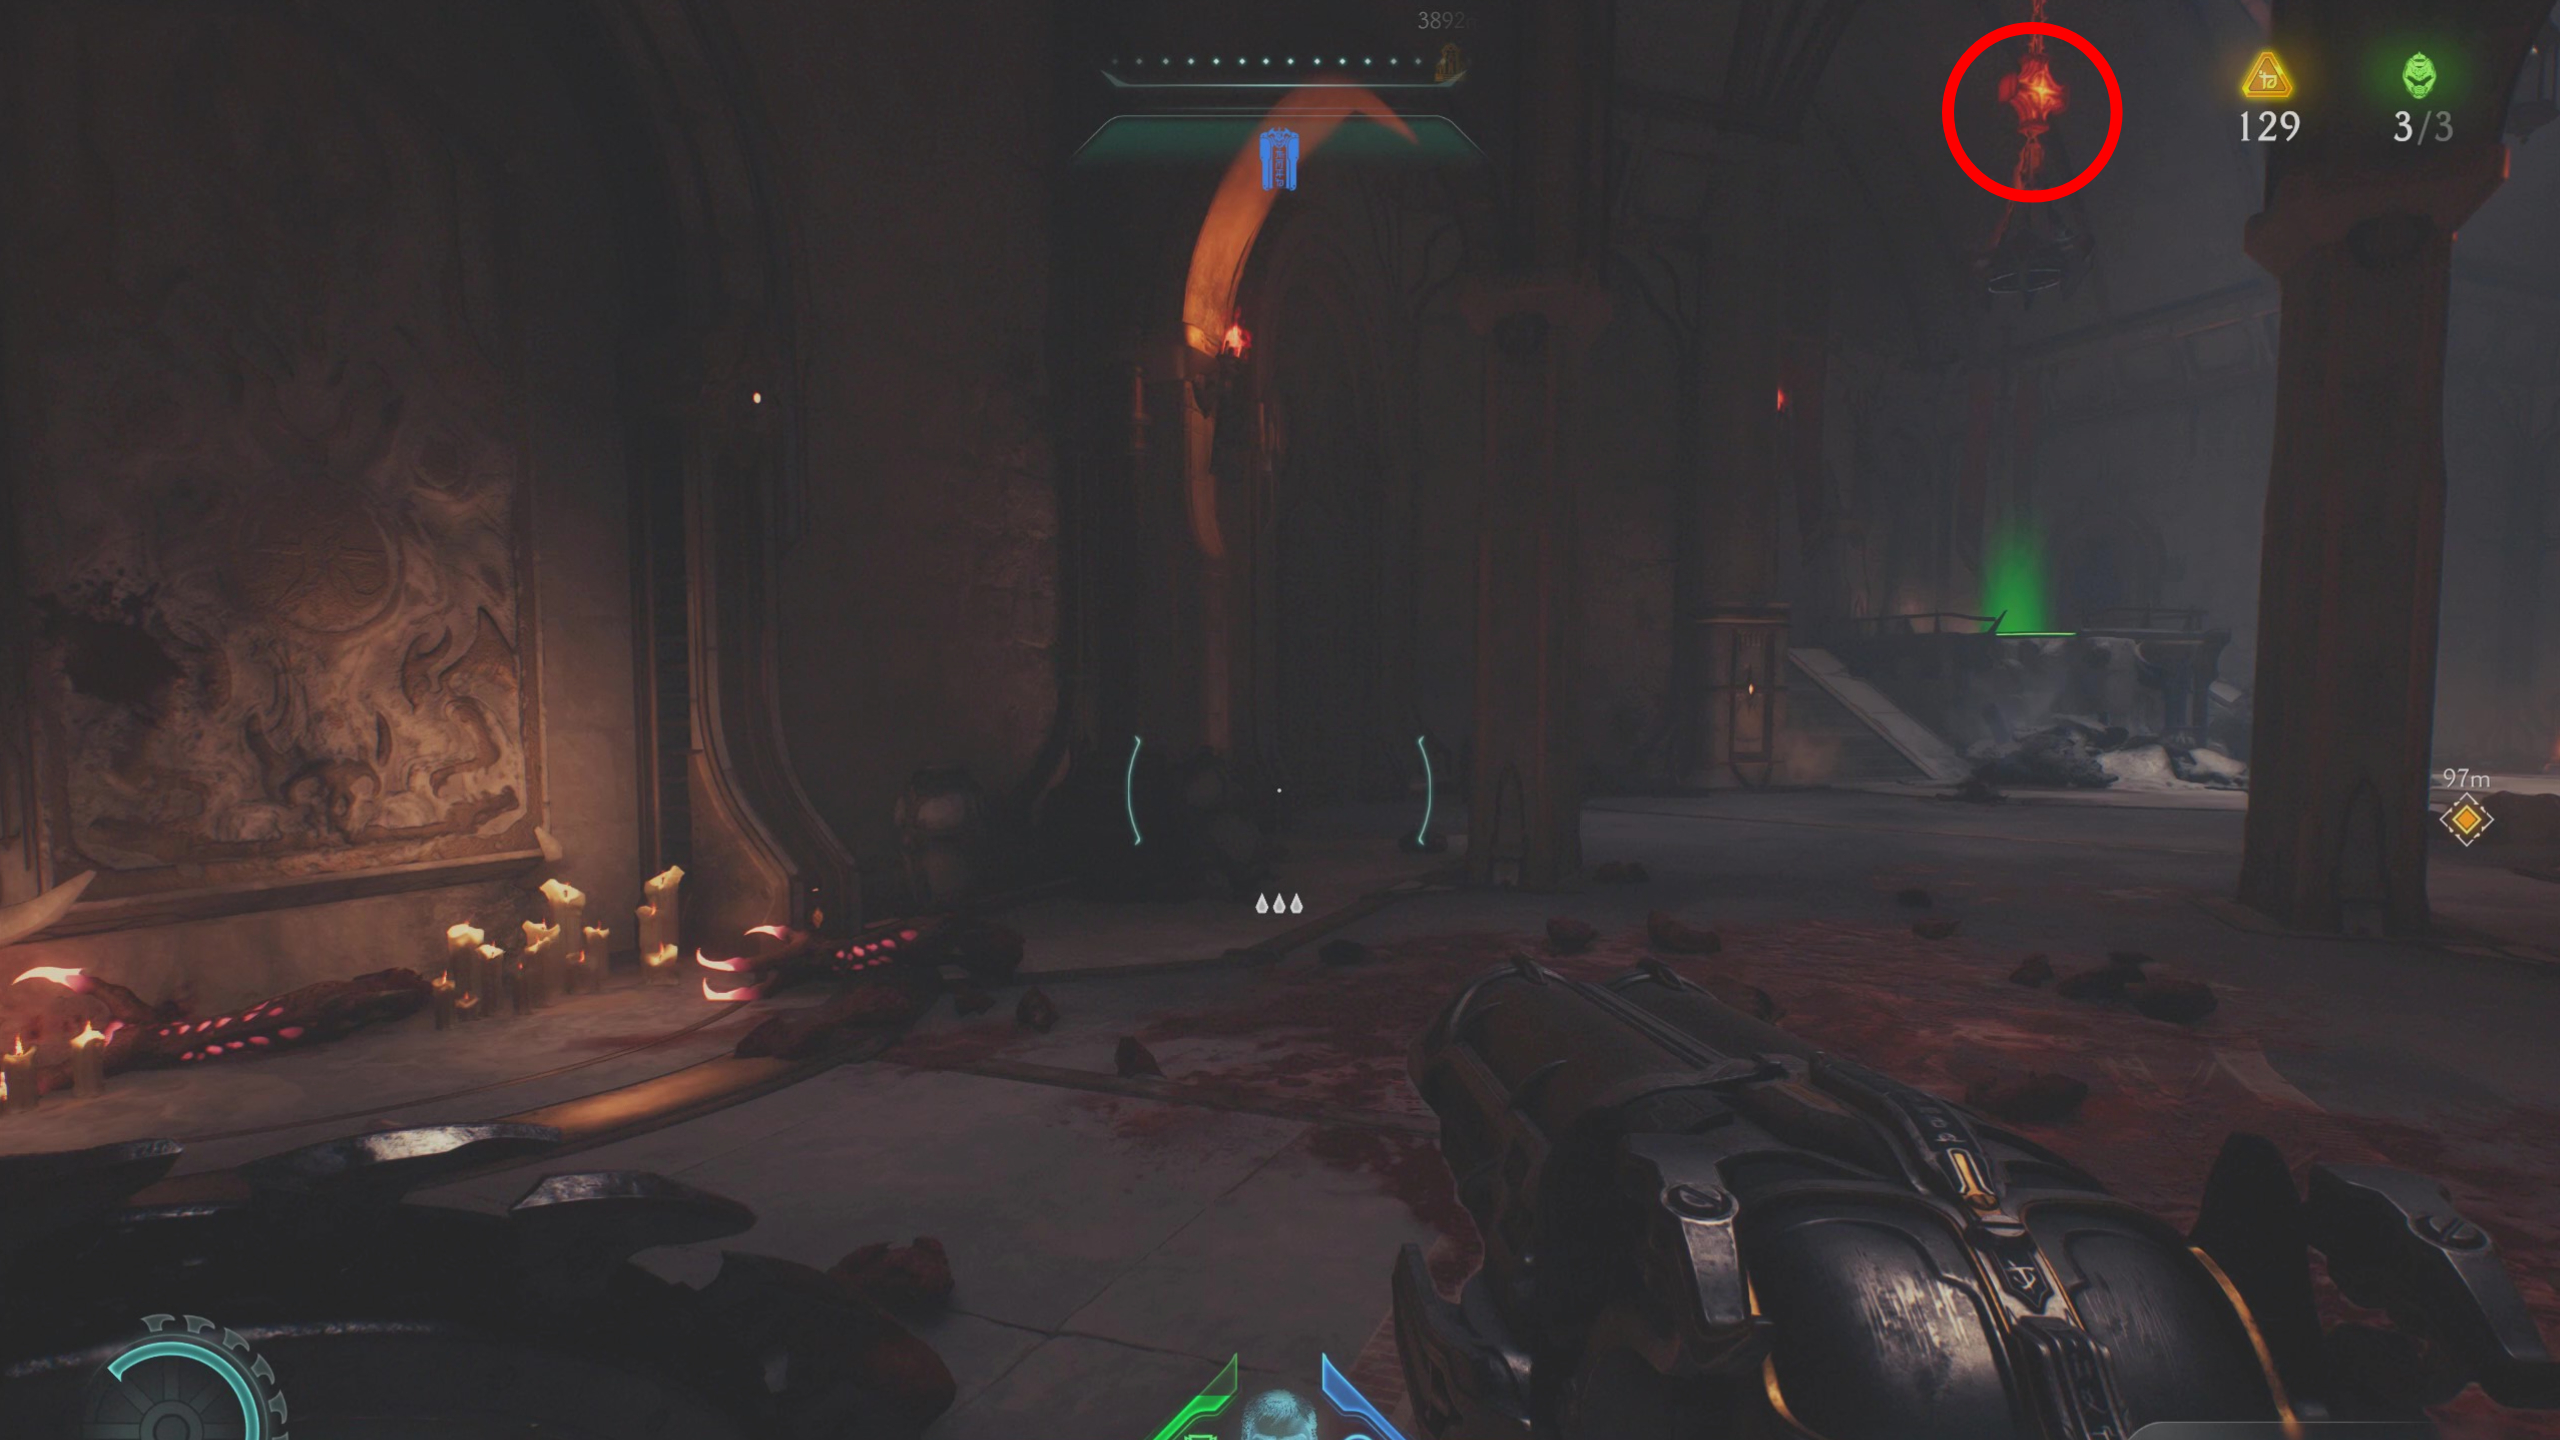
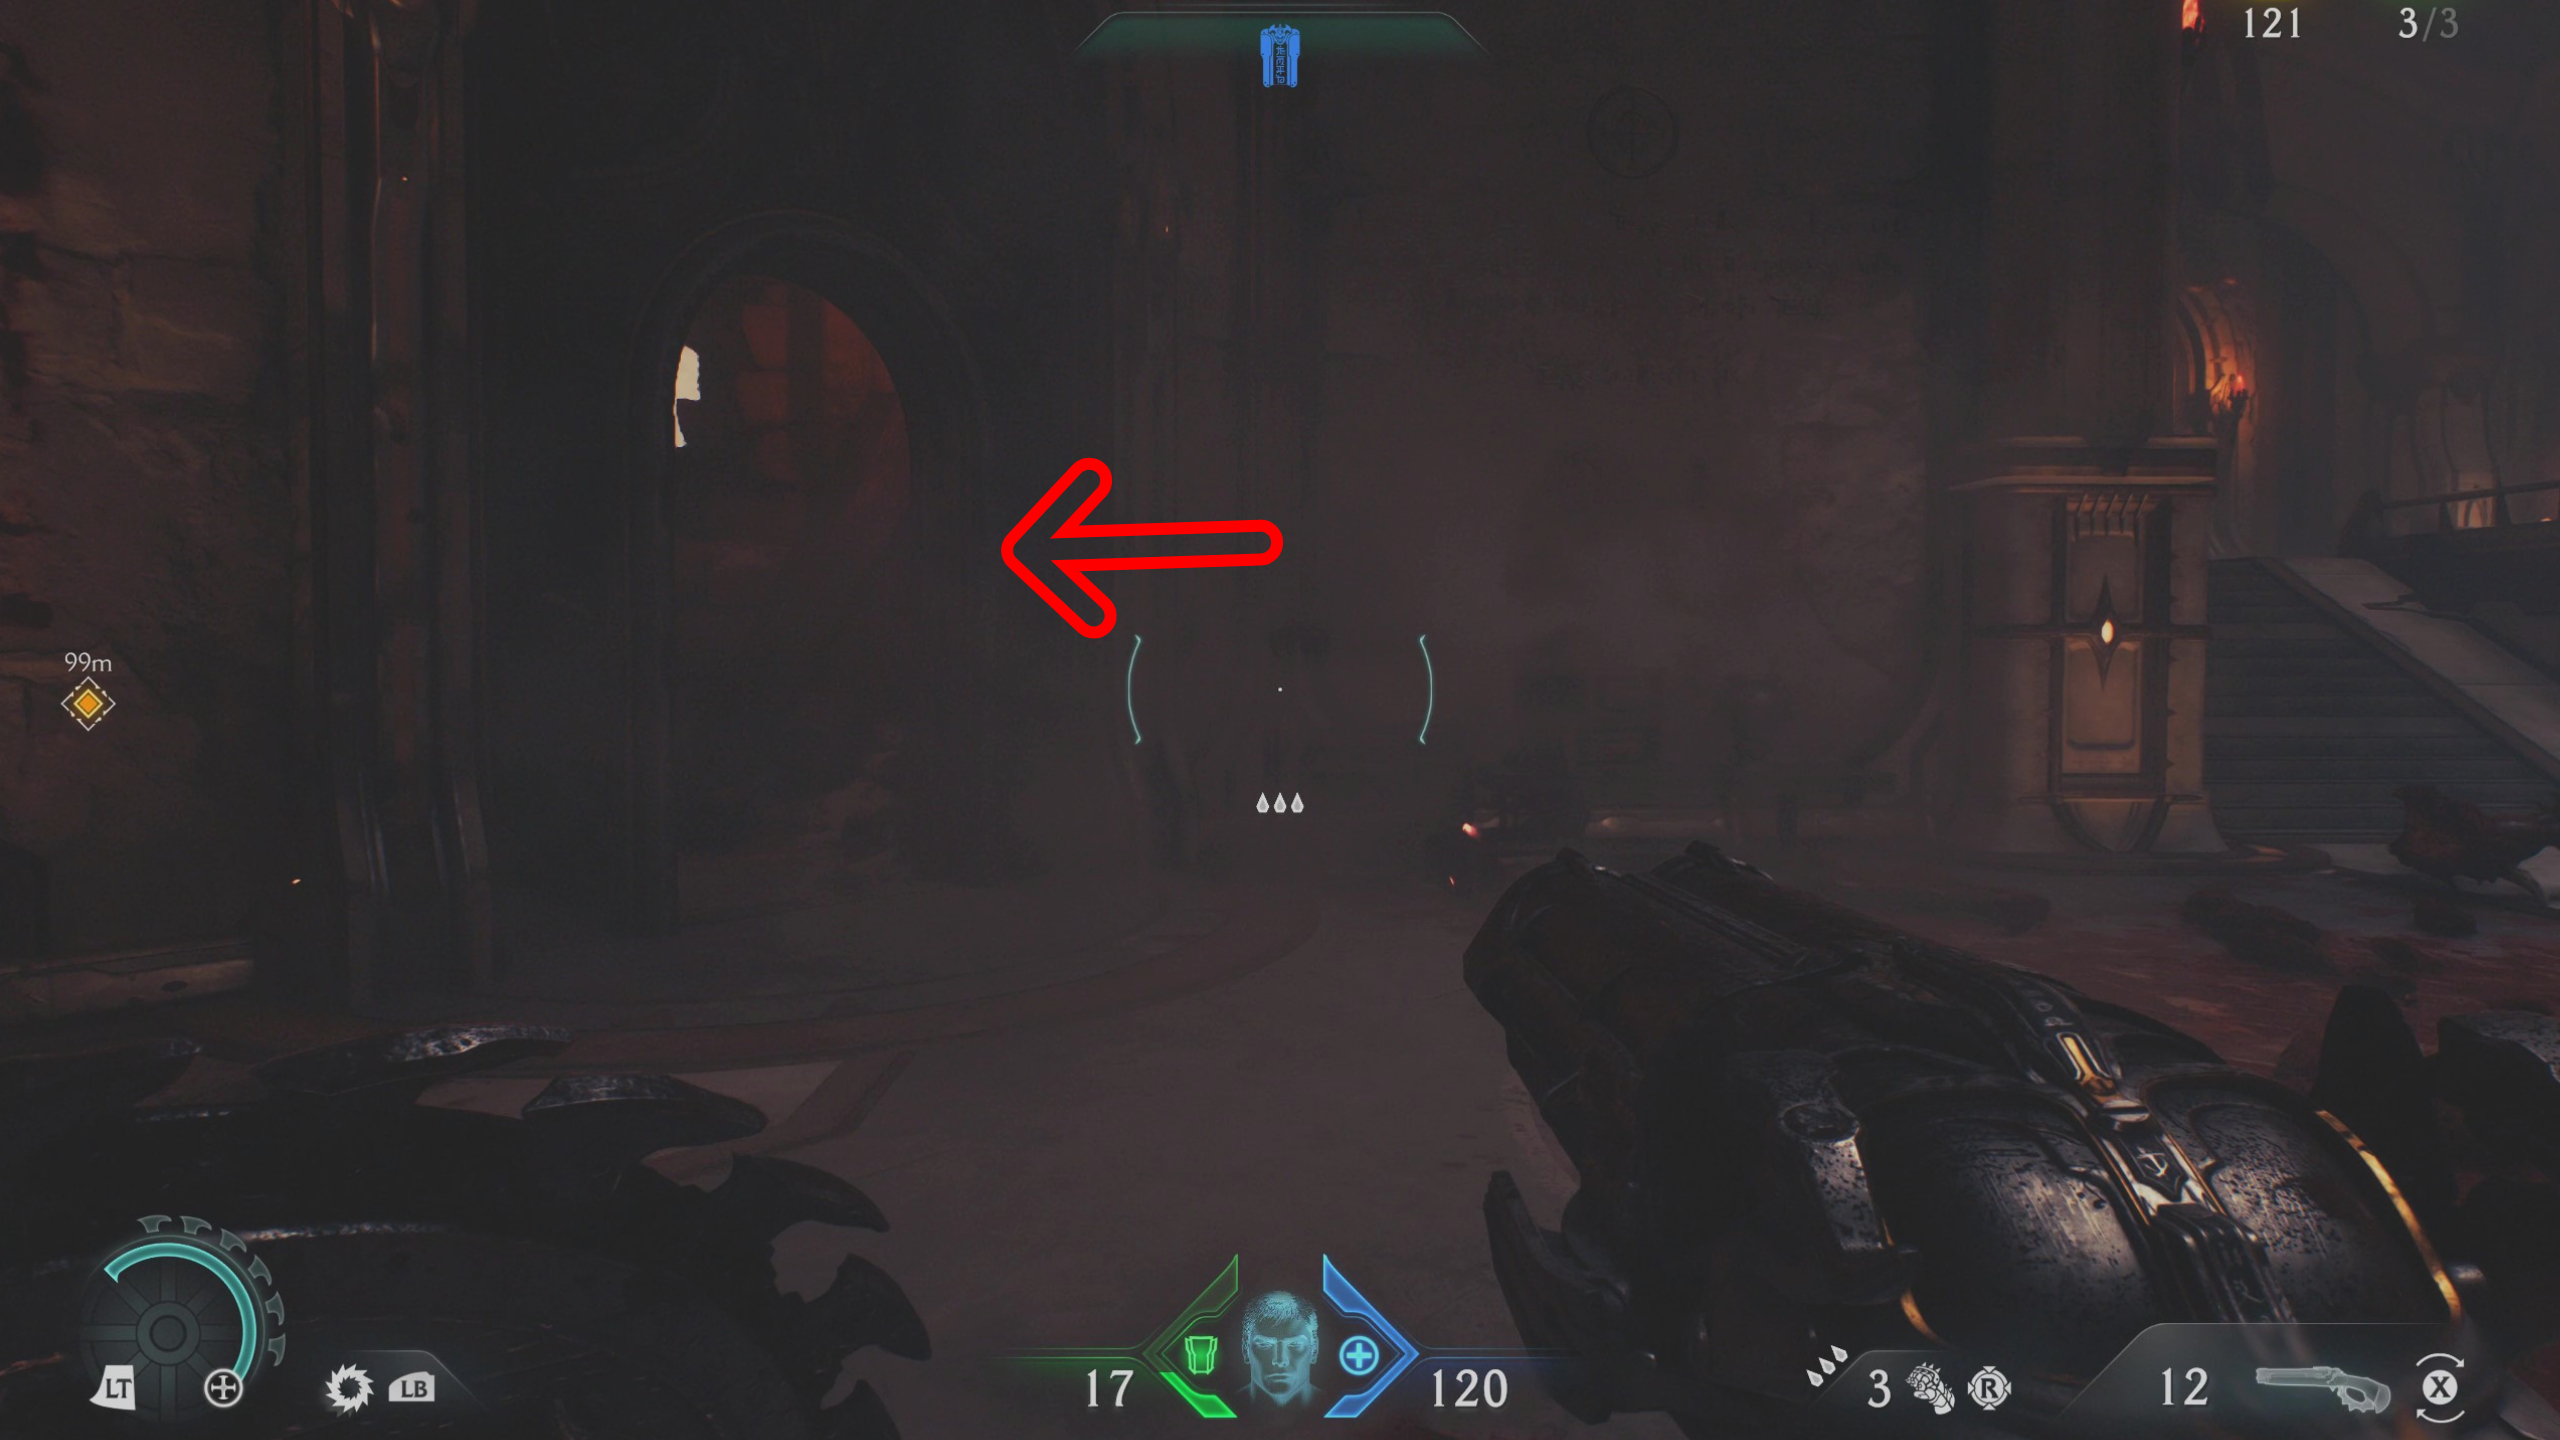
Back at the entrance to the building on the third ship, you’ll also be able to get a ruby, which you can see behind a gate as you turn right. On the stairs opposite the gate, look up and throw your shield at the chandelier, causing it to fall and activating the pressure pad to open the gate permanently. You can then stroll on in and take the ruby.
8 – Serrat toy (collectible)
Just before crossing the bridge to enter the third Hell Carrier, take a right to drop down onto the ramparts and into a secret area of the building, kicking off an ambush. Kill the enemies, then make your way up the staircase where you’ll find the Serrat doll and a handy shortcut.
9 – Gold chest
The last treasure at the third Hell Carrier landing zone is a gold chest, finally sending you into the ship proper. After crossing the bridge and entering the vessel, take the left stairs to enter an arena where you’ll find the gold chest—and a fight.
10 – Deag Loric codex entry (collectible)
The last collectible in this mission is a codex entry on Deag Loric, found on the ship on the bottom layer of the map, accessed via the fleshy tunnels to the right side of where you start. Battle through the ship as normal, but before you blow it up, turn around to grab the codex under the path you use to drop down into the final room.

Best Doom The Dark Ages weapons: Superior firepower
Best Doom The Dark Ages Sentinel Shrine upgrades: Gear up