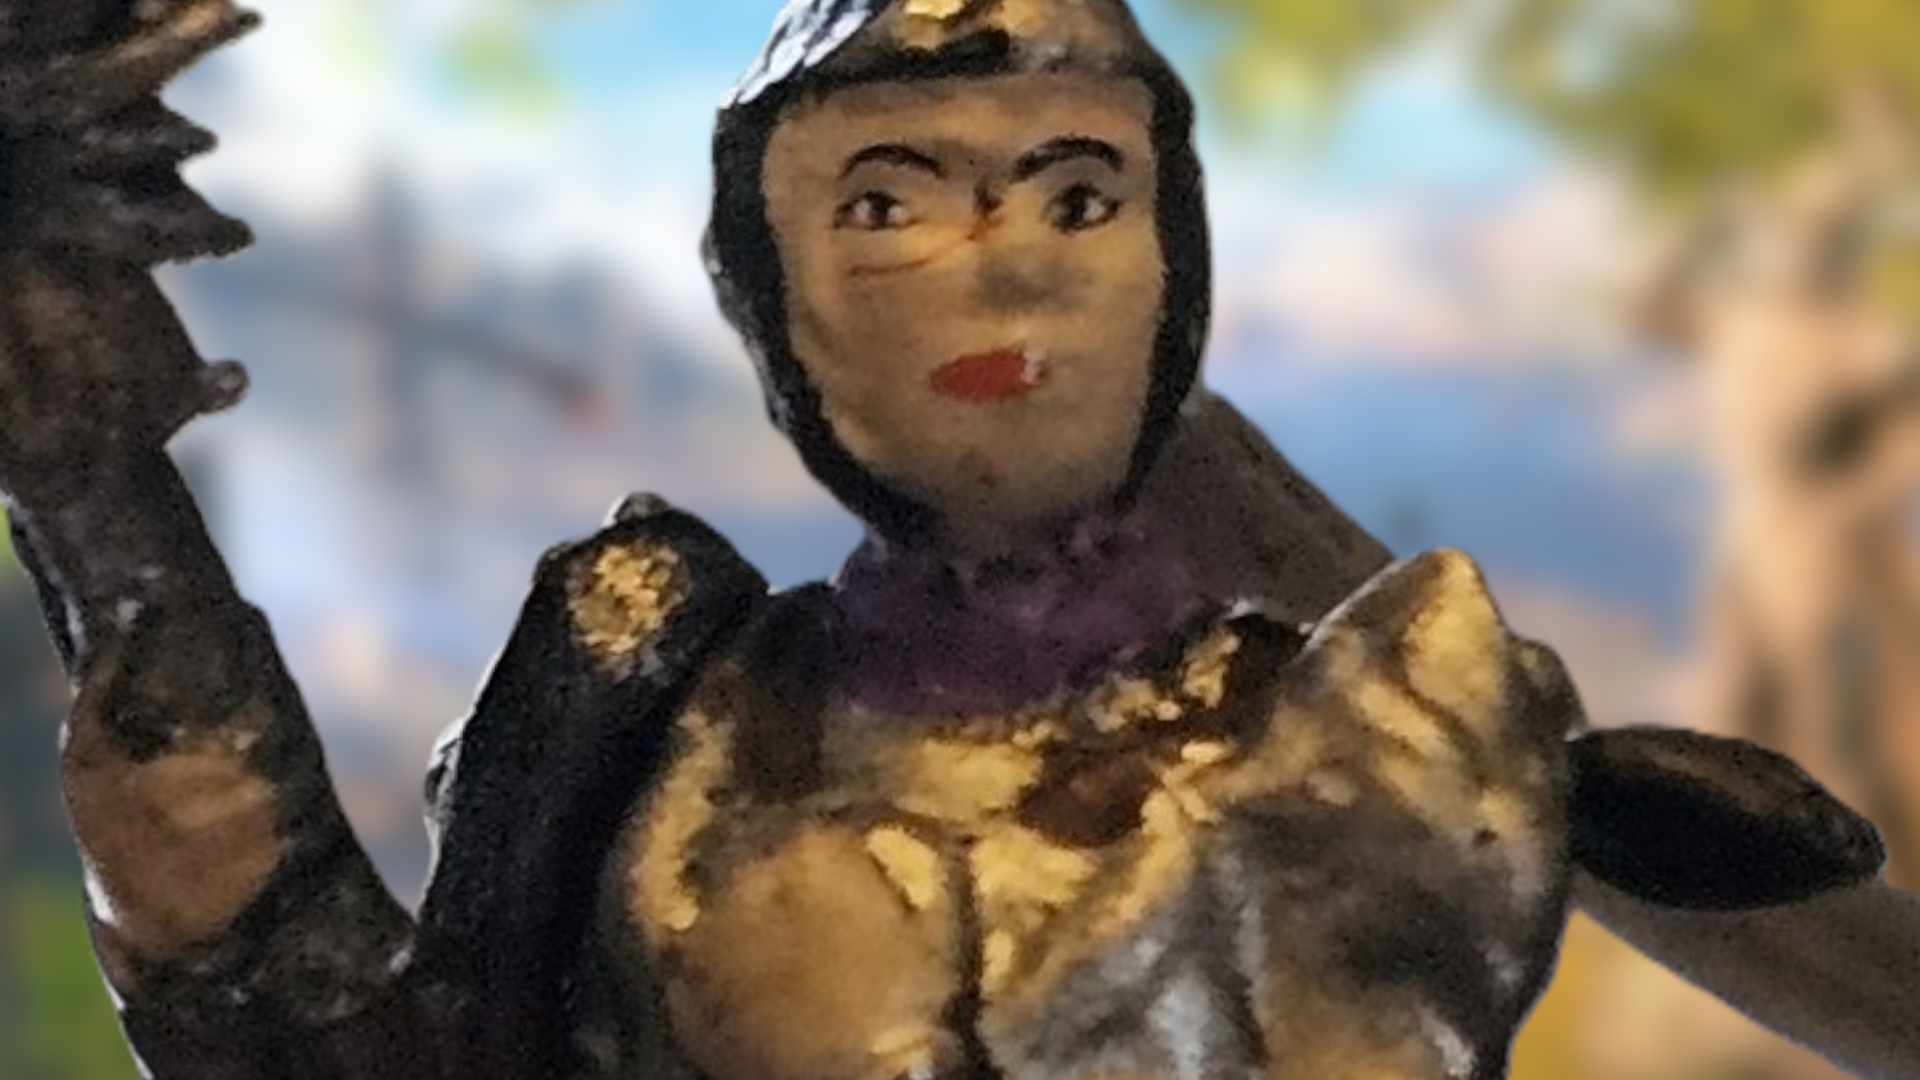
Stampede through the Sentinel stronghold for precious loot.
The third mission of Doom: The Dark Ages, Barrier Core, is a titan-only section with no secrets to find. That’s only a short-lived reprieve as the fourth mission kicks things up a gear. Not only are there nine Sentinel Barracks secrets and three collectibles, but rubies are also thrown into the mix, letting you upgrade gear to the next tier.
Fear not, though, I’ve done the heavy lifting to find all the Doom: The Dark Ages secrets in the Sentinel Barracks mission. Below you’ll find all the secrets and collectibles laid out in chronological order, so you don’t miss anything the first time through.
Doom: The Dark Ages Sentinel Barracks secrets and collectibles
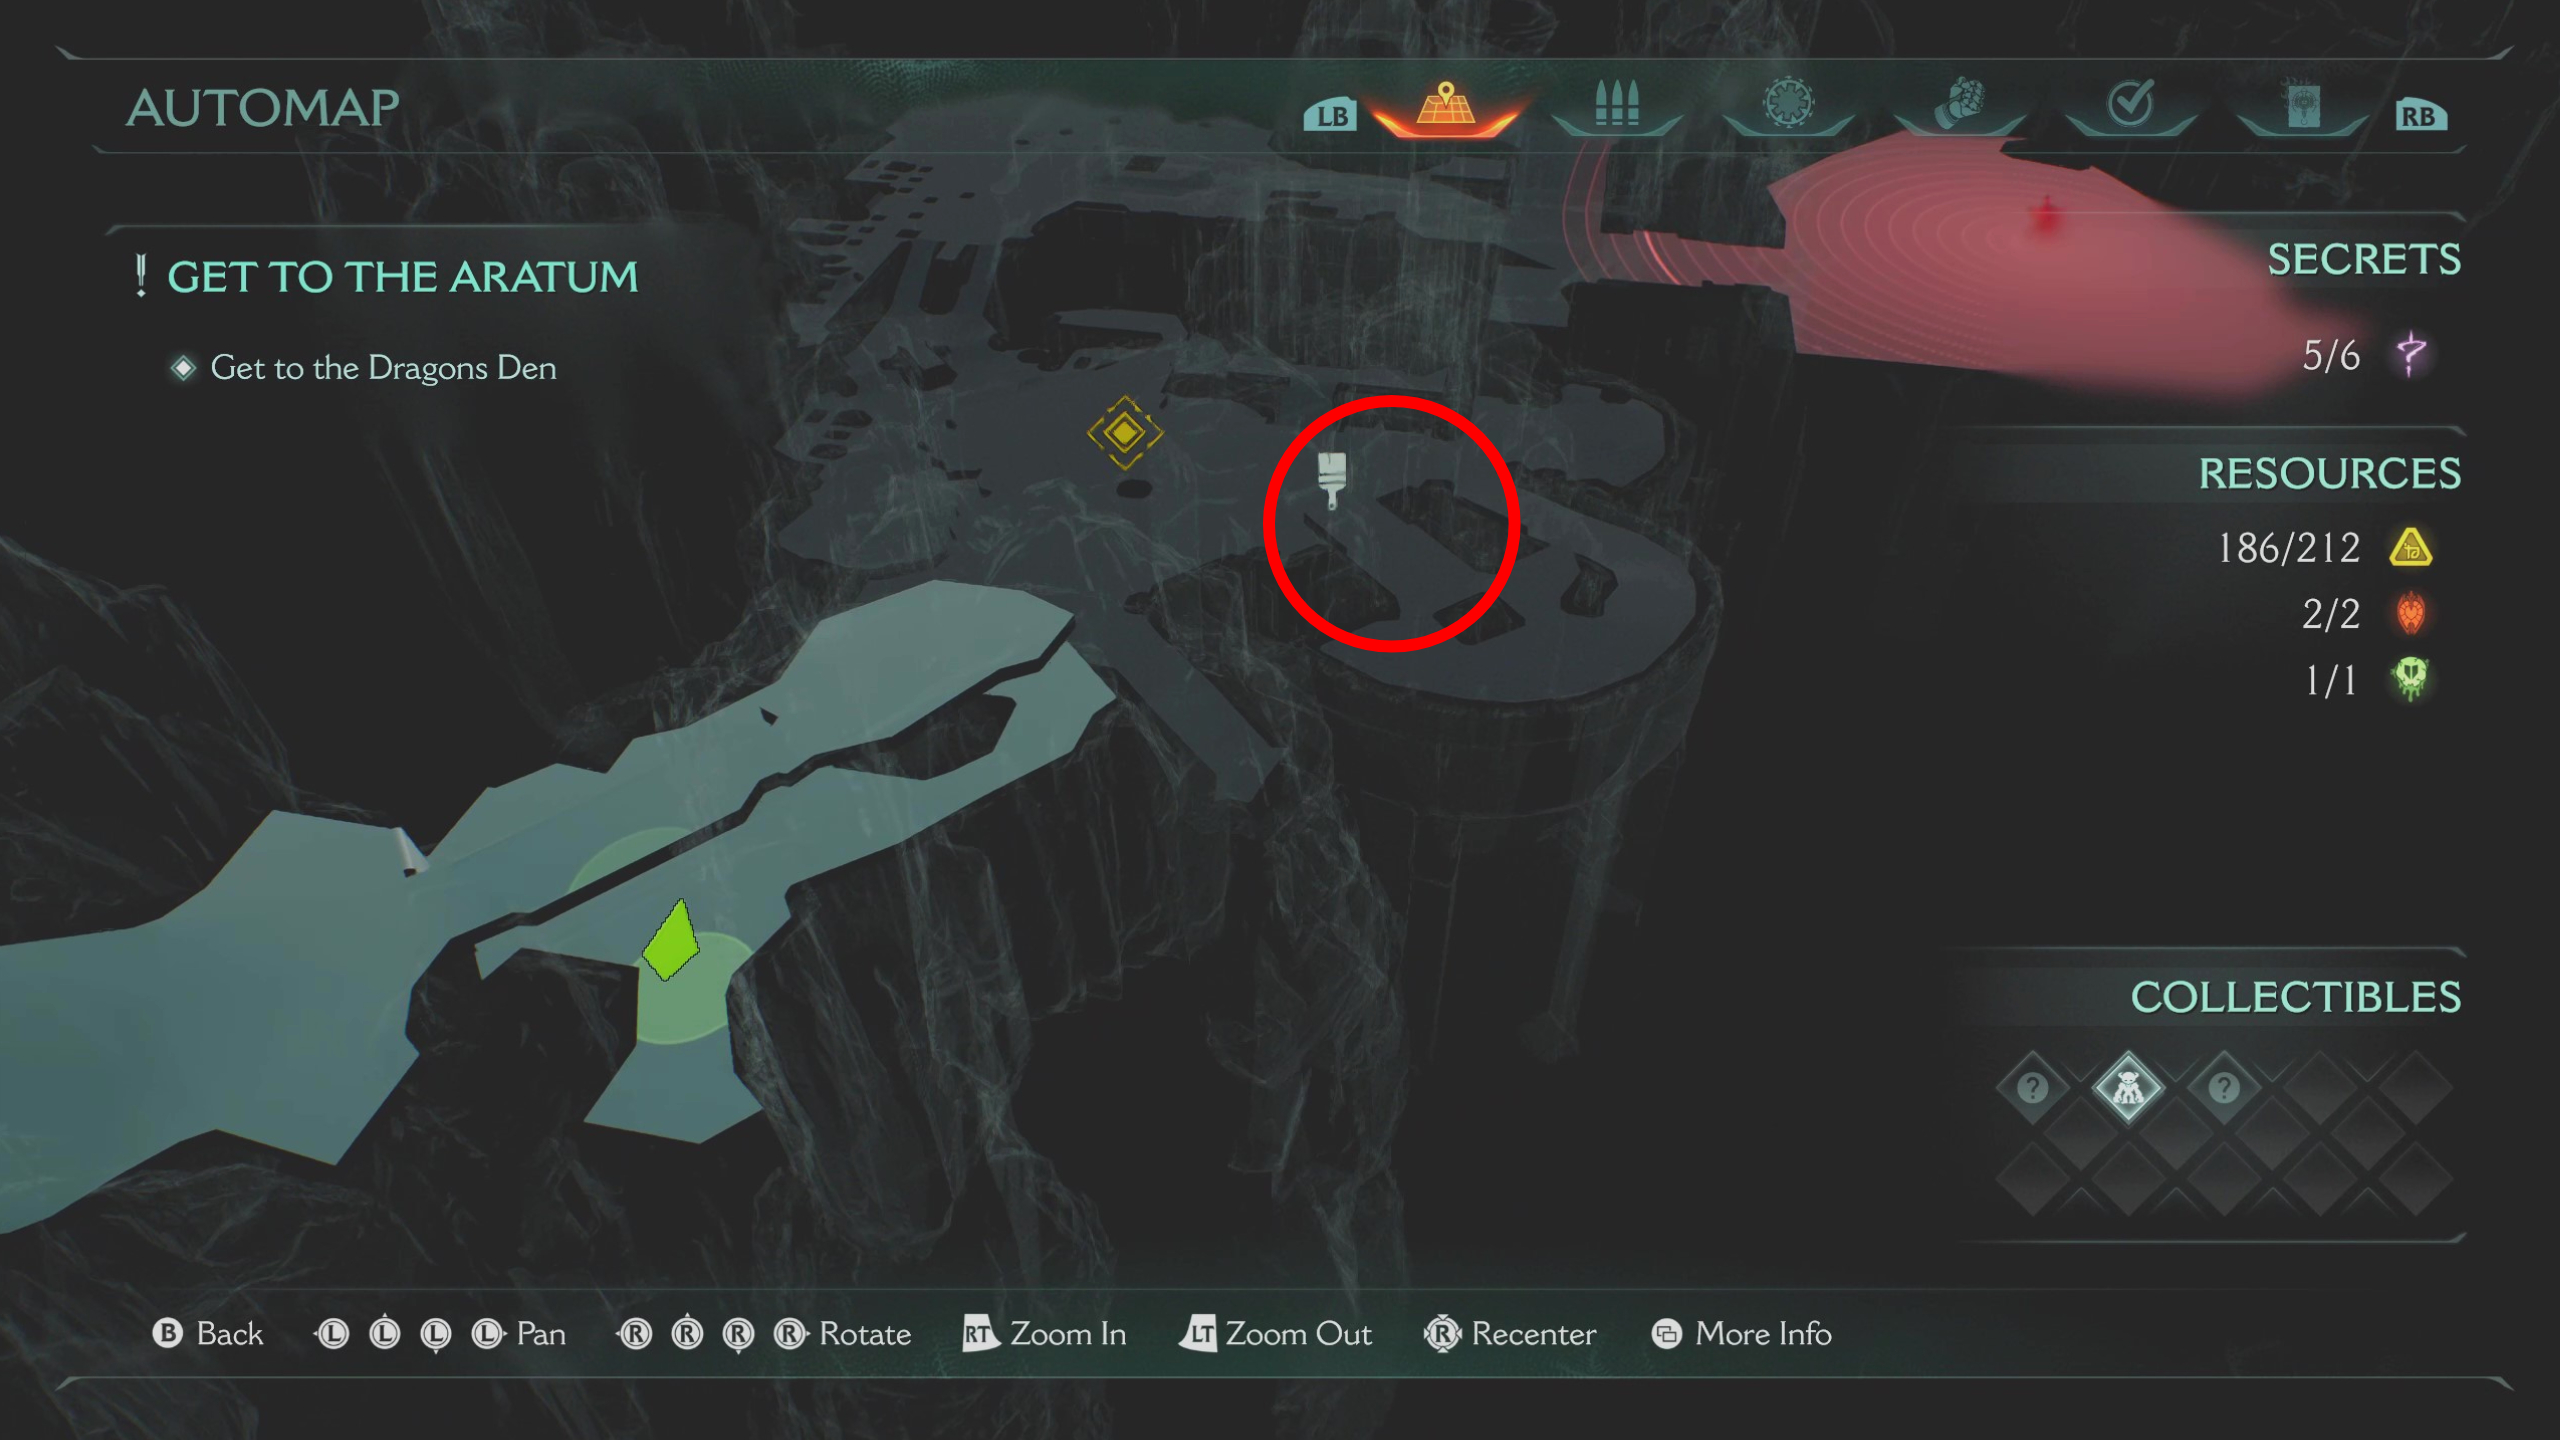
There are six secrets and three collectibles to find in Sentinel Barracks. More specifically, there’s a codex, a cute toy, and another fancy weapon skin, alongside 212 gold, two rubies, and another Demonic Essence.
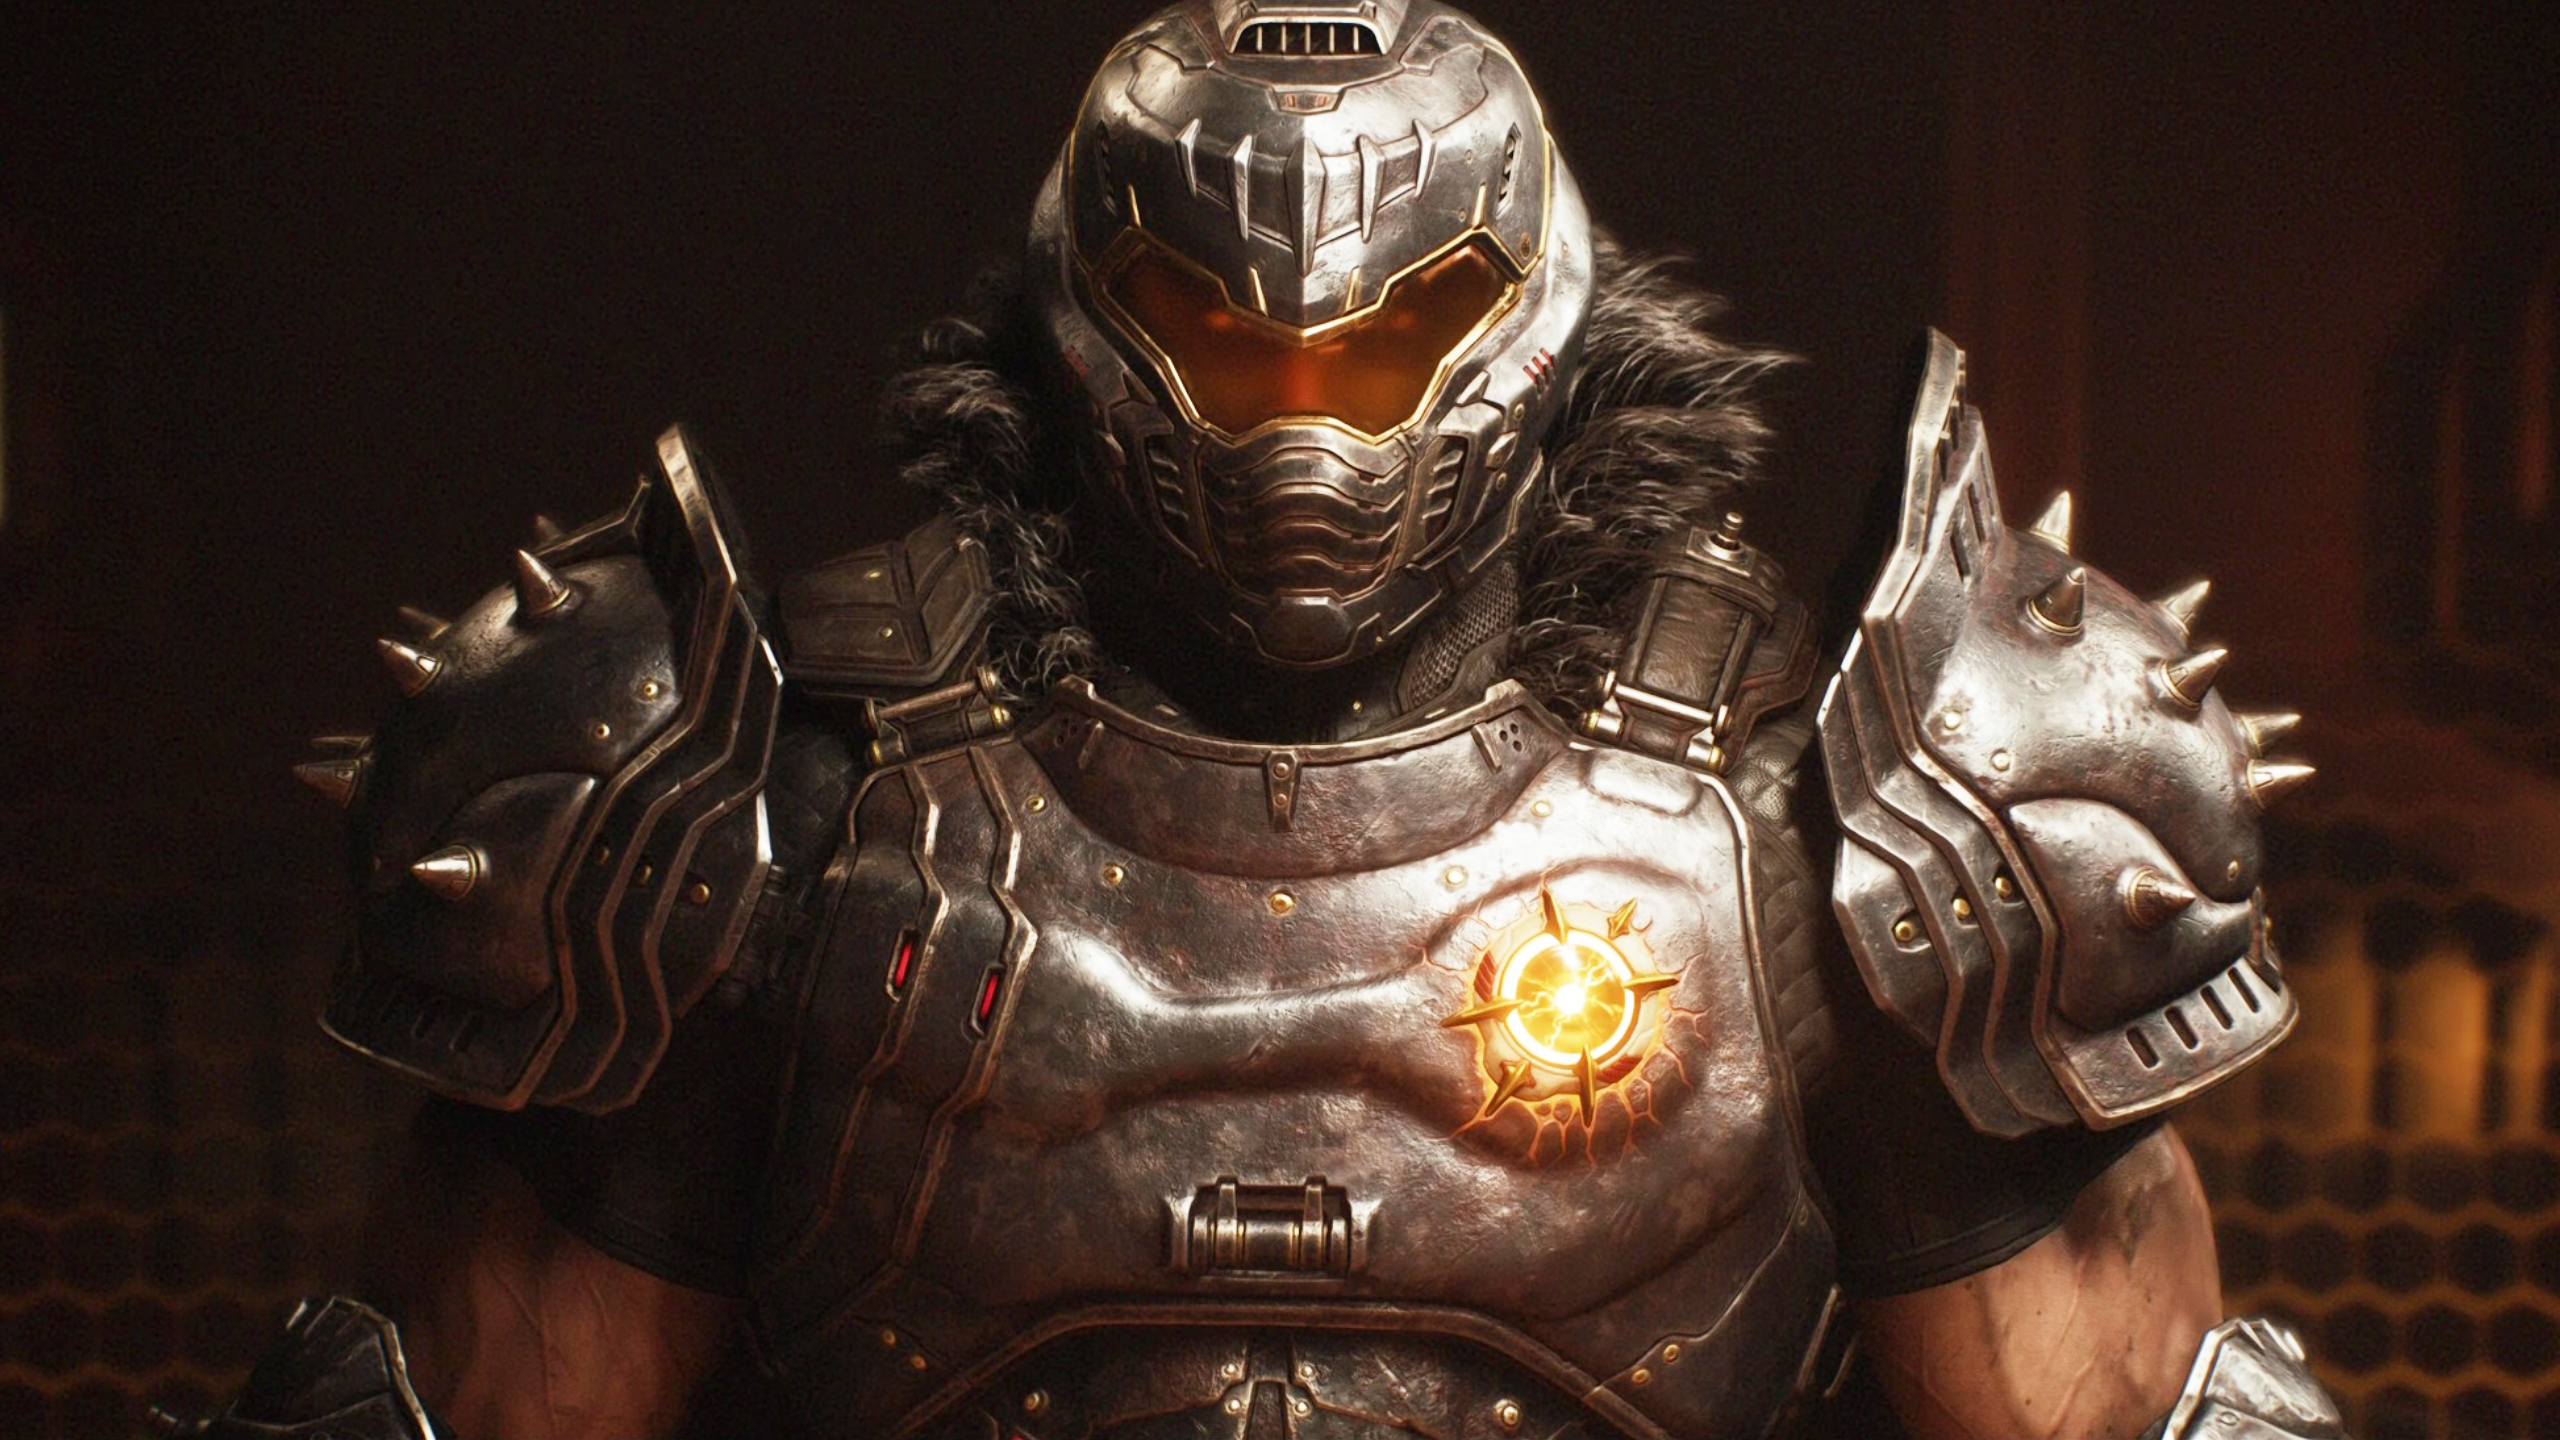
1 – Hell Knight toy (collectible)
You’ll have to progress a bit into the mission before you come across the first collectible, so continue until you unlock the Pulverizer and clear out the demons in the main hall.
After clearing the room, head up the large staircase on the left, which leads outside, and follow it until you reach the entrance to the upper area, killing the demons as you go. Just after entering the building, turn left and shield bash the wooden barricade, giving you access to a room back on the ground floor where you’ll find the toy and 16 gold bars.
2 – Gold chest
Return to the upper-floor hallway (where you just jumped down to get the Hell Knight toy) and continue into the next room, where the left door is inaccessible thanks to a large block. From here:
- Take the right path and head into the centre of the room
- Walk past the platform to activate the lift and continue to the other side of the room
- Looking at the wall covered in green slime, shield jump up to the ledge and then hop down on the other side of the locked gate
- Shield bash the box to send it down the hallway
- Climb up the staircase you’ve just made using the block and punch the gold chest to open it
3 – Life sigil
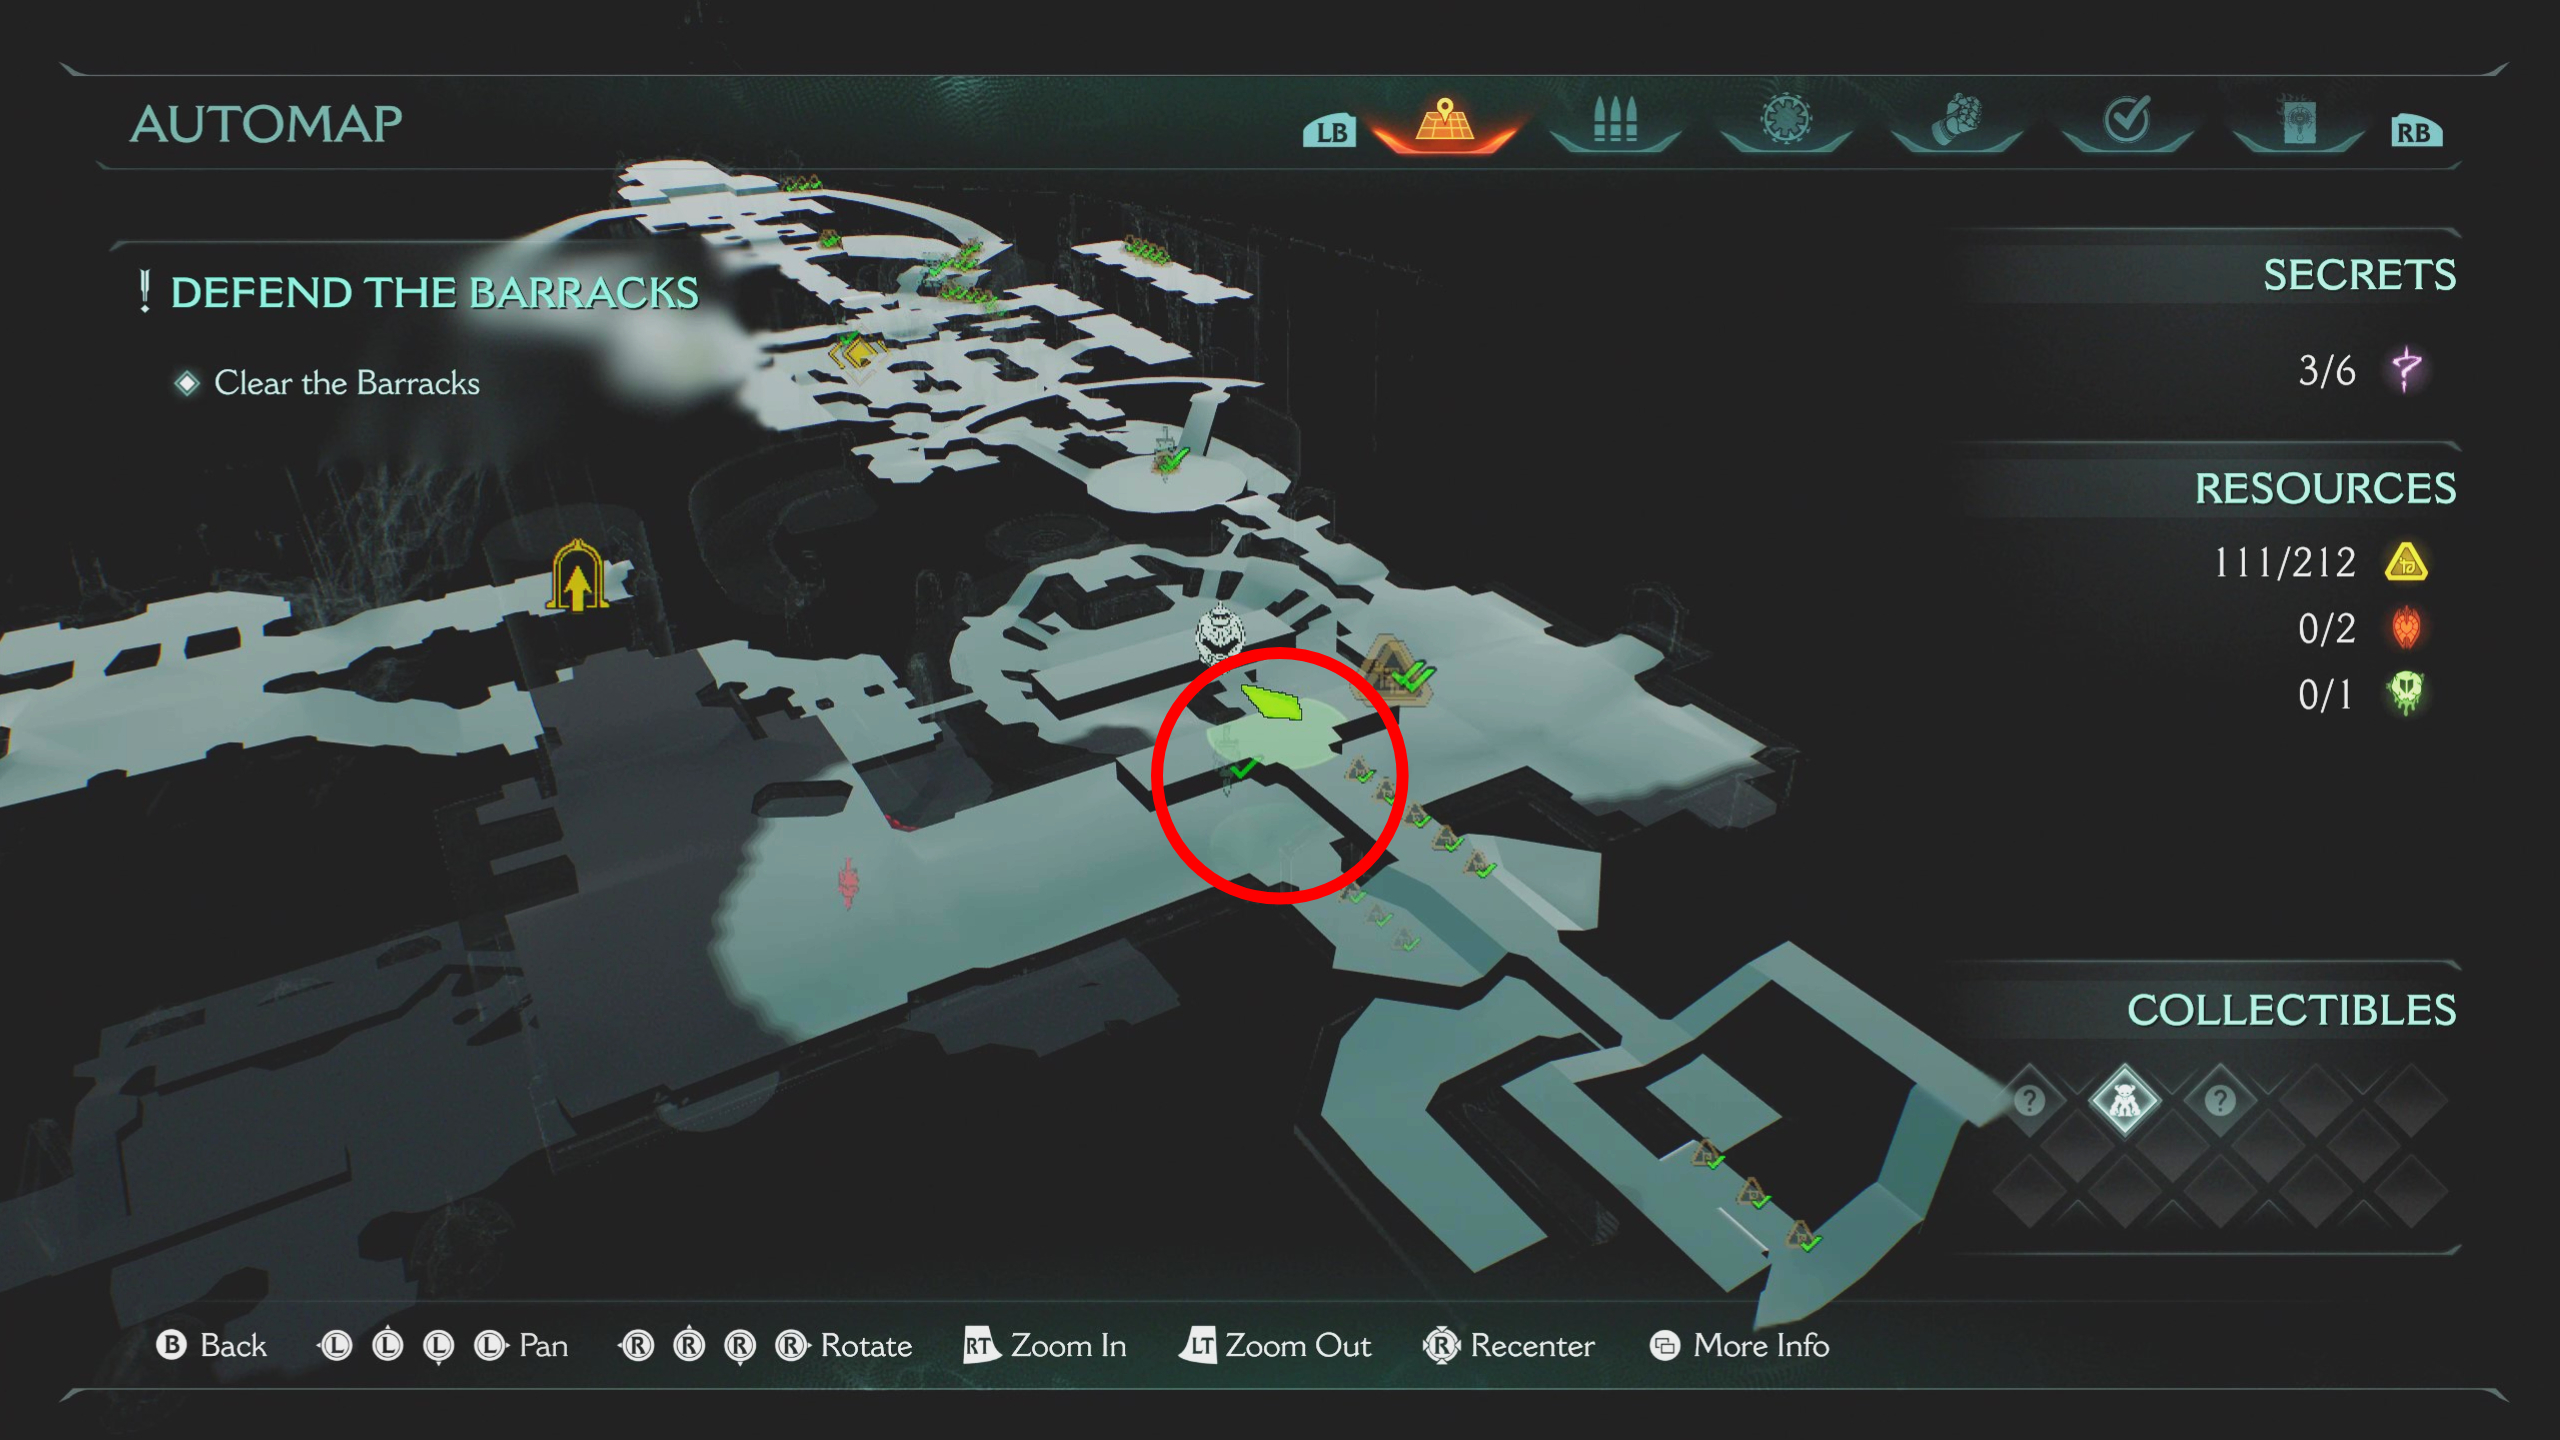
After breaking the lift to continue the main mission, you’ll be locked into a fight on a circular platform. Beat this encounter, then continue into the hallway where you’ll be ambushed yet again. Once that’s clear, pull the switch on the left side to open a door to another ambush. Run and jump to climb up the ledge, then follow the path to the life sigil and some gold bars.
You’ll also find a ruby shortly afterwards on a statue in the hangar before you unlock the Impaler midway through the level.
4 – Life sigil
The next secret comes quite a bit later, so continue with the mission, unlocking the Rail Spike Impaler weapon and the Sentinel Shrine in the lower levels, after which you’ll emerge into a city area.
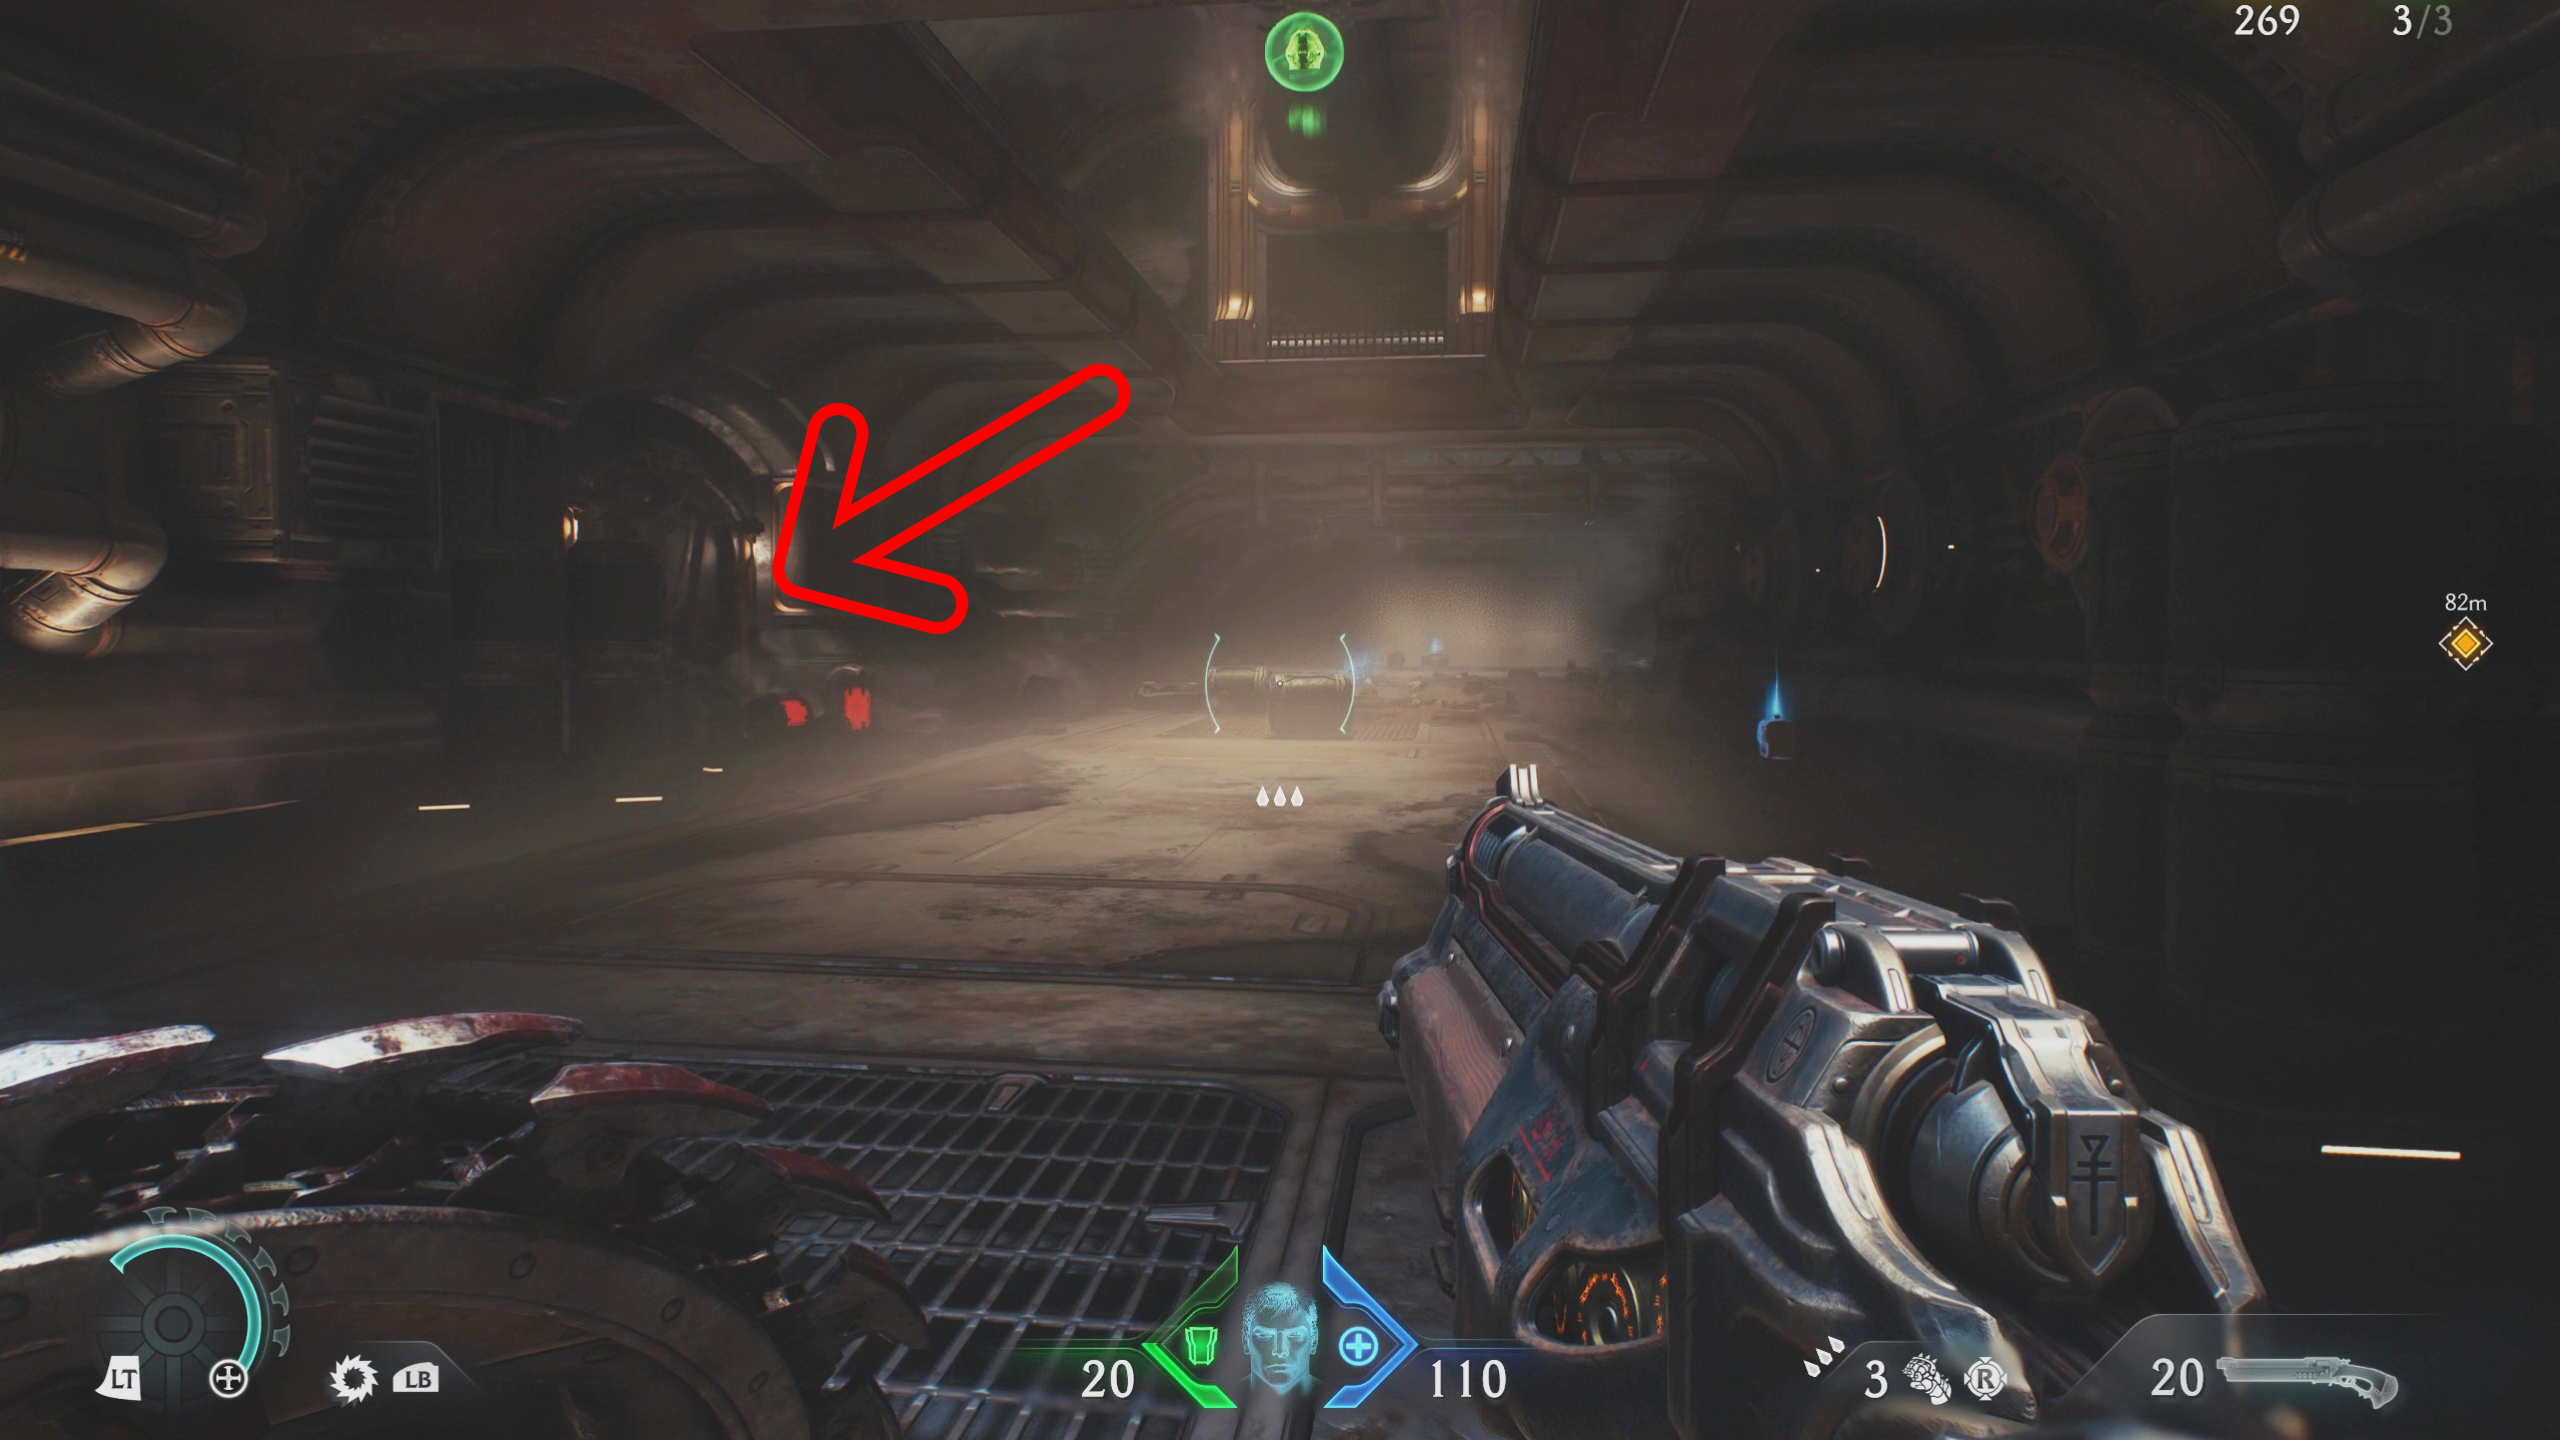
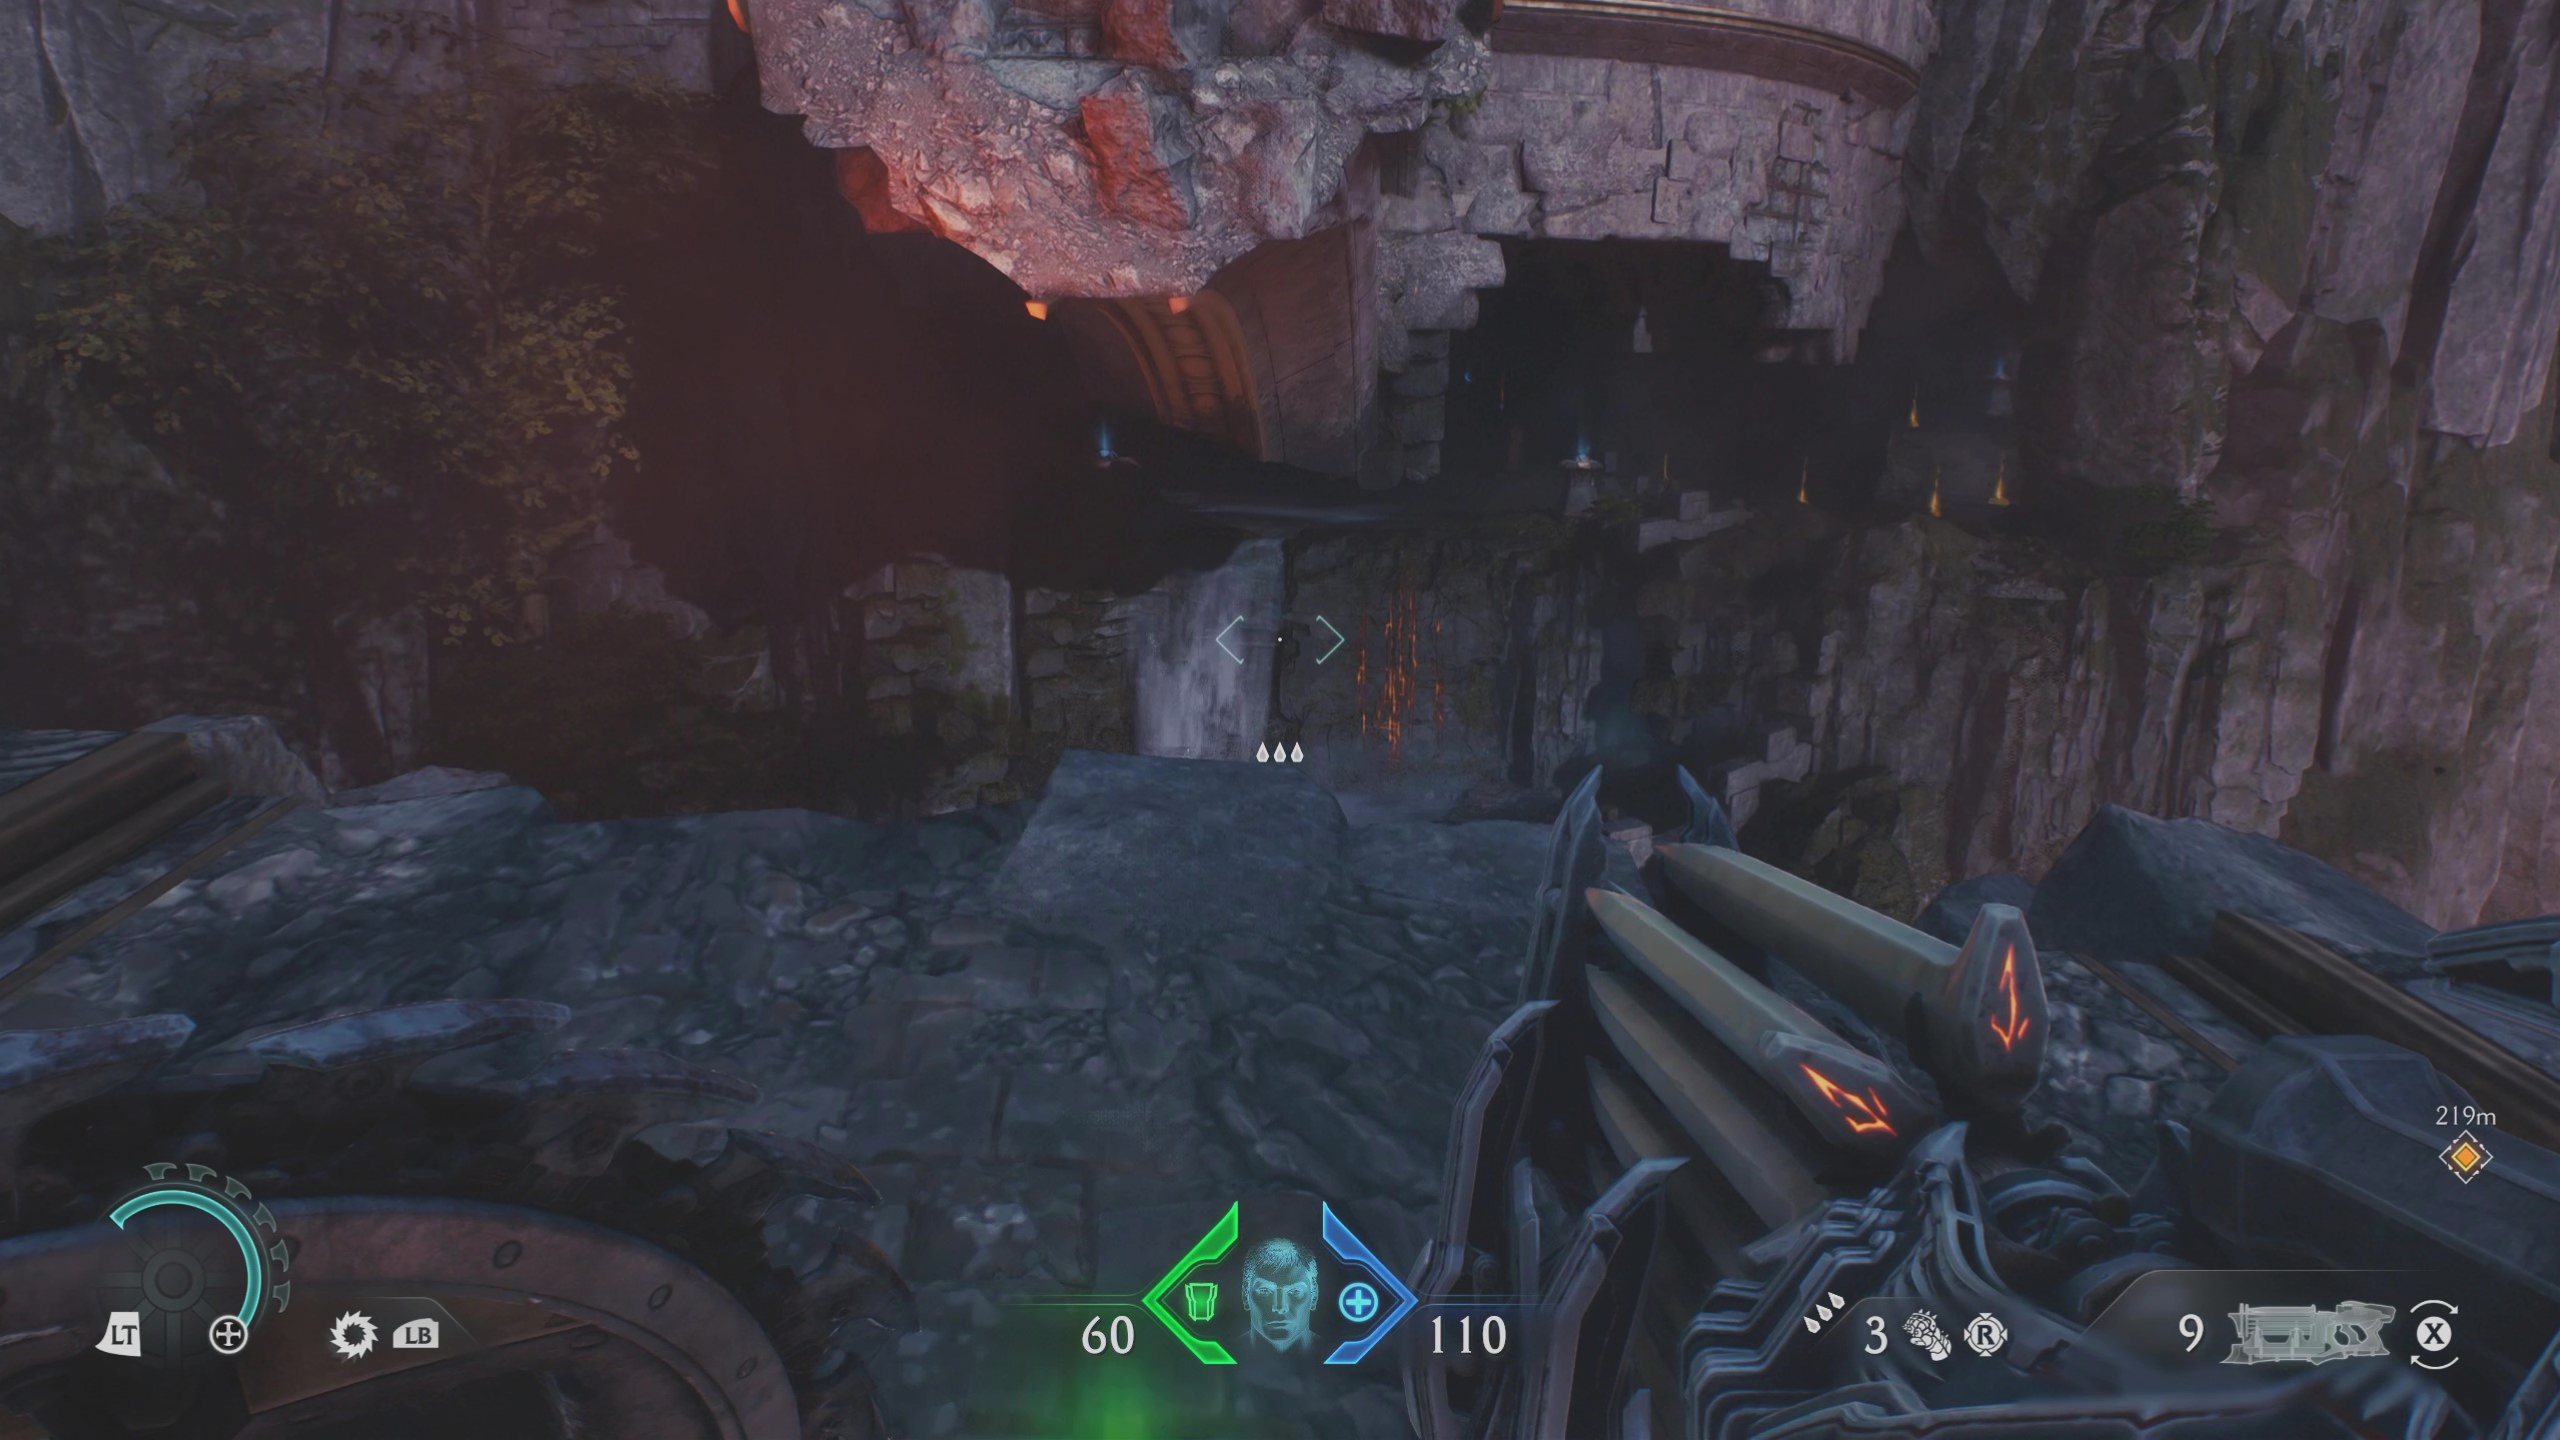
Immediately after heading outside, you’ll see a boarded-up tower on a ramp to your left. To access it, drop down to the lower area, but before jumping across the broken bridge to the next area and continuing the mission, run and jump off the cliff to a ledge on your lower left. Now just go through the cave to enter the tower from beneath, before breaking the lock with your shield to leave.
If you’ve already jumped the gap to progress to the Mancubus fight, don’t worry: there’s also a ledge on this island where you can leap back to the lower area to access the base of the tower.
5 – Ruby
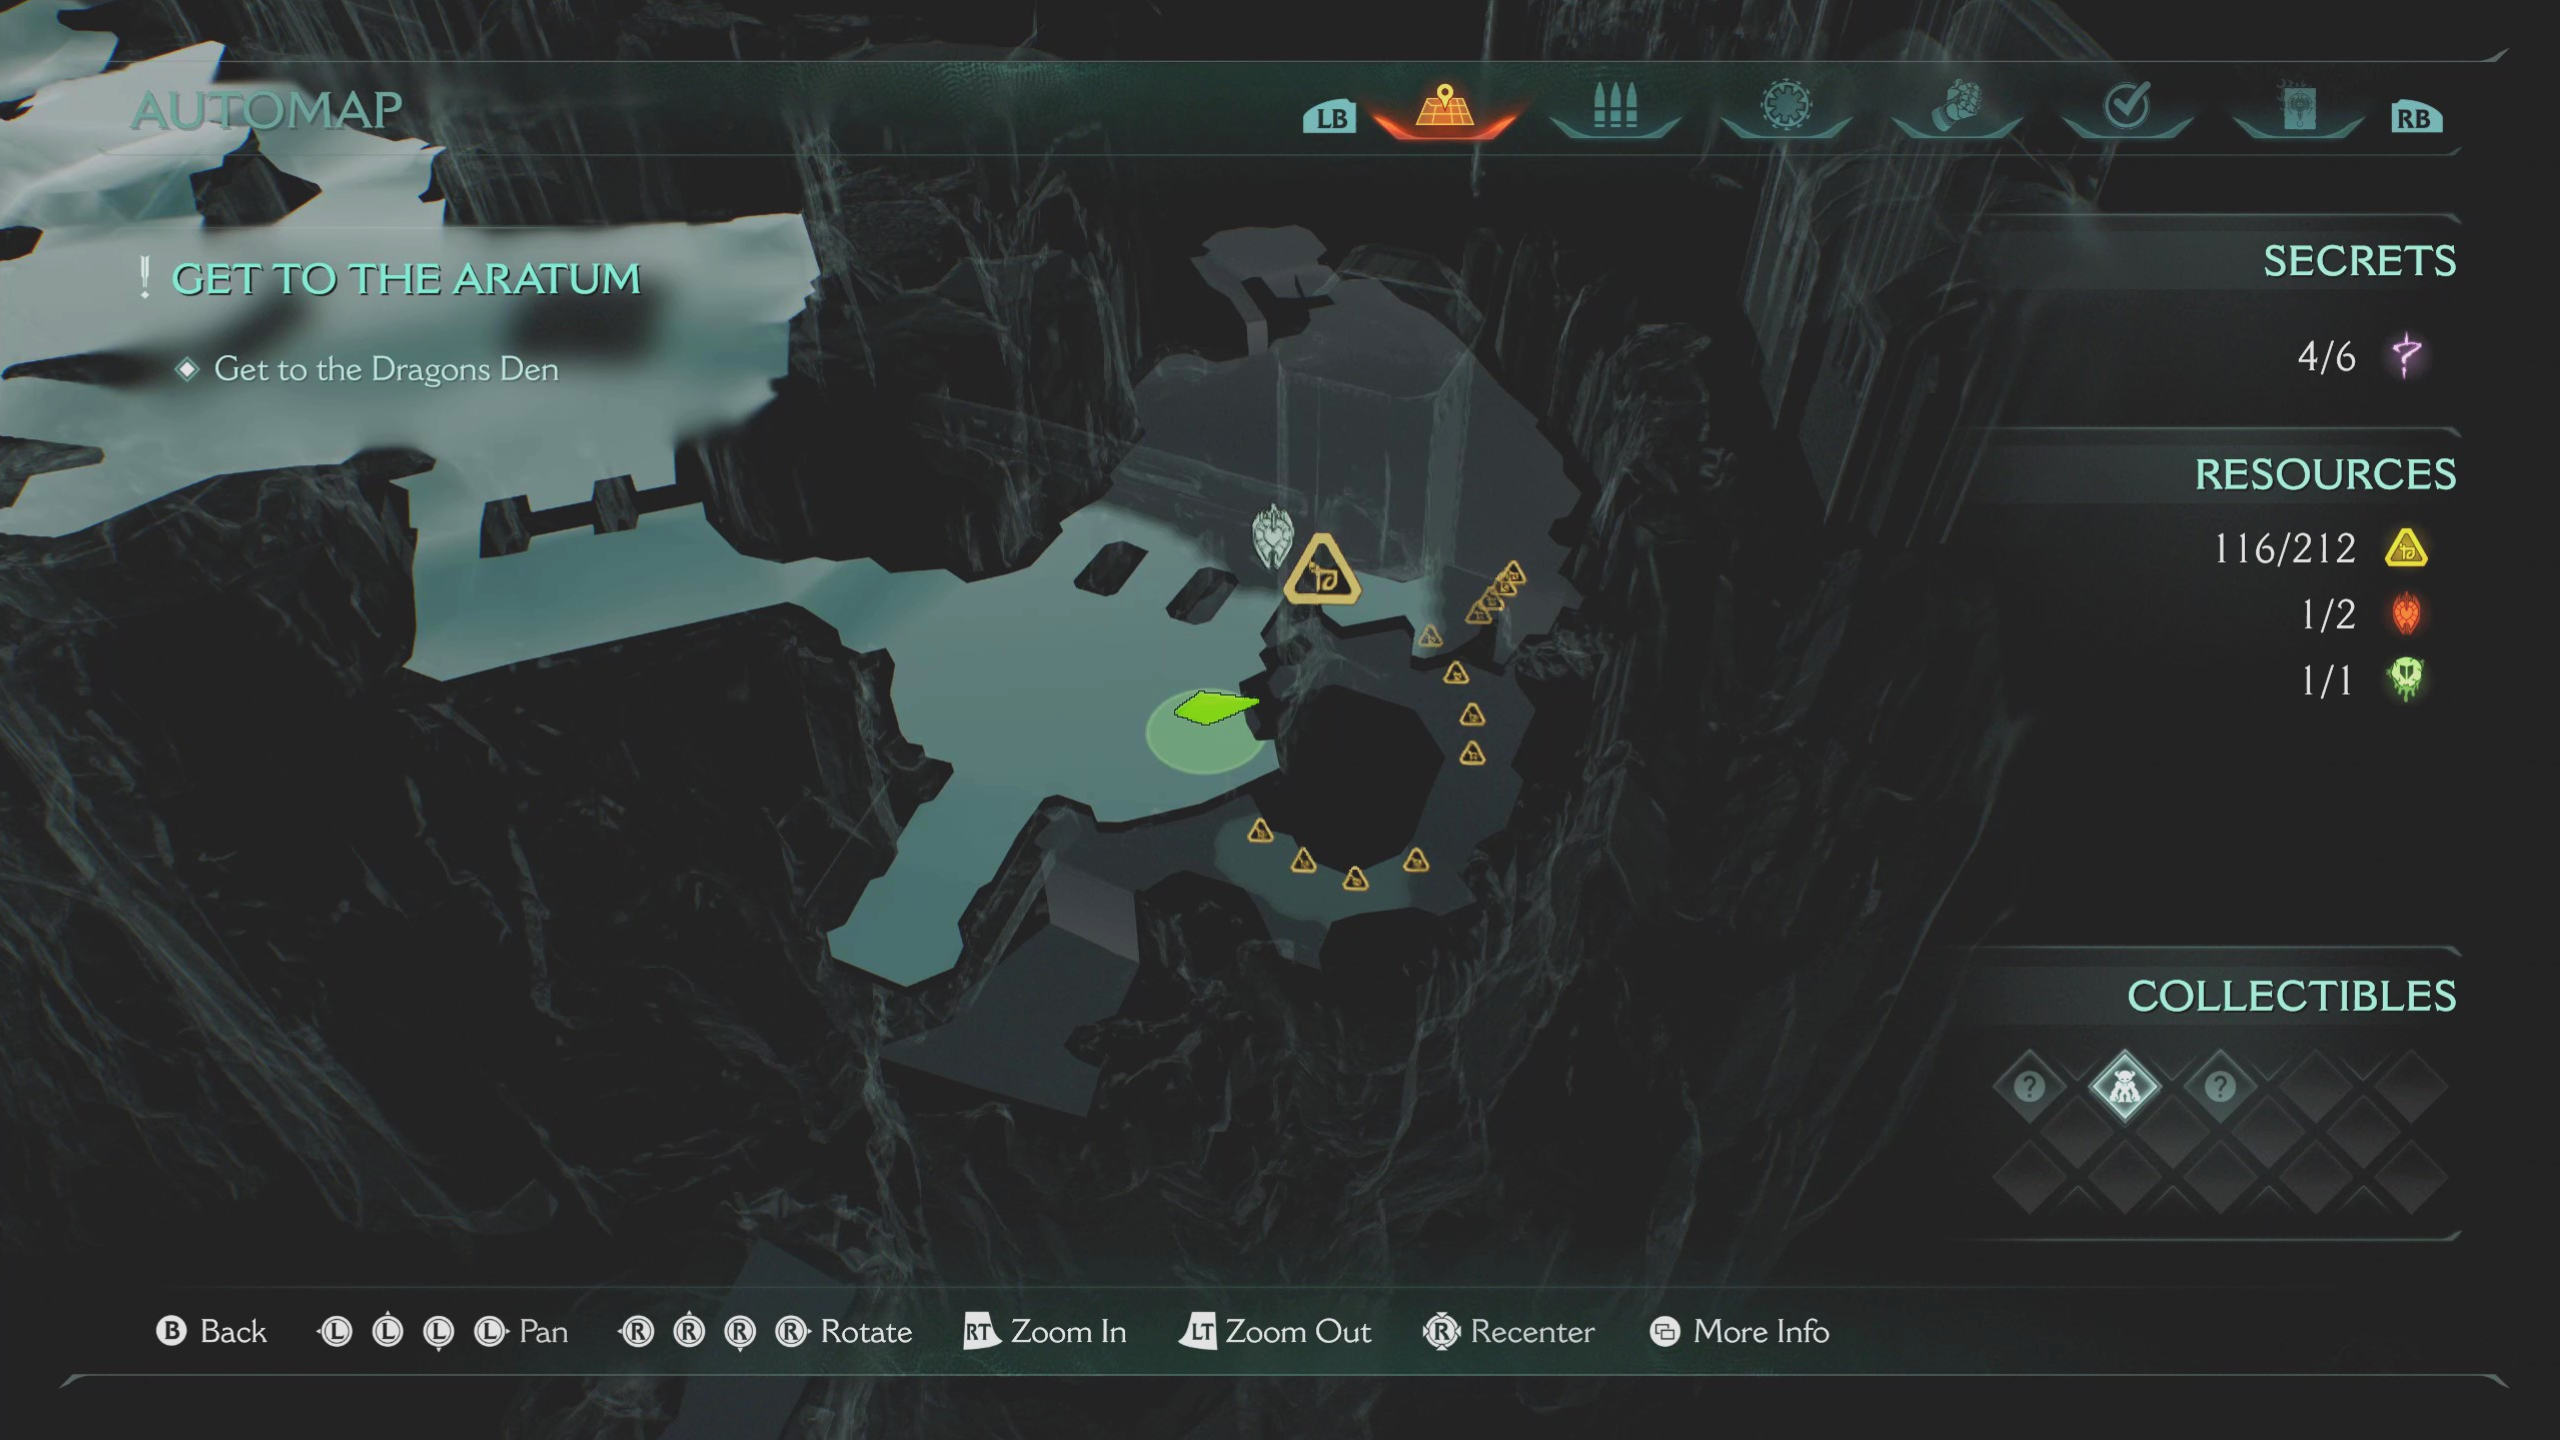
Once you beat the Mancubus miniboss, you’ll need to head into the next area, where a ship will crash into a tower at the other end of a large bridge. Before crossing the bridge, you’ll no doubt see the shiny pile of gold on the ledge above and a ruby behind a locked gate. To access both goodies:
- Drop down onto the bridge and then immediately turn around
- Jump to the cliff edge concealed beneath the bridge
- Kill the enemies inside the cave and avoid the fireballs
- Climb up the ledges at the back of the cave to reach the gated courtyard
- Grab the ruby and then head up the hill on the left to grab the gold and continue the mission
For some odd reason it’s not considered a secret or a collectible, but there’s also a gold chest inside the tower across the bridge that was hit by the ship.
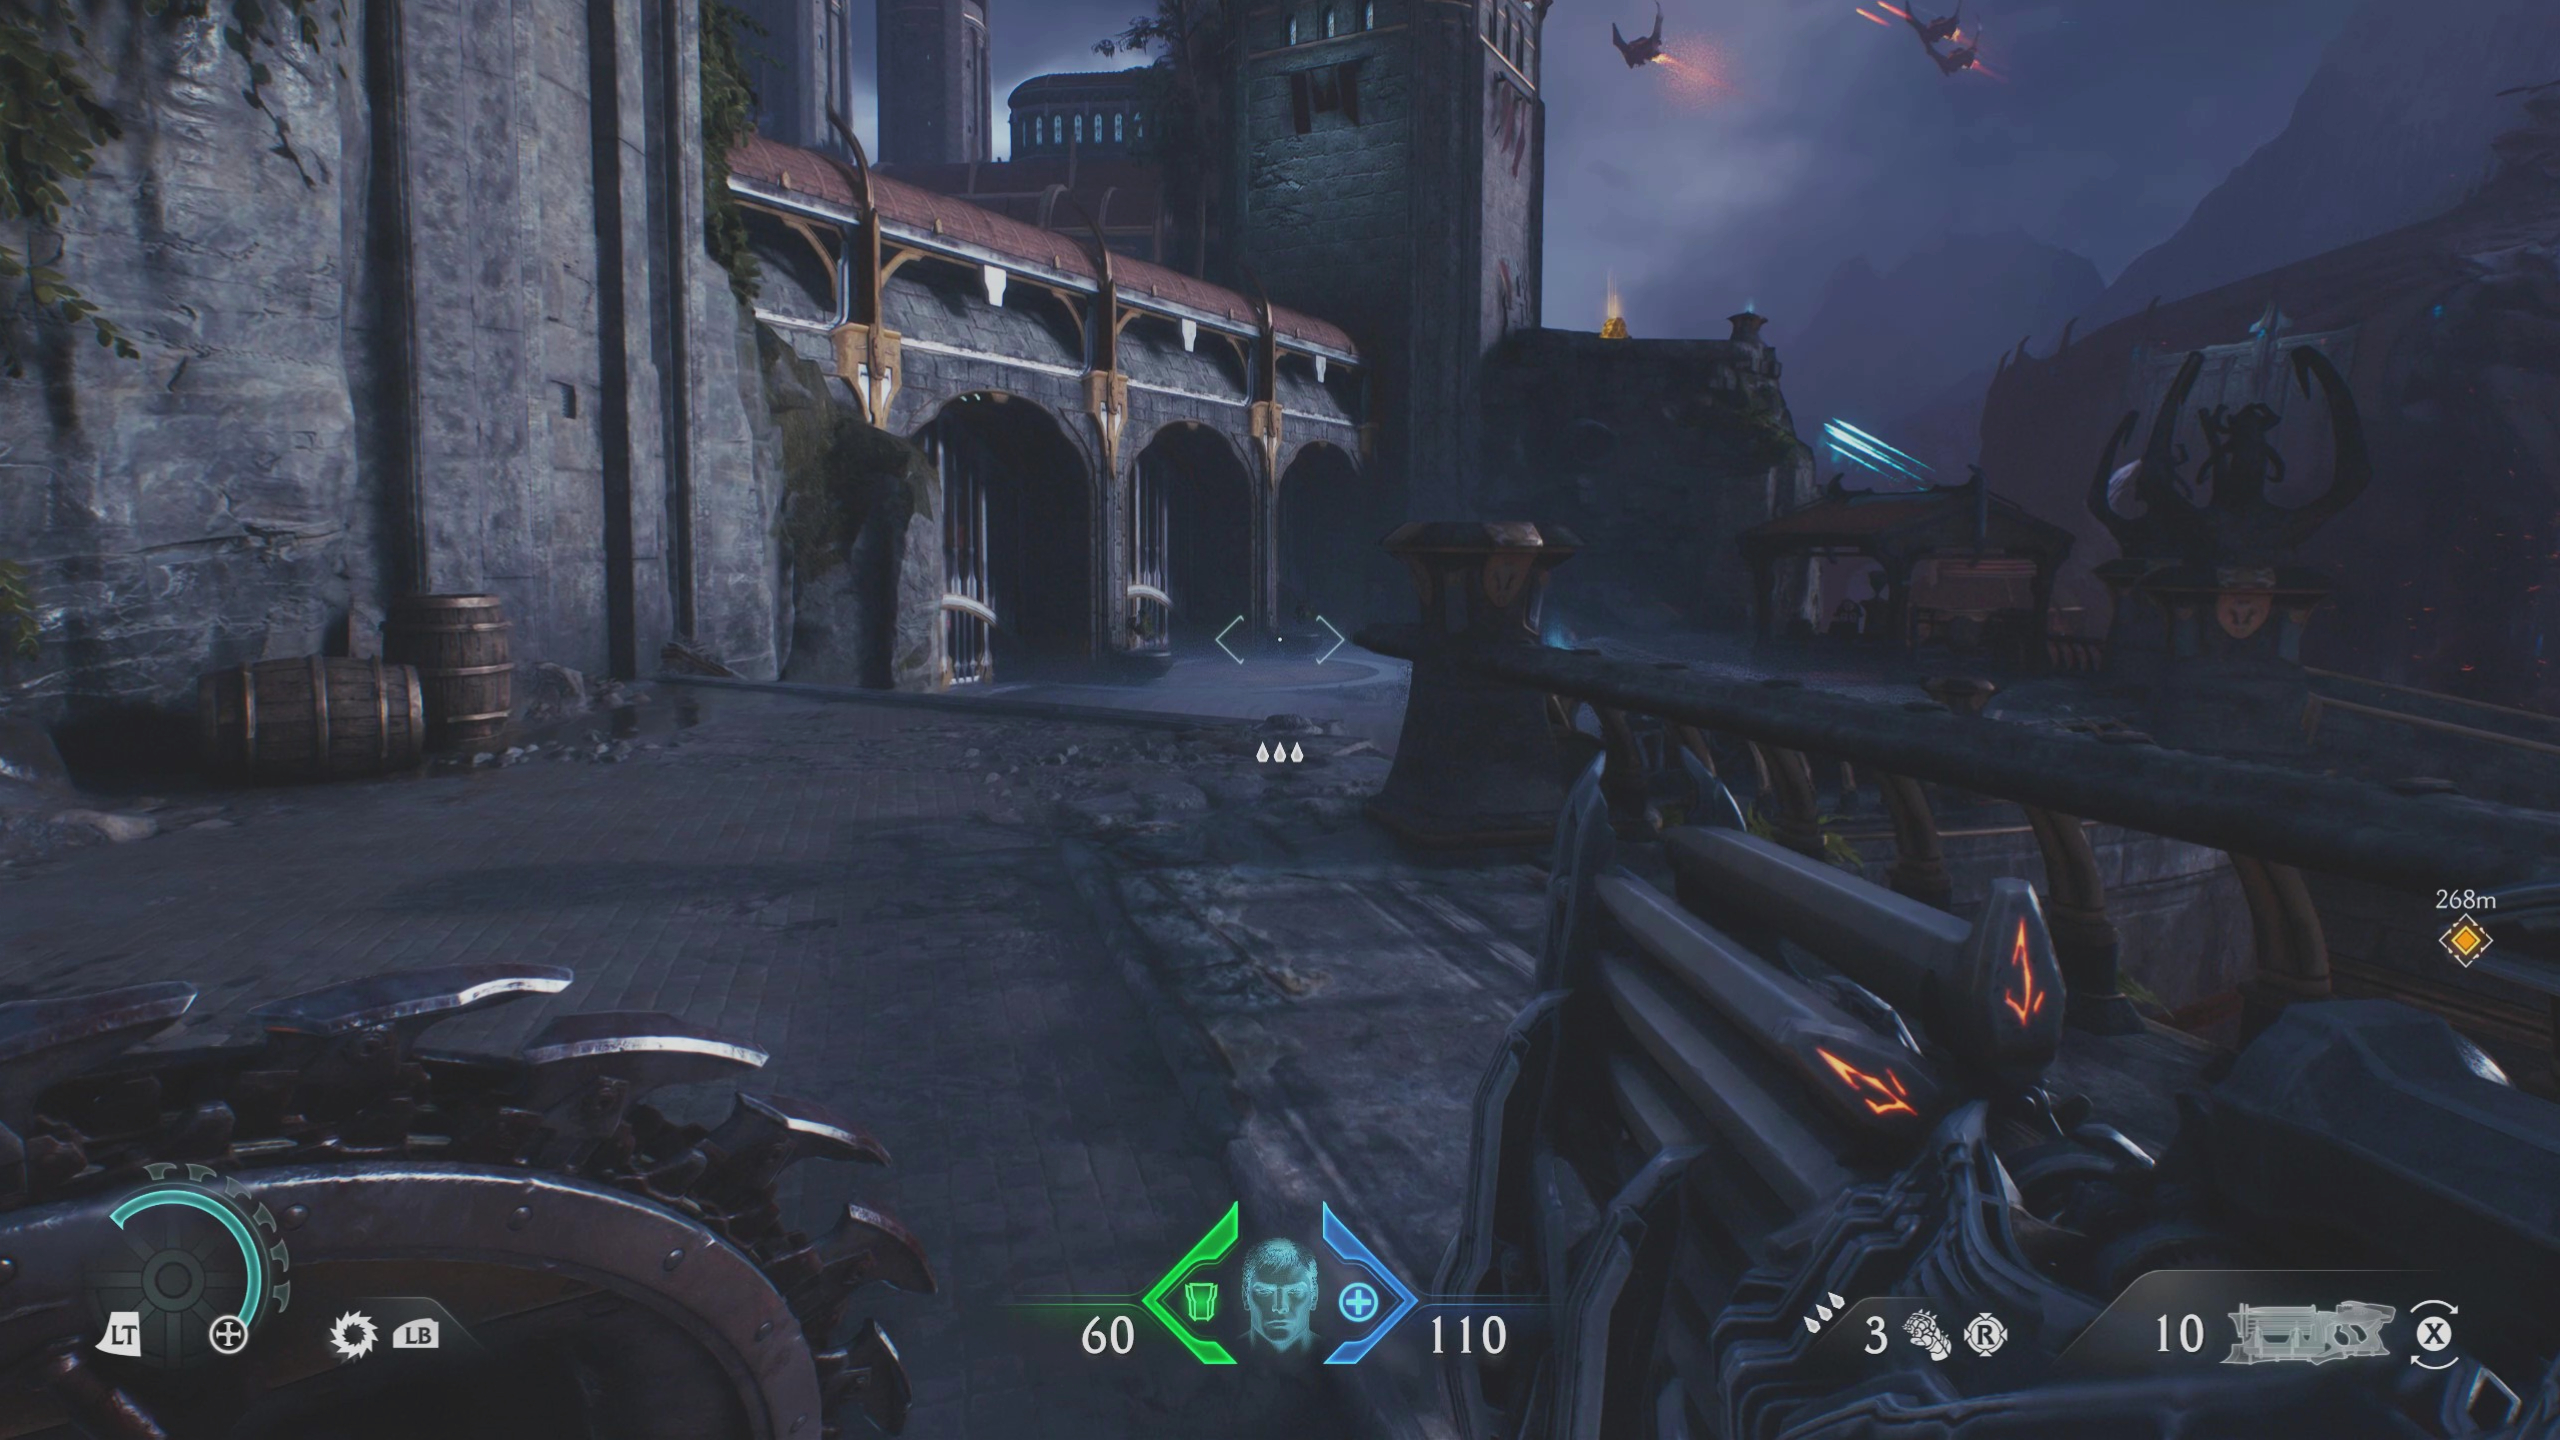
6 – Nightmare Accelerator weapon skin (collectible)
The penultimate present left for you is the Nightmare Accelerator weapon skin towards the very end of the mission. On the way to the Dragon’s Den after crossing the aforementioned bridge, you’ll drop down into another small area of the city. Before taking the plunge into a demon-infested pit at the point-of-no-return, turn right and head up the ramp dotted with gold bar breadcrumbs. At the top, you’ll find a bunch of NPCs and the secret weapon skin.
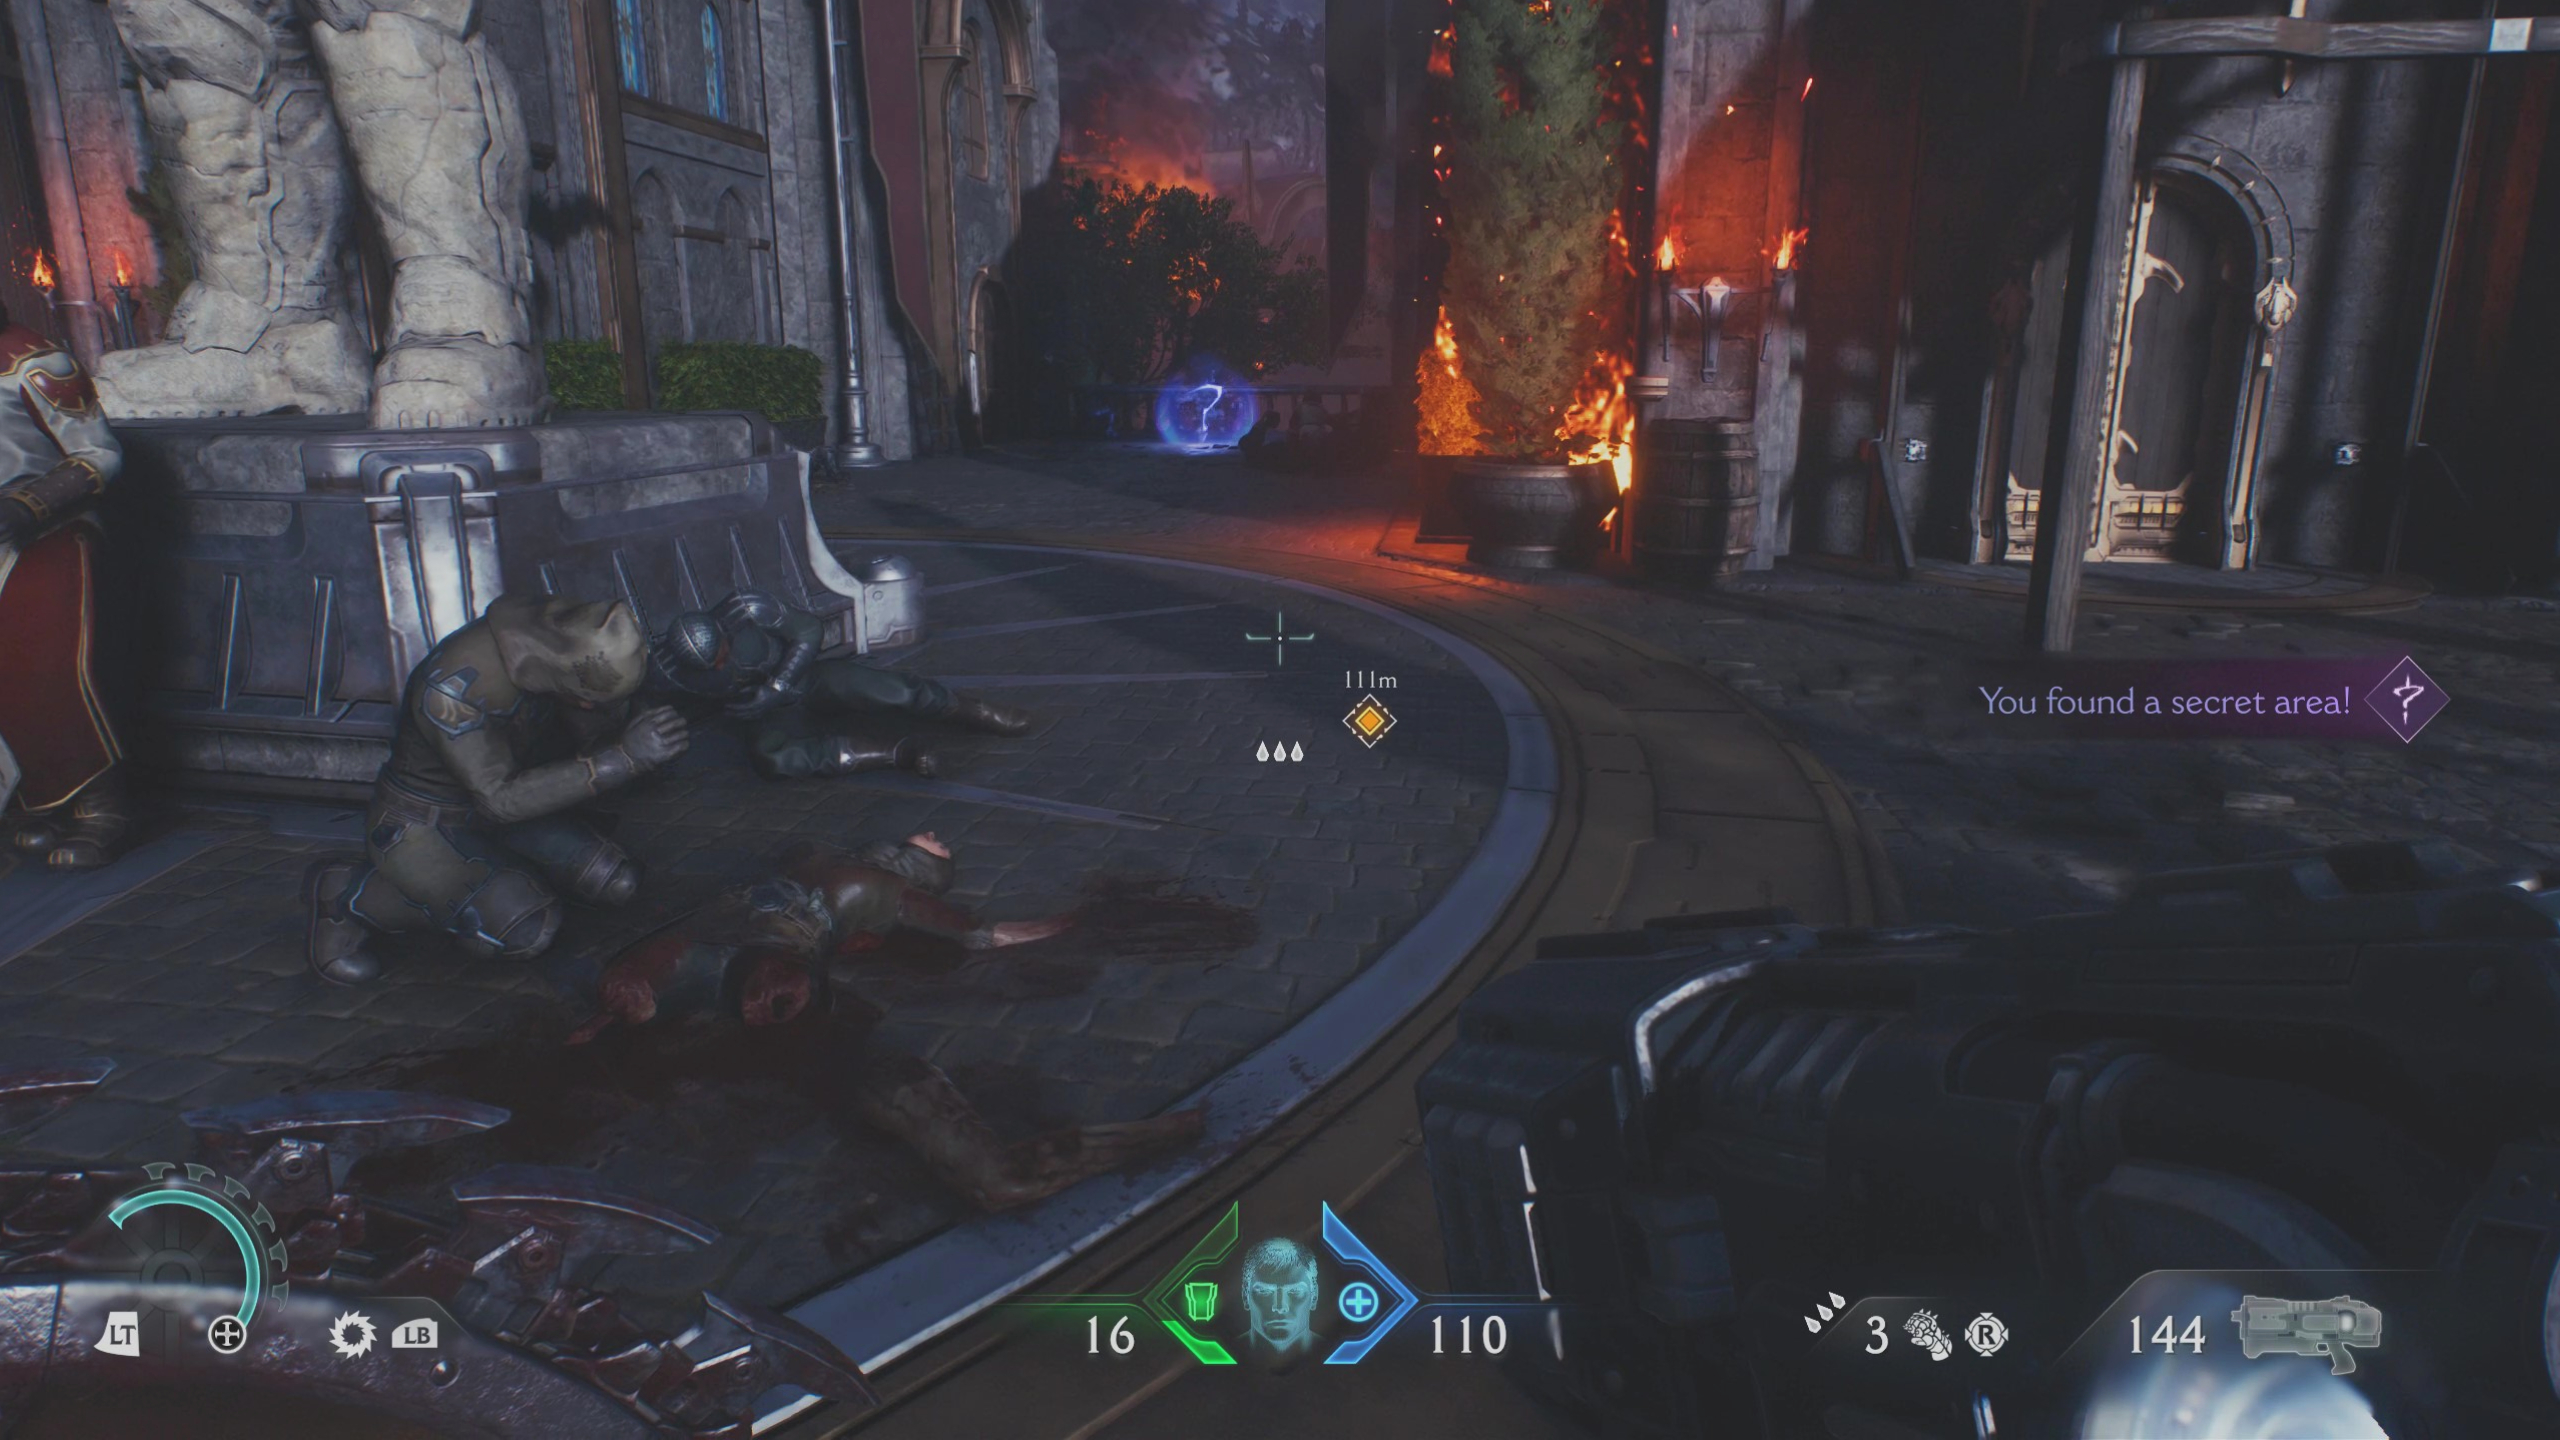
7 – Sentinel Barracks codex (collectible)


The final secret is right at the end of the mission, which is a pain if you miss it on your first run through the mission. Just before the second Sentinel Shrine, outside the Dragon’s Den, turn left to find a codex next to the burning tree at the end of the alleyway.

Best Doom The Dark Ages weapons: Superior firepower
Best Doom The Dark Ages Sentinel Shrine upgrades: Gear up