Speed through A Wound in Time and Burning Trail for that sweet, sweet deluxe edition content.
So, you forked out for the Oblivion Remastered deluxe edition content and are now left clueless about how to actually claim your in-game bonuses. Unlike most games, you’re given no hints as to where you have to go to get your hands on it. After exploring Cyrodiil, I’ve figured out that these special items are actually rewards for completing new questlines: Burning Trail and A Wound in Time.
You might expect exclusive deluxe edition quests to be added to your quest log automatically, as that’s what most games would do, but that’s not the case here. These quests are easy to miss, and you could go hours and hours before finding them, if indeed you find them at all. Below, I’ll go over each of the questlines you need to complete to get your bonus items, including how to start and finish them, as even that’s a tricky task.
How to get the Oblivion Remastered deluxe edition content
The Oblivion Remastered deluxe edition includes four new quests for exclusive Akatosh and Mehrunes Dagon armour sets, weapons, and horse armour:
- The Akatosh gear is earned from the A Wound in Time questline
- The Mehrunes Dagon gear is earned from the Burning Trail questline
You can start these quests as soon as you leave the Imperial City Sewers, where the story begins. In fact, I recommend completing these new quests early on so that you can get some swanky weapons and armour to use while you go about saving Cyrodiil.
Oblivion Remastered: A Wound in Time walkthrough
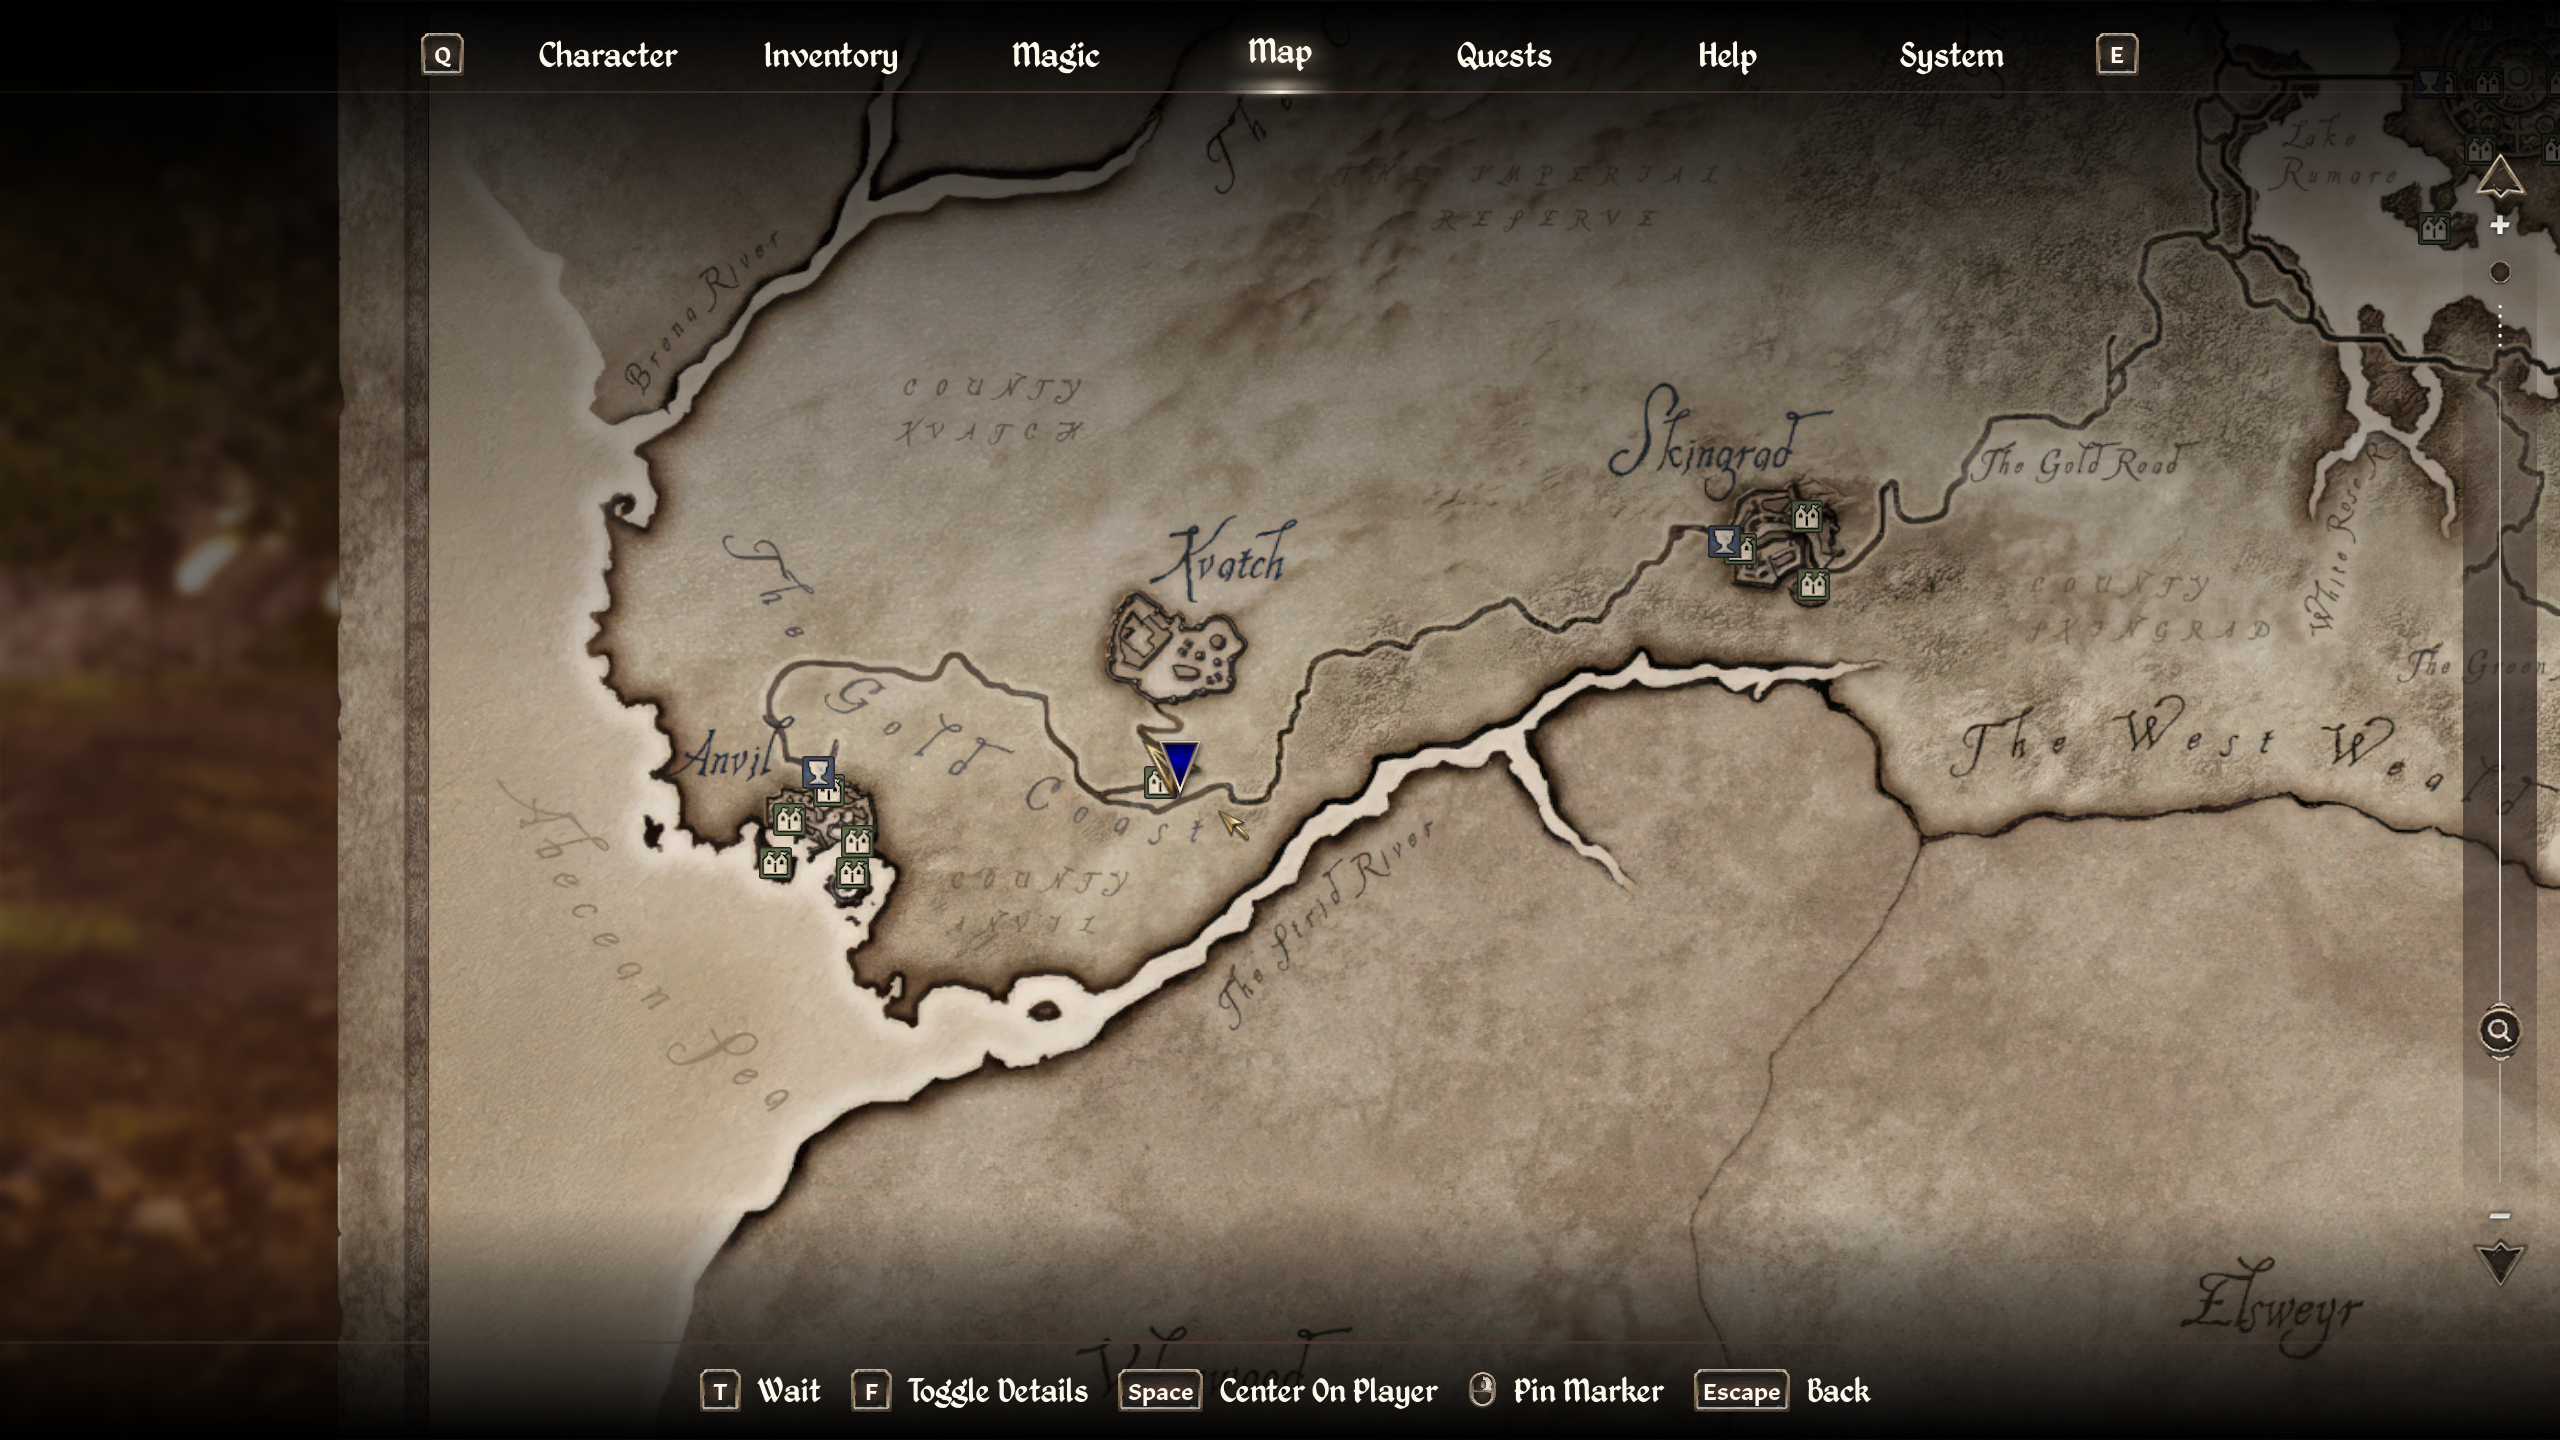
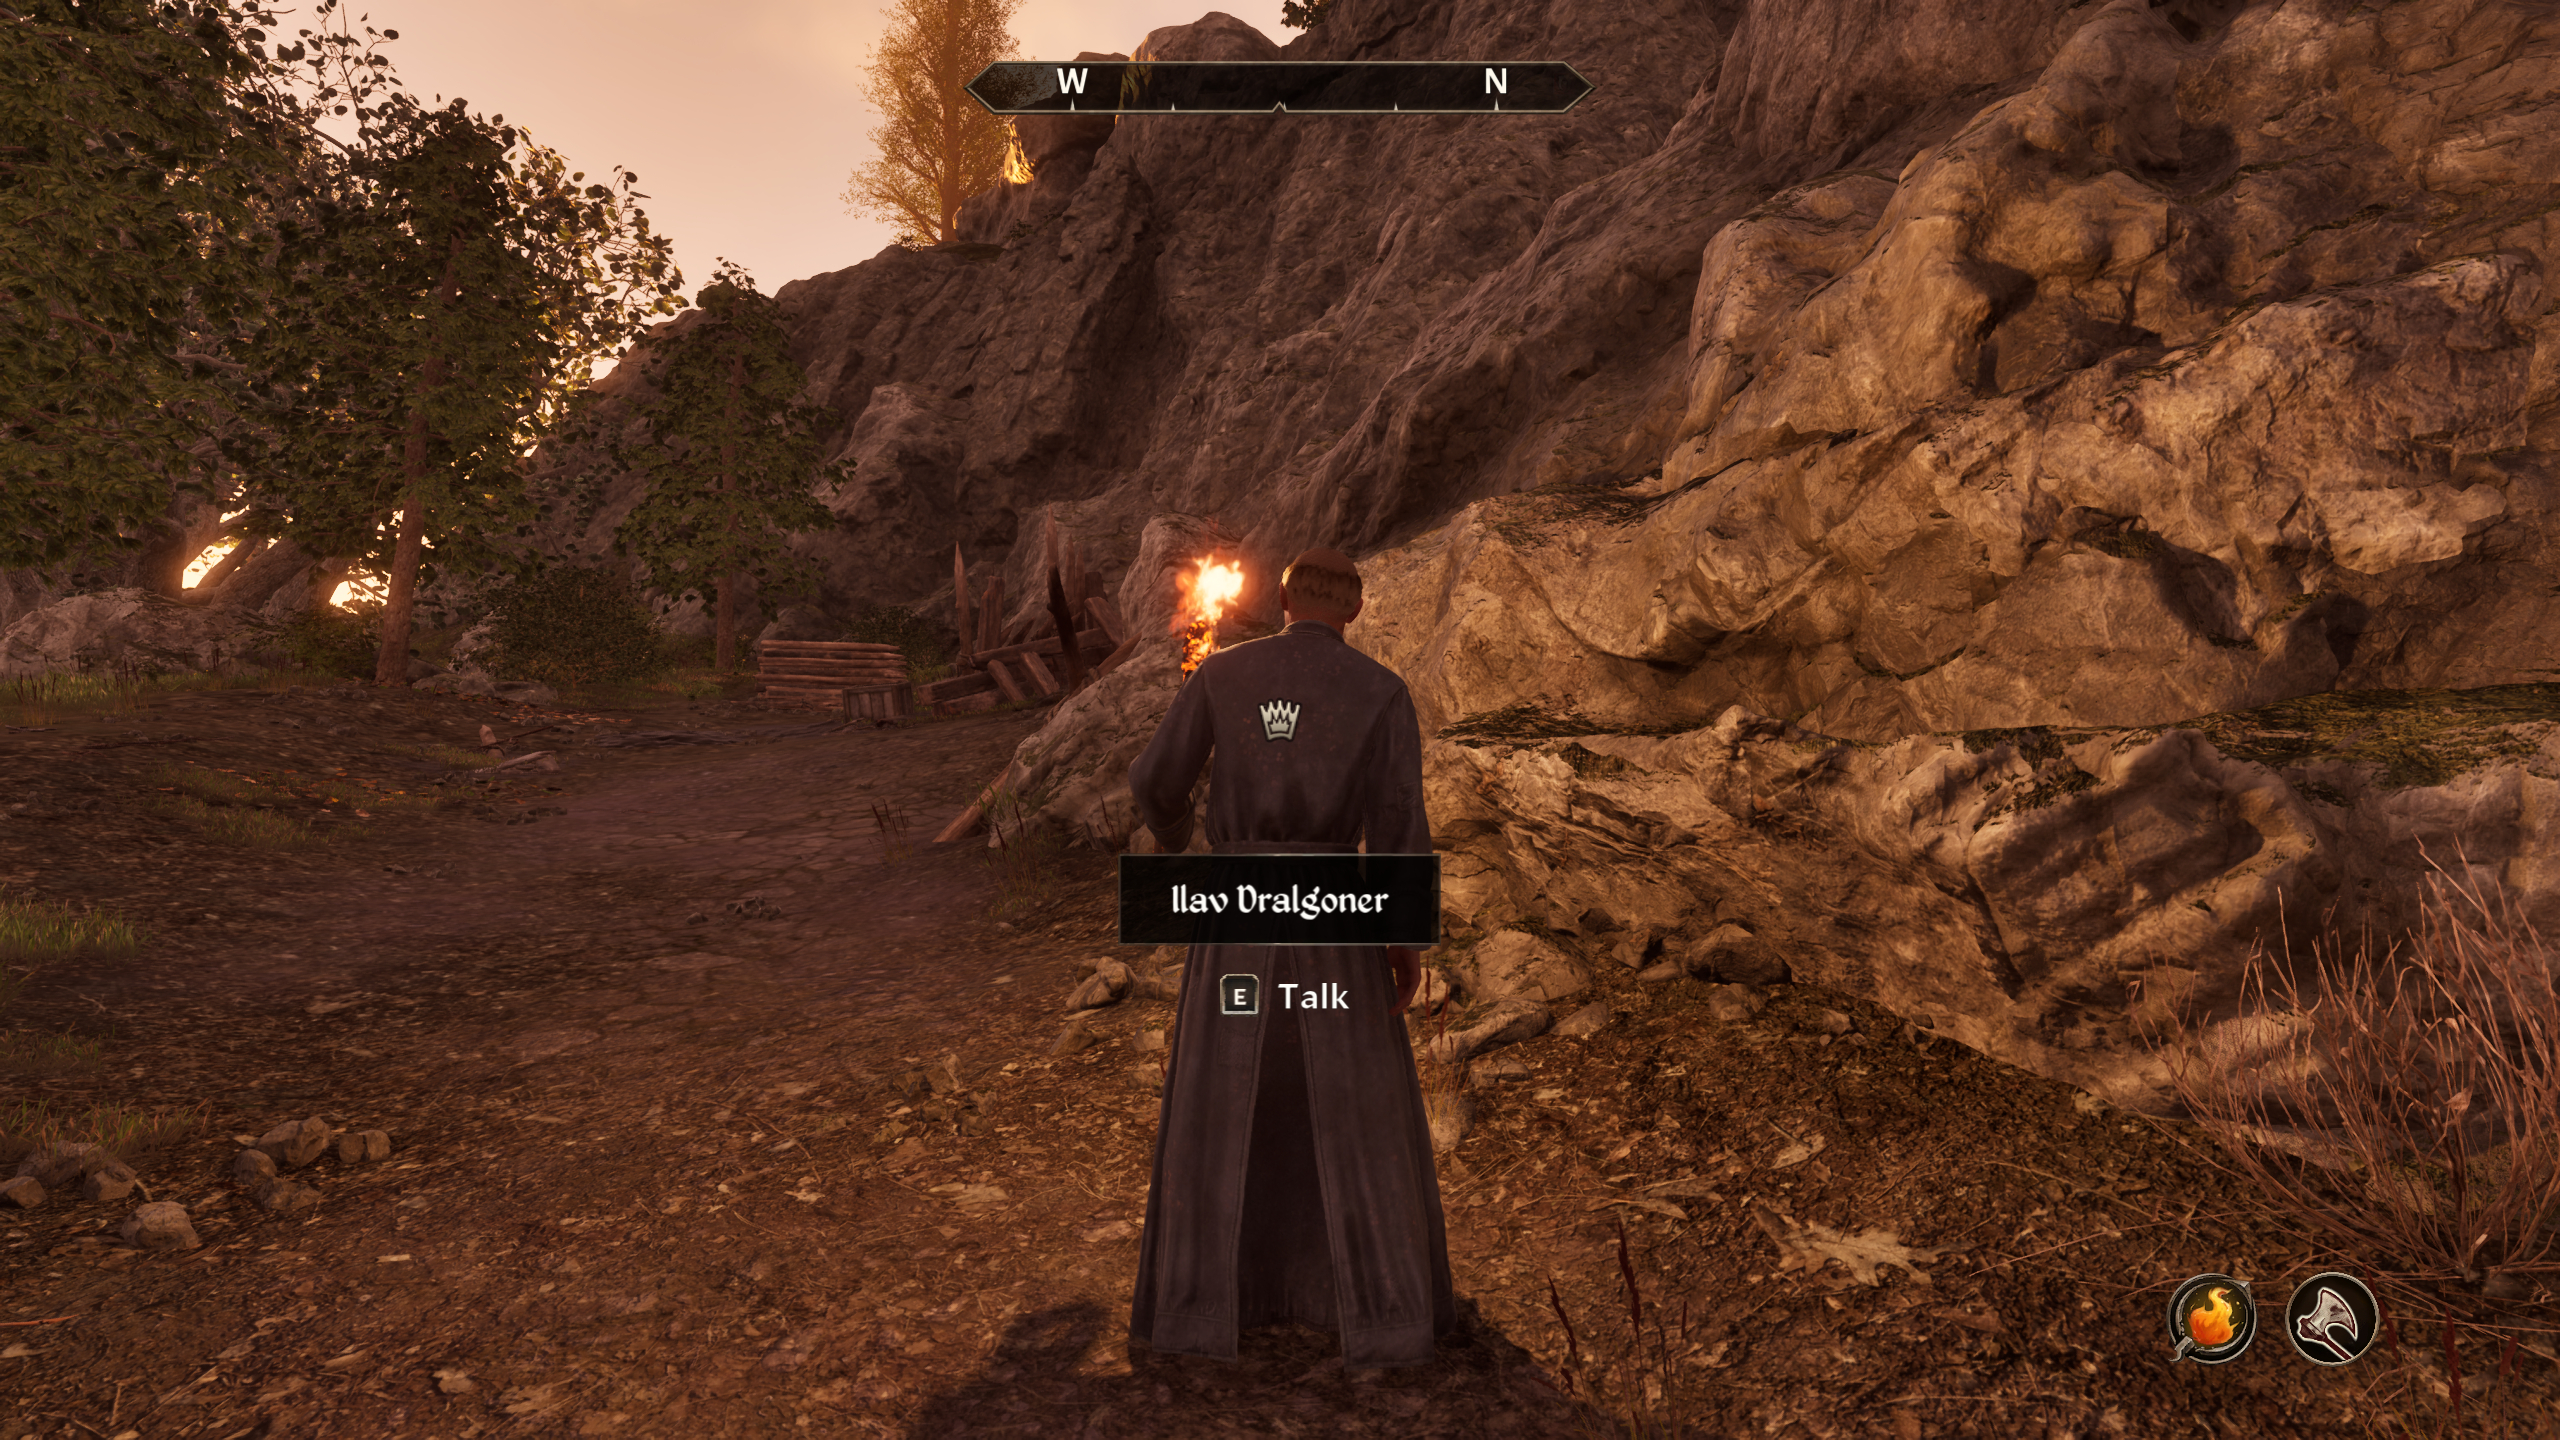
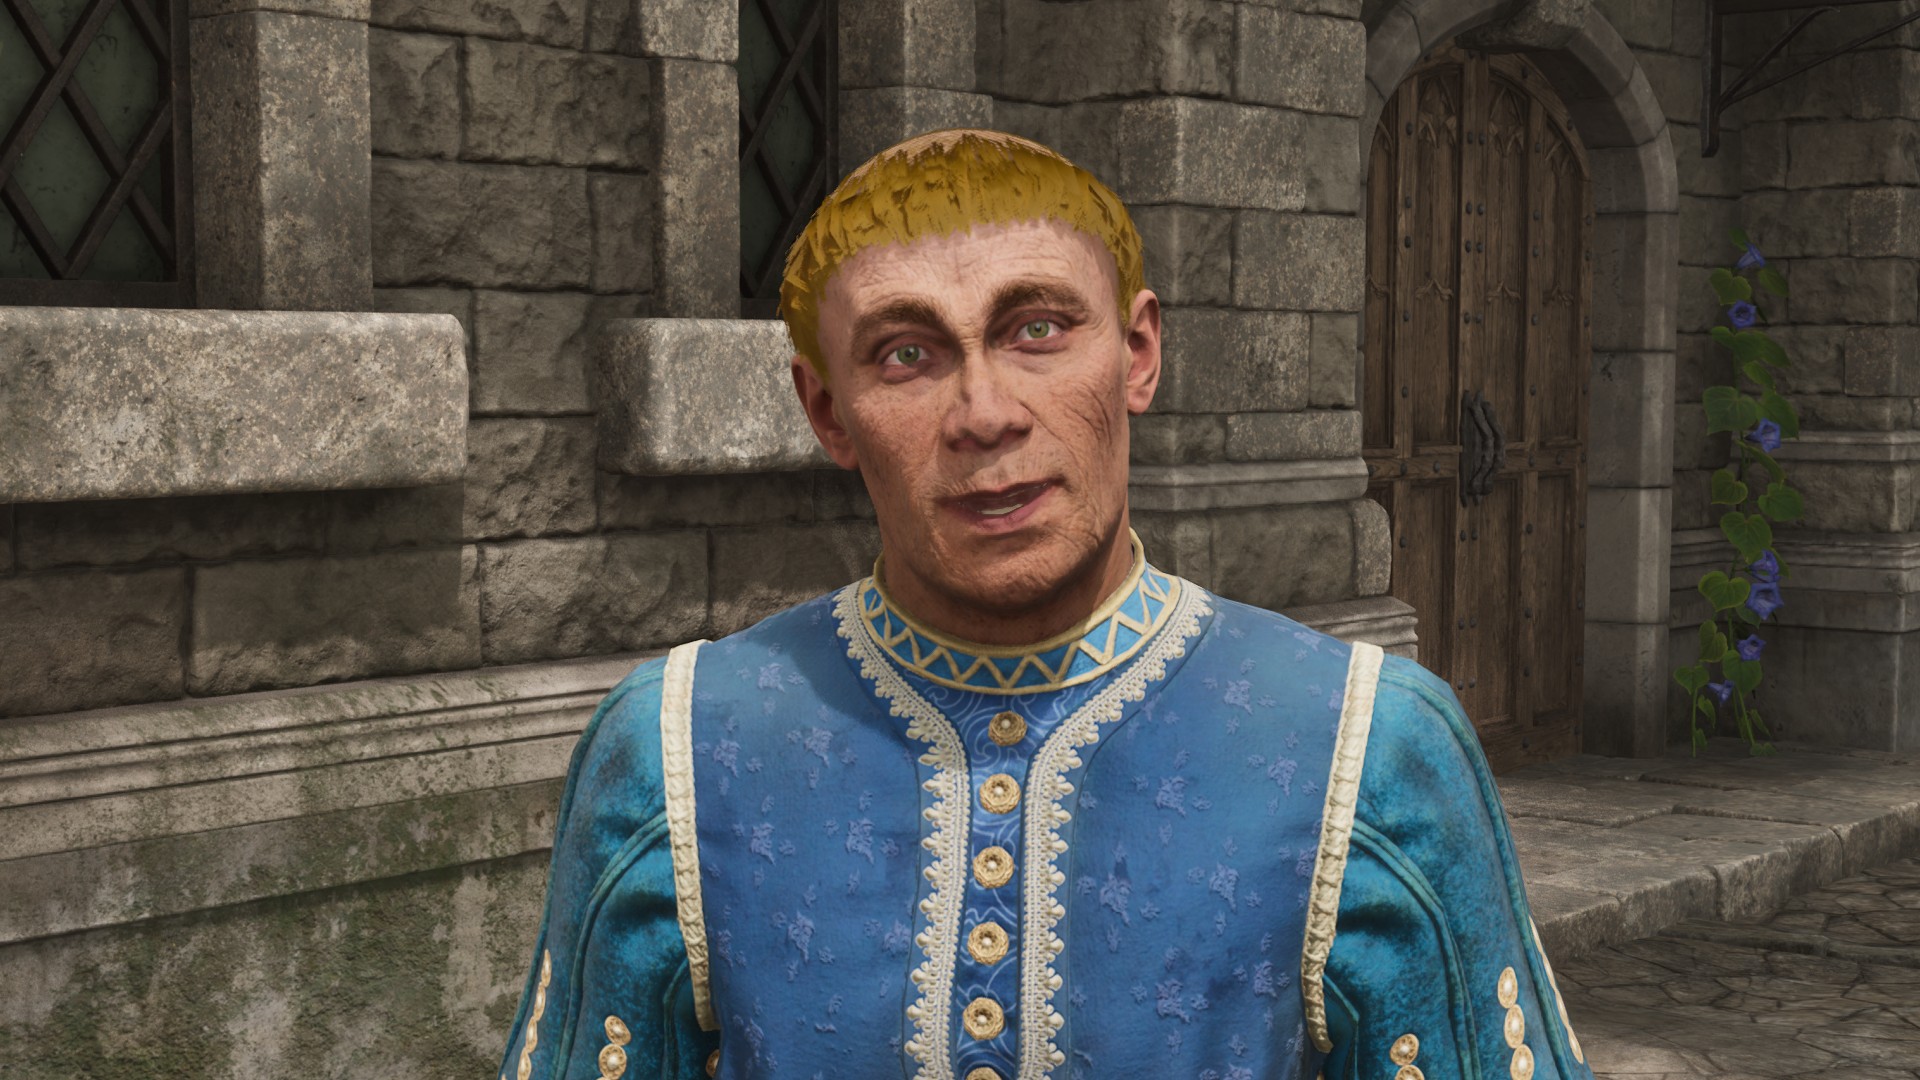
To get the Akatosh gear, you’ll need to complete the A Wound in Time quest and its sequel, Saving Time Itself. To start A Wound in Time, speak to Ilav Dralgoner, a priest outside the Kvatch refugee camp on the road leading to the city.
This questline is much more linear and map-marker-laden than its Mehrunes Dagon counterpart, but here’s a step-by-step guide to complete it:
- Speak to Ilav and exhaust his dialogue. Eventually, you’ll be able to ask about disappearances, which begins the A Wound in Time quest.
- Head to the Ayleid ruin Beldaburo to the west of Kvatch and go inside.
- Progress through this linear dungeon until you reach a door blocked by magic, at which point the quest will update.
- Return to Ilav and say “powerful magic”. He’ll then bless you, which completes the A Would in Time and automatically kicks off Saving Time Itself.
- Return to Beldaburo, where you can now pass the door blocked by magic to enter a new part of the ruin.
- Beat the Corelian Lich boss and loot the Elder Scroll from its body.
- Return to Ilav to complete Saving Time Itself, where you’ll then be made a Paladin of the Hour.
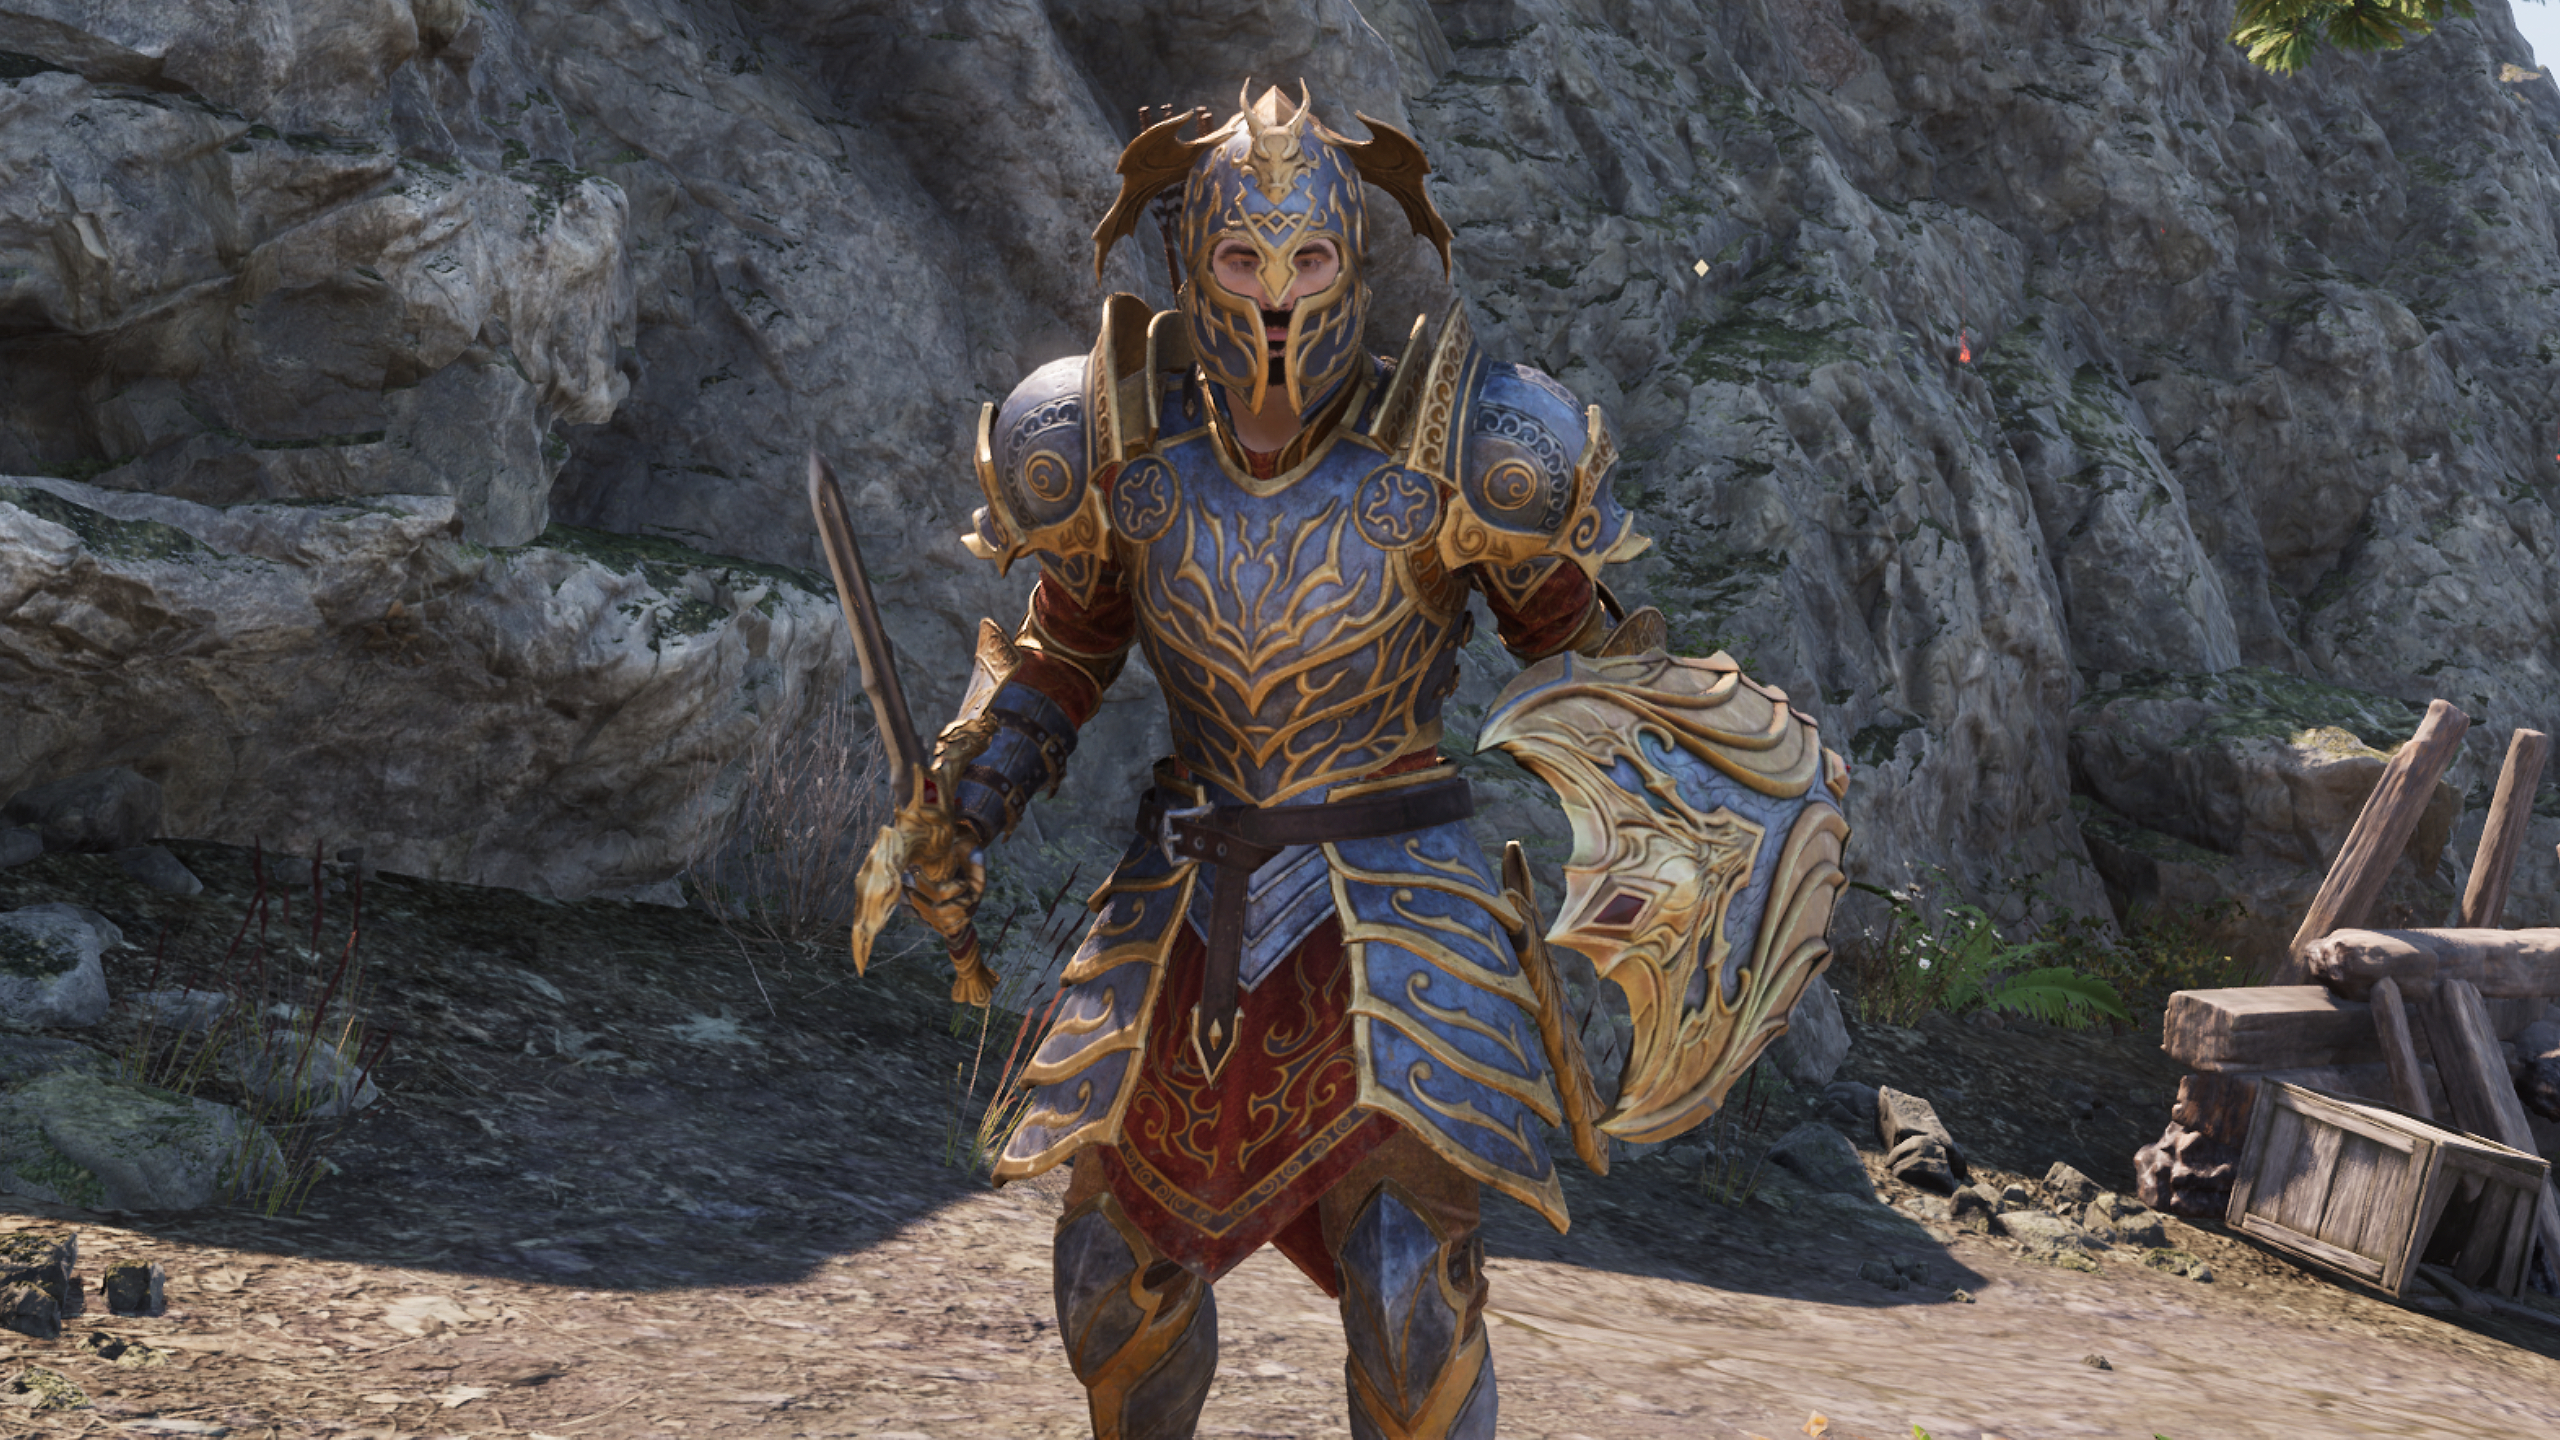
With both quests completed, you might be wondering where your loot is. To actually get the reward, you need to speak to Ilav again and say “equipment”. This lets you pick individual gear pieces or claim all of them in each category (you can repeat the dialogue for each category to get every item).
From experience, you won’t have enough carrying capacity for everything, so just pick the items you want to use for now. You can always return to Ilav to get more gear.
These are all the items you can get:
- Battle-Axe of Order
- Bow of Order
- Claymore of Order
- Dagger of Order
- Longsword of Order
- Mace of Order
- Shortsword of Order
- War Axe of Order
- Warhammer of Order
- Order armour set (available in heavy and light versions)
- Order horse armour set (available from Snak Gra-Bura at the Chestnut Handy Stables at the western exit of the Imperial City or any other stable)
Oblivion Remastered: Burning Trail walkthrough
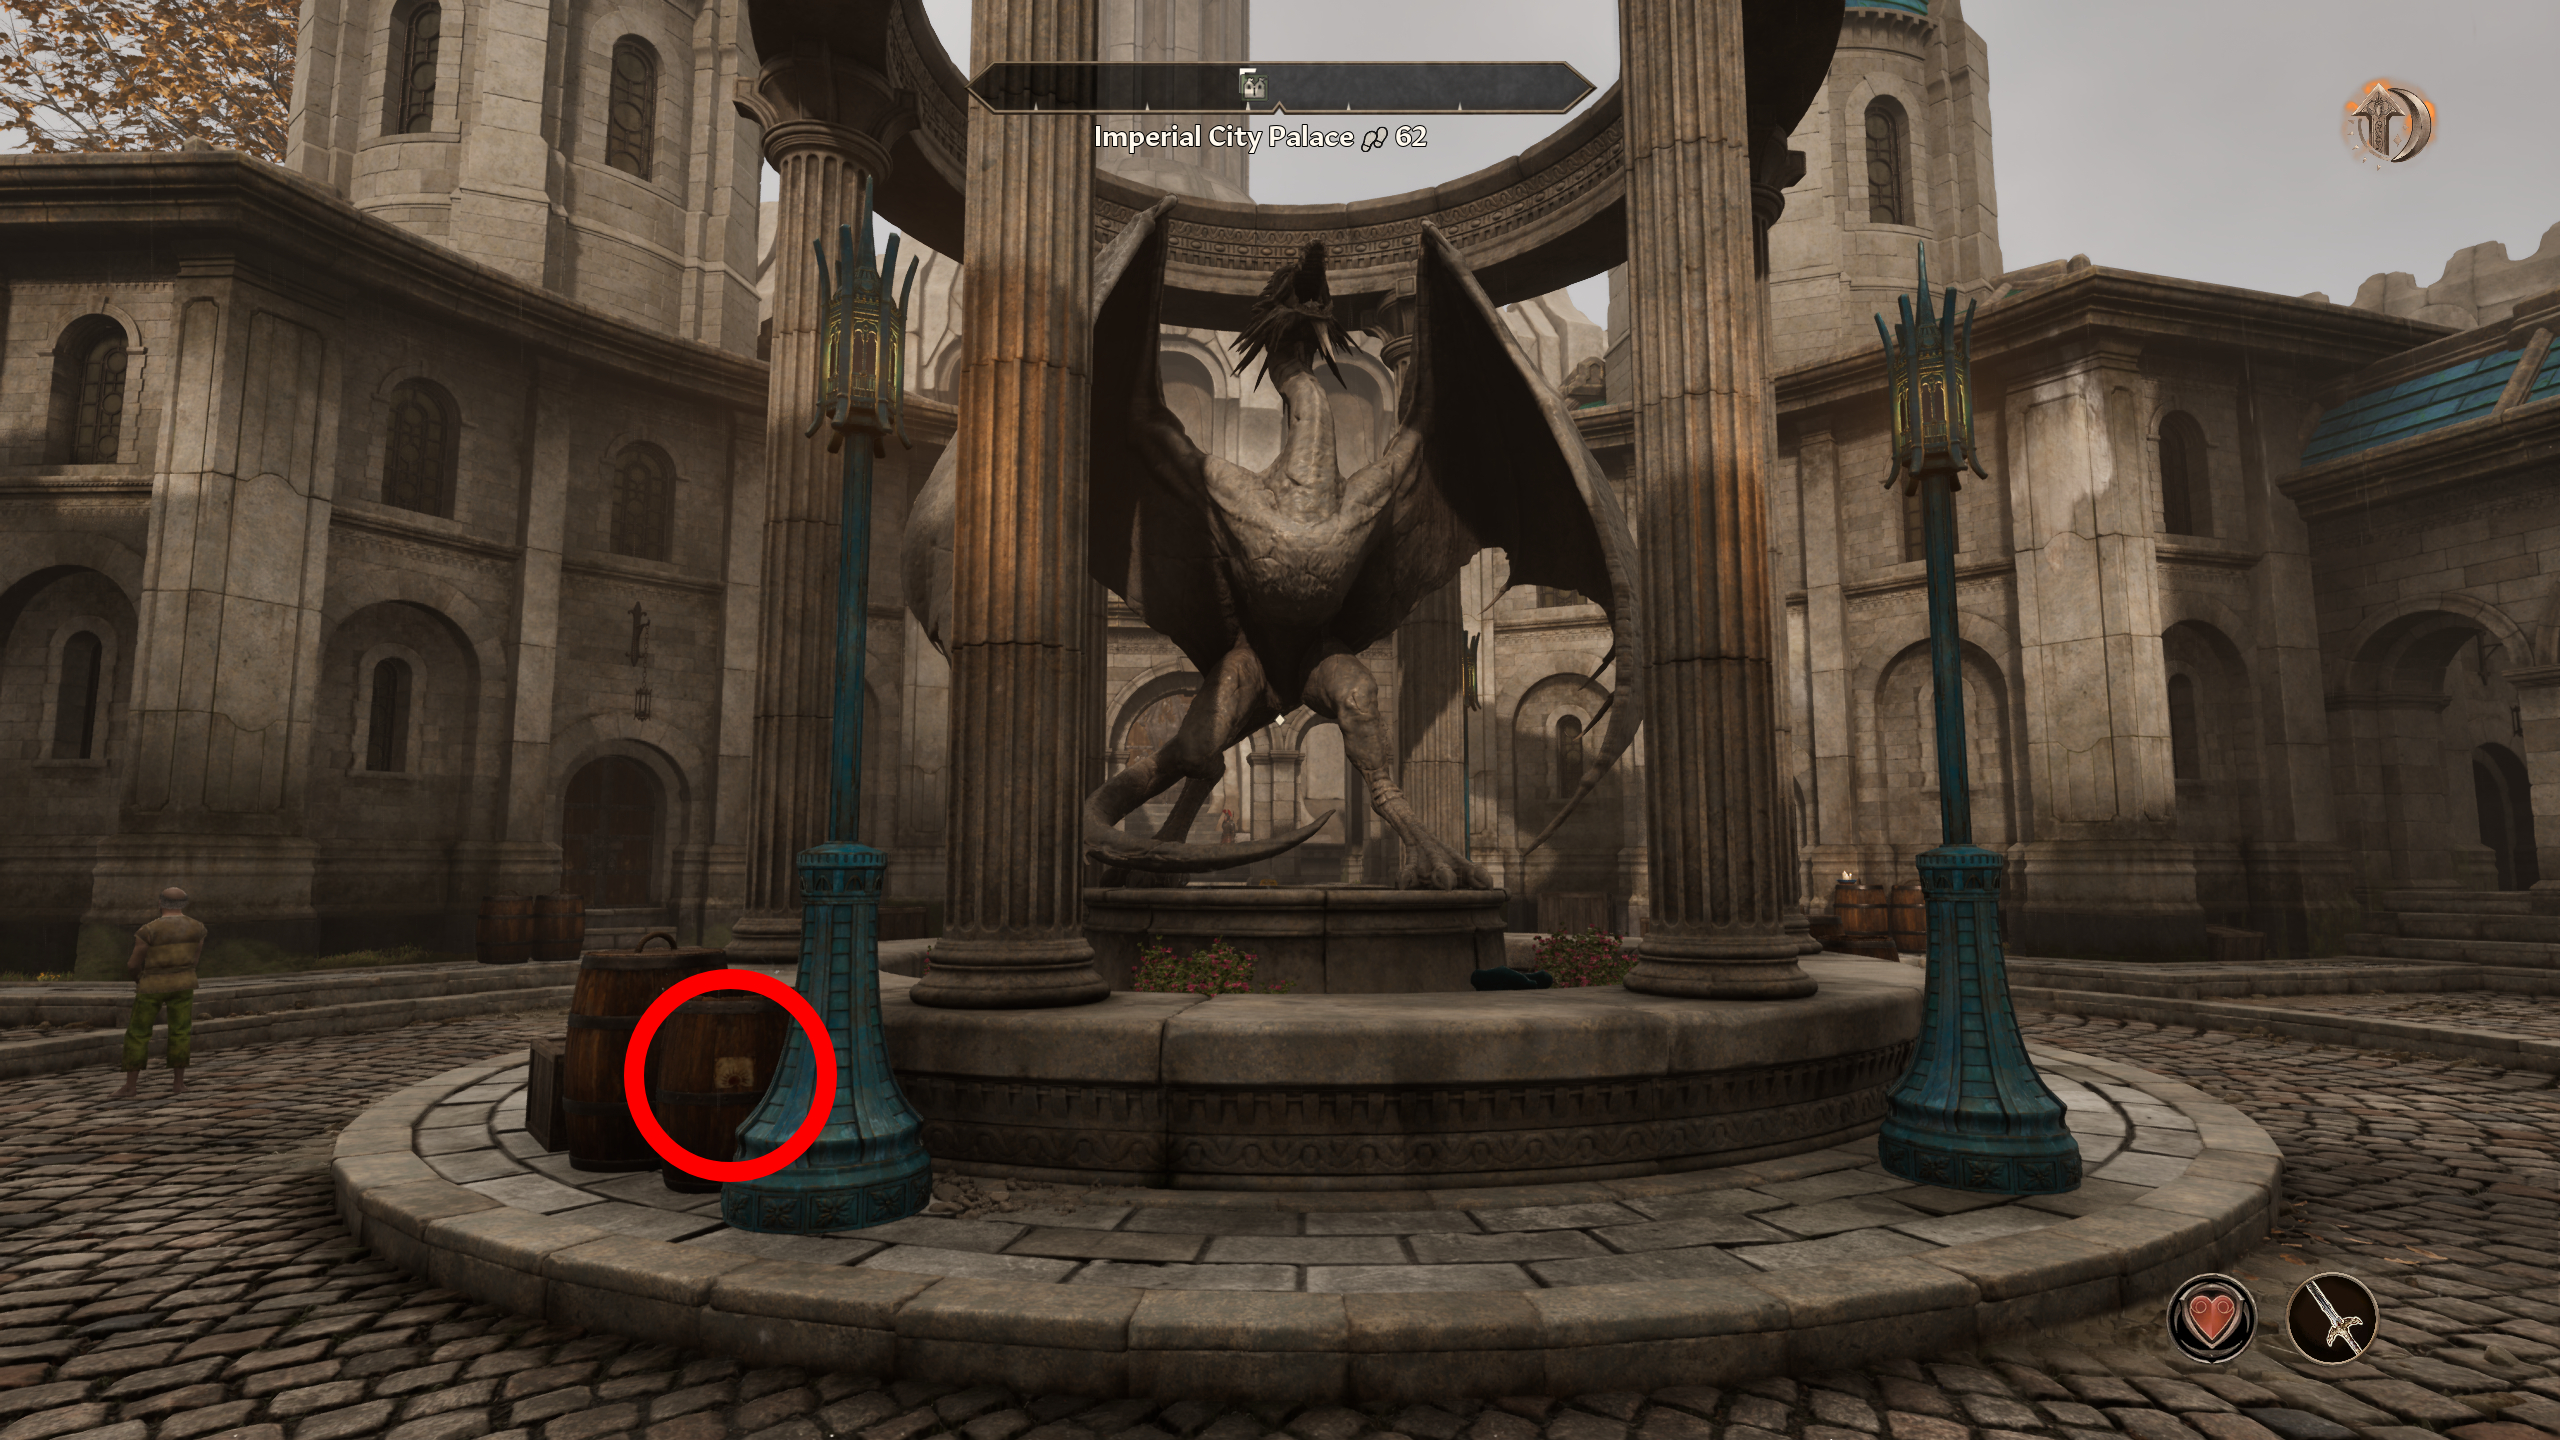
You’ll need to complete the Burning Trail quest and its follow-up The Crimson Cave to claim the Mehrunes Dagon-themed gear. To start Burning Trail, collect the Mythic Dawn pamphlet on the barrel to the left of the dragon statue in the Talos Plaza District of the Imperial City.
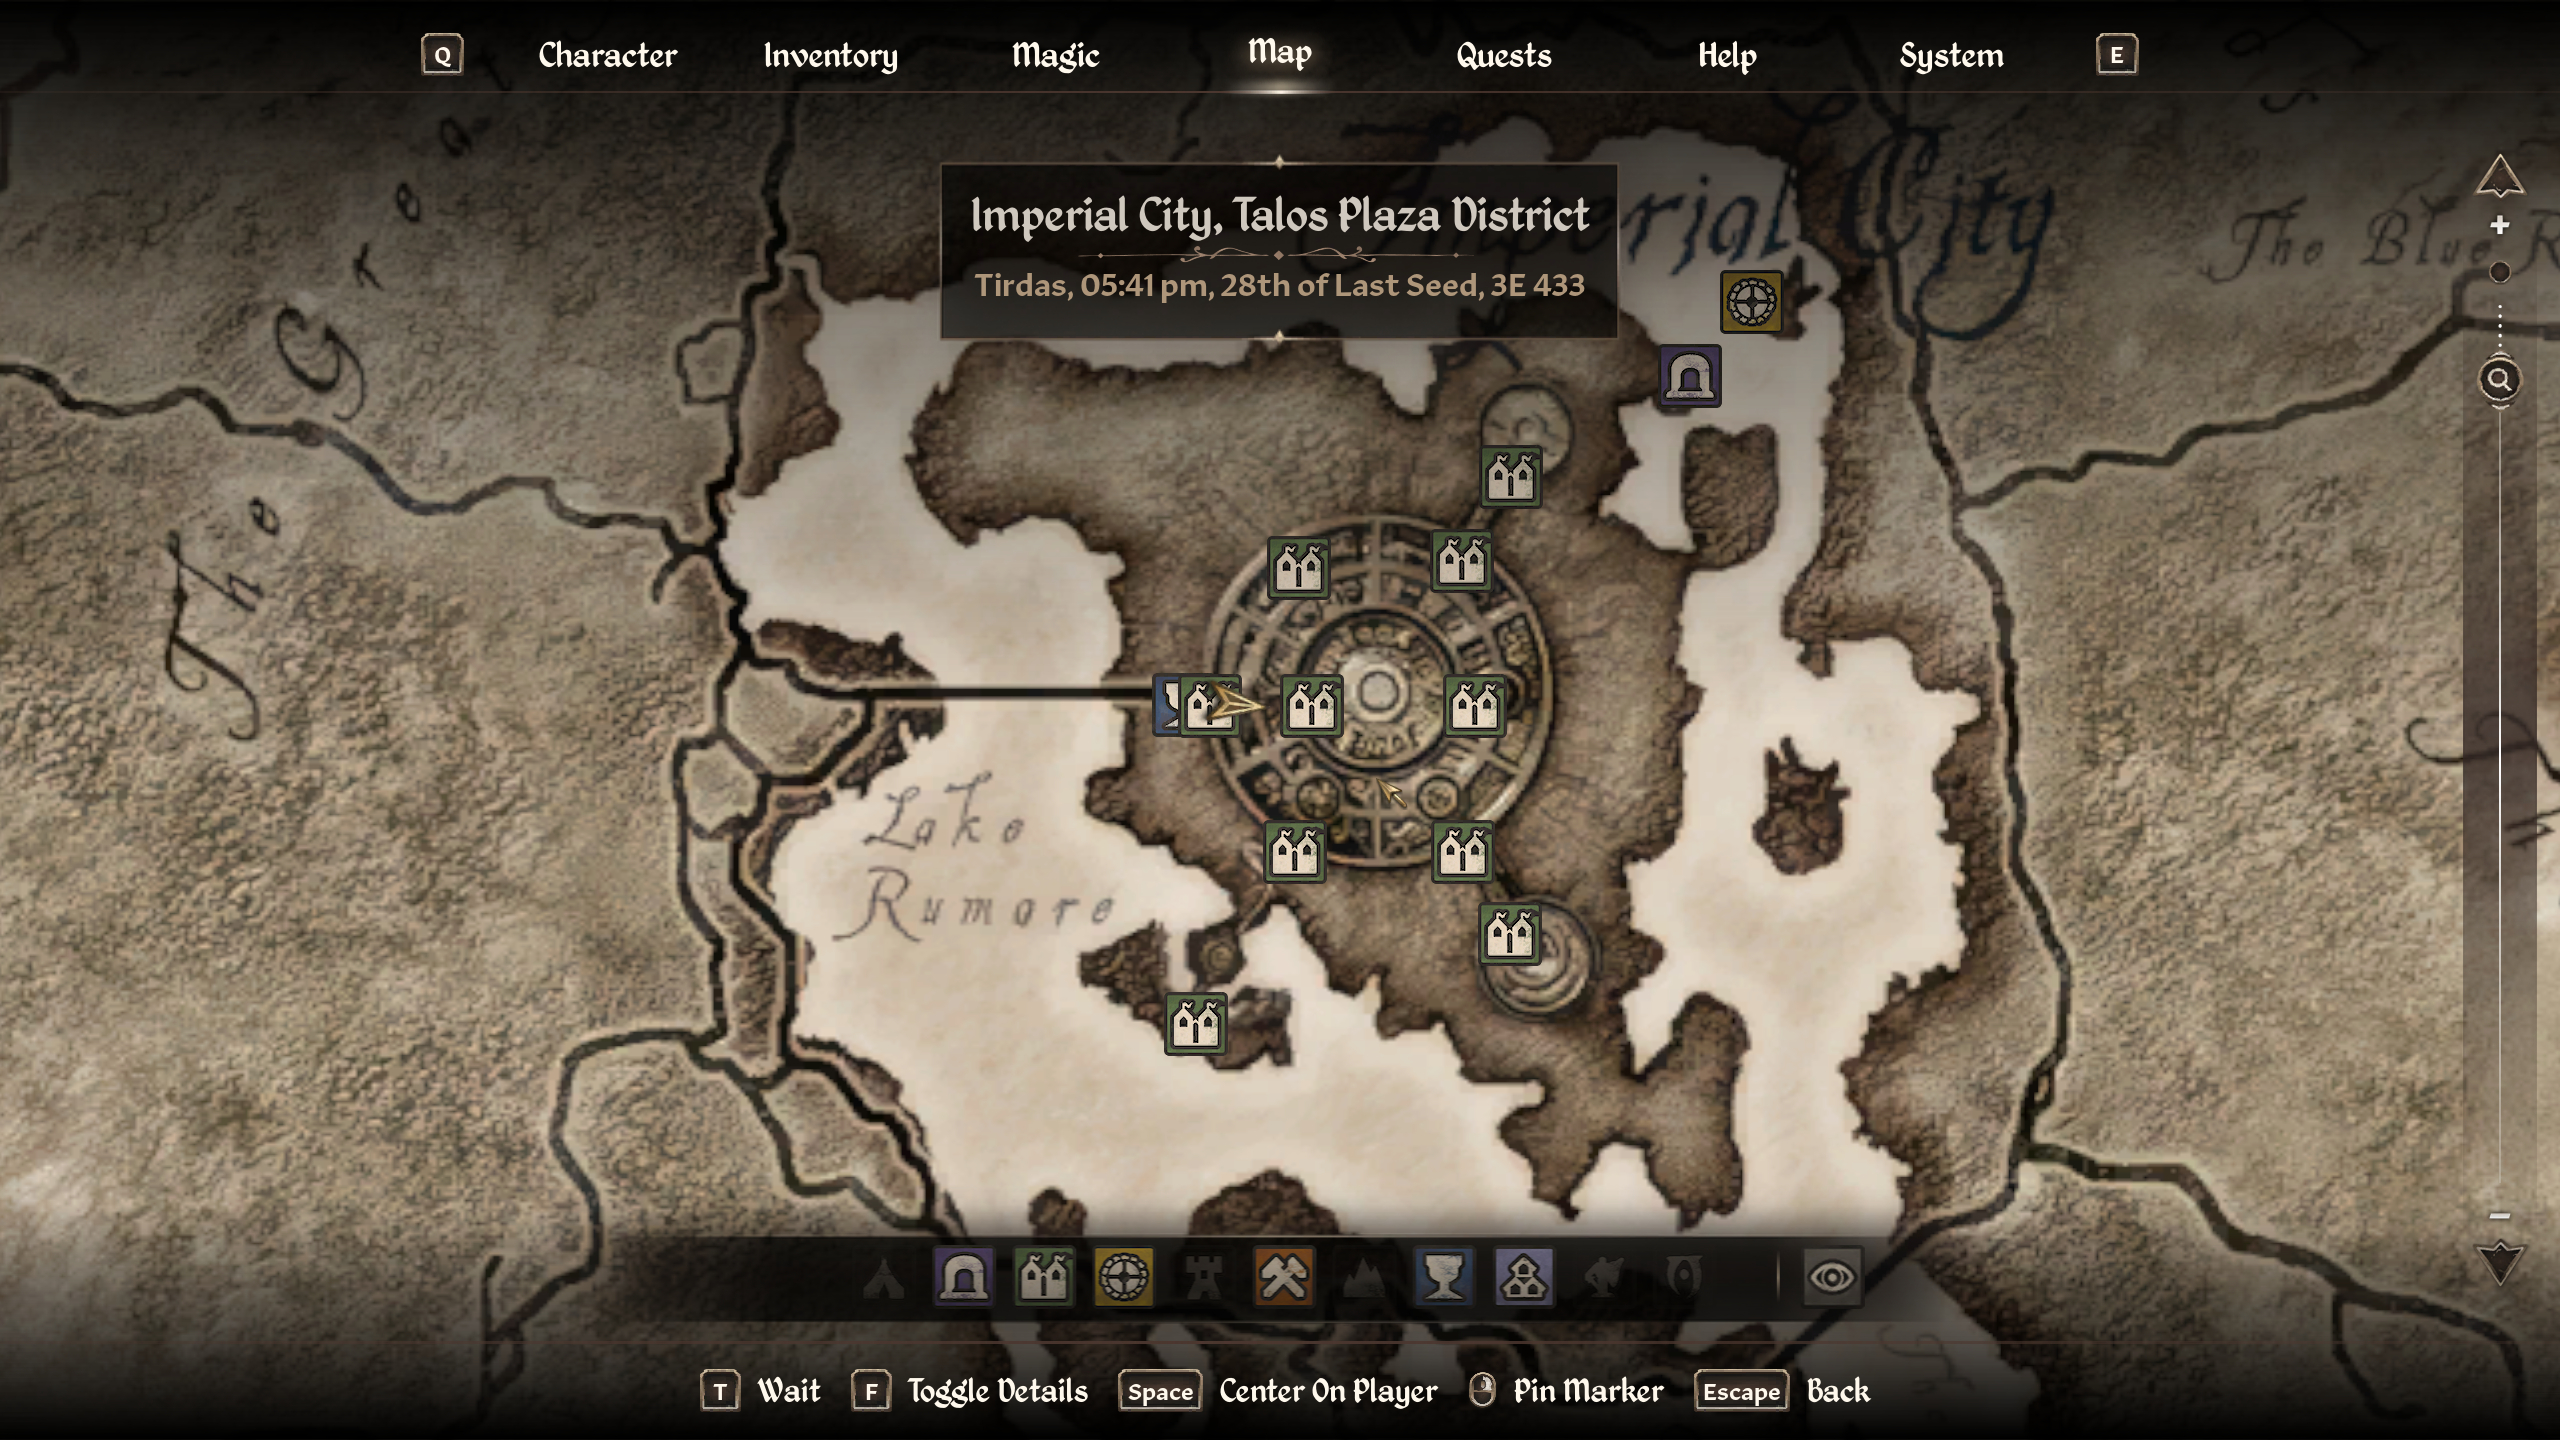
I recommend travelling to the Chestnut Handy Stables and then heading through the large doors into the Imperial City, as you’ll come out in the Talos Plaza District. From here, it’s as simple as walking up the stairs and taking the note from the barrel next to the blue post.
The Burning Trail quest is much more complicated than the other deluxe edition content, so I’ll break down each step in more detail. After collecting the first note, starting the quest, you’ll be sent to Hircine’s Shrine to the south of the Imperial City to find another note.
Second Mythic Dawn pamphlet location
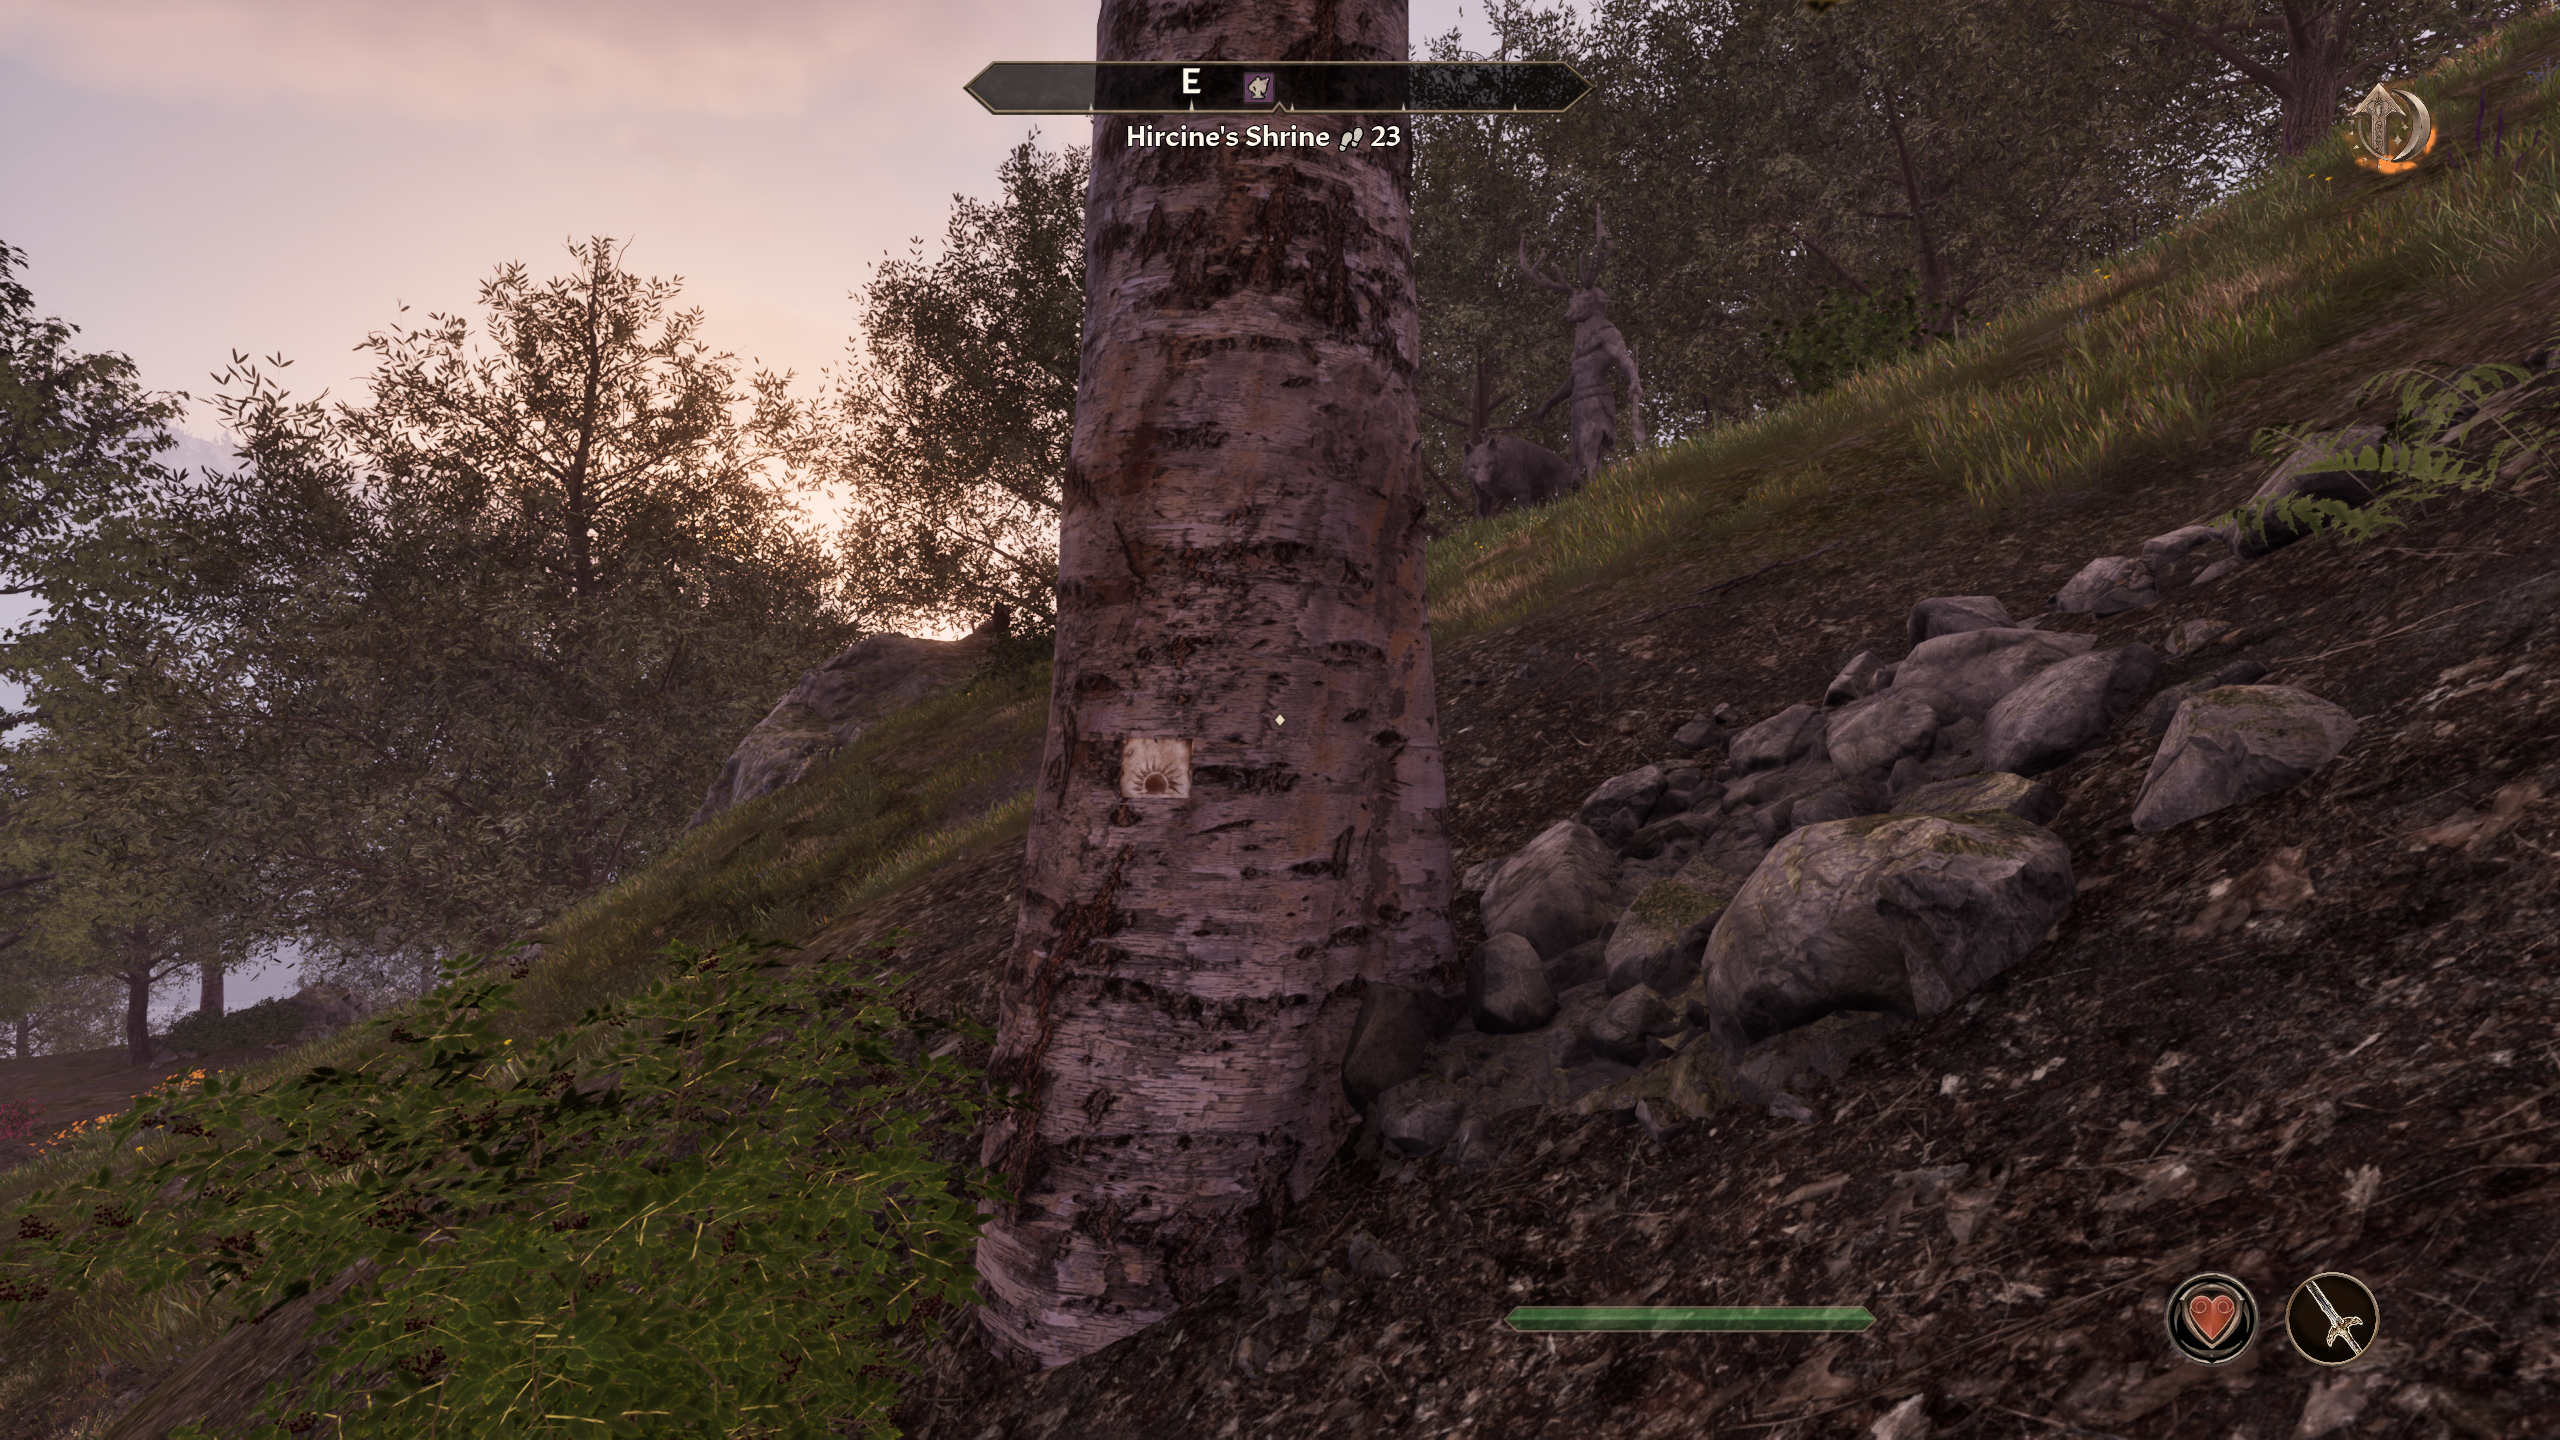
The first note pushes you towards Hircine’s Shrine where you need to follow “his wolf’s gaze”. This is trying to tell you that the wolf statue in the shrine is pointing in the direction of the next note.
To find it, face Hircine’s Shrine and turn right almost 140° to find a birch tree in the direction of the wolf, slightly lower down the hill. The note is on the back of the tree, so you won’t immediately see it.
Third Mythic Dawn pamphlet location
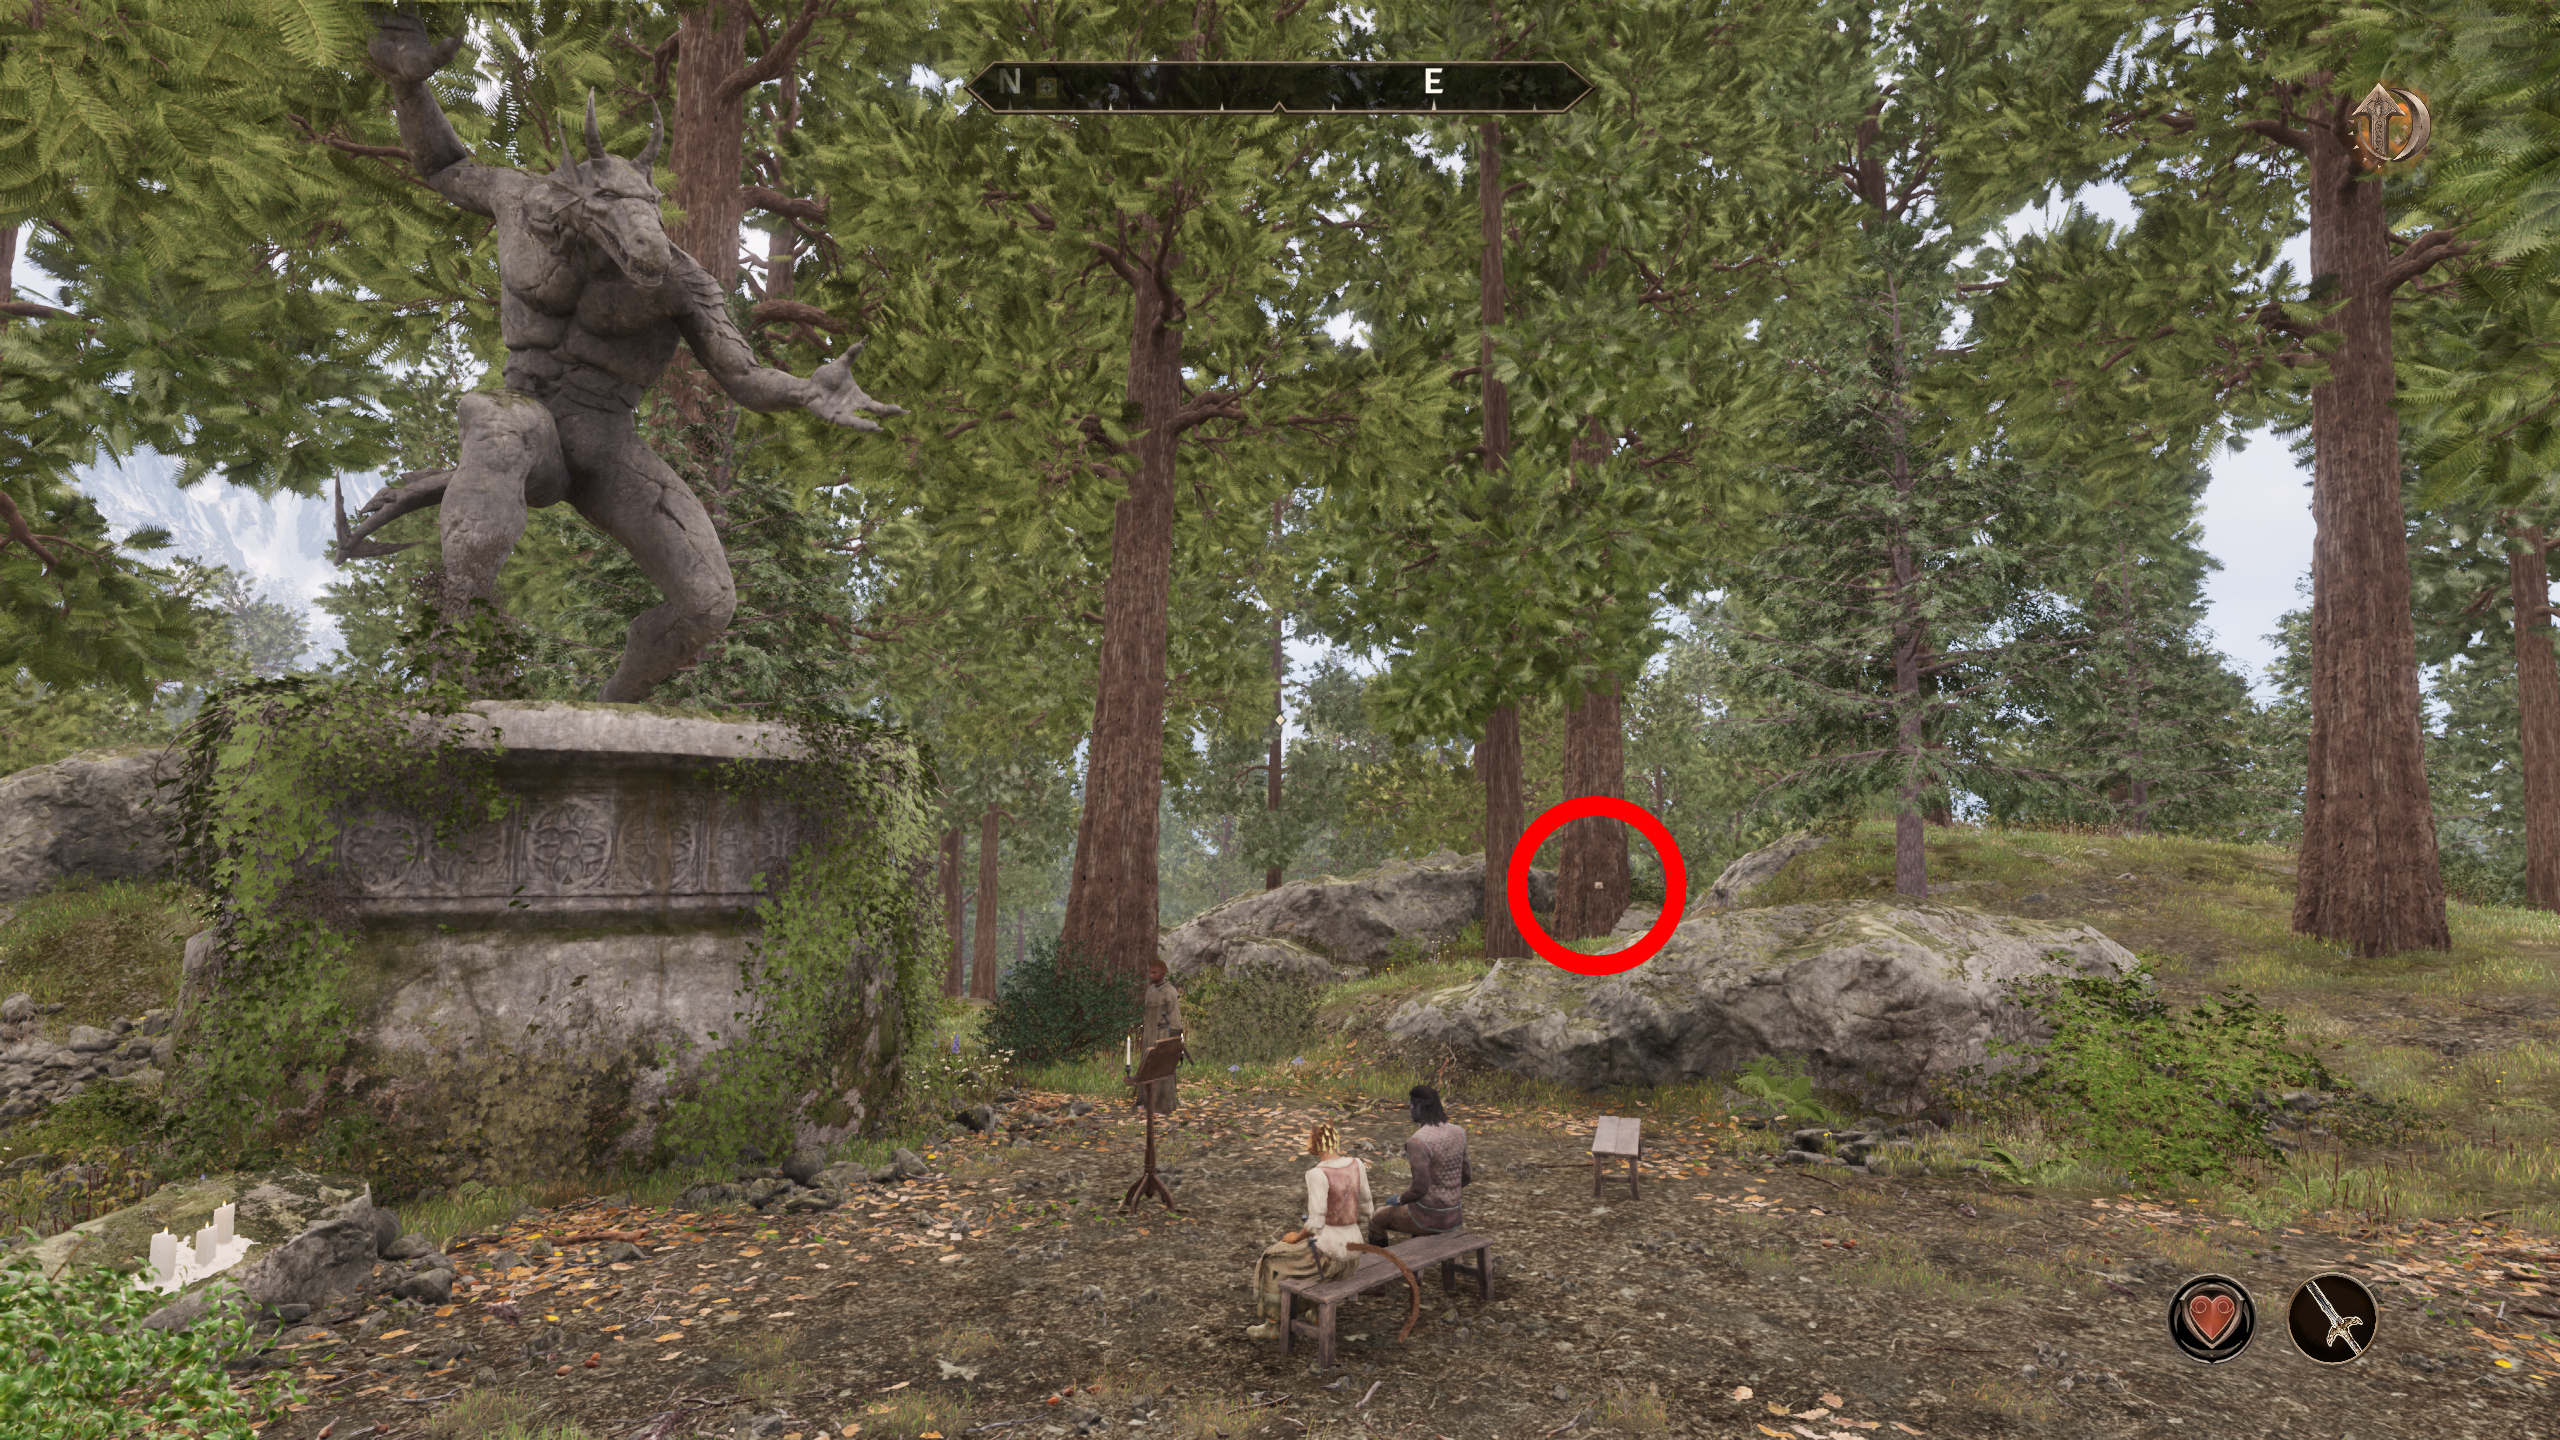
After collecting the note at Hircine’s Shrine, you’ll then be sent towards Molag Bal’s Shrine to follow “the Light of the Dawn”. This cryptic clue had me pretty confused at first, though it’s actually really simple if you ignore the hint and look around yourself.
To find the third note, face Molag Bal’s Shrine and turn directly to your right, where you’ll see the note attached to a thick tree. Since it’s pinned to the front side of the tree, you’ll be able to see this one from where you’re standing.
Fourth Mythic Dawn pamphlet location
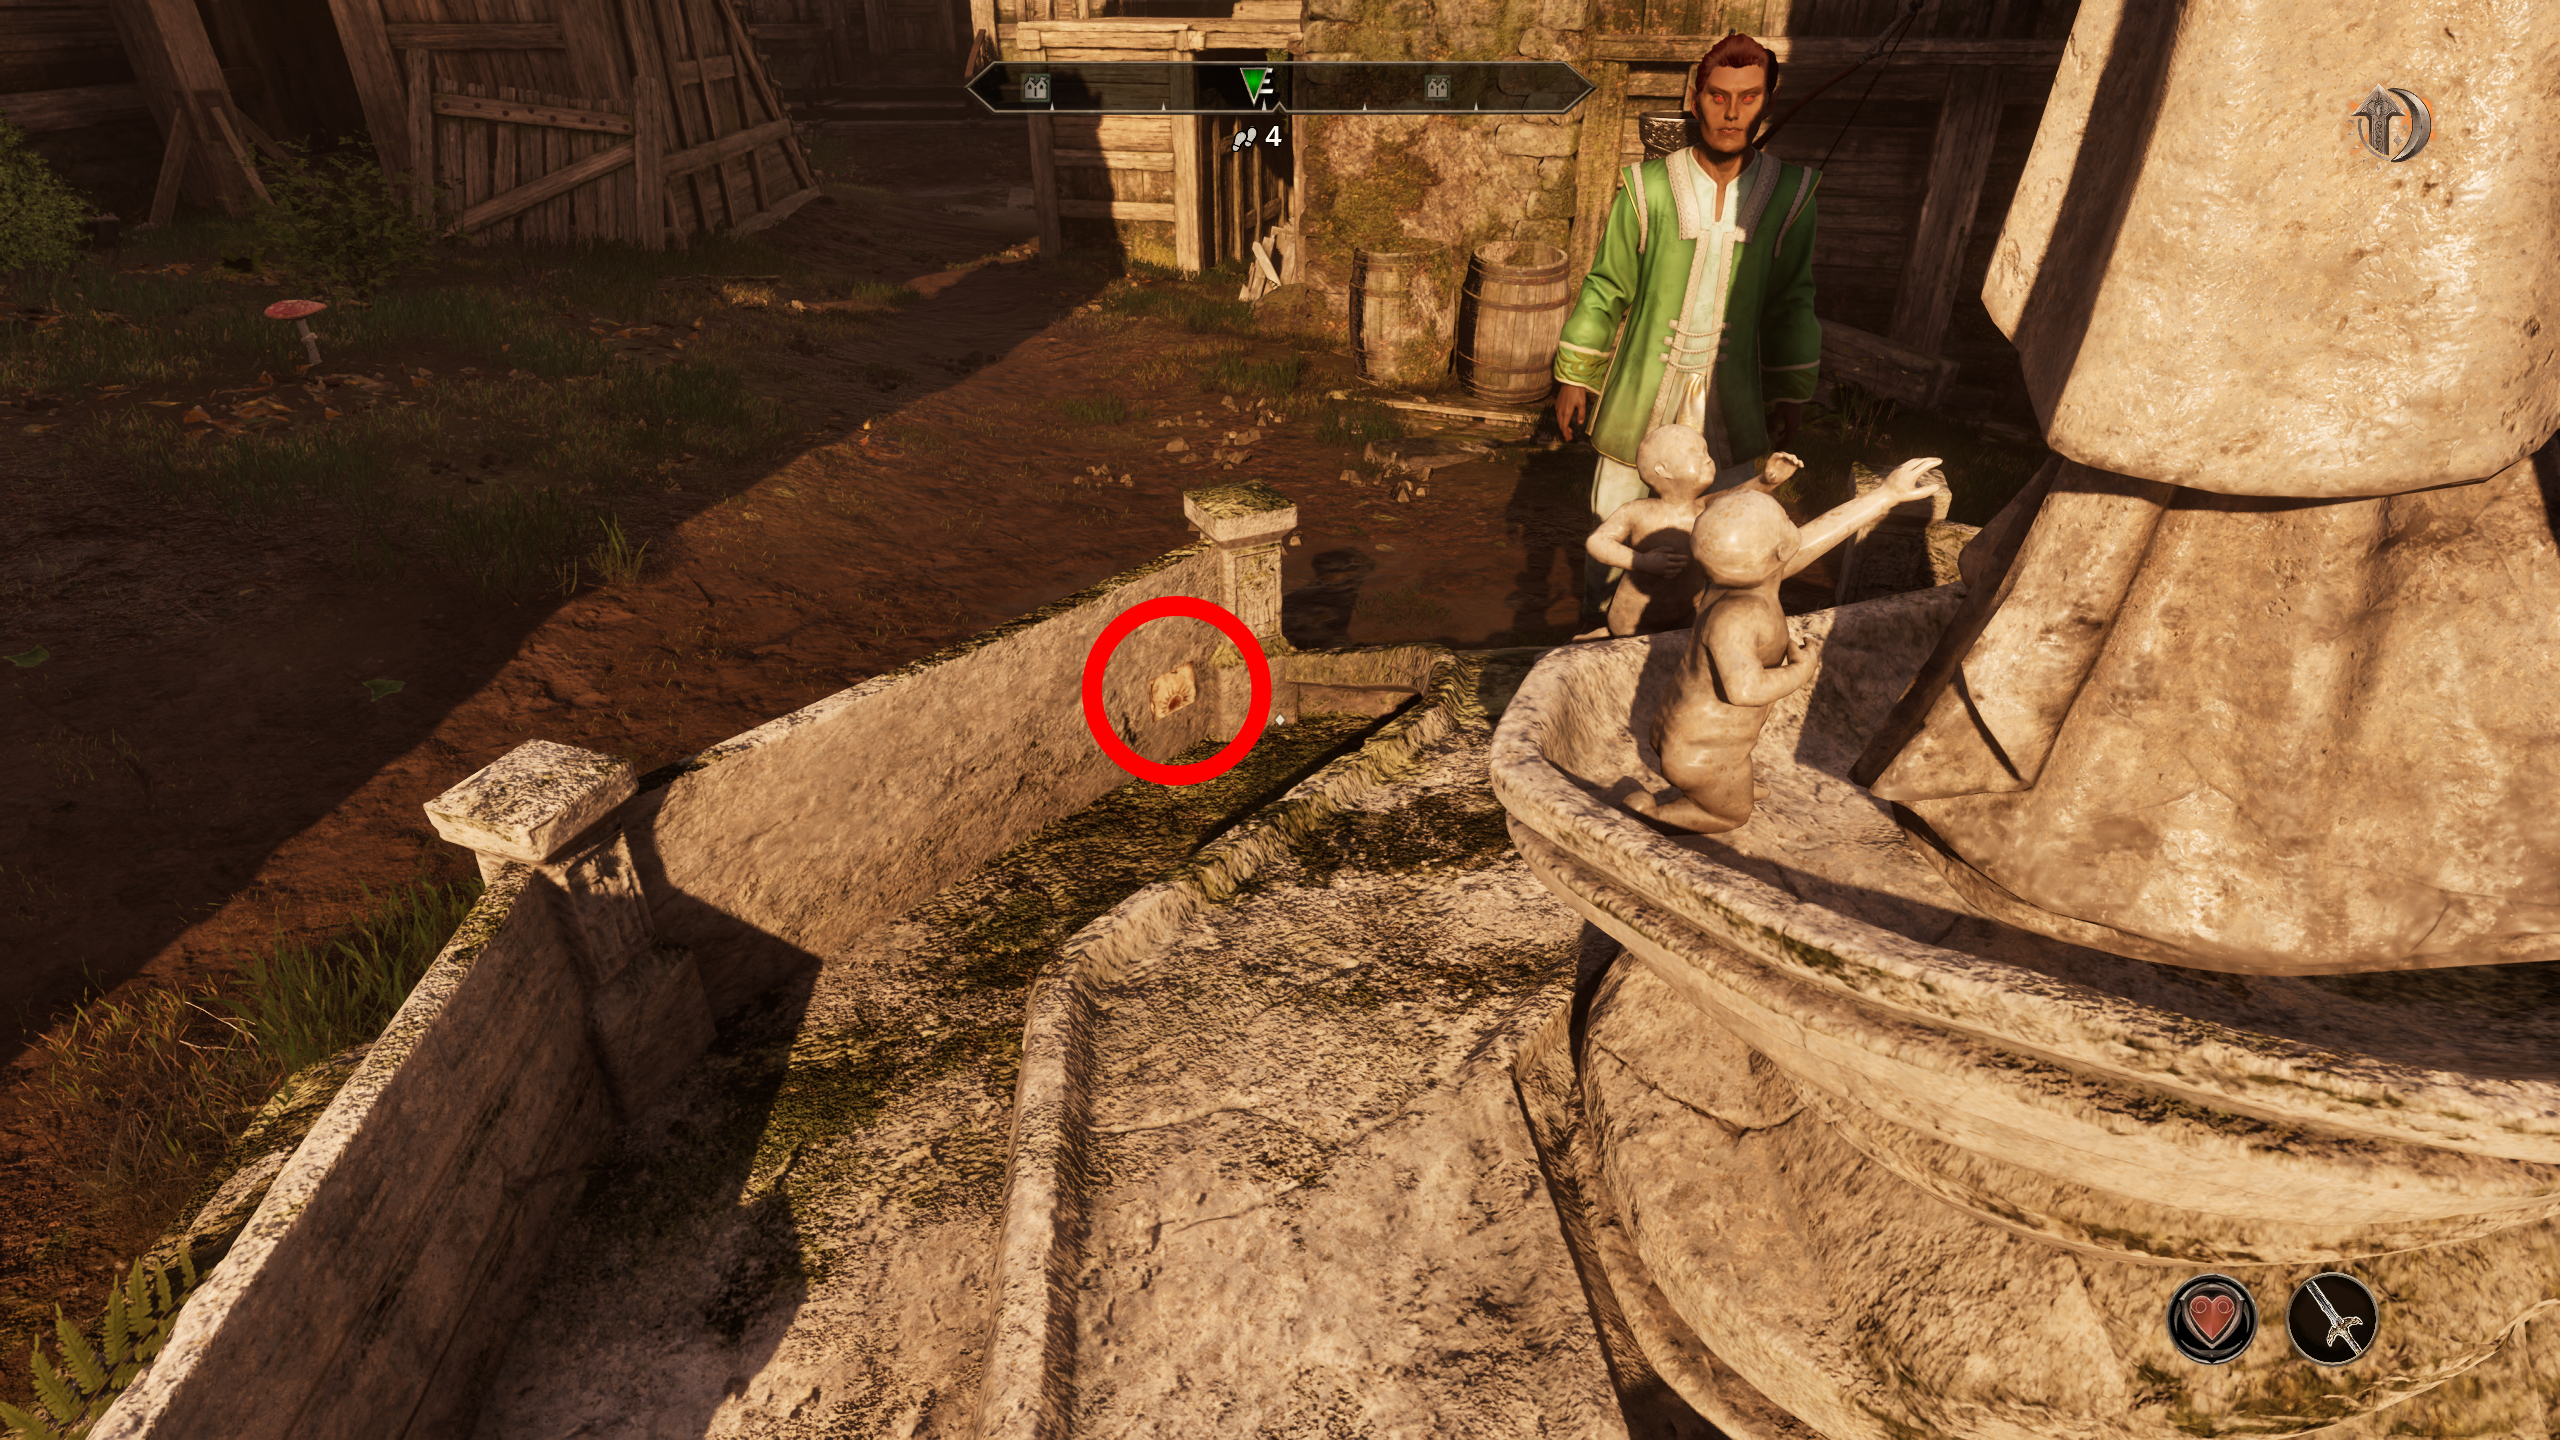
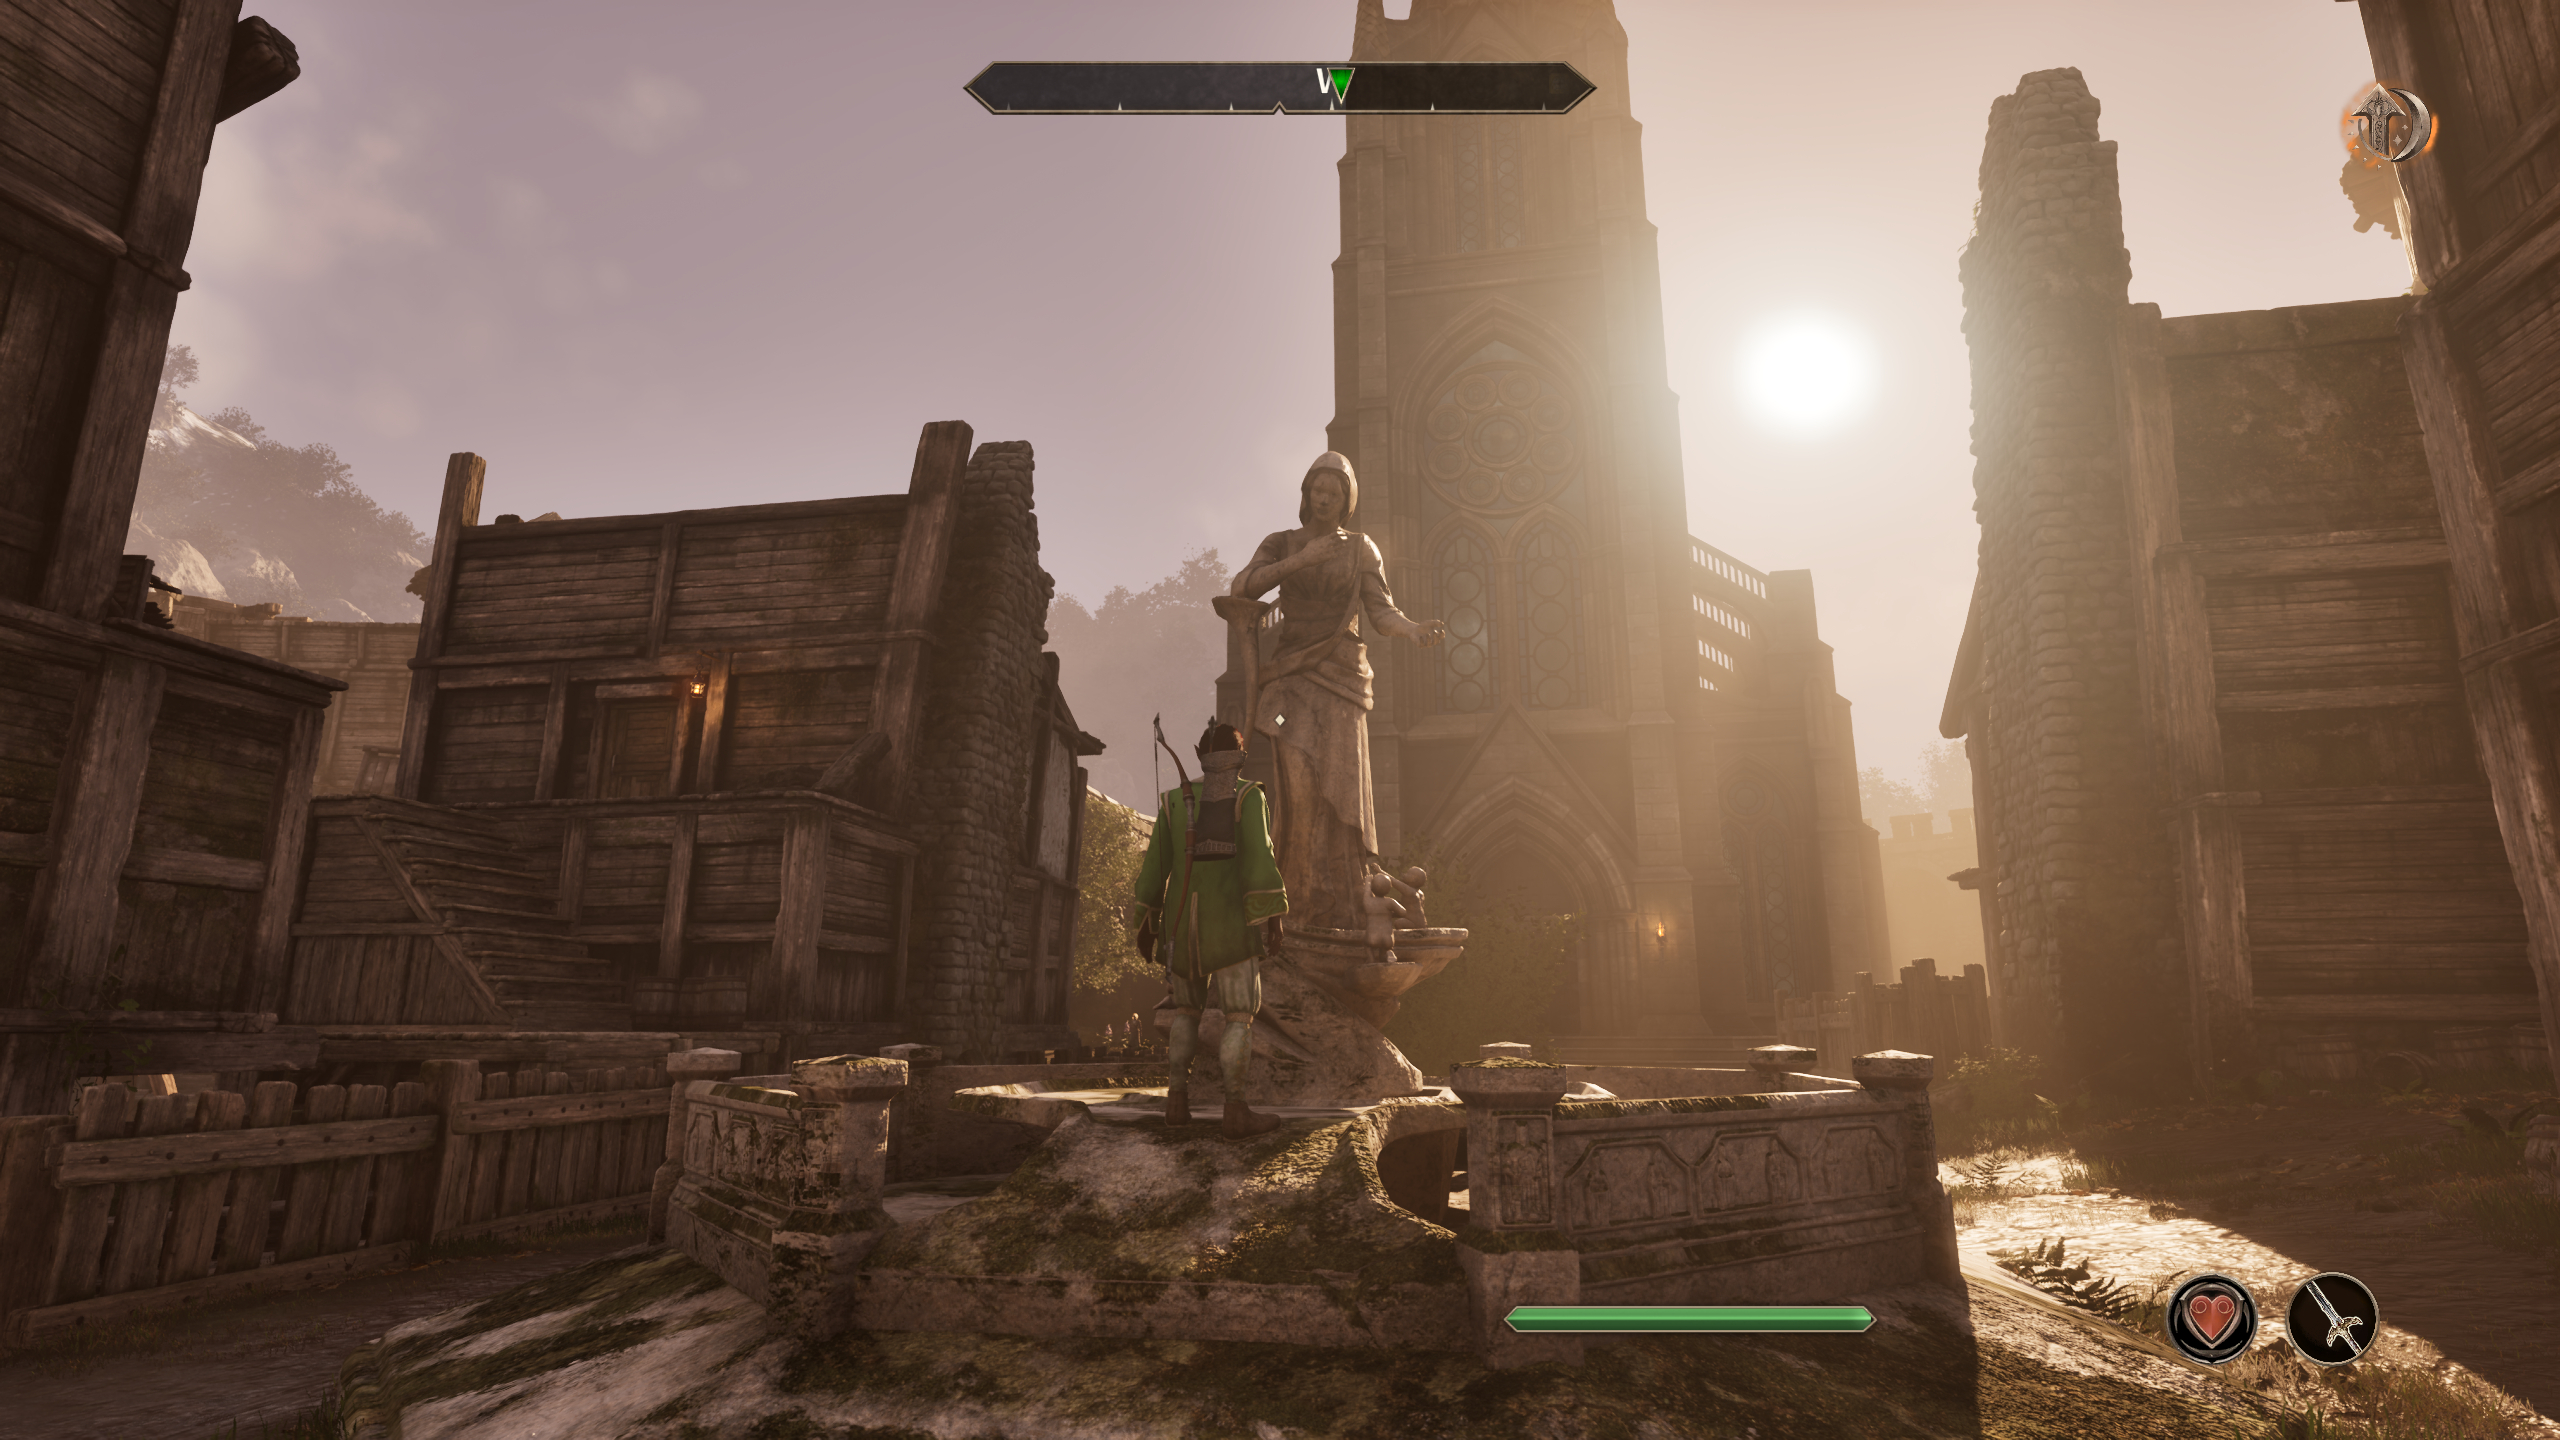
As the previous note hints, the fourth and final note is at the lucky Old Lady’s statue in Bravil. Travel to the Bay Roan Stables outside Bravil, head through the main doors, and take the second right, where you’ll see the statue outside the church. I’ll admit, this pamphlet took me quite a while to find, but it’s hiding in plain sight.
Face the statue and look down to your right, where you’ll find the note attached to the inner side of the low wall around the statue.
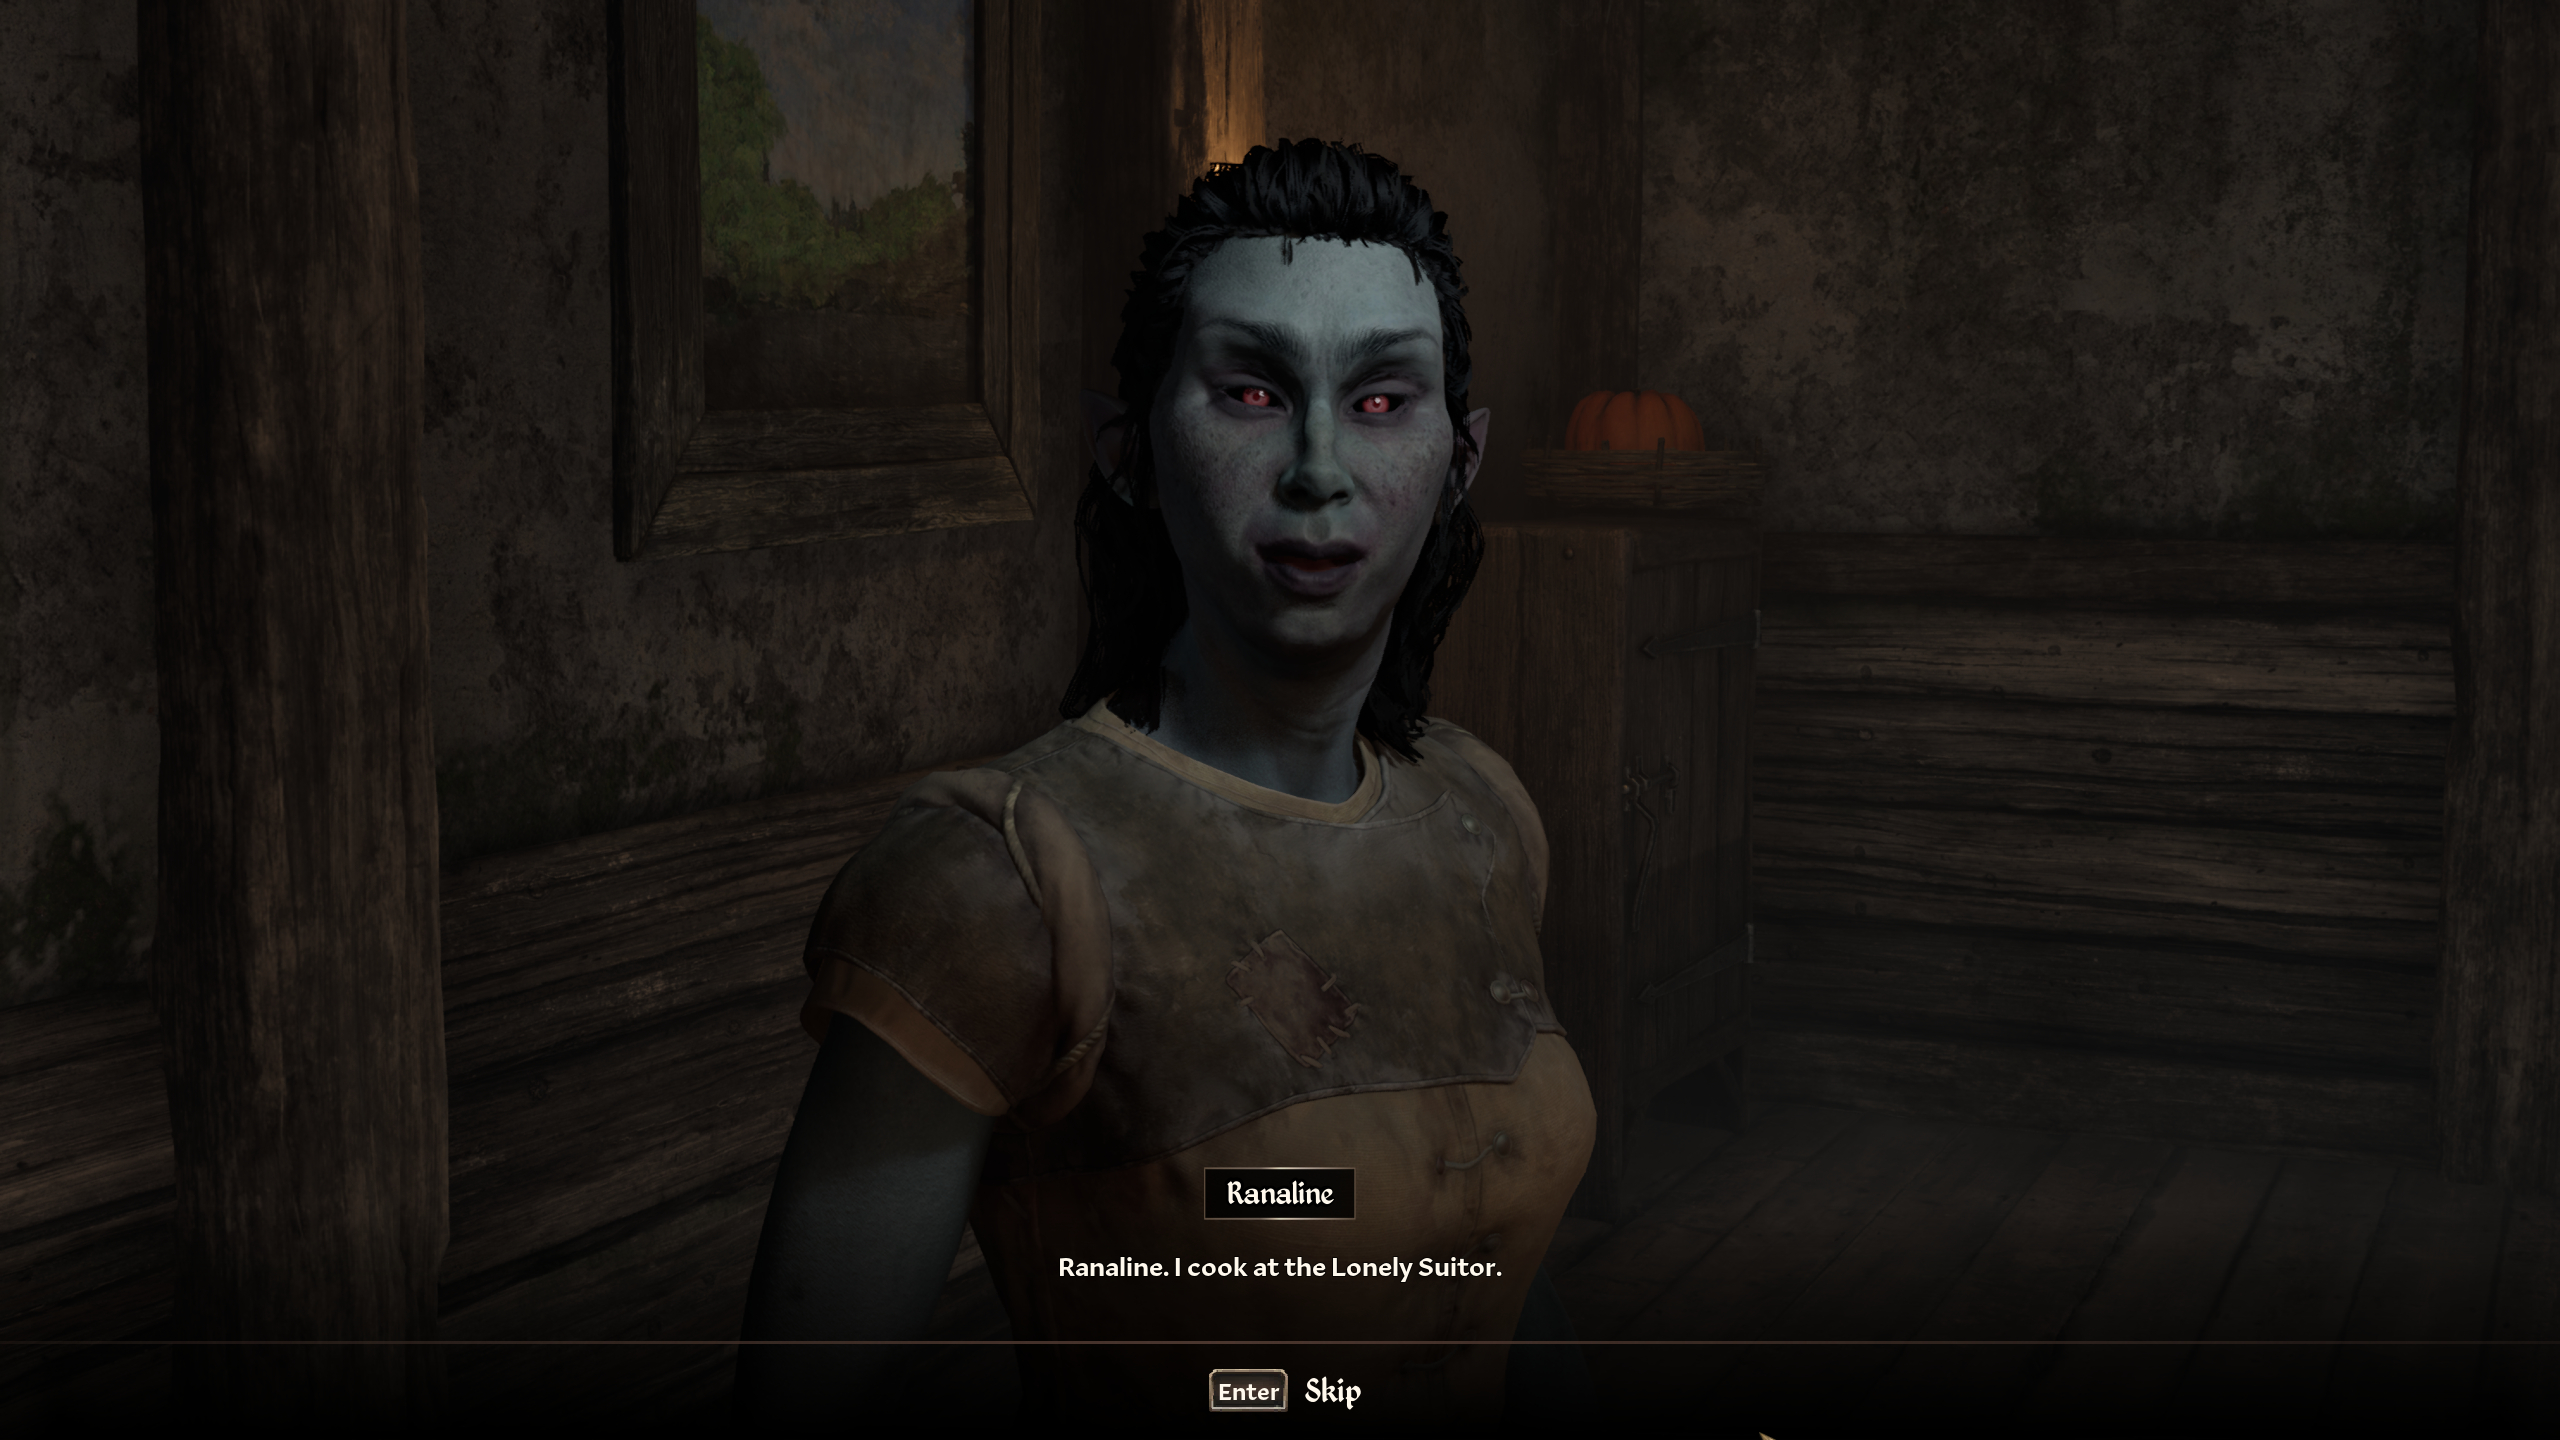
After you’ve found the final note, you’ll then be sent to the Lonely Suitor Lodge in Bravil to find a “shy Dunmer”. The culprit you’re looking for is Ranaline.
Speak to her and click the persuasion minigame icon in the bottom left, where you can then either persuade or bribe her to improve your rapport. Once you’ve done that, say “Mythic Dawn notes” to complete Burning Trail. You’ll automatically be given the next quest, The Crimson Cave, which sends you to Mingo Cave.
To complete The Crimson Cave:
- Travel to Mingo Cave near Hircine’s Shrine and equip the Mythic Dawn hood and robes that Ranaline gave you before you enter.
- Proceed down into the cave until you reach Mehrunes’ Harbinger sacrificing someone.
- Activate the pyre under the sacrifice.
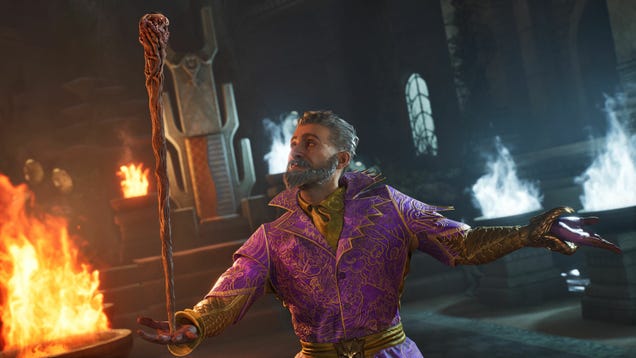
- Speak to the Harbinger again to complete the quest and earn the Summon Mehrunes’ Harbinger conjuration spell.
Like the A Wound in Time questline, you’re not immediately given your rewards. To claim your bounty, you’ll need to use the Summon Mehrunes’ Harbinger spell to call this NPC back, where you can then sift through the various rewards. Again, you won’t have room for everything, so pick and choose what you want. You can always summon them again to get more.

These are all the items you can get:
- Battle-Axe of Cataclysm
- Bow of Cataclysm
- Claymore of Cataclysm
- Dagger of Cataclysm
- Longsword of Cataclysm
- Mace of Cataclysm
- Shortsword of Cataclysm
- War Axe of Cataclysm
- Warhammer of Cataclysm
- Cataclysm armour set (available in heavy and light versions)
- Cataclysm horse armour set (available from Snak Gra-Bura at the Chestnut Handy Stables at the western exit of the Imperial City or any other stable)