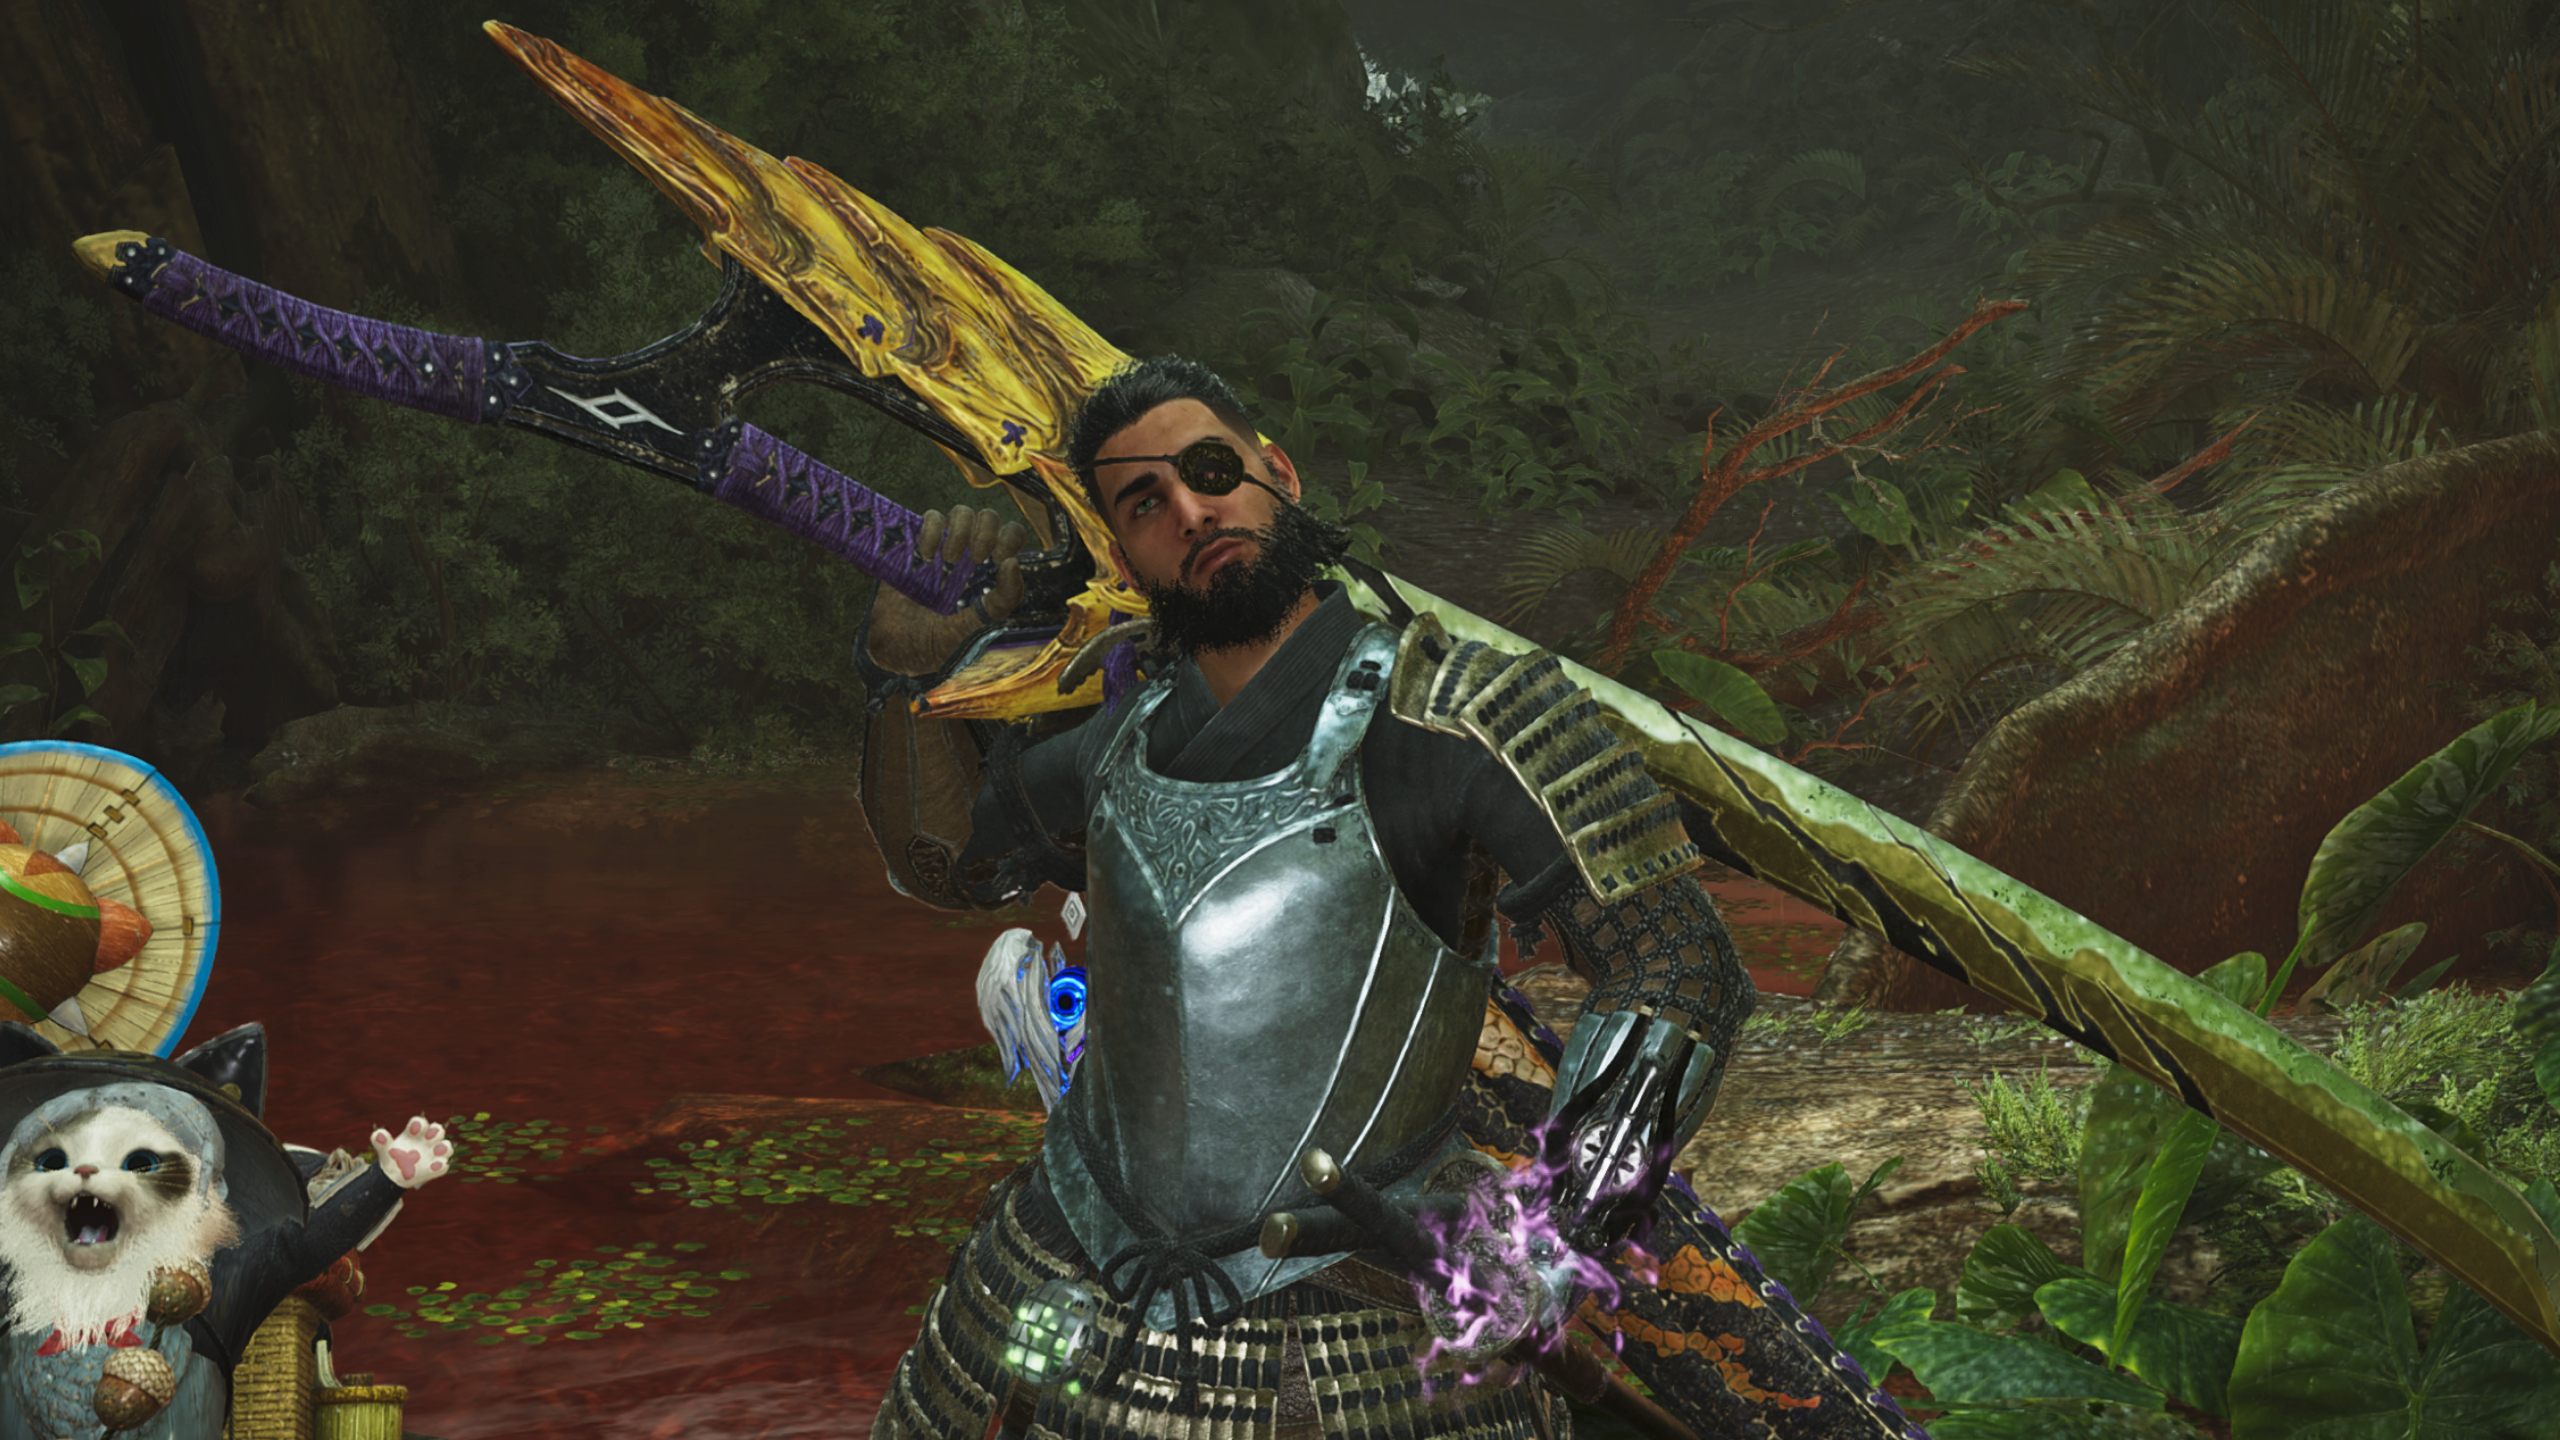
Slice and dice with the agile but powerful Long Sword.
The best Long Sword build in Monster Hunter Wilds is remarkably straightforward, making it a great pick for beginners or even veterans wanting to live a stress-free hunter lifestyle. Sure, it’s got a boatload of unique and sneaky tricks you can take advantage of, but the basic combos are easy to pick up. Plus, it also has a badass leap attack that unleashes a barrage of slices while your hunter turns their back on the monster. Total disrespect, but oh so satisfying.
After carving my way through Low Rank and into High Rank, I’ve picked up a few things that’ll help you on your hunts. Below you’ll find a Low Rank setup complete with build progression so you’ll always have the best gear, as well as a section explaining the core playstyle behind the weapon.
How to play Long Sword in Monster Hunter Wilds
The Long Sword sits in the middle of the pack when it comes to speed and power. You’re more agile than the Great Sword but deal more damage per hit than the Sword & Shield or Dual Blades. It’s also nice and simple to get the hang of, even compared to its older counterparts in previous MH games.
Here’s how to use the Long Sword in Monster Hunter Wilds:
- Use basic attacks (Y or B) to charge your Spirit Gauge
- Once your Spirit Gauge is full, use the Spirit Blade combo, finishing with Spirit Roundslash to increase your Spirit Gauge level. This will change the bar’s colour.
- Repeat this process again until your Spirit Gauge is red (maximum level), at which point press RT + Y to use Spirit Thrust, then RT once you’re in the air to crash down with Spirit Helm Breaker, and press RT once more to use Spirit Release Slash
- Completing this chain resets your Spirit Gauge, letting you repeat the process all over again
That’s all there is to it. Build charge and then spend it on heavy-hitting attacks, weaving in counterattacks when you can. That said, fast monsters make it tricky to efficiently build and spend charge, though there are a few handy tricks that can help make this lengthy setup easier:
- You only need to hit Spirit Roundslash to increase your Spirit Gauge level: This Spirit Blade I to III combo leads into the Spirit Roundslash attack, which is required to increase your power. However, you can actually miss all of the Spirit Blade attacks and still increase your charge level so long as you hit Spirit Roundslash.
- You can add basic attacks between the Spirit Blade combo: You might think that once you’ve committed to the Spirit Blade combo, you have to stick with it, but you can actually weave an infinite amount of basic attacks between each hit and still keep your progress. You won’t need to do this often, but it has its uses, such as building more Spirit if you misjudge or delaying your Spirit Roundslash.
- Spirit Blade has directional variants: The first two attacks in the Spirit Blade combo vary depending on the direction you’re moving, such as dodging backwards or to the left and right. This is great for dodging and repositioning as you build towards Spirit Helm Breaker.
- Spirit Thrust and Spirit Release Slash have hyperarmour but Helm Breaker does not: This means that an attack is uninterruptable, so you can continue attacking despite being hit or stunned by a roar. Importantly, the middle attack in the Long Sword’s Spirit combo, Spirit Helm Breaker can be interrupted.
- You can cancel Spirit Helm Breaker: While the setup and finish are easy to pull off, it’s possible to whiff this combo halfway through. Luckily, you can cancel Spirit Helm Breaker by pressing X before hitting the ground, which won’t reset your Spirit Gauge.
- You need full essence to use Spirit Helm Breaker and Spirit Release Slash: This is an incredibly powerful attack that modifies the thrusting leap attack. It’s generally best to wait until you have max Spirit before using this attack since both the standard and Spirit versions of the thrust leap consume and reset your Spirit Gauge.
- You can use Focus Mode to quickly increase your Spirit Gauge: Holding LT to enter Focus Mode will highlight open wounds. You can then use RB to break these wounds. Breaking a wound with the Long Sword increases your Spirit Gauge level by one, which is great for quickly reaching the maximum level to use Spirit Helm Breaker and Spirit Release Slash more often.
- You can counter monster attacks to quickly increase your Spirit Gauge: Alongside breaking wounds, countering attacks is a great way to quickly reach the full Spirit combo. You can do this using Foresight Slash and Iai Spirit Slash. Foresight Slash is easy to trigger by simply pressing Y + B after a basic attack, dodging backwards and following up with a quick slice that regains charge. Iai Spirit Slash requires you to activate Special Sheathe first using RT + A and then pressing RT when you want to counter. Importantly, this will also skip the first two Spirit Blade attacks.
Best Long Sword build for Low Rank
This build focuses on various attack boosts and wound-based effects to make the Long Sword’s long combos more rewarding. It also takes advantage of a few different survivability and resistance skills to make these combos easier to pull off. It’s pretty straightforward compared to other weapons.
- First weapon: Barina Flamberge I
Besides your starting Hope Edge sword, the first weapon you should craft is the Barina Flamberge I after you fight the Lala Barina in the Scarlet Forest–the disgusting spider that sends arachnophobes like me into a spiral. What makes this a fantastic early weapon is paralysis, a top-tier element yet again in Wilds. This is because it has the ability to completely halt your enemy, letting you easily unload your long combos and build charge before using Helm Breaker (which is much less risky on a monster that can’t move). After you fight Rey Dau, the apex predator of the Windward Plains, you’ll want to craft:
- Second weapon: Rey Tonitrus I
The Rey Tonitrus I carried me through the remainder of Low Rank thanks to its strong stats and great perks. Most importantly, this Long Sword has the Focus skill, which increases the charge rate of Spirit Gauge. In other words, it’s much easier to build and maintain your Gauge so you can use powerful Spirit attacks more often. It also comes with Punishing Draw, which adds a stun effect to draw attacks and slightly increases your attack. It’s undeniably hard to pull off, but once you’ve got the hang of Special Sheathe (whether you’re following it up with Iai Slash or Iai Spirit Slash) you’ll begin to love this perk. Don’t forget that a successful counter also lets you skip parts of the Spirit Blade combo.
- Third weapon: Bone Shotel III
The Bone Shotel III is very much back to basics compared to Rey Dau’s Long Sword, which is ironic considering you’ll have to beat some of the hardest monsters to get it. Nevertheless, it packs one hell of a punch with much higher base stats (although no elemental affinity) than the Rey Tonitrus I. Best of all though, the Bone Shotel III comes with level two Focus and level one Attack Boost. You’ll charge your Spirit Gauge in no time, and deal a ton of damage with every hit.
You’ll need Tough Guardian Bone to make the Bone Shotel III, which you can get from Arkveld and Zoh Shia, or as a potential gather from bone piles in the Ruins of Wyveria. Chances are you’ll have to replay these main story hunts to get your hands on some, though it’ll come in handy to start your High Rank hunting.

Monster Hunter Wilds guide: All our advice in one place
Monster Hunter Wilds tips: Hit the ground hunting
Monster Hunter Wilds weapons: Builds galore
Monster Hunter Wilds best armor: Defend yourself
Monster Hunter Wilds monsters: All the beasties
Monster Hunter Wilds multiplayer: How to co-op hunt
- First armour set: Quetramice Helm, Quetramice Mail, Quetramice Braces, Chainmail Belt, Chainmail Pants
While the hunter is much more agile with the Long Sword than I would be, it’s still on the heavier side compared to the likes of the Dual Blades and Insect Glaive. That’s where the Quetramice armour set comes in. While it’s the Scaling Prowess group skill that makes this set perfect for an Insect Glaive build, it’s actually the individual skills available on certain pieces that make this early set a good fit for the Long Sword.
Notably, you’ll want the Quetramice Helm, Quetramice Mail, and Quetramice Braces to get three levels of the Flinch Free skill. With this, you’re less likely to be interrupted while attacking. This makes pulling off the Long Sword’s lengthy Spirit Blade combo much more forgiving while you’re finding your footing in the Forbidden Lands.
Pair these three pieces with the Chainmail Belt and Chainmail Pants and you’ll have a strong early-game armour set. Both the Chainmail Belt and Pants have Recovery Speed, which quickly restores your recoverable health after taking a hit.
- Second armour set: Ingot Helm, Doshaguma Mail, Doshaguma Braces, Balahara Coil, Balahara Greaves
The Ingot armour set doesn’t have a fancy set bonus, but it does have access to one of the single best perks for almost all builds–Divine Blessing. Use the Ingot Helm to gain one level of the skill, which has a chance to reduce any damage you take by 15%. You can also craft the Blessing Charm I, which takes this skill to level two to increase this value to 30% whenever it activates. A chance to take 30% less damage from a hit? A literal life-saver.
Then, use a combination of the Doshaguma and Balahara armour set to add even more great skills to the build. The Doshaguma Braces have Recovery Speed, which doubles the rate at which you heal recoverable damage. Equipping a second piece of the Doshaguma set, in this case, the mail, activates the Doshaguma’s Might set bonus. This temporarily grants +10 attack after a successful power clash or offset attack, so hopefully you’ve got the hang of the Iai Spirit Slash sheathe attack by now.
The Balahara Coil and Balahara Greaves both provide Evade Extender, which increases your dodge distance. While countering with Special Sheathe draw attacks is still the best option in most circumstances, sometimes you do just need to dodge out of the way, and this extra distance comes in clutch.
- Third armour set: Guardian Ebony Helm, Ajarakan Mail, Guardian Ebony Braces, Guardian Ebony Coil, Ajarakan Greaves
It’ll take you quite a while to fully upgrade to this armour set, but it’ll see you through to the end of Low Rank once you’ve got it. This is because the Guardian Ebony Odogaron appears quite late into the story, after you enter Wyveria. You’re able to get your hands on the Ajarakan set well before then, so I recommend building the complete set before eventually swapping some parts out for the Guardian Ebony gear.
Ultimately, you’ll want the Guardian Ebony Helm, Braces, and Coil. These all provide Burst, which gradually increases your damage after continuously attacking. Although this set is designed with faster weapons like the Dual Blades builds in mind, its attack boosts line up perfectly with the Long Sword’s lengthy combos. With three pieces equipped, you’ll also gain Ebony Odogaron’s Power level two, which extends the duration of Burst and provides +3 attack while it’s active.
For the rest of the build, the Ajarakan Mail and Greaves provide Partbreaker level two. This makes it easier to break monster parts and increases the damage of wound breaks in Focus mode. This comes in handy as you’ll often break a wound to increase your Spirit Gauge to the maximum level before unleashing Helm Breaker, so it’s a neat way to boost your combo damage without complicating things. Before you unlock the Guardian Ebony Odogaron set and replace a few of the Ajarakan pieces, you’ll actually have Partbreaker fully upgraded so it’ll be even stronger.
With this final armour set assembled, you’ll have everything you need to beat the story and complete Low Rank. If you find yourself in need of an upgrade right away, Guardian Arkveld’s armour set brings quite a few perks to the table, including Flayer and Guardian Arkveld’s Vitality which are perfect for wound-breaking playstyles.