Let's go on another character hunt.
Before you can embark on the epic adventure to unlock Peter Pan in Disney Dreamlight Valley, you need to complete the Poetic License quest and have the A Forgotten Name quest available. To do this, you’ll need to meet the Forgotten anywhere in the valley, where they’ll tell you that they’ve found a red feather outside of Skull Rock, which the two of you should investigate.
When you talk again outside of Skull Rock on Dazzle Beach, you will be prompted to give them a name, and that will add them to the valley like a normal villager. From here, you’ll be able to enter Skull Rock and begin completing the quests you need to unlock Peter Pan.
How to complete the Shadows on the Wall quest
Once you’ve teamed up with the Forgotten, head into Skull Rock and explore. Wander around and look for anything hidden, such as chests, before heading back to the Forgotten. They’ll explain how they found a few pixie dust orbs, and you’ll then need to find three broken lanterns around Skull Rock to house them.
You can find these in the following places:
- Next to the Winches where you speak to the Forgotten the second time
- Either side of the dock—you will need your rod to fish these two up
When you’ve gathered them all, you will need to find the following materials to mend the lanterns as part of the quest:
- 3x Gold ingots
- 9x Glass
- 9x Vitalys Crystal
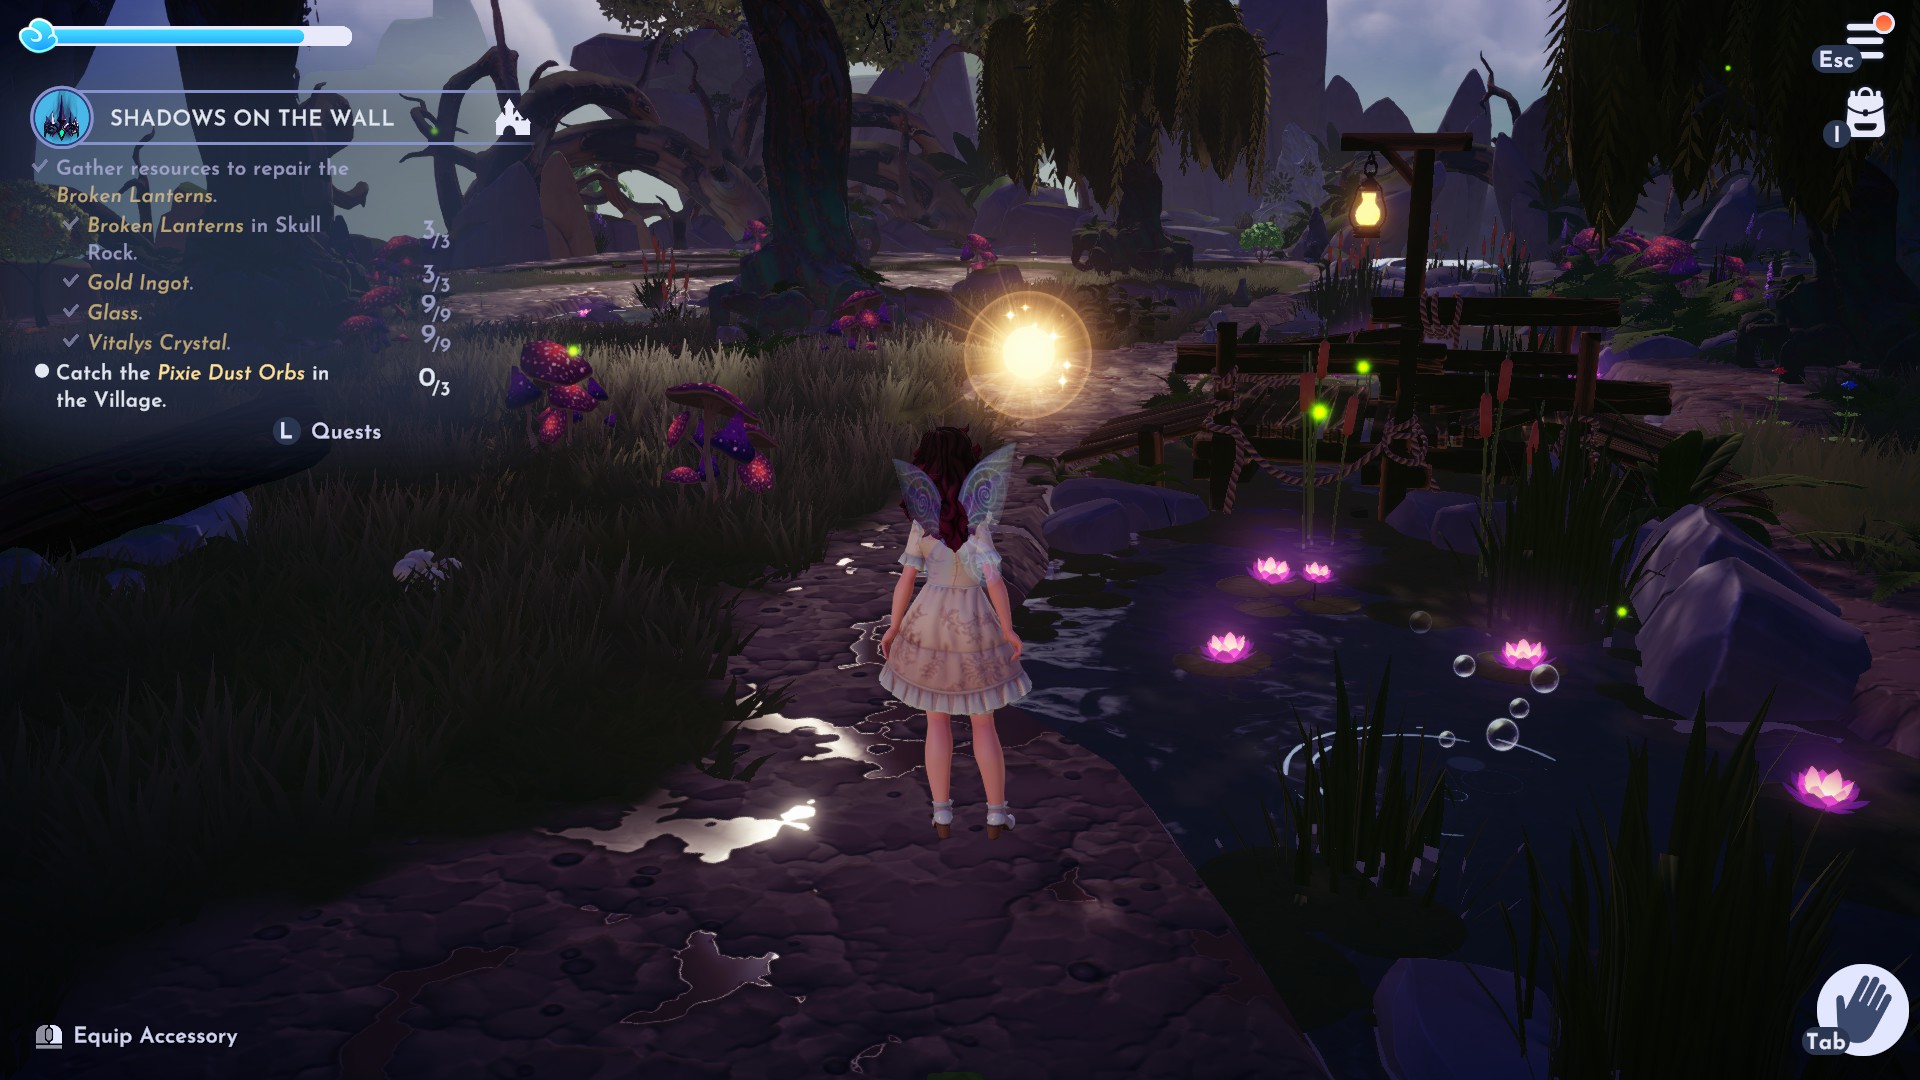
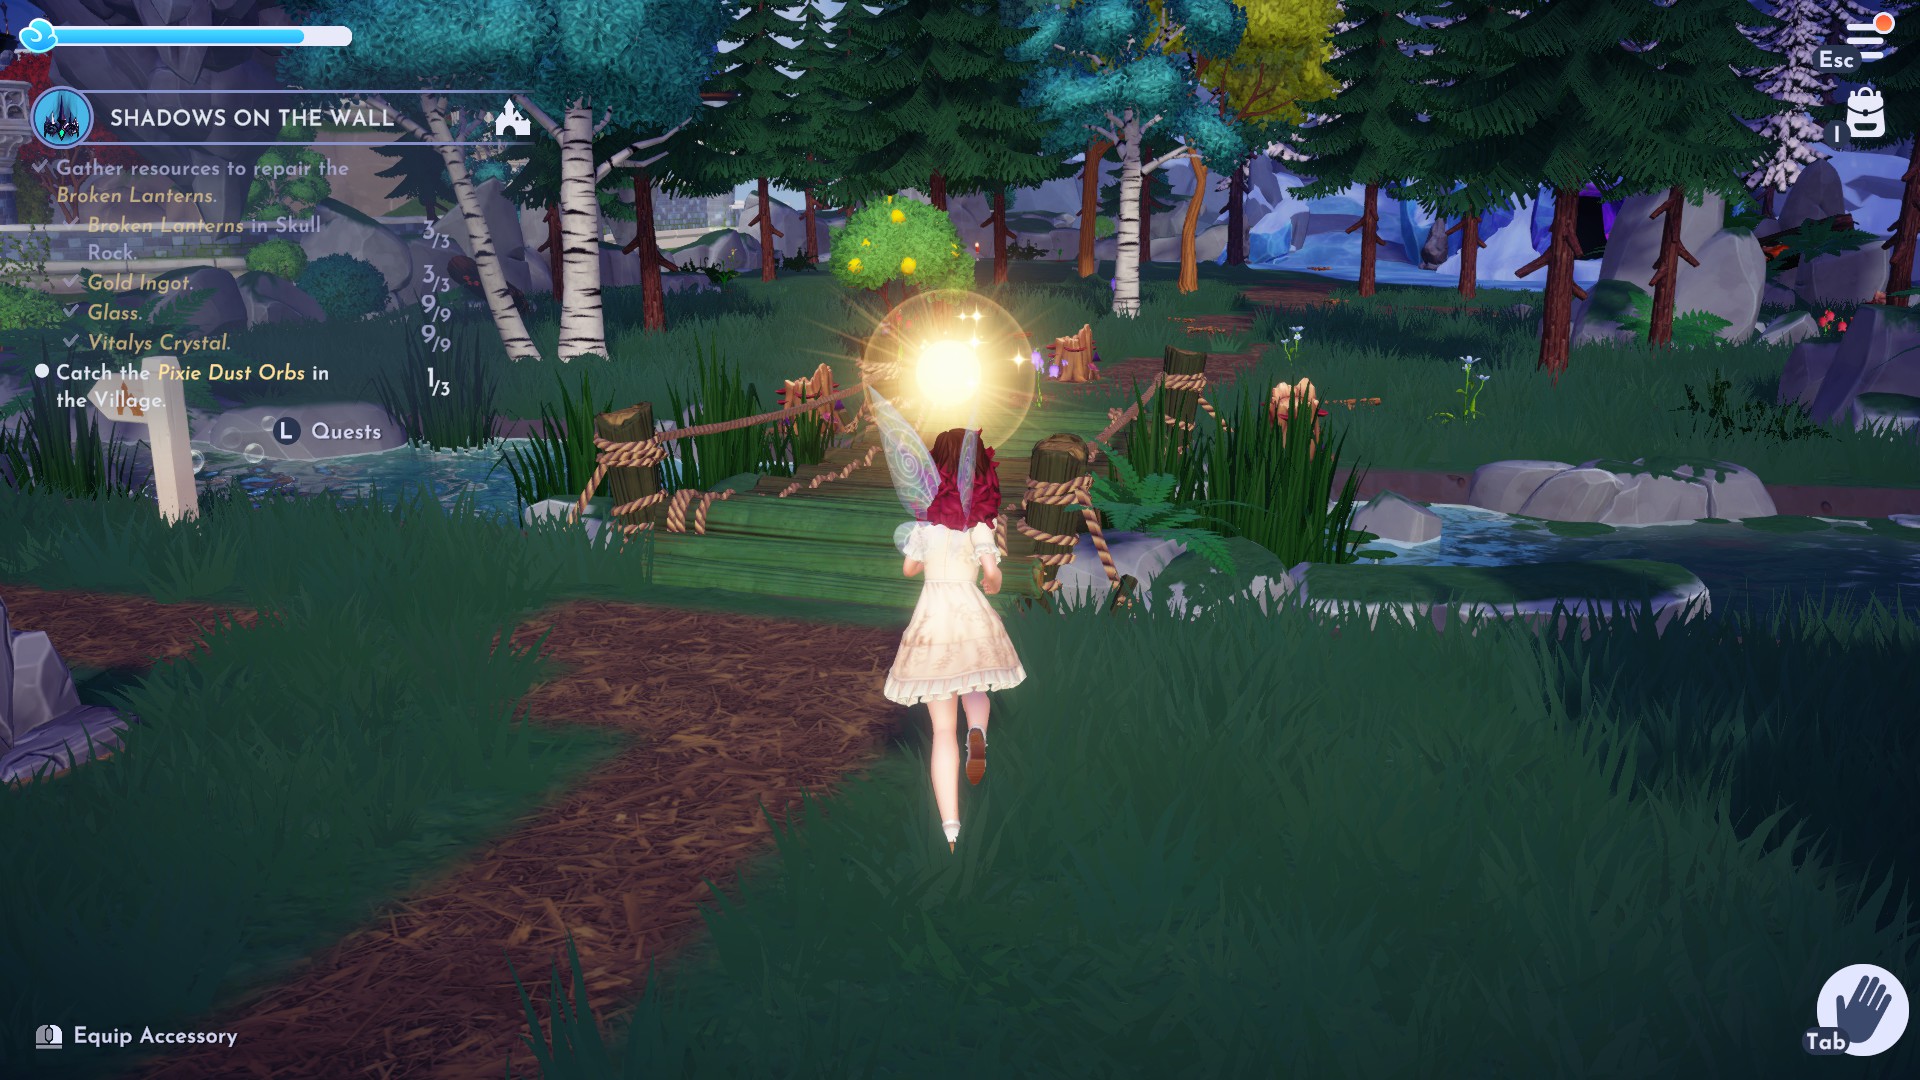
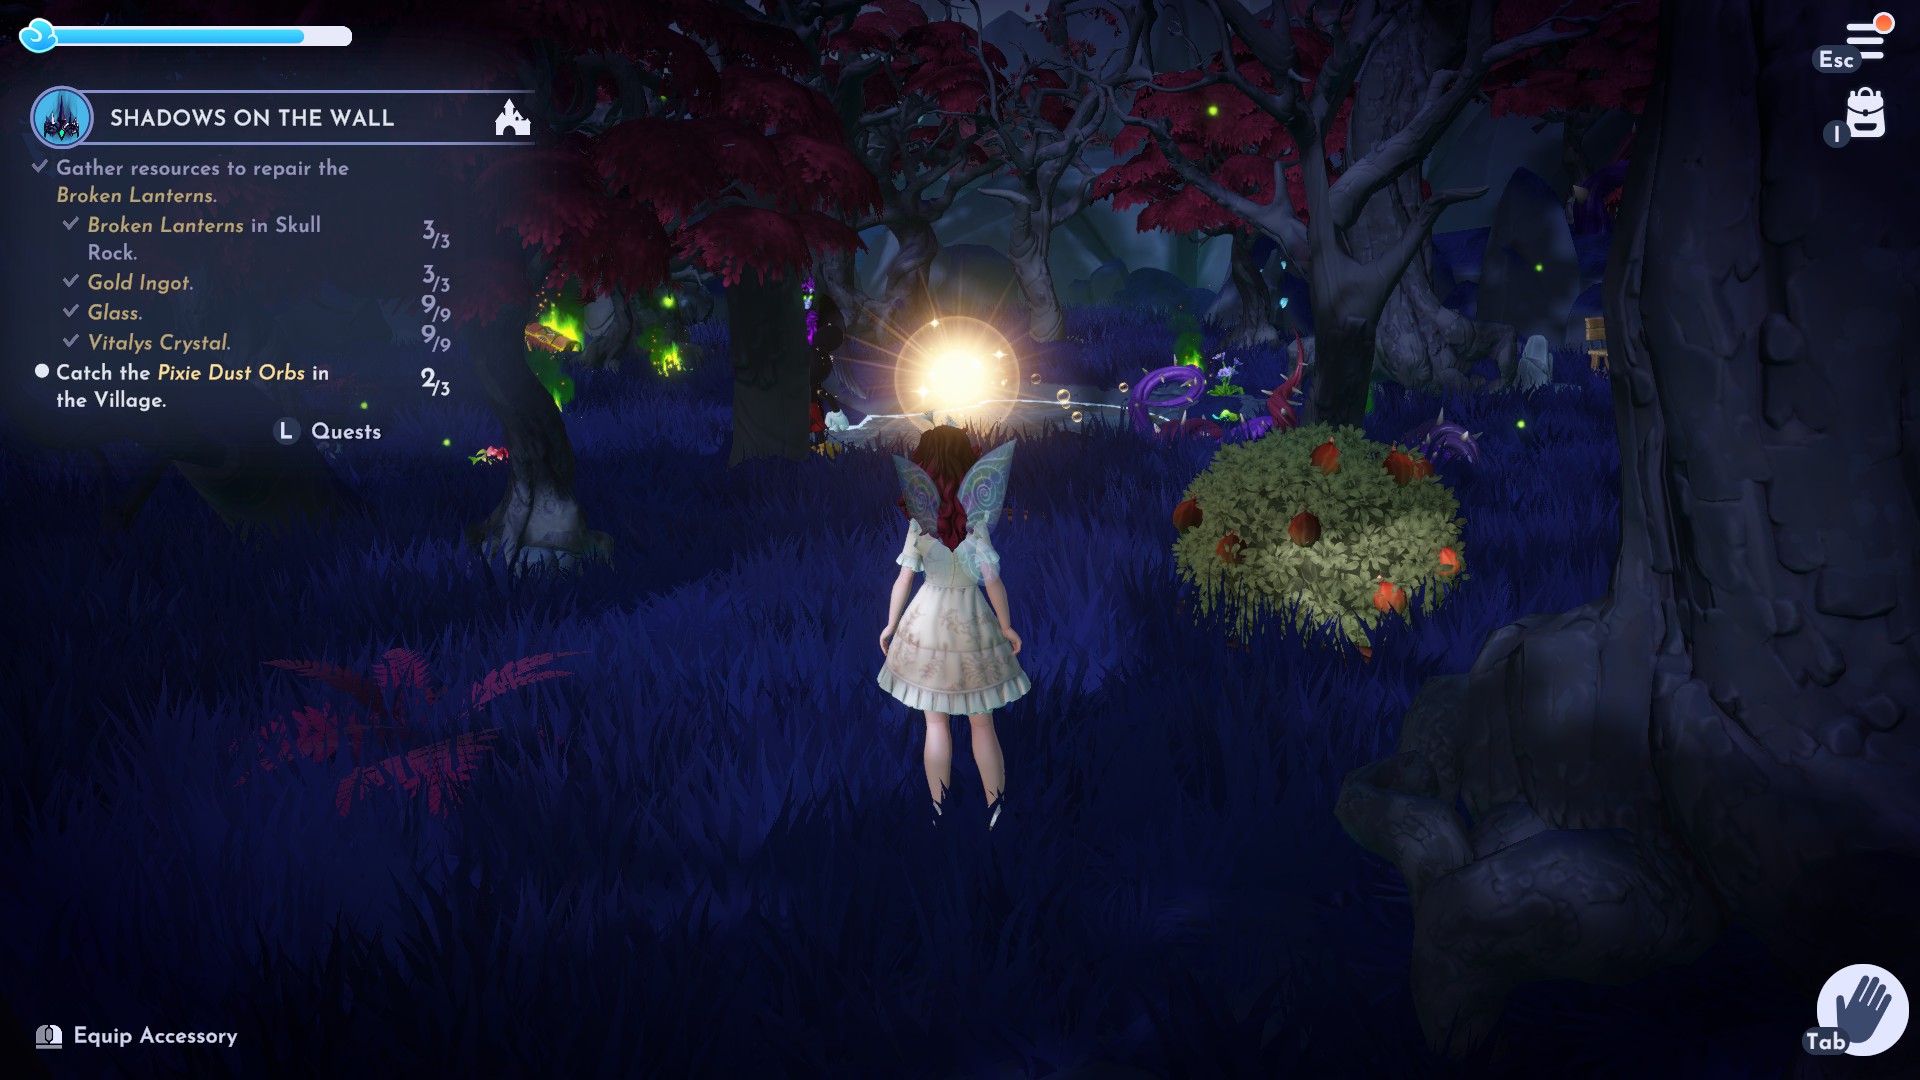
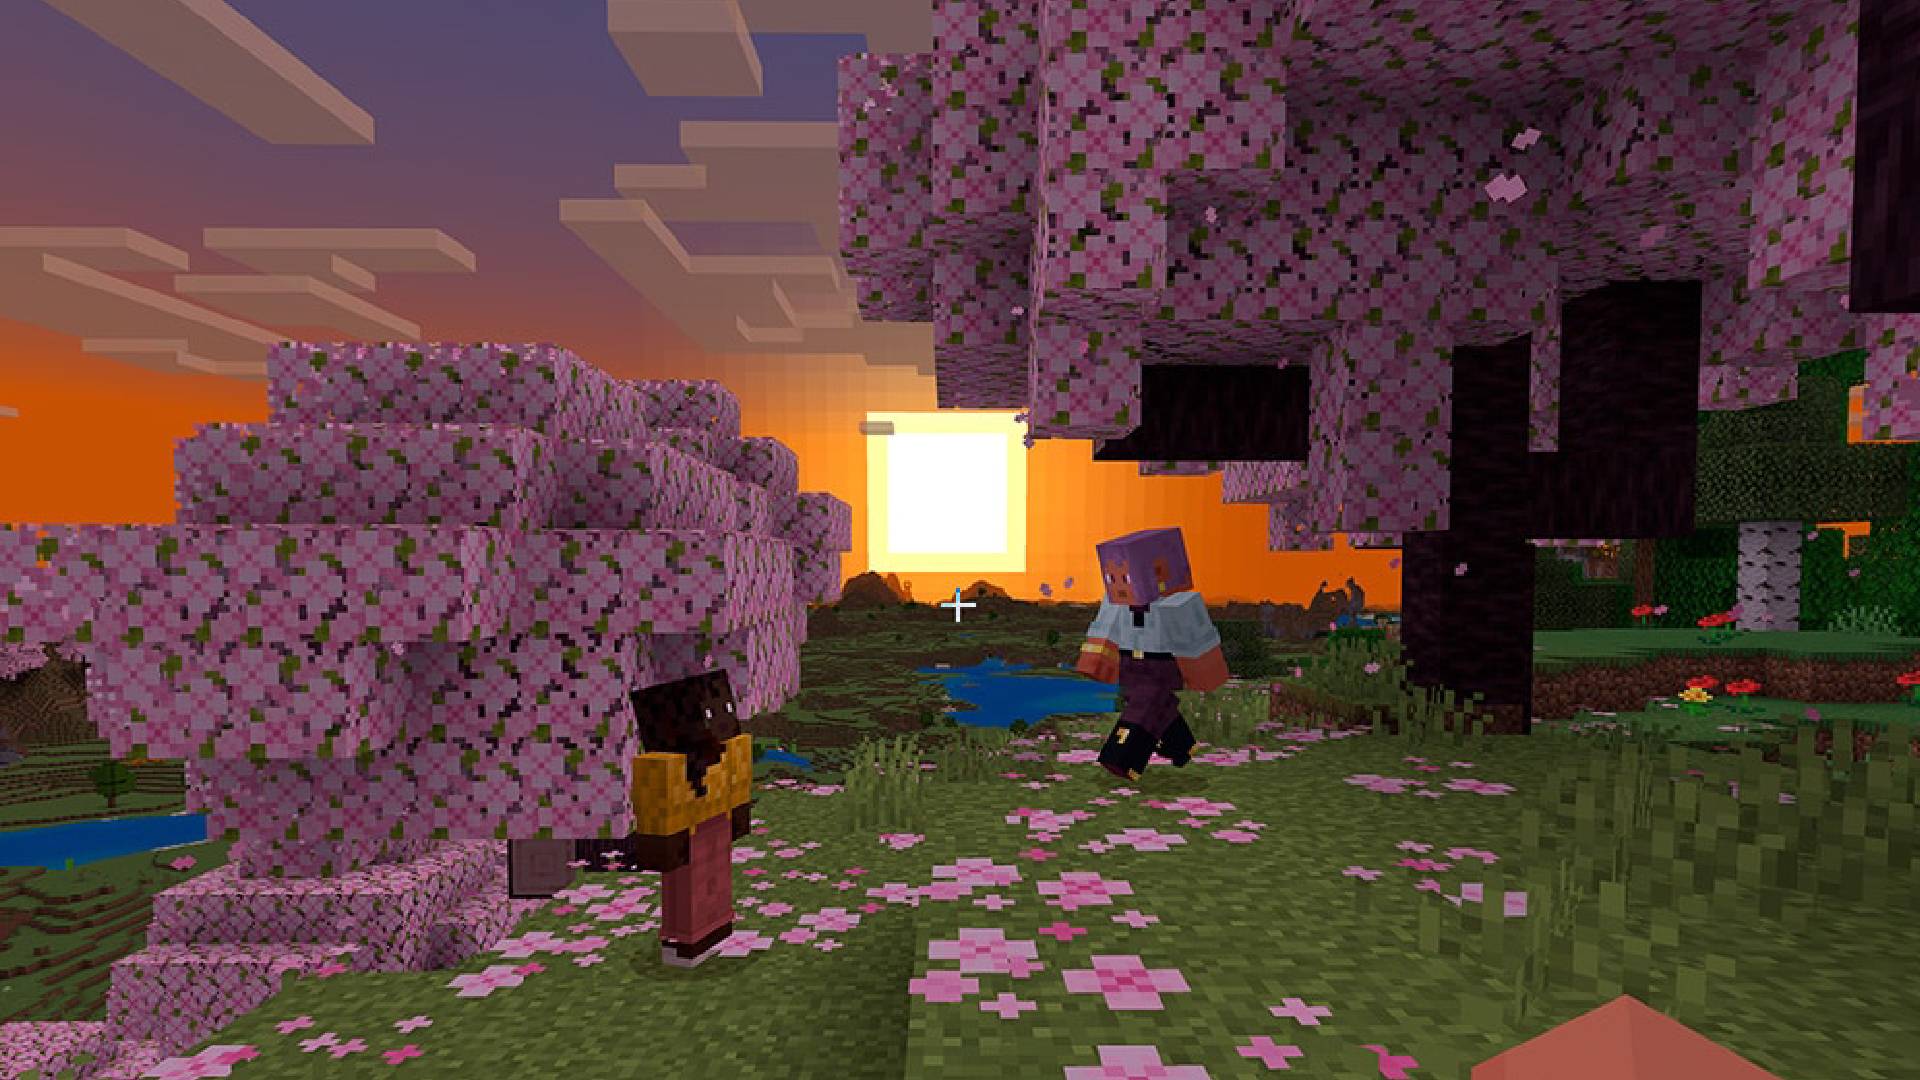
Now you’re ready to catch the three pixie dust orbs the Forgotten originally told you about. You can find these anywhere around the valley and they’ll put up quite a fight when you do track them down. I found them in the Glade of Trust, the Forest of Valor, and in the Forgotten Lands. Once you’ve snagged them out of mid-air, go to a crafting table and create three Pixie Dust Lanterns. Place them on the three winches next to the Forgotten in Skull Rock.
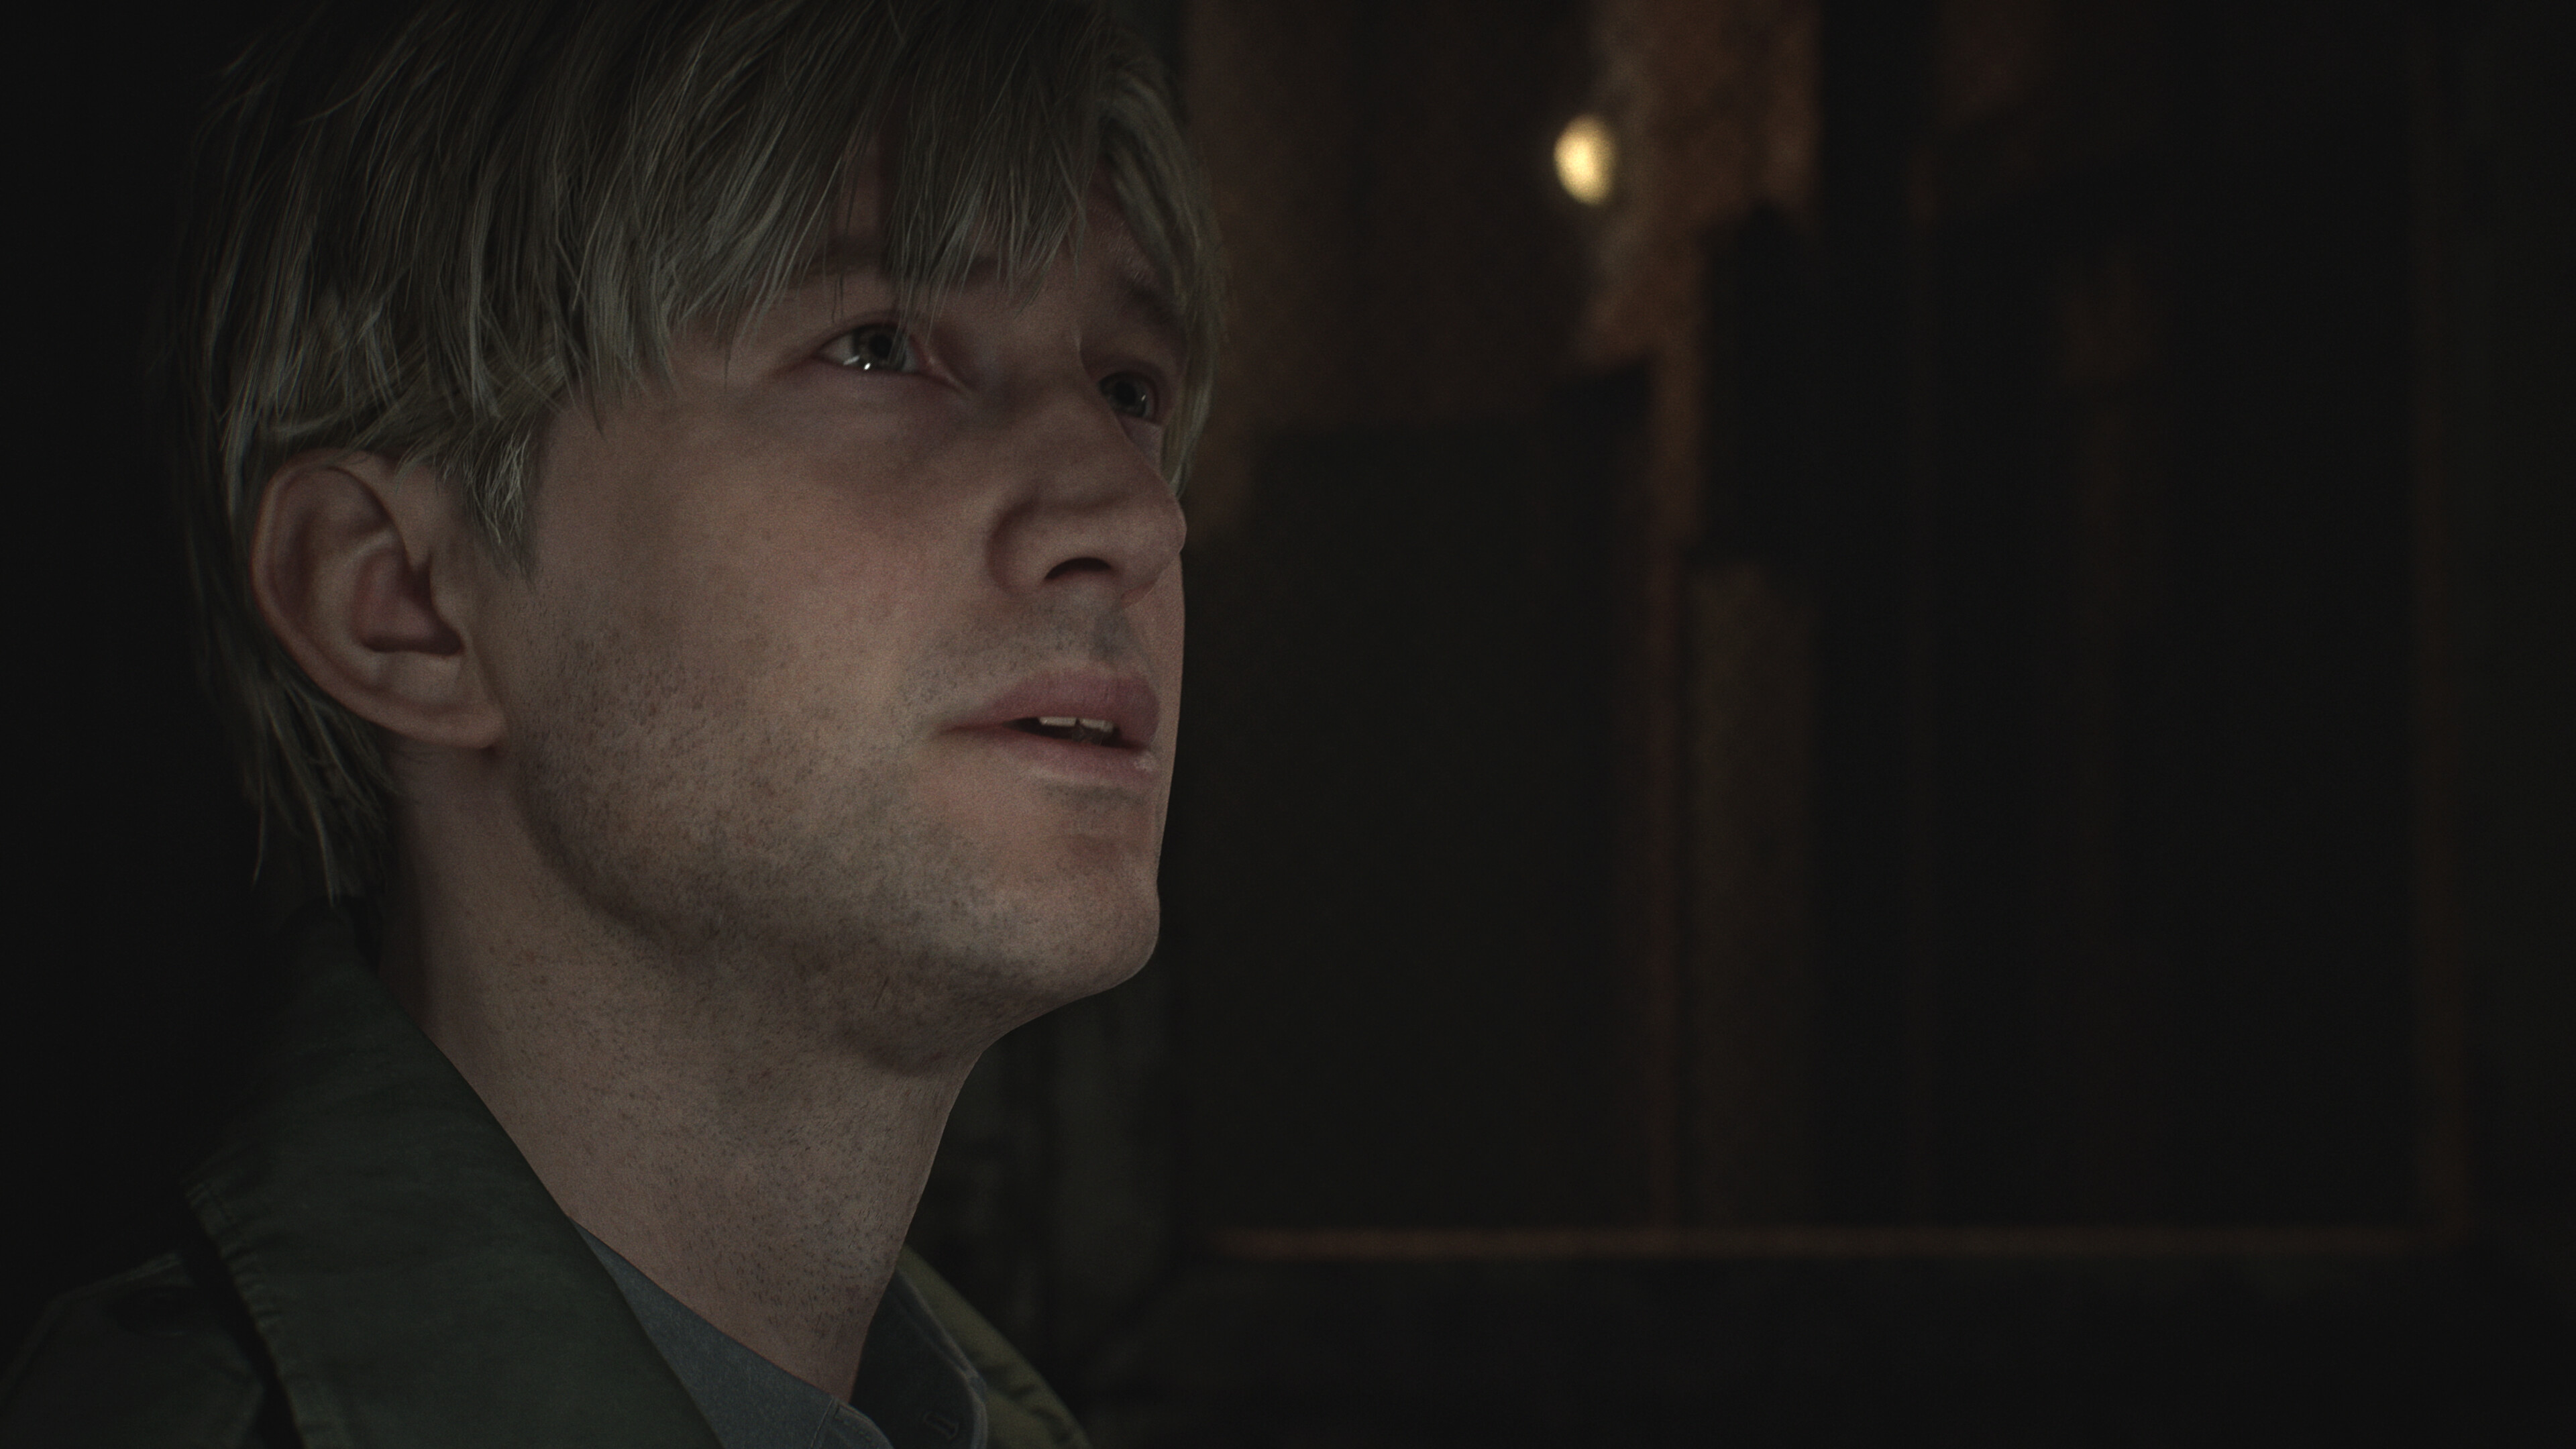
This will trigger a shadow to appear on the planks to the right, which looks suspiciously like Peter Pan. Interact with the Shadow to introduce yourself and he will try and show you something. But, because all three lights are on him, he can’t. Move the light closest to the next gate to face the doorway next to it, and speak three Jade skulls to the right of the gate to solve their riddles as the next part of the quest. Here are the answers you need.
|
Riddle |
Answer |
|
I’m used to exploring the waters and shores, a swaying home atop the sea-foam. What am I? |
A pirate ship |
|
I’m a winged creature, small and bright, with magic dust to grant you flight. Don’t be fooled; I’ve courage twice my size. Date to doubt; that’s just unwise. What am I? |
A pixie |
|
I’m an instrument of wind, and for him I’ll always play as he laughs and grins to lead the way. What am I? |
A pan flute |
When you’ve answered all three correctly, you will be able to turn the winch to open the gate and end this quest.
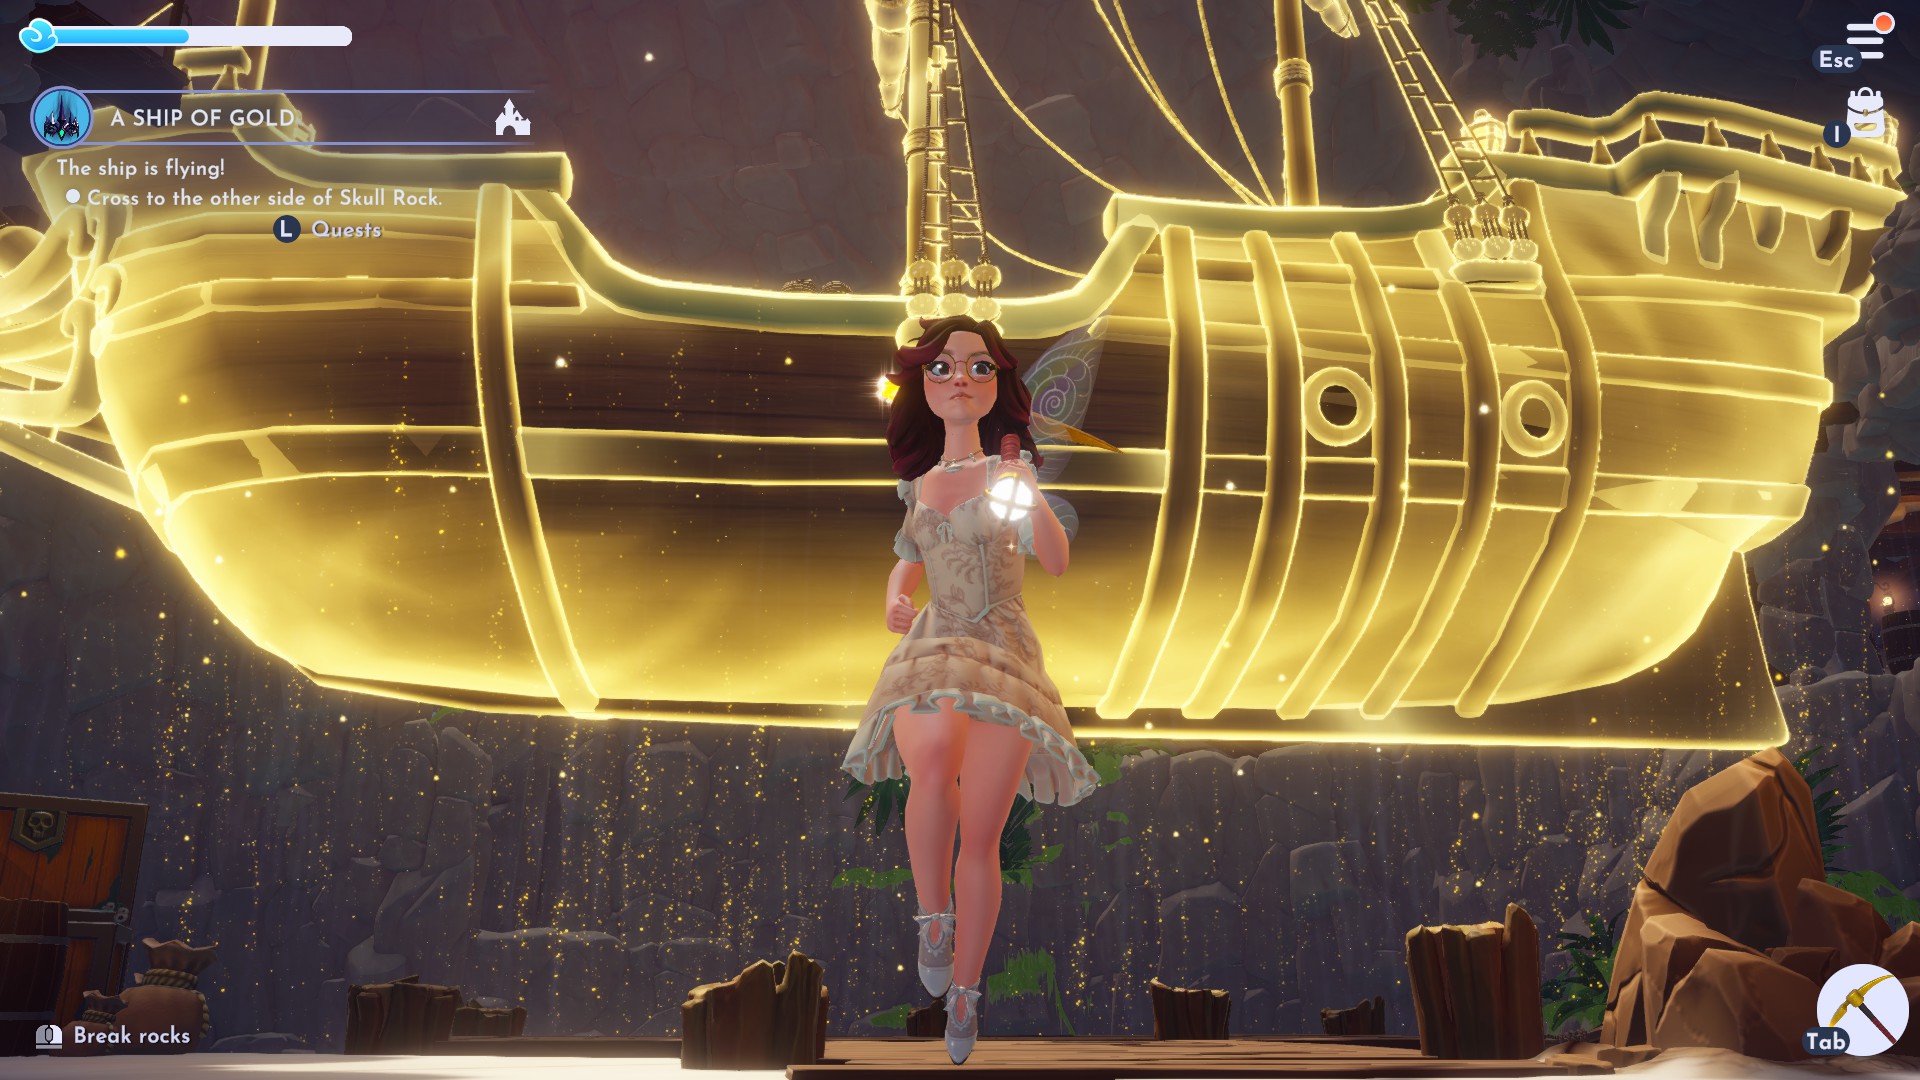
How to complete the A Ship of Gold quest
Follow both the Shadow and the Forgotten through the gate, and then speak to the Forgotten. They will tell you that you need to look for another winch, which can be found to your right buried by a barrel. You will need to use your pickaxe to break the jagged rocks and reveal some pixie dust, a pixie dust orb, and said winch.
Follow the pixie dust orb as it flies around and collect the pixie dust it guides you to. This is usually hidden beneath the jagged rocks, so you will once again need to use your pickaxe to break them. When you’ve collected all six pixie dust drops and the pixie dust orb, you’ll need to use that dust to make something fly, namely: the giant ship in the middle of Skull Rock. Interact with the boat, and you will be able to add in the six pixie dust to make it float. When it’s in the air, head across the boat to speak with the Forgotten once again.
They will then tell you how the barrels in front of you look suspicious, as if they could be part of a puzzle. Match the symbols by rotating the barrels to face one another in the following order:
- Hook and Clock
- Sewing Needle and Shadow
- Pixie and Bell
This will unlock the Captain’s Key from the barrel behind the Forgotten. Once you’ve grabbed it, head down to the Captain’s Cabin on the bottom floor of the ship. There is another winch on the floor in the middle of the room. Pick this up, and take it back to where you retrieved the Captain’s Key. Place here, and interact with it to complete the quest.
How to complete The Music’s On the Walls quest
For this final quest, speak to the Forgotten and they will mention that the Shadow is gesturing to something, before instructing you to follow a glowing musical note. A silver key will also appear on the ground next to the Forgotten that you need to pick up before you begin the chase. Catch the note by the ship, pick up the memory, and go back into the Captain’s Cabin to unlock the chest.
You’ll receive a treasure map, which you need to report to the Forgotten. If you hadn’t guessed, it’s now your responsibility to find the five musical notes and the hidden treasure buried on the map. Leave Skull Rock and use the off-shore raft to go to a separate island and dig up the buried treasure to the left of where you arrive on the island. You’ll get a Pan Pipe alongside a number of gems and ingots. As for the glowing musical notes, head to the following areas to find them:
- Dream Castle
- Dazzle Beach – Ursula’s Cave
- Skull Rock – Jade Skulls
- Frosted Heights – Olaf’s Cave
- Forgotten Lands – Treehouse surrounded by Night Thorns
Take it all back to the Forgotten and you’ll be prompted to place the Pan Pipe you retrieved from the buried treasure and the glowing notes onto the music stand in front of you. Now, match the glowing notes on the walls either side of the music stand with the ones on the sheet in front of you. You can do this by pressing the buttons on the floor to raise or lower the notes. Interact with the Pan Pipe back at the stand, and the Shadow will fly across the top of your screen, knocking the notes down.
Speak to the Forgotten once again, and the two of you will come up with a plan to trap the Shadow. You need to craft another Pixie Dust lamp to do this, but the Forgotten will give you the broken lamp to use as a component, so you only need to gather glass, Vitalys crystals, and a gold ingot. Return with the fixed lamp and angle all three lanterns to shine their light at the wall directly in front of the music stand to trap the shadow, and then readjust the notes on the walls to complete the puzzle again. Play the pan pipe again, and Peter will appear.
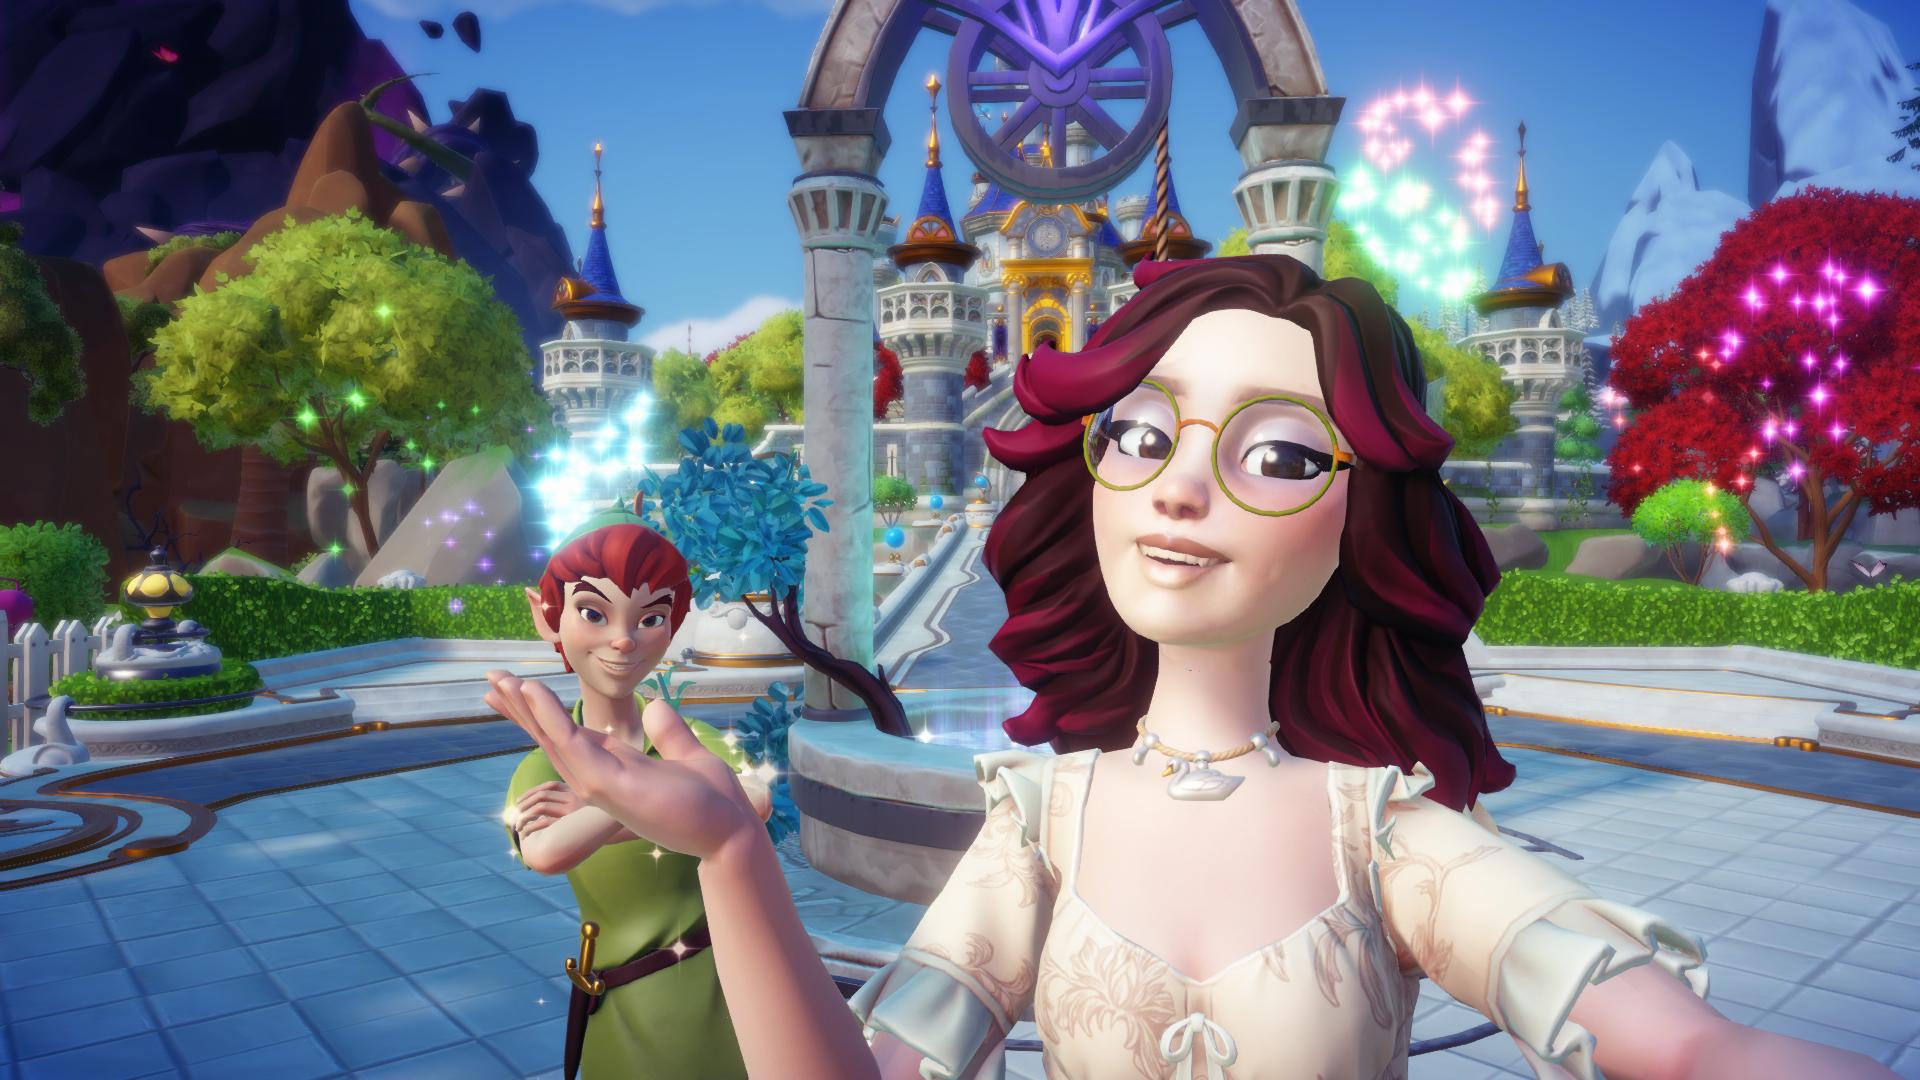
However, he won’t want to move to the valley right away. Instead, he will initiate a game of hide and seek to prove you are still a child at heart. You can ask villagers for clues or follow the pixie dust trail, but if you don’t fancy the wild goose chase, head straight to the Dark Castle. He’s hidden behind some night thorns right at the very top.
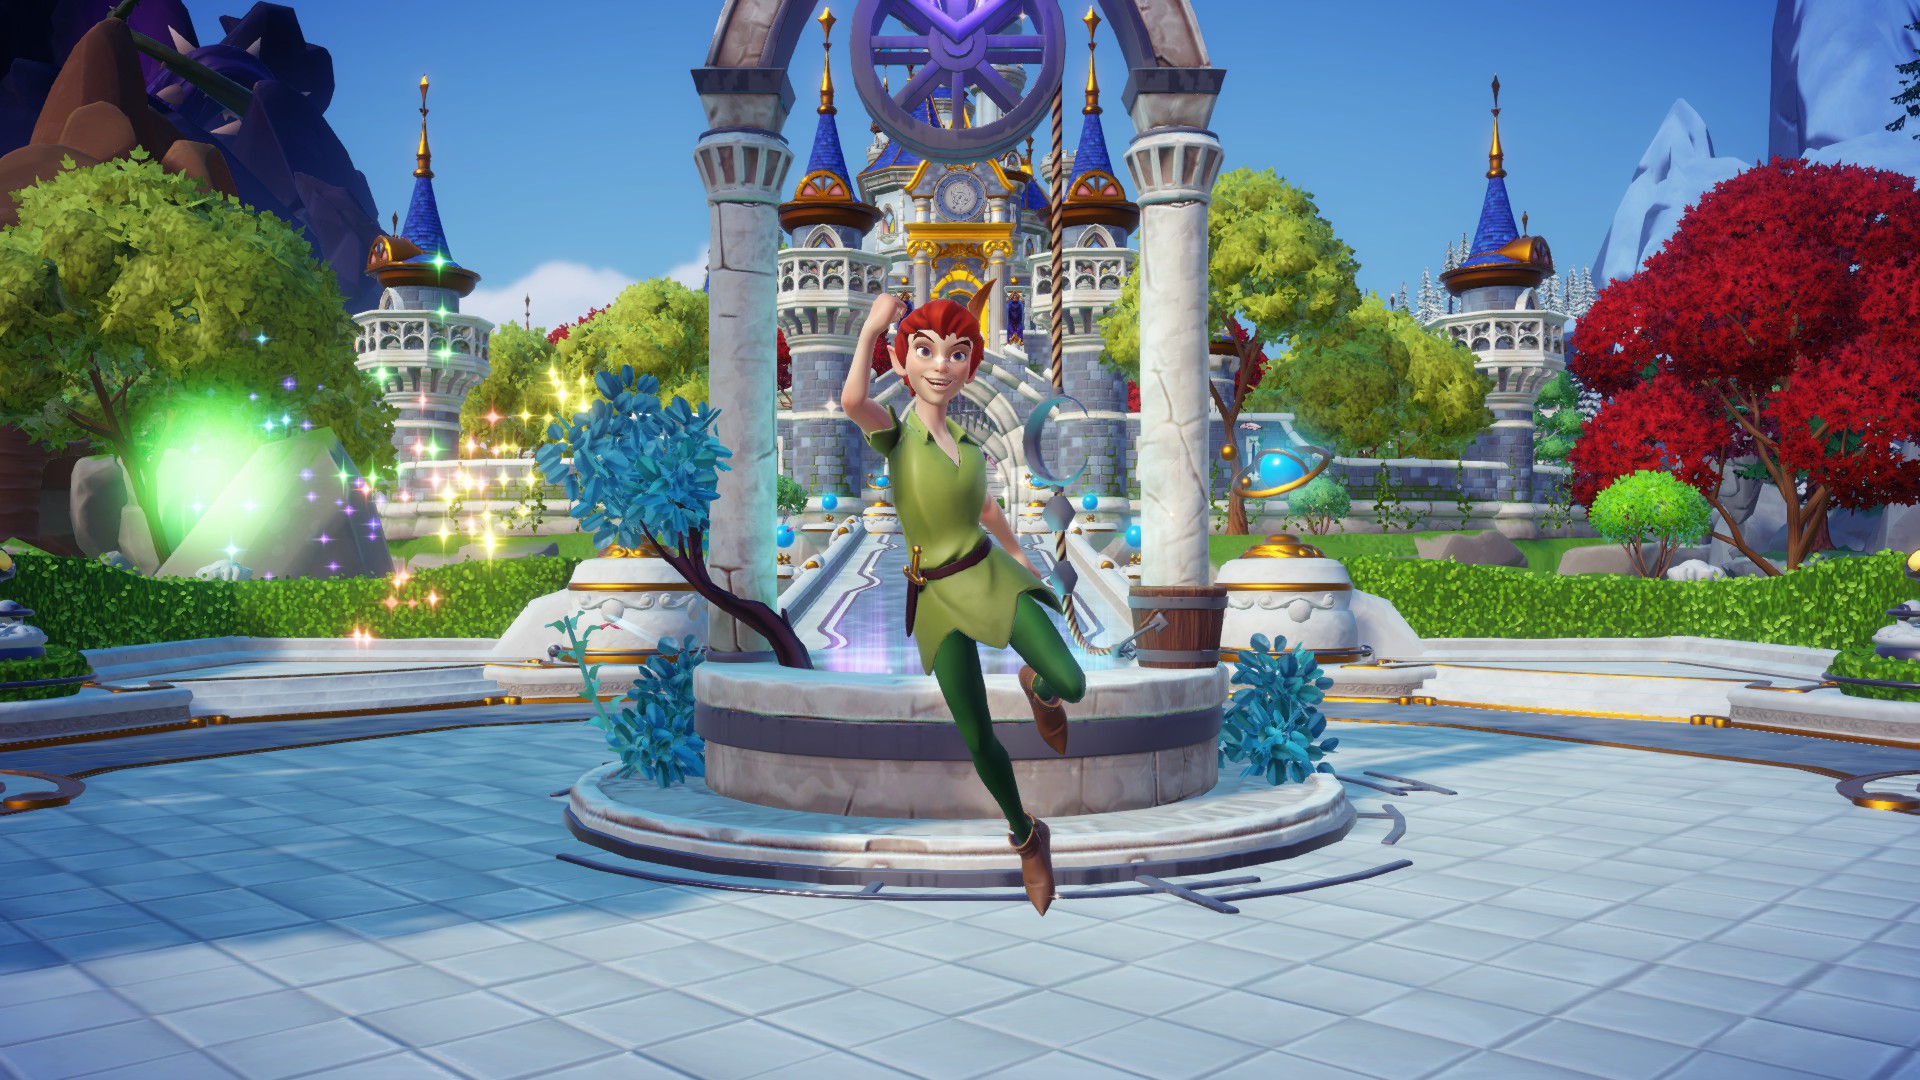
When you speak to him, he will agree to live in the valley but ask you to help him find his shadow. Don’t worry though, he gives you the house before this so you can unlock him, before going on any other wild quests. Place the house and unlock it with the sign for 20,000 Star Coins and you’ll now be able to hang out with Peter Pan whenever your heart desires.