It's far too expensive to be replacing bricked PC parts right now, so here's how I'm making sure my rig stays healthy in these trying times.
This time last summer, AMD’s venerable Ryzen 7 7800X3D was selling for about £320 here in the UK. Fast forward one year of events that—well, let’s not even get into them, we’ll only depress ourselves—but fast forward one year, and the same chip sells for £380. And that’s just here in the UK—over in the US there are even grimmer price spikes.
That’s not to pick on one CPU, mind you. It’s just one example that illustrates an industry-wide trend that can be surmised thusly: everything inside your PC case costs more now. Therefore, it’s more important now than ever before that your componentry remains healthy, and operating within ideal temperatures and voltages. No-one wants to foot the bill for a blown GPU at the moment.
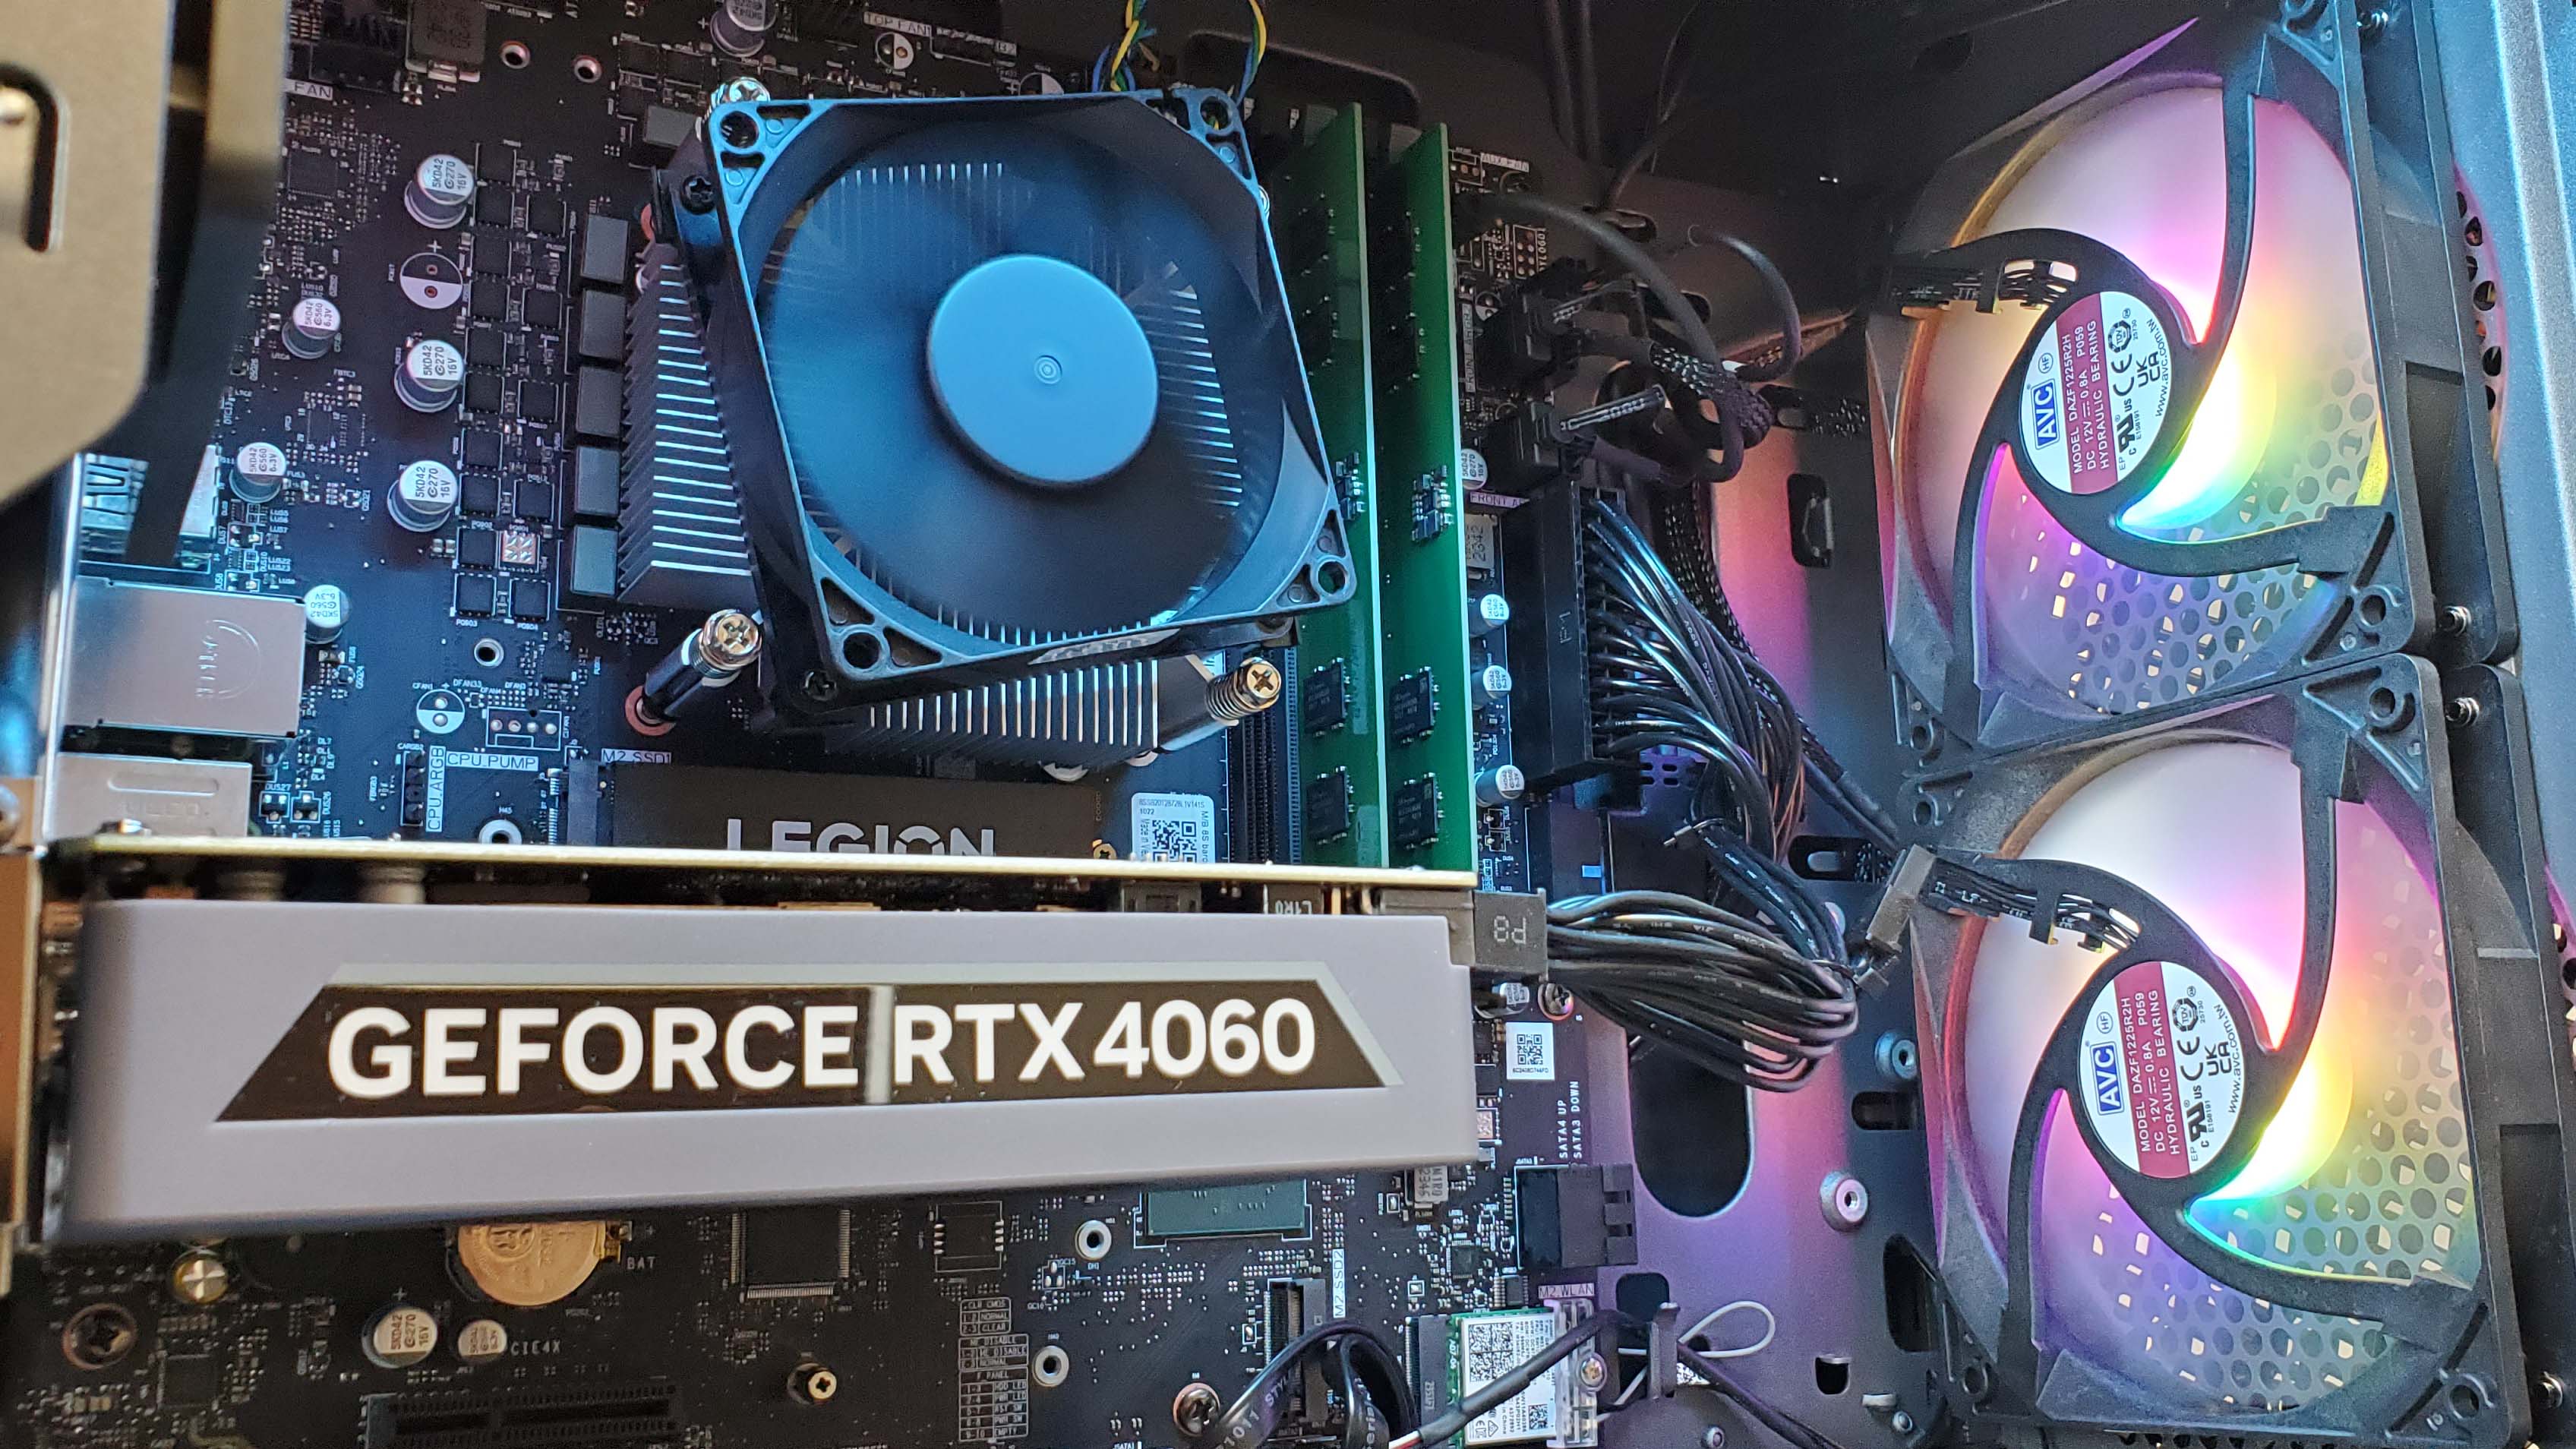
I’ve been putting a lot of thought into this lately, partly because my 2019-era system is statistically due to start complaining any day now, and partly because the temperatures in my gaming room get hot enough during the summer to melt tungsten. So I’ve been reacquainting myself with the ancient pearls of PC hygiene wisdom that all of us already know, on some level, but rarely put into action. Airflow, dusting, voltages. Standby vs. turning off.
But before I can even squirt an air can, first I have to become okay with the specs I currently have. Because, don’t get me wrong, I would quite like an RTX 5080 and a Ryzen 7 9800X3D to accompany it. But this clearly isn’t the right time to be making a fiscally significant upgrade.
If I wait a while, I can probably buy those two objets d’art for maybe 10% less than they currently sell for, and given their already eye-watering MSRP, that 10% saving is worth waiting for. So, I’ve had to mentally accept some games aren’t going to run at a locked 60 fps, maxed out. They’re just not.
Worse: I’ve had to turn on DLSS sometimes, too.
Upscaling and frame generation
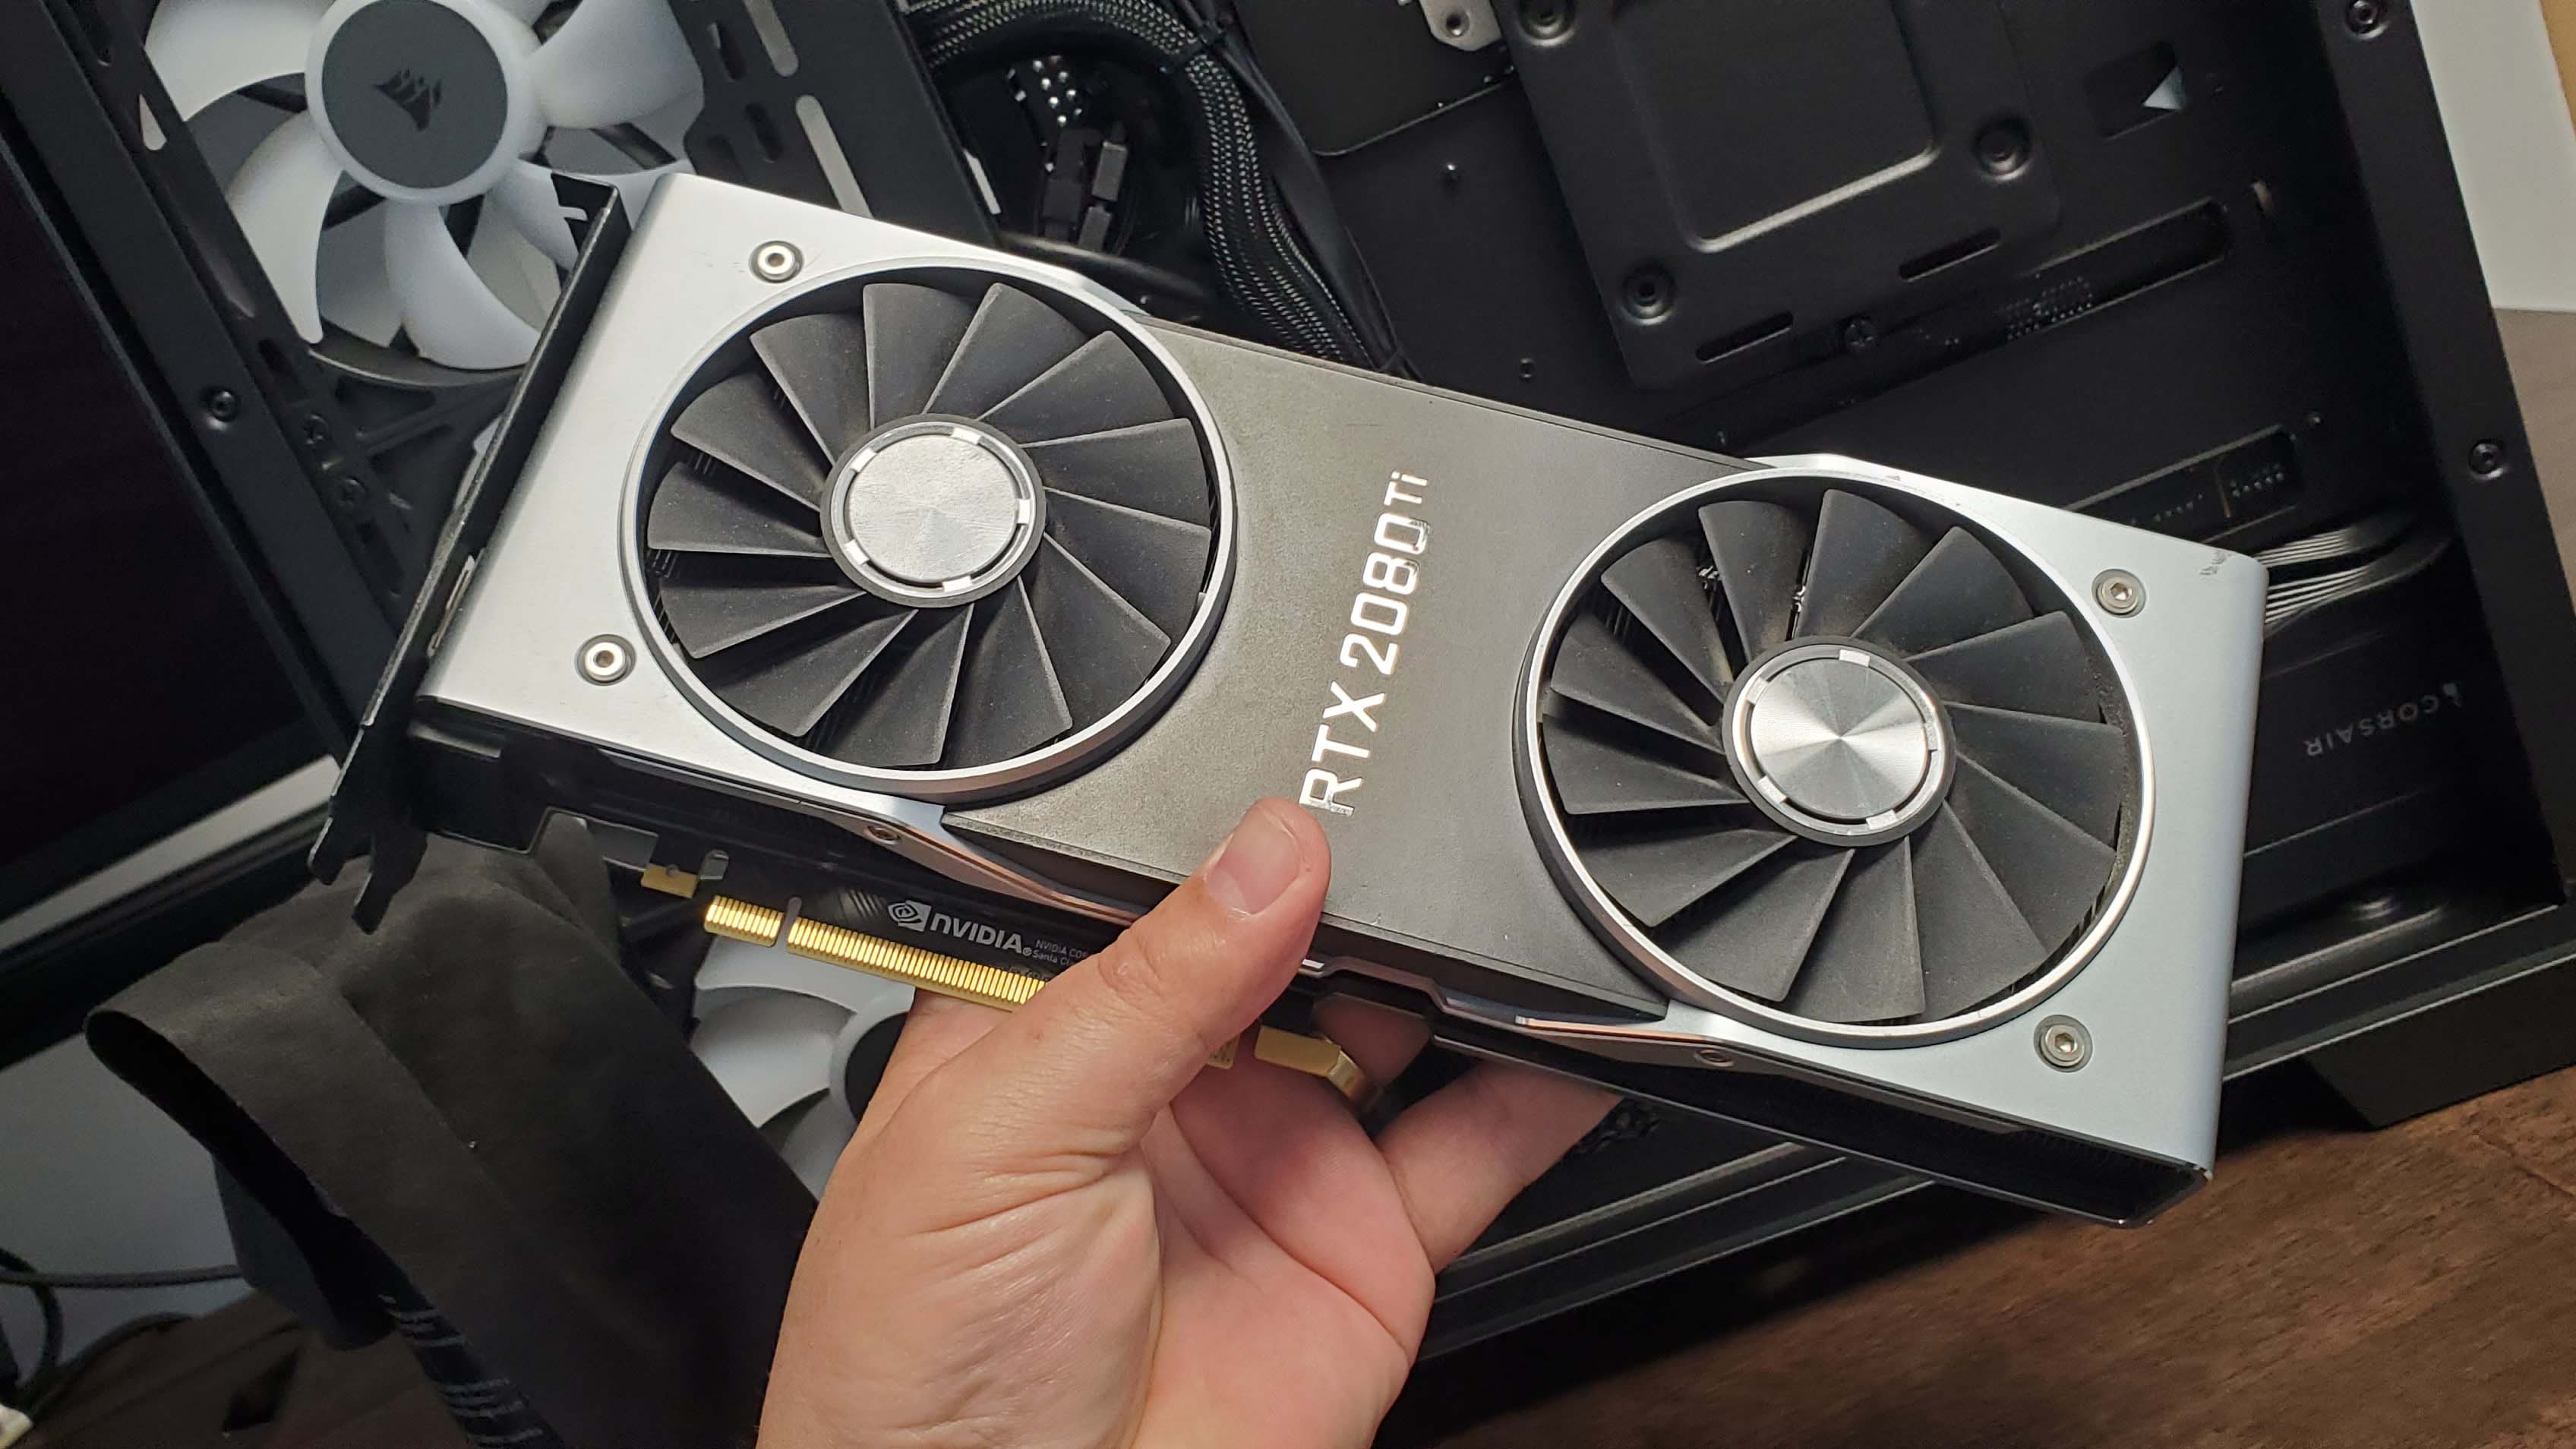
Does it look good? No, for me, no it does not. Using the finest DLSS available to my veteran RTX 2080 TI, 80% of the time it looks like the game, only blurrier, and 20% of the time it looks like I’ve prompted ChatGPT 1 to render a finger painting of Doom: The Dark Ages smothered in Vaseline.
But it’s an option. If I really need a solid 60 fps, it’s an option.
Most of the time, I don’t even need the specs I have, let alone the ones I’m deferring upgrading to.
Then there’s the cold hard truth of the matter to consider: Very few of the games I play are actually pushing even my aged rig to its limits. Yes, Doom’s an id Tech 8 monster that makes my fans whirr at frightening volume and Avowed looks considerably better than real life, but most of the time I’m playing well-optimised Unreal Engine games and vintage titles from numerous GPU generations ago. I’m hardly going to blow a capacitor running Shadow Man: Remastered. Most of the time, I don’t even need the specs I have, let alone the ones I’m deferring upgrading to.
If you’re in a similar boat and staying put with a PC that’s gradually working its way from bleeding edge to barely scraping minimum requirements, it might also be worth experimenting with Lossless Scaling, a Steam app that sells for $7/£5.89 and offers frame gen tech across any game, using just about any graphics card. As frame rate-boosting upgrades go, it’s definitely the most impactful $7 you can spend, and I’m including even the most premium cans of compressed air in that statement.
With a bit of fiddling and after absorbing a few tutorials, it’s generally possible to generate some tangible extra frames in Lossless Scaling and notch up the feeling of smoothness slightly. But as anyone who’s already used it will tell you, it’s nowhere near as effective as Nvidia’s DLSS Frame Gen, or AMD’s FSR. It seems to find it way harder to interpolate fast animations between frames, resulting in quite a bit of artifacting. That means you can generally only afford to boost the frame gen by a small amount before things start to look a bit like slop.
Plus, and I know this shouldn’t matter, but it doesn’t actually affect your frame counter. Maybe you can live with that. If so, you’re a better person than I.
Practicalities
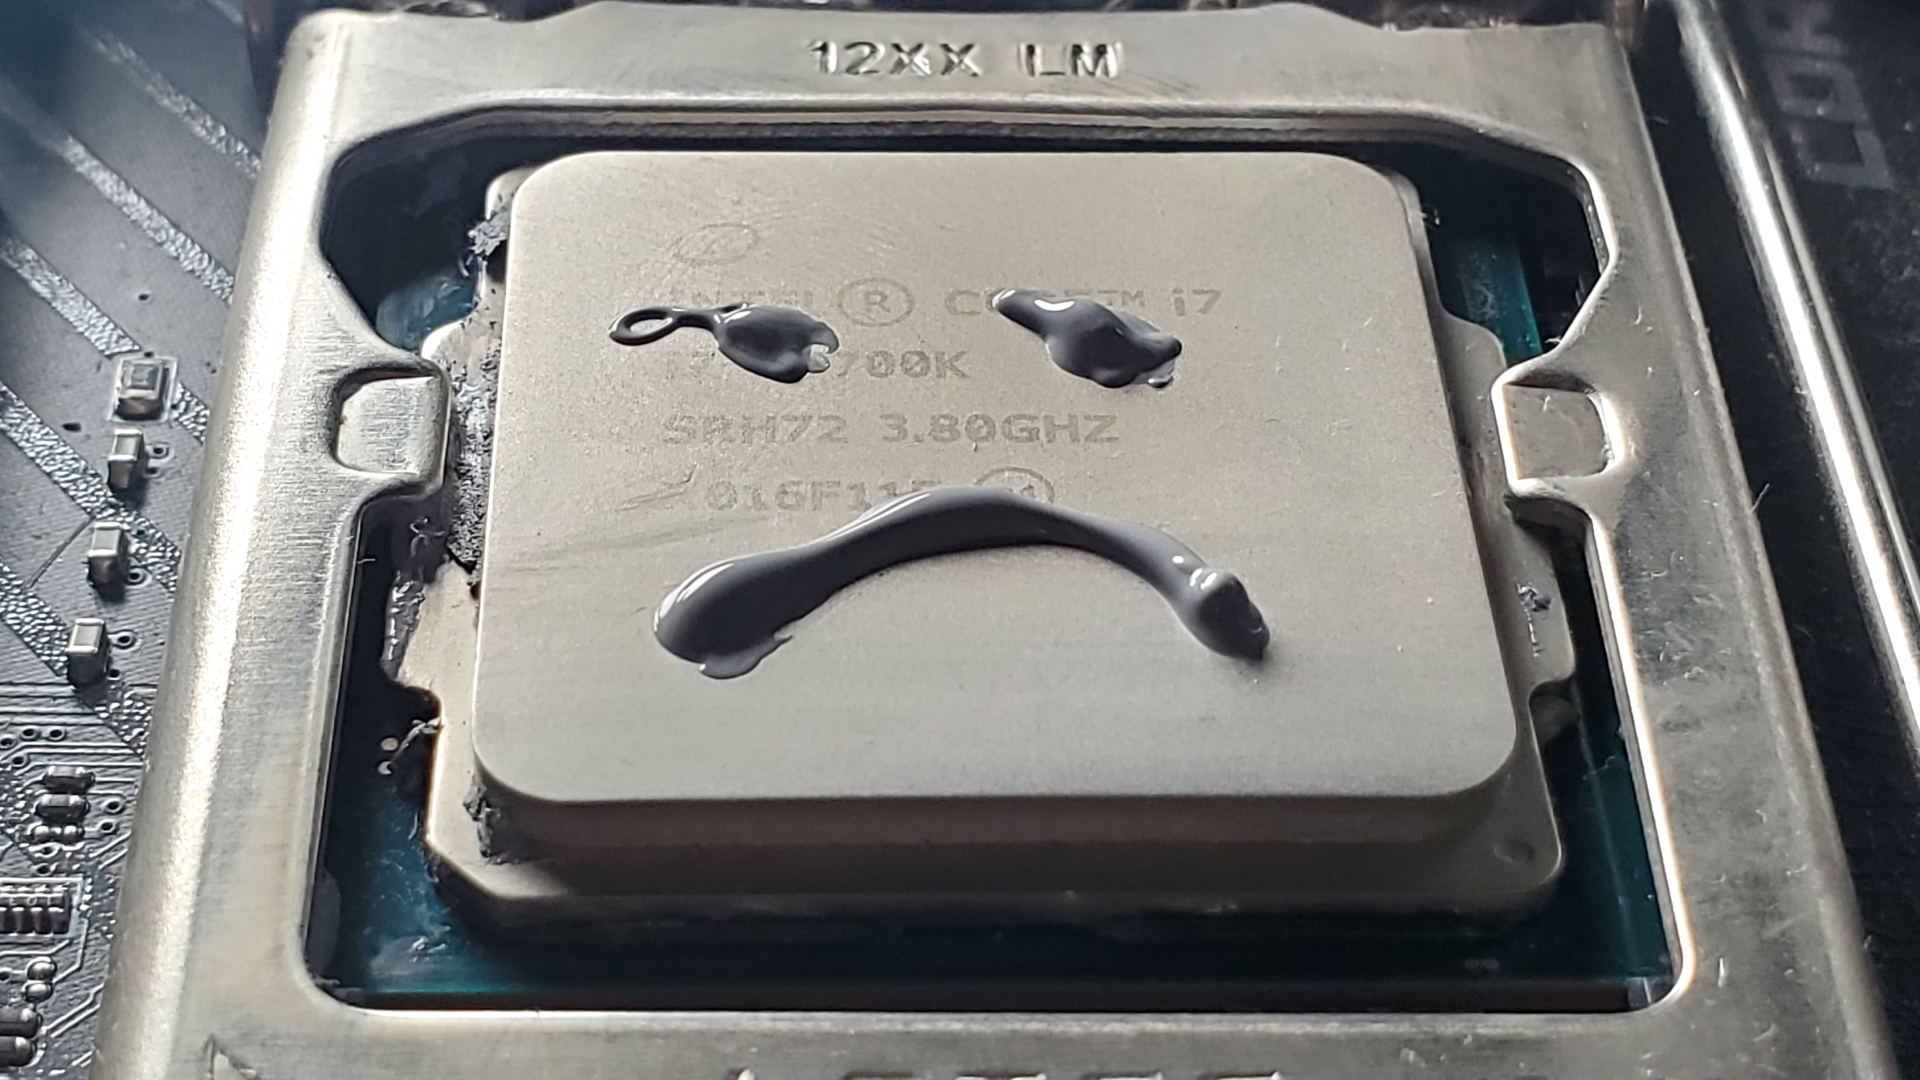
Let’s move onto the more practical side of PC healthcare. I performed a few experiments lately to see how much my internal temps would be affected by different spring cleaning tasks, such as reseating my CPU with fresh thermal paste, removing all the dust from my case (particularly on the fan blades, and keeping my cables tucked away to preserve maximum airflow through the case.
It’s also worth noting that my setup includes a surge protector, which is a boring but essential addition to any gaming machine. Blackouts and brownouts are rare here in the UK, but in the US where power can fluctuate more, adding a surge protector could save you thousands in fried parts.
You can get into the weeds on the number of joules or amps a particular surge protector can shield against – many recommend between 3500-4000 joules – but in the simplest terms, it’s better to have one at all than to not.
An uninterruptible power supply (UPS) would add an extra level of protection beyond that, but it’s probably overkill in the vast majority of cases due to the high initial outlay cost. UPSes are designed primarily to protect software rather than hardware, giving you a brief window after a power outage to safely shutdown and avoid data loss, but if you live in an area with an especially fluctuating or unstable power supply, it’s an option.
Keeping cool
Personally I’ve started using LibreHardwareMonitor to keep an eye on what’s going on inside my PC. Core Temp and NZXT CAM are also decent options, but I particularly like Libre’s customisable readout displays, because they give me a good insight into whether the airflow in my NZXT H5 mid-tower case is flowing as intended.
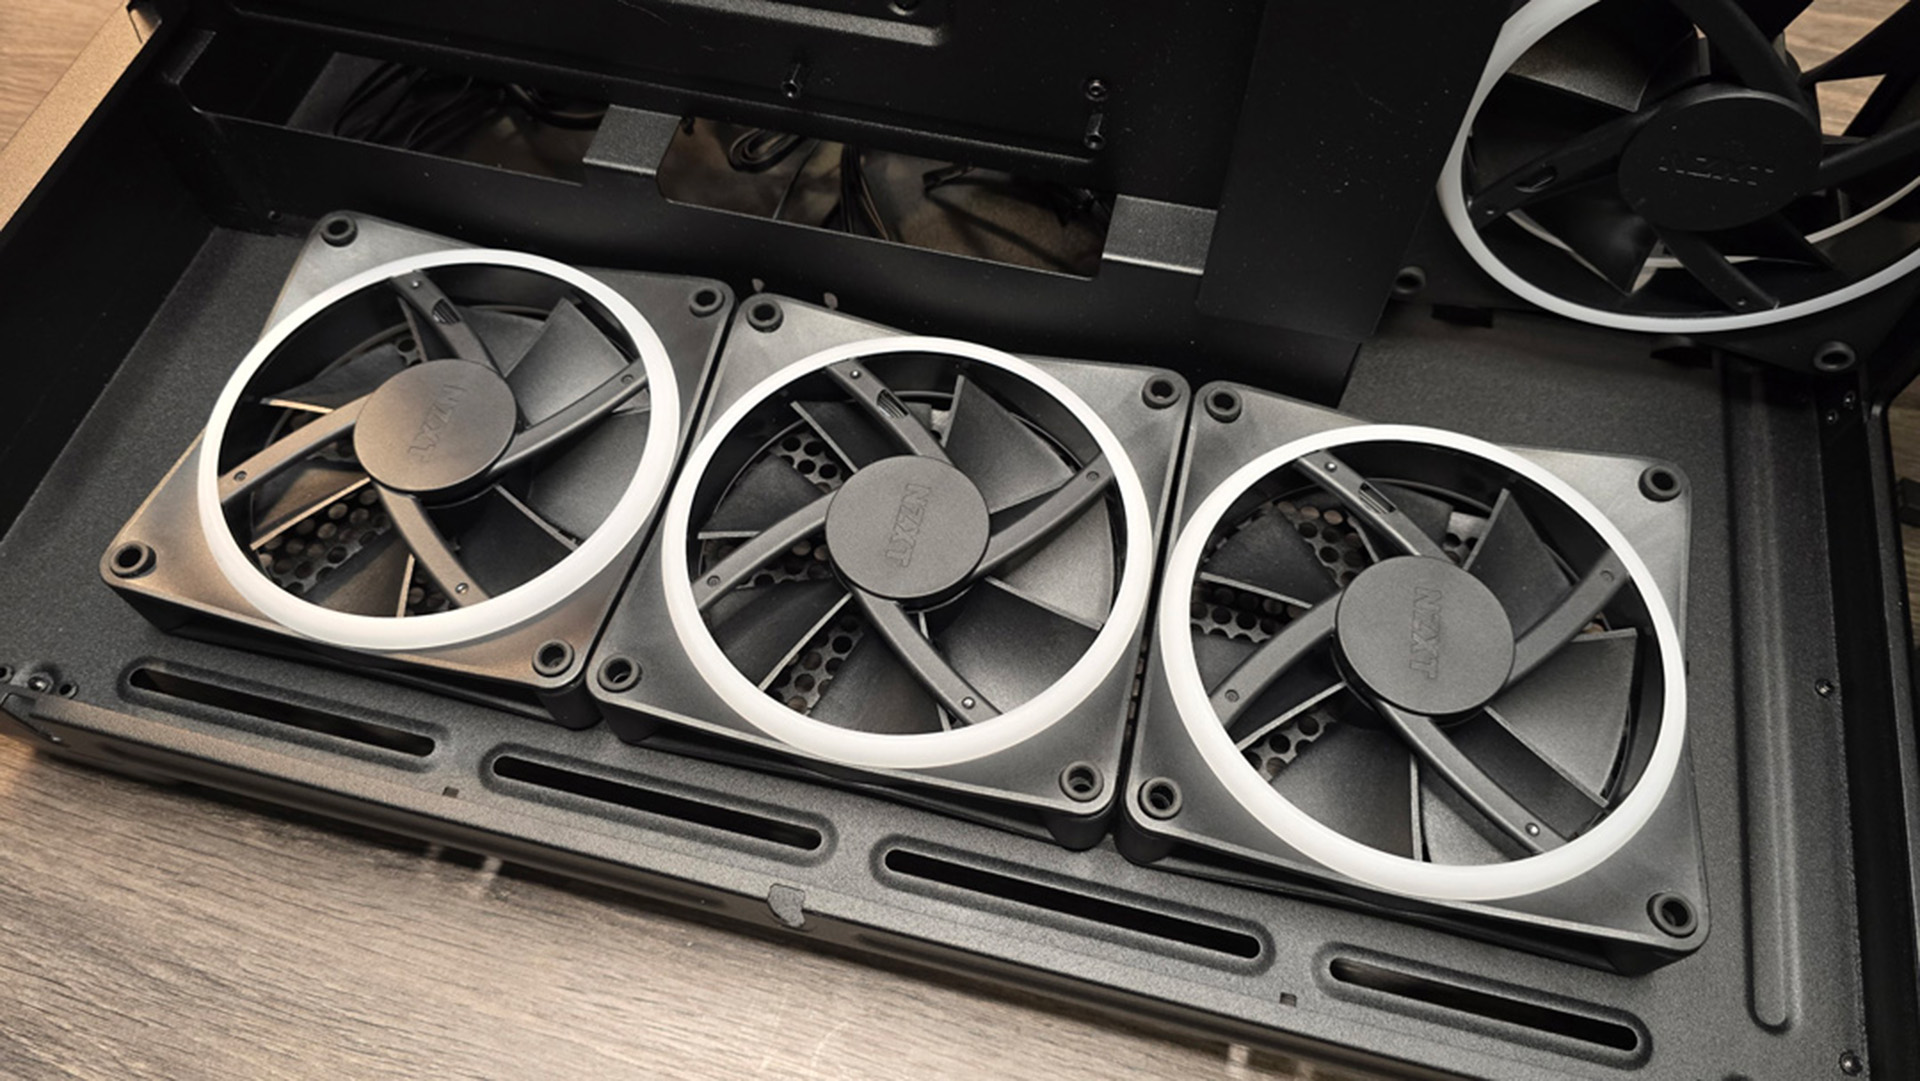
A quick refresher on the basic principles of case airflow: you want to intake air with the front case fans, and exhaust it at the rear, pushing as much through the componentry as possible. With that in mind, it’s worth double-checking how all your fans are actually oriented, as it’s fairly common to have a top-mounted fan exhausting air before it reaches the CPU. Individual case designs vary of course, but it’s generally preferable to keep airflow super simple and have one intake direction and one exhaust direction.
It’s generally preferable to keep airflow super simple and have one intake direction and one exhaust direction.
It’s also important to have some space for the hot air to disperse once it’s been expelled from the exhaust point. If your case is pushed into a corner, it’s likely that the overall temps will rise because all the hot air’s just sitting there with nowhere to go. A bit like a polluted city block full of skyscrapers, in that way.
The H5 isn’t the most optimal airflow design in existence, but it does the job. Very little dust gets into my case, and the airflow design is pretty simple: two big intake fans at the front, one exhaust on the top panel above the CPU (not ideal given the principles above) and a mount for the CPU cooler fan at the rear. I don’t have any other options here other than to upgrade the individual fans themselves in order to generate a more powerful flow, and thinking about longevity that might be a worthwhile upgrade in the near future. My internal temps are doing fine though so it’s probably overkill.
I found that re-seating my CPU with fresh paste did basically nothing to the core temp, whereas giving the whole case a thorough clean with some compressed air and a microfiber cloth, paying particular attention to the fan blades, did seem to bring temps down by a degree or two under load. Idle temps stayed pretty much the same. Tidying my cables as much as possible had little effect either, but they were already tucked away behind the mobo plate for the most part.
Under-clocking and under-volting
👆Knocking back the voltage of AMD cards can boost performance.
The other avenue to explore here is under-clocking and under-volting. This isn’t a blanket application, as it’ll obviously have performance drawbacks when you’re playing games that use a lot of resources, and can lead to system instability. However, as I mentioned at the head of this article, I’m not playing particularly demanding games most of the time.
Maybe you’re not either. In that case, it might make sense to create a custom under-volted profile in your BIOS, and load it when you know you’re going to be playing older games or indies that ask very little of your GPU and CPU. It does take a lot of fiddling to reach a profile that’s stable and meets your performance requirements, but unlike over-volting which can damage your componentry, the worst under-volting can do is lead to a few BSODs.
It doesn’t all have to take place in your BIOS. Using a GPU overclocking tool, such as MSI Afterburner, lets you change values including power draw, live from your desktop, and then save those parameters out as a profile that you can easily switch between, depending on the game you’re about to play.
In some cases, specifically AMD Radeon cards, you might even find that, paradoxically enough, you unlock more GPU performance from a slight under-volt, though that might also make it draw more power. Still, you can put power limits in place, too.
The joy of using Afterburner is that it’s a bit easier to tweak values and arrive at that sweet spot setting when you’re able to do all the manipulating in the Windows environment while a game benchmark is looping in the background.
Power settings
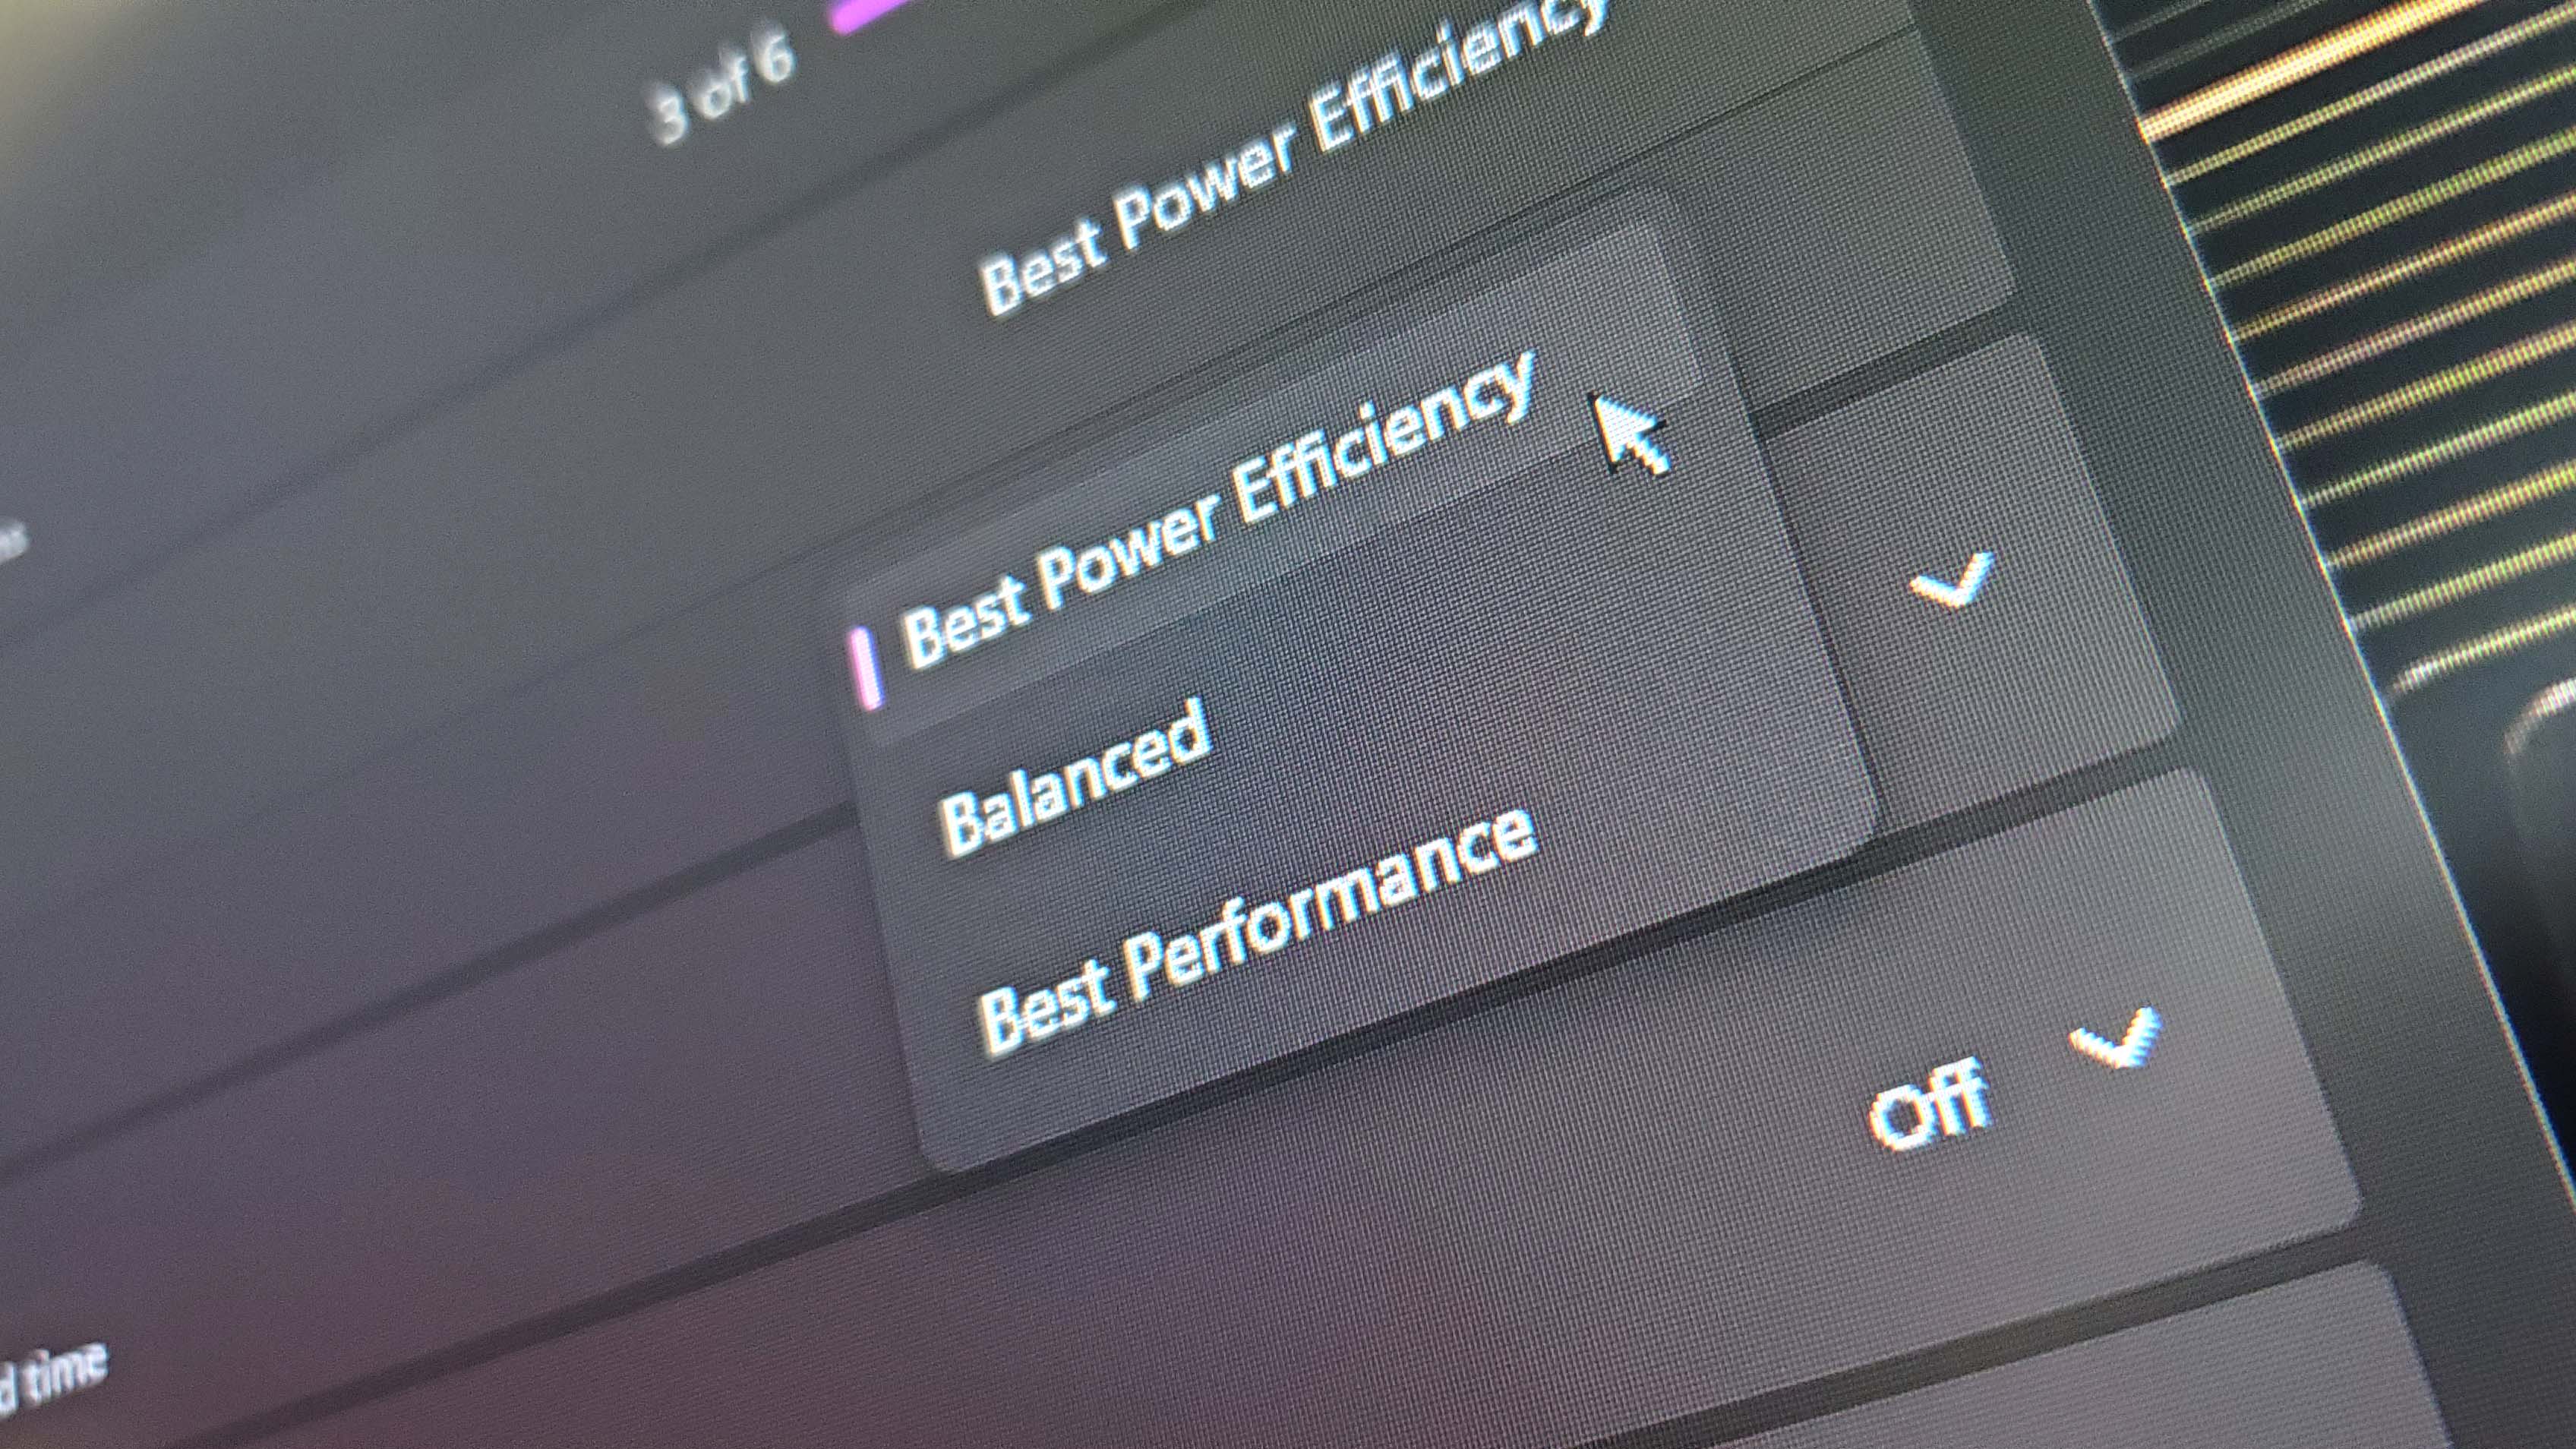
Windows’s own power settings are another stone that’s worth turning over for a quick and easy switch between high and low power draw. After heading into the power & battery settings menu (Start > Settings > System > Power & battery) you can either cycle between the drop-down profile options, switching to ‘best performance’ only when Night City calls, or customise advanced settings per component.
To make that process even easier, PowerPlanSwitcher in the Win Store gives you a shortcut and taskbar element to quickly switch between plans.
So the drawbacks of under-volting or dialling down the power draw are no more severe than a bit of menu faffing and a possible BSOD during the initial tweaking. The benefits, on the other hand, are some theoretical added lifespan to your parts. Passing lower voltage through them will lead to lower temps, and in the long-term that should keep everything operating correctly for longer.
None of this is as sexy or fun as unboxing an enormous new graphics card.
None of this is as sexy or fun as unboxing an enormous new graphics card, slapping it in your system and watching it reach the frame rates of your dreams. But while the hardware market’s experiencing such high prices, it’s well worth taking on these low-lift tasks like a case clean, a fan check, and and under-volted BIOS profile.
Future you will thank today you.