From secret landing pads to sneaky ledges, Chapter 14 turns up the heat.
Doom: The Dark Ages Chapter 14‘s secrets are some of the hardest to pin down, as you’re likely to have flown right by a handful of them on the way to release the Old One. That’s exactly what I did, leading me to have to replay this lengthy mission to grab all the Spire of Nerathul secrets and collectibles.
To save you the trouble, below are all the Doom: The Dark Ages secrets in Chapter 14, laid out in chronological order, so you can find every single one on your first playthrough. While it’s a great mission, it’s not a fun one to replay and figure out what you’re missing.
Doom: The Dark Ages Spire of Nerathul secrets and collectibles
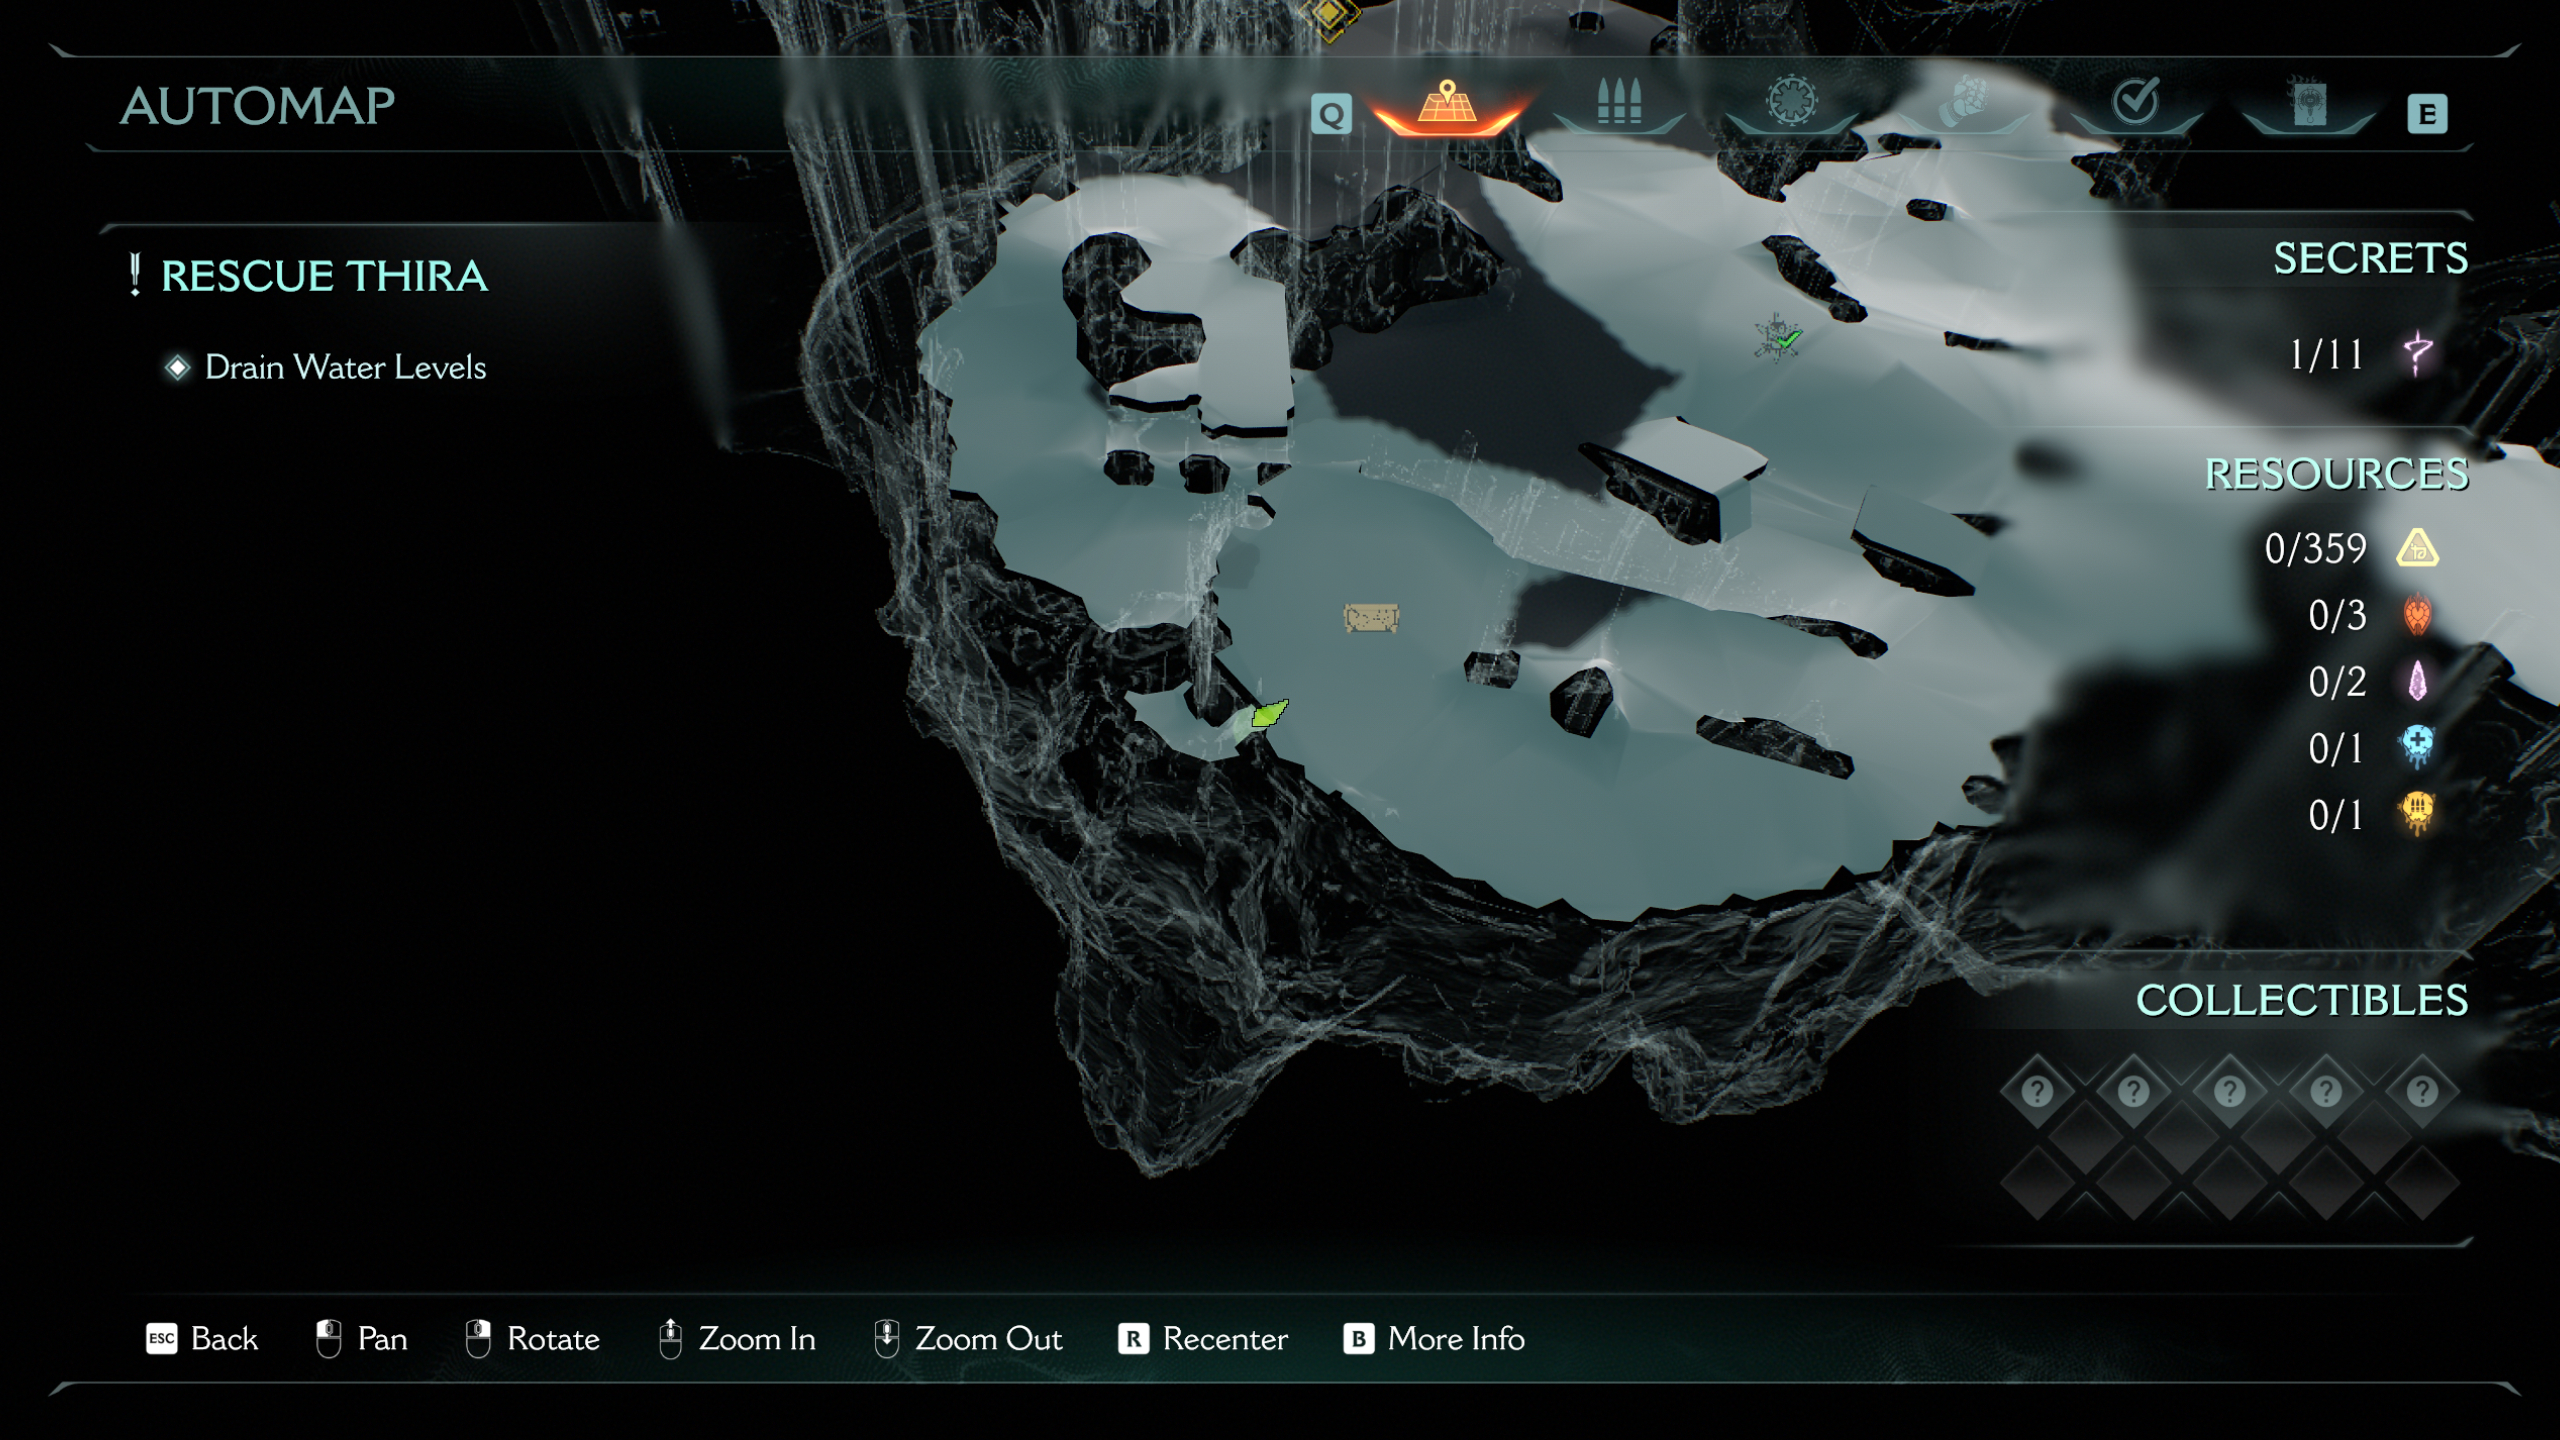
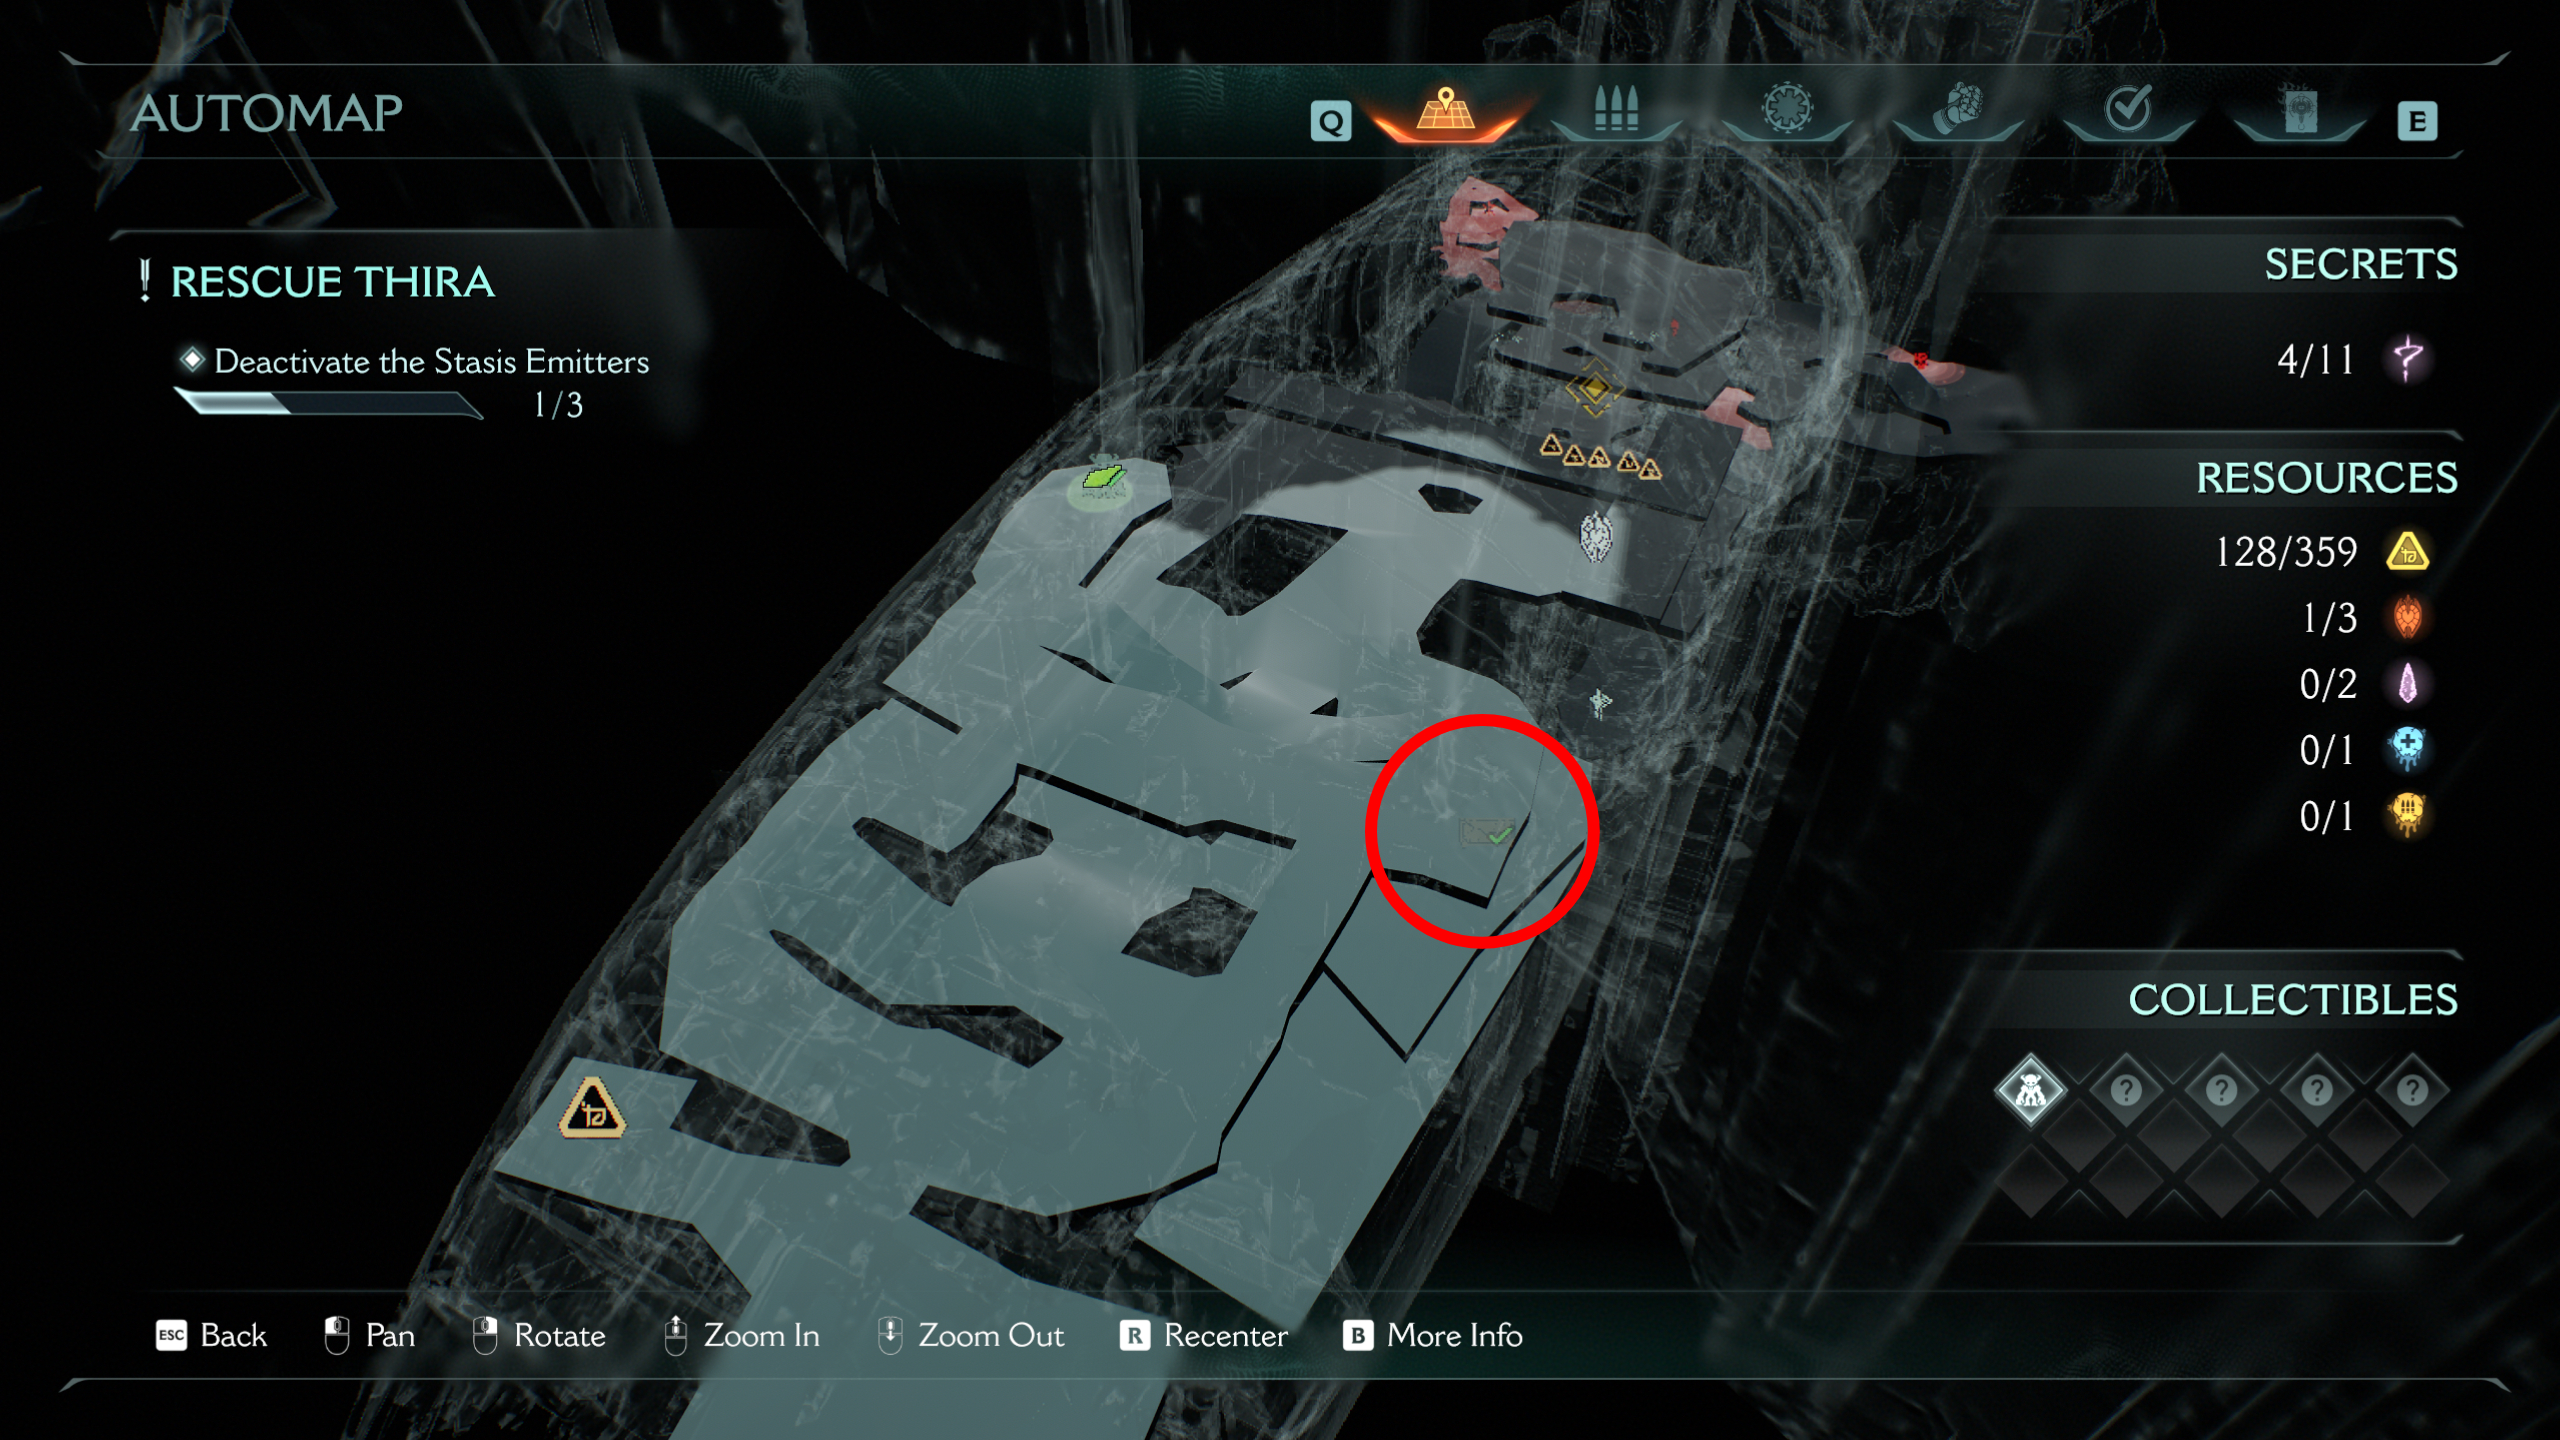
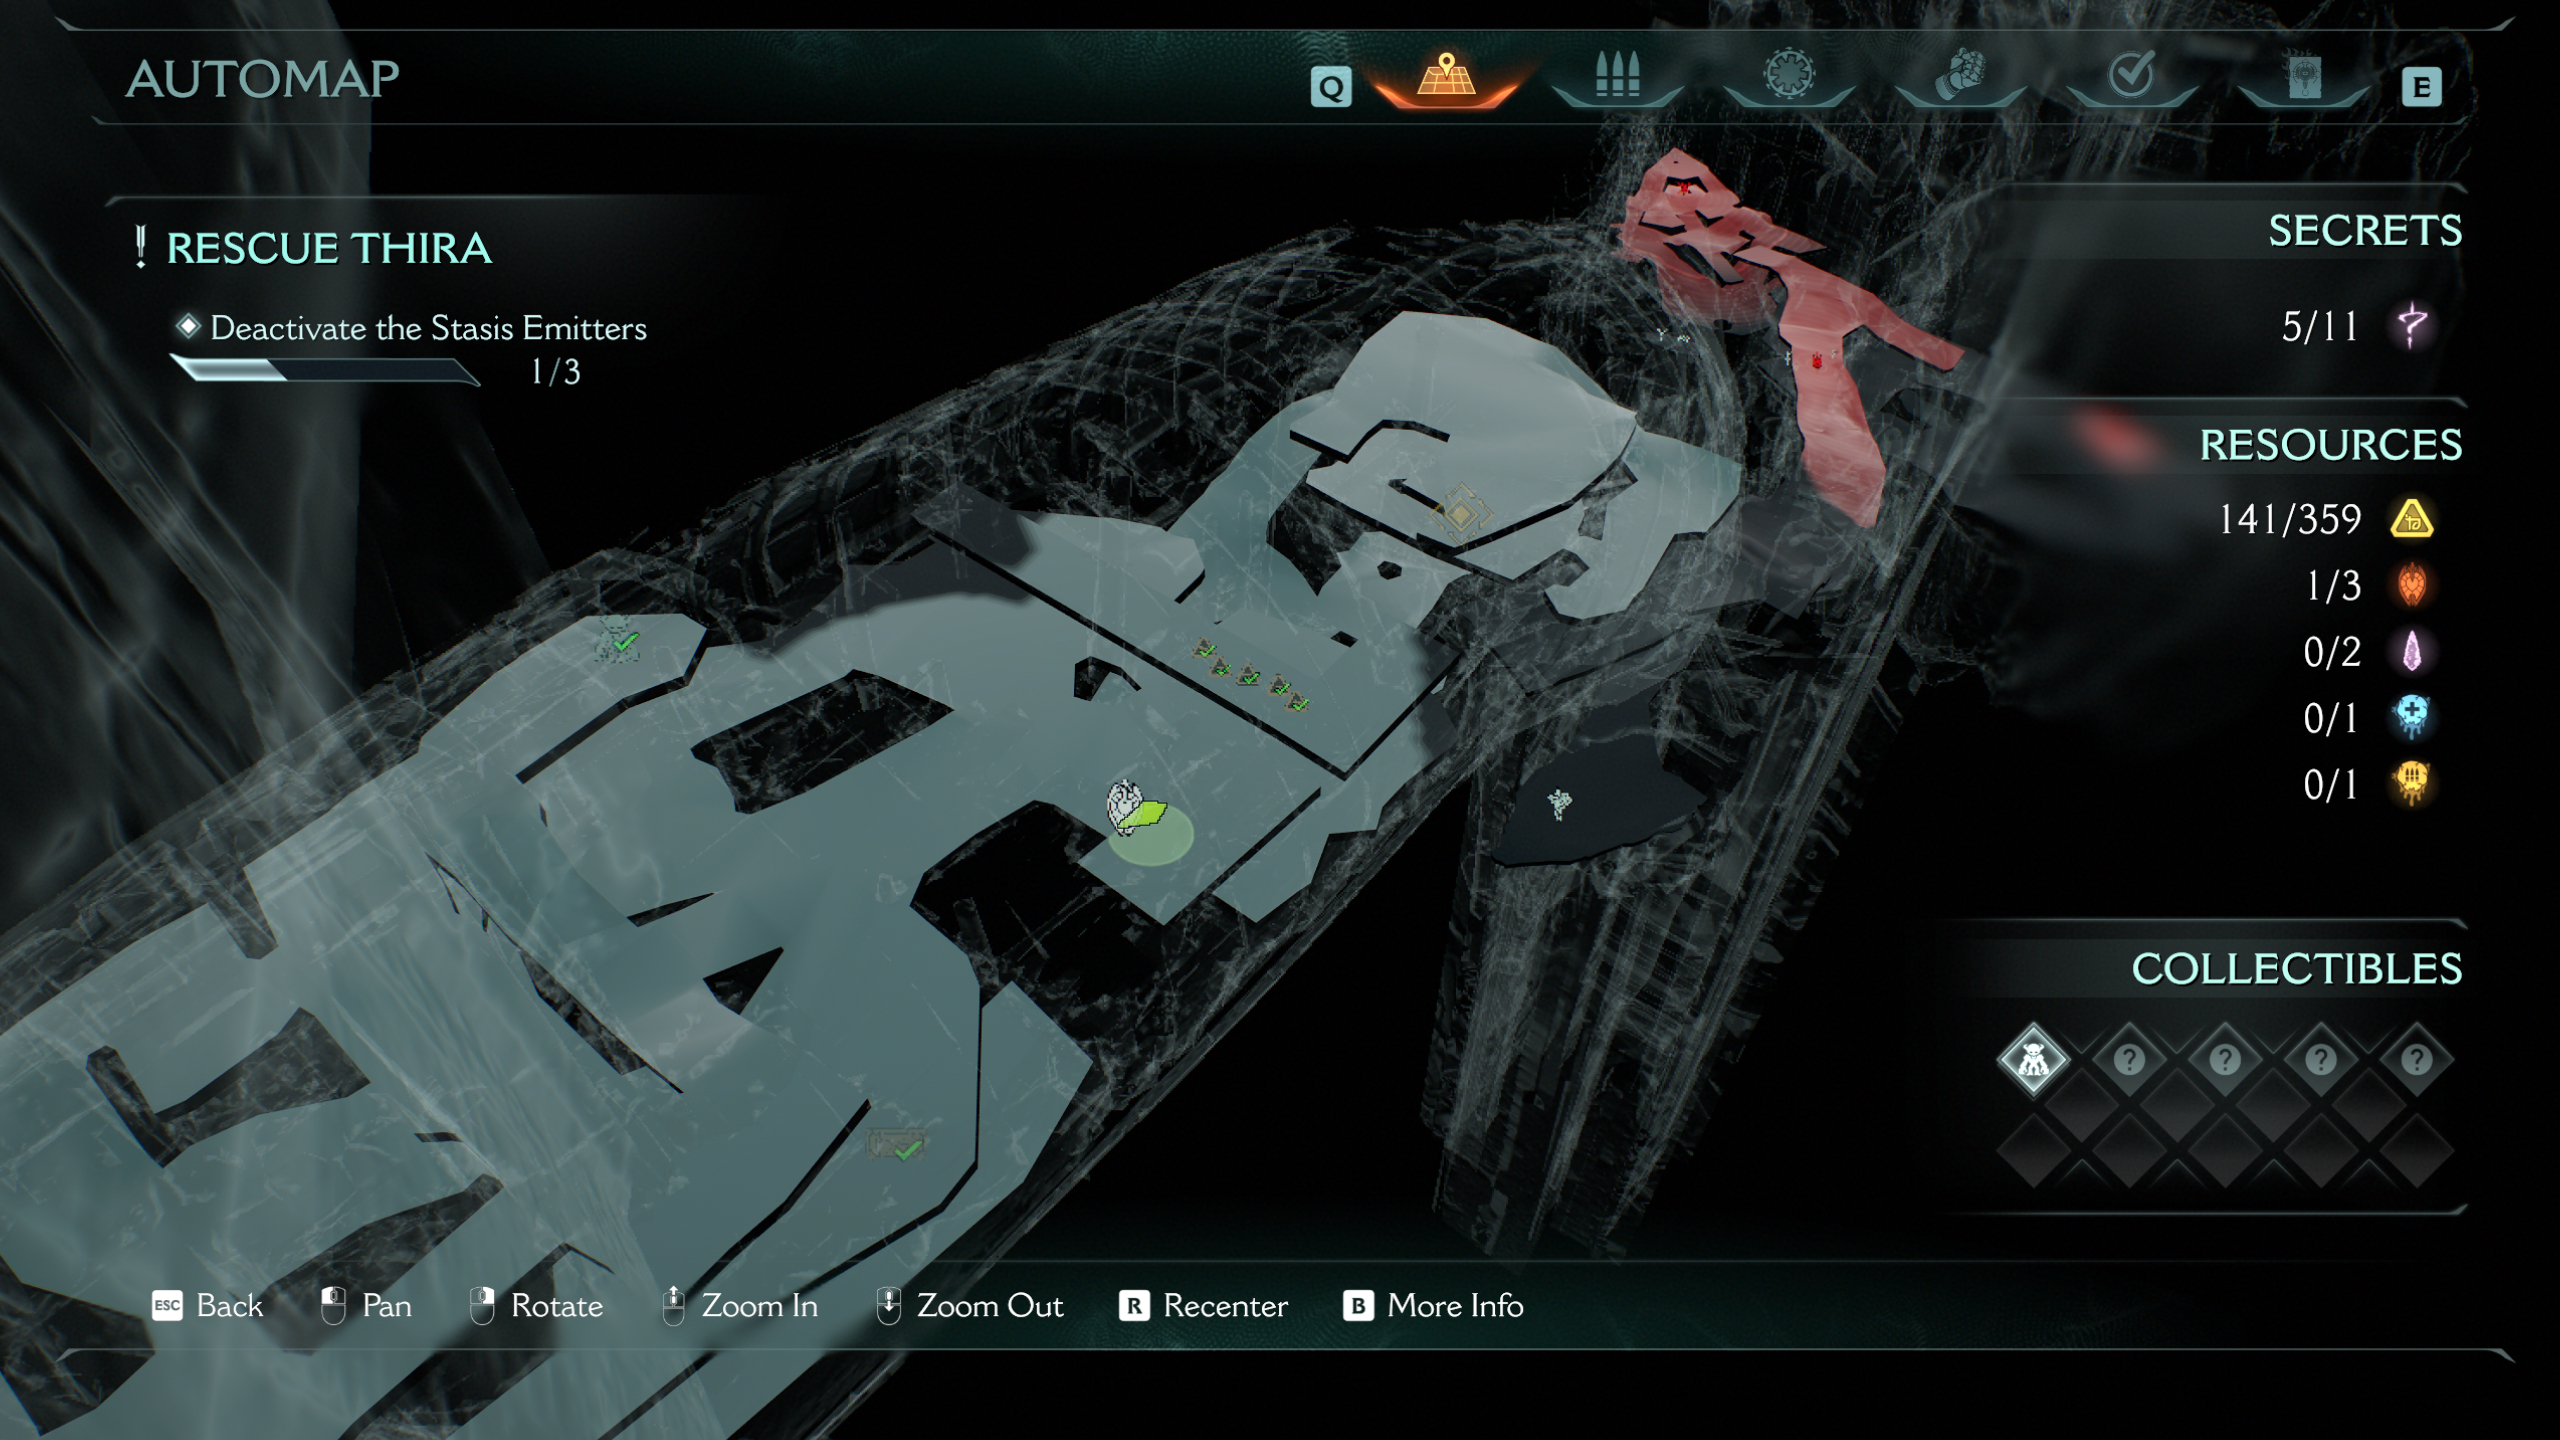
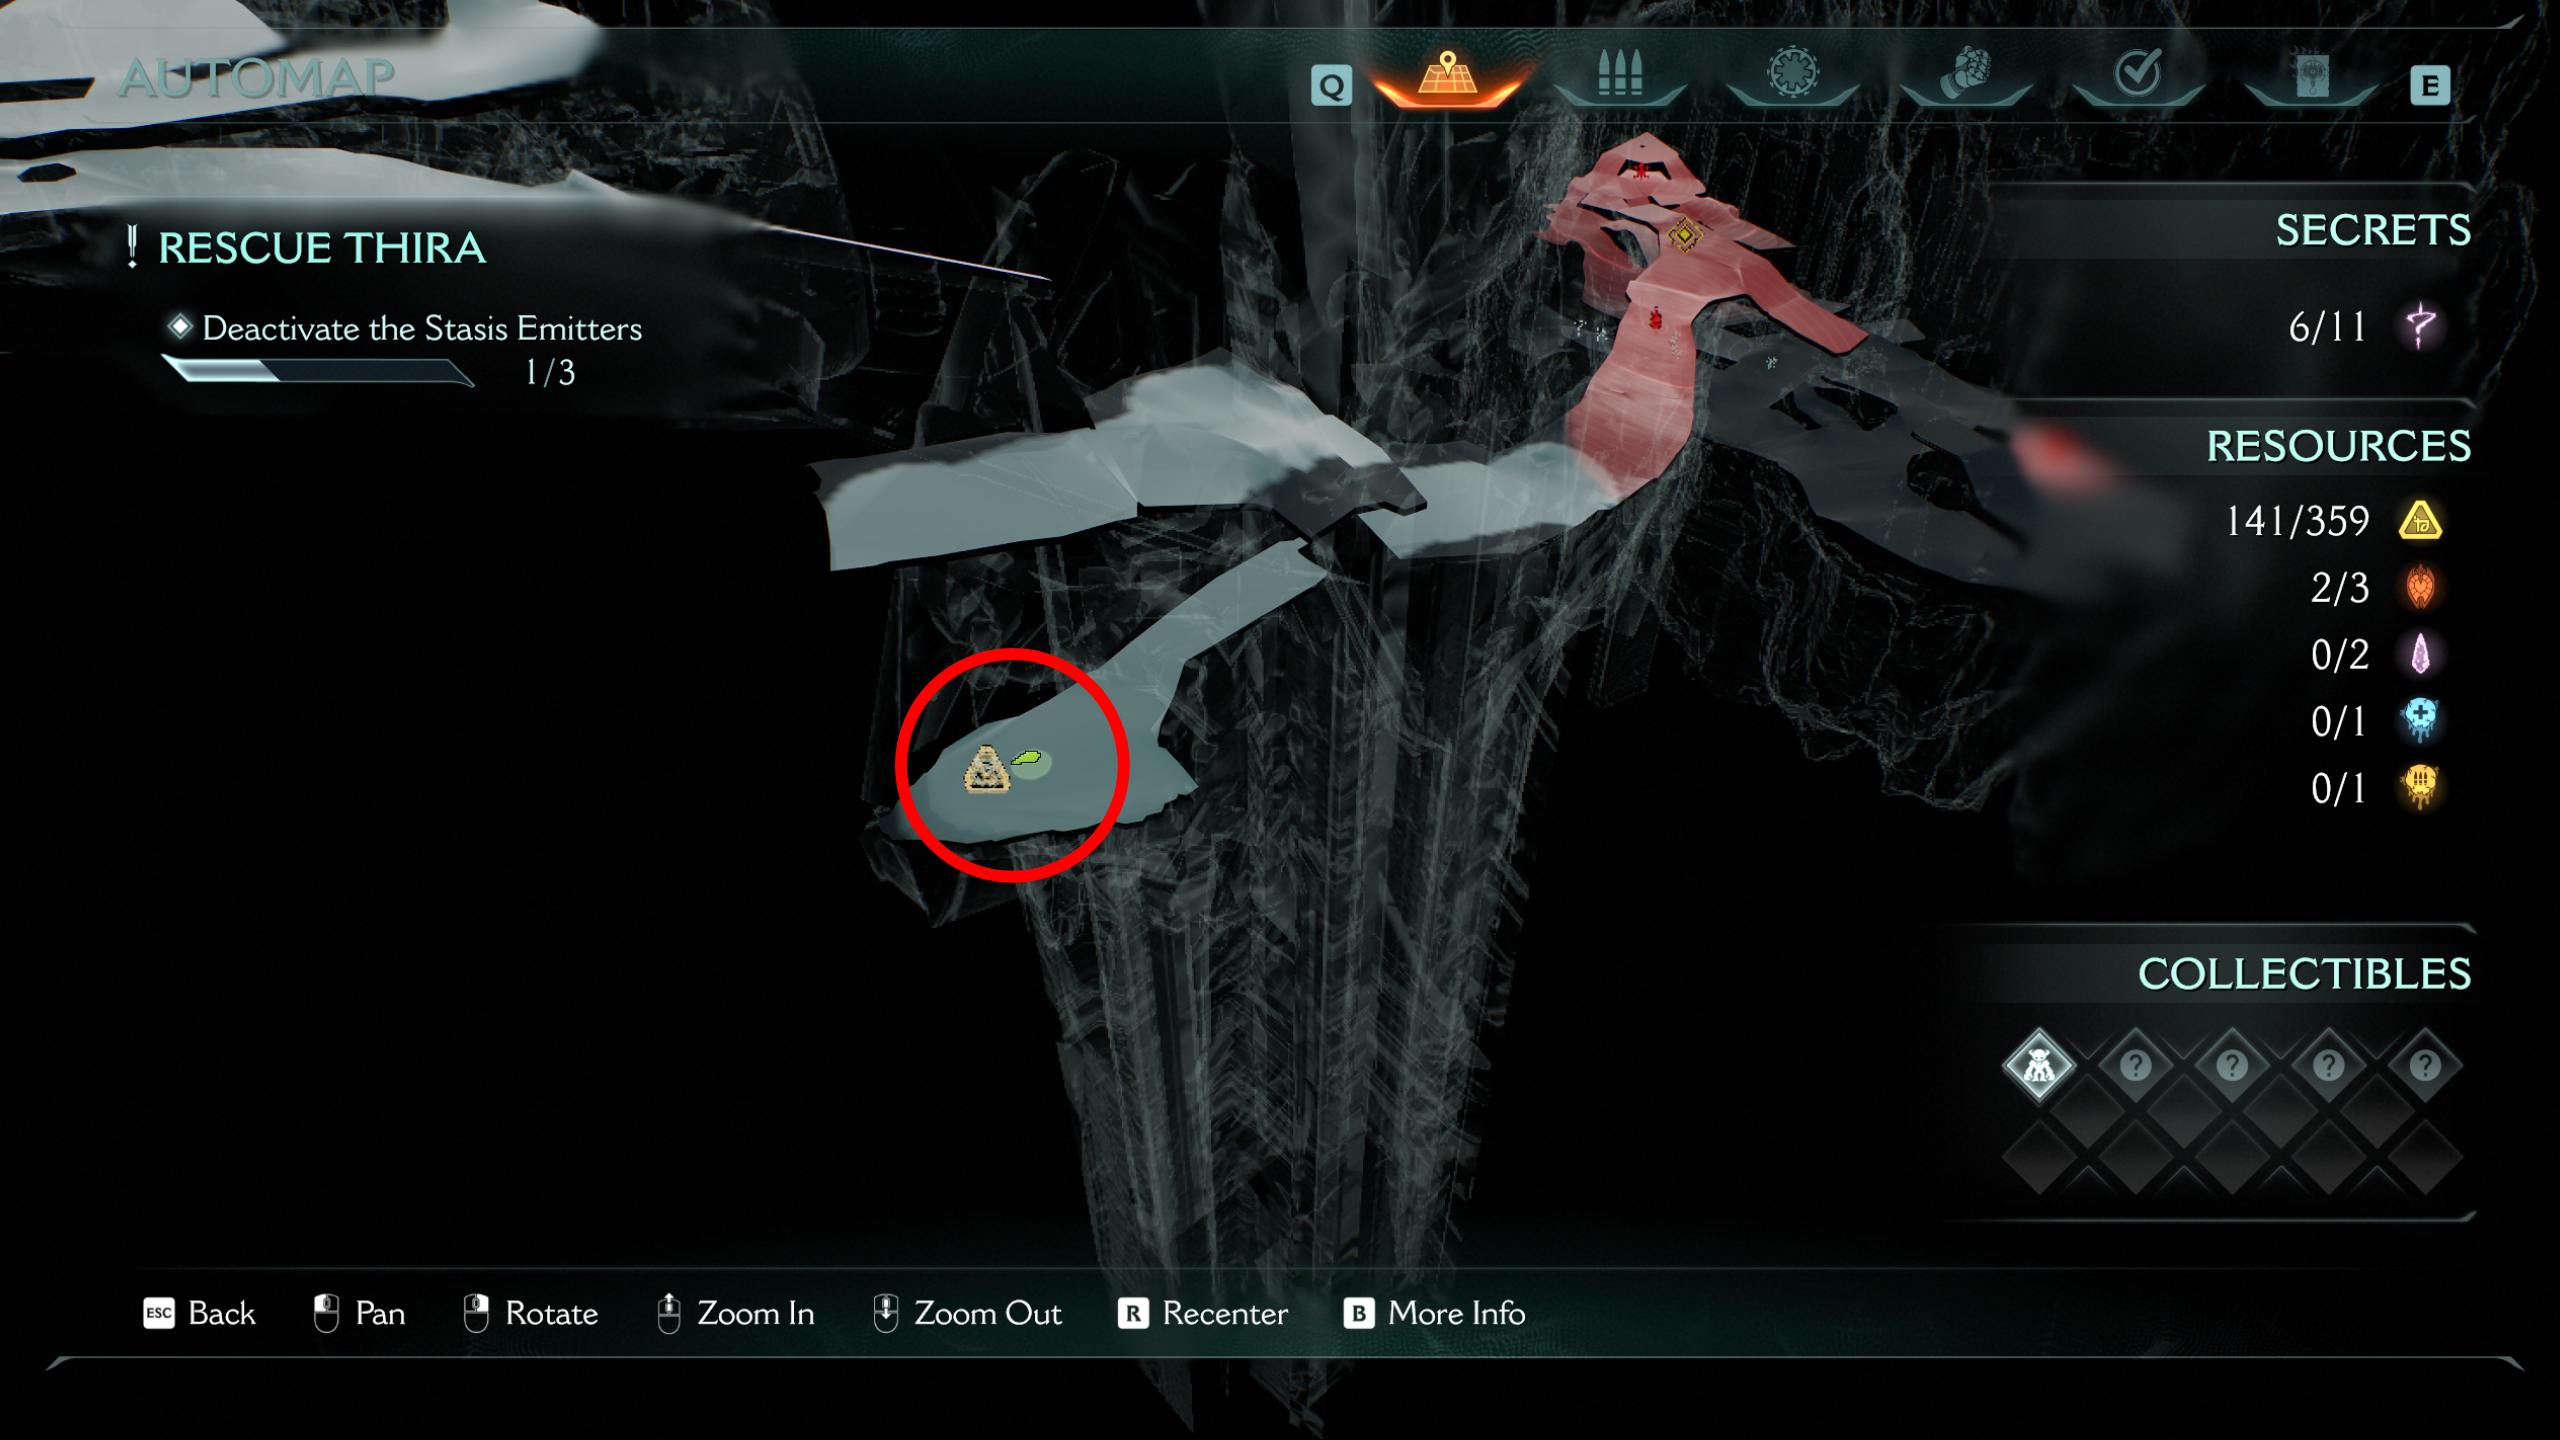
Chapter 14, Spire of Nerathul, has 11 secrets and five collectibles spread across various mandatory and optional landing zones, making it tricky to keep track of your progress. With 359 gold, three rubies, and two wraithstones, collecting everything gives you a fantastic chunk of upgrade resources, too.
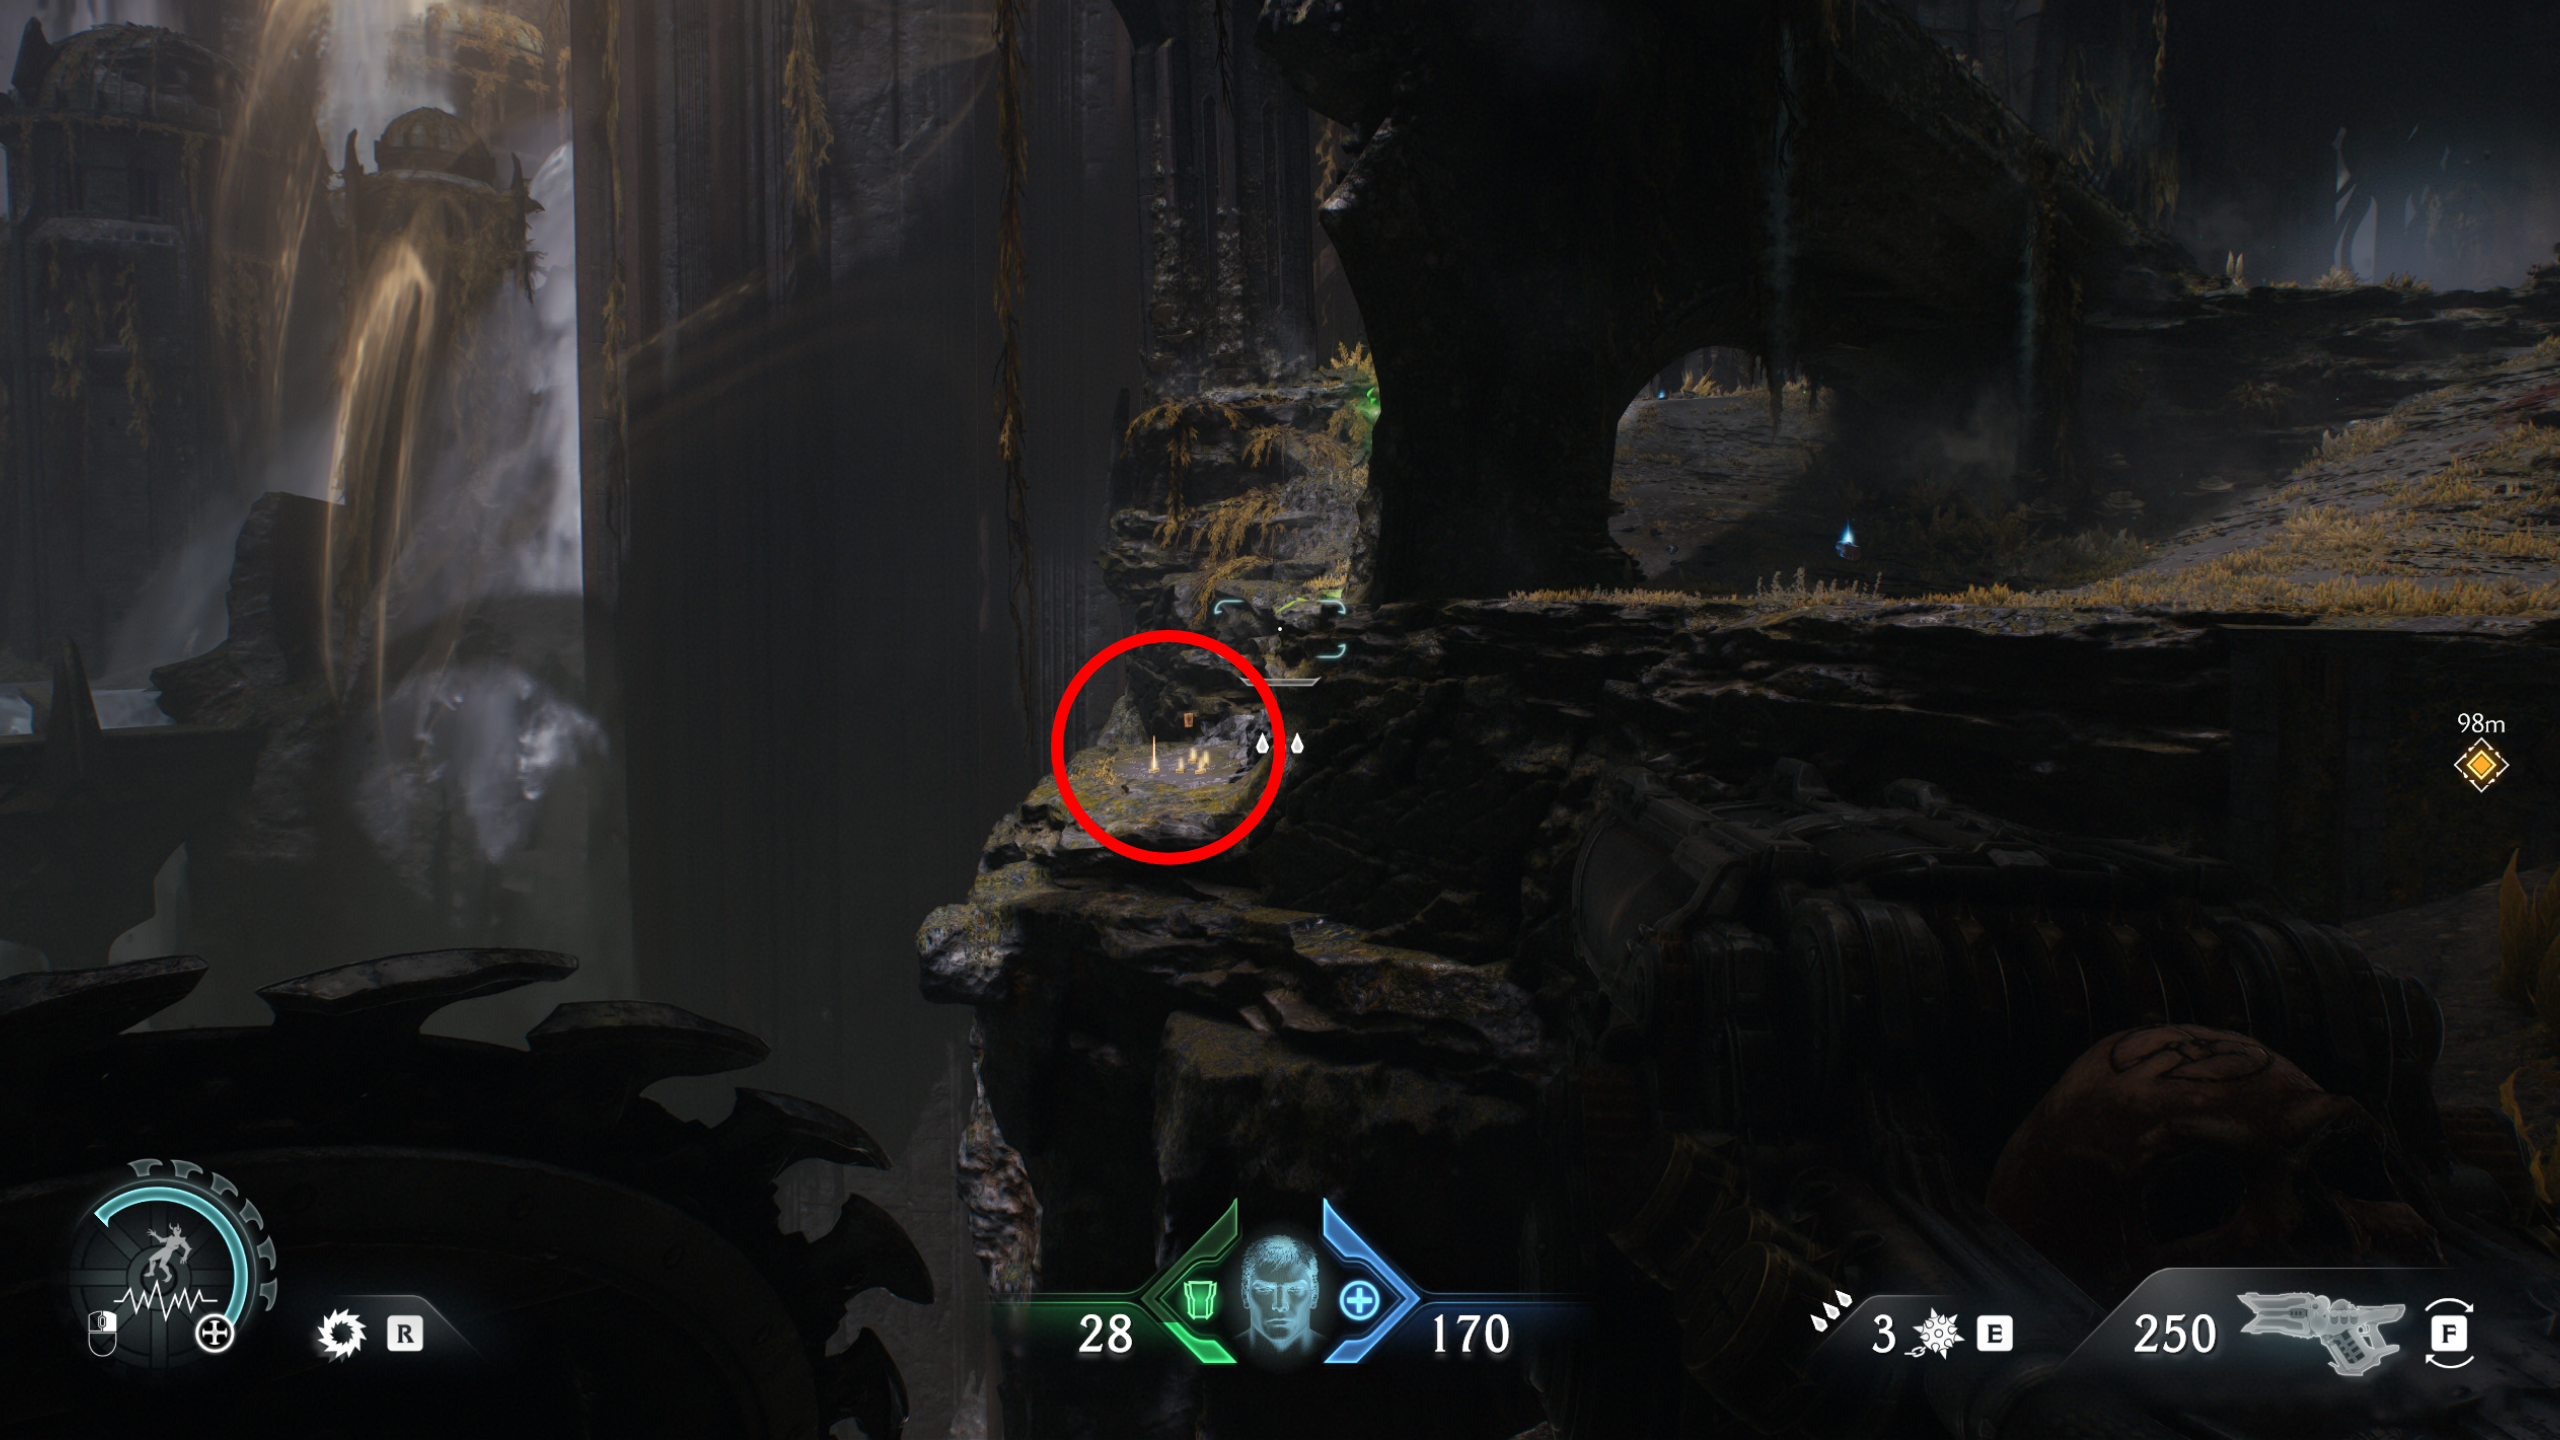
1 – Gold chest
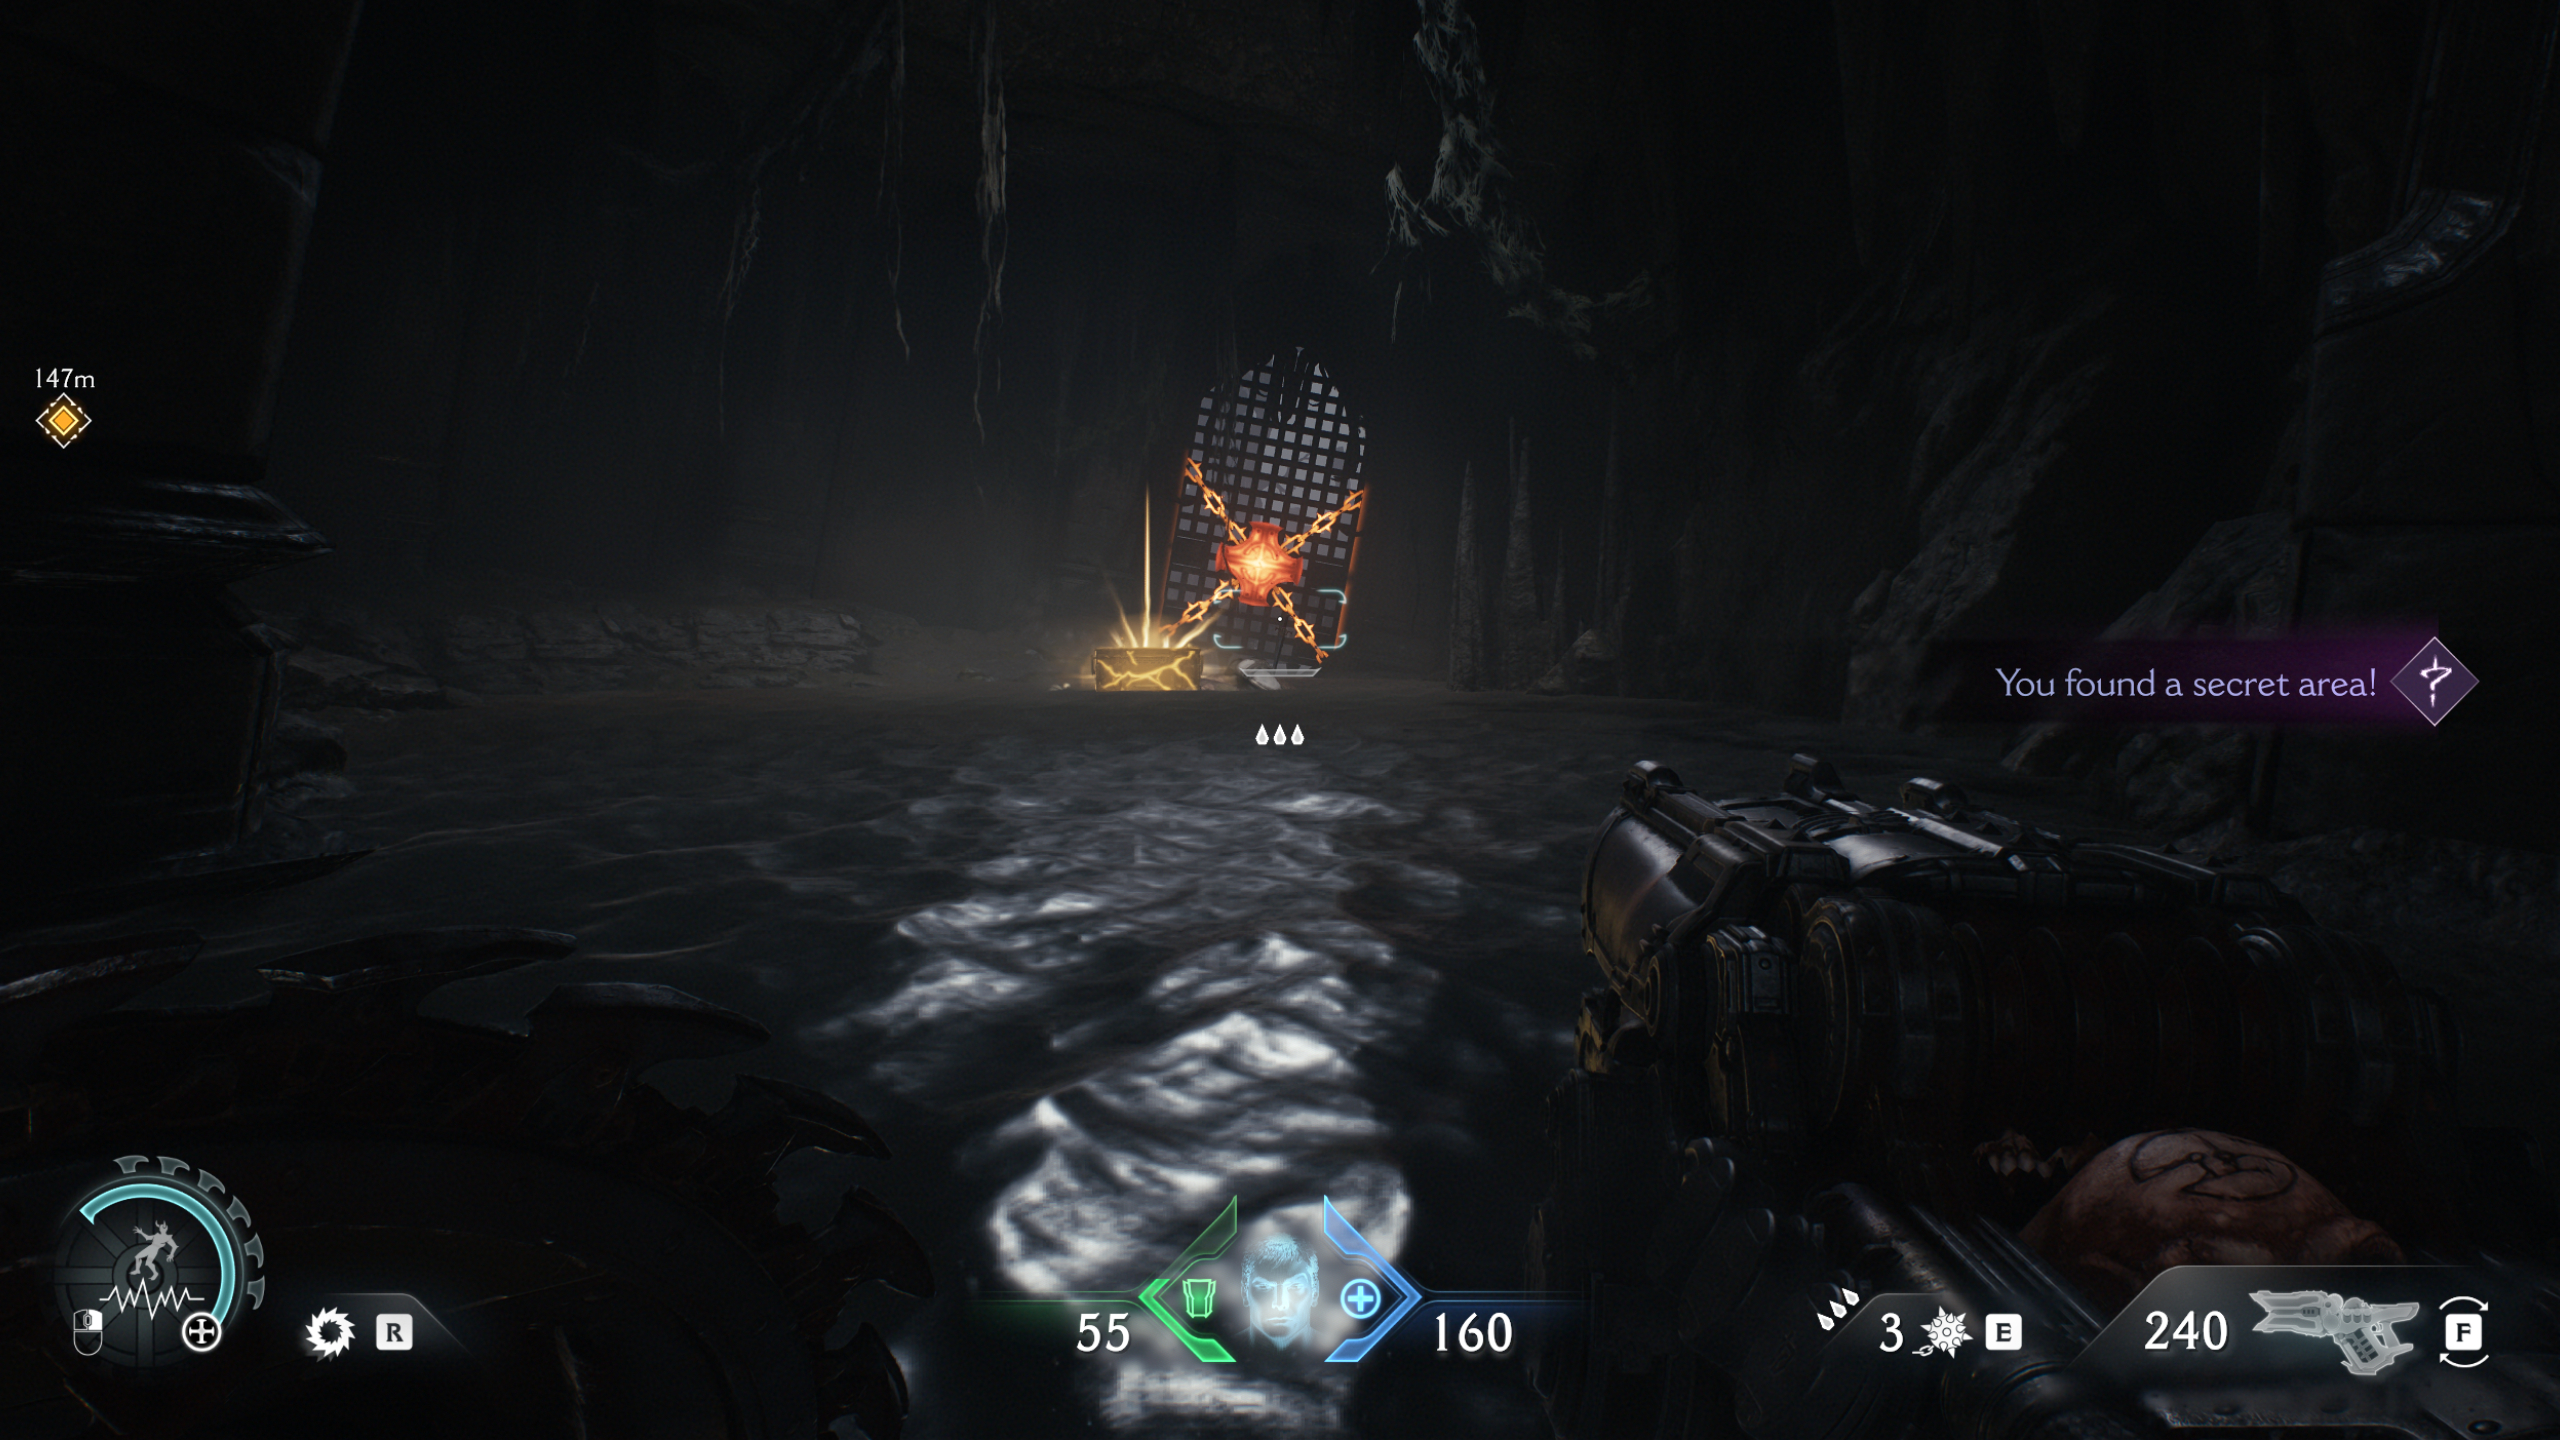
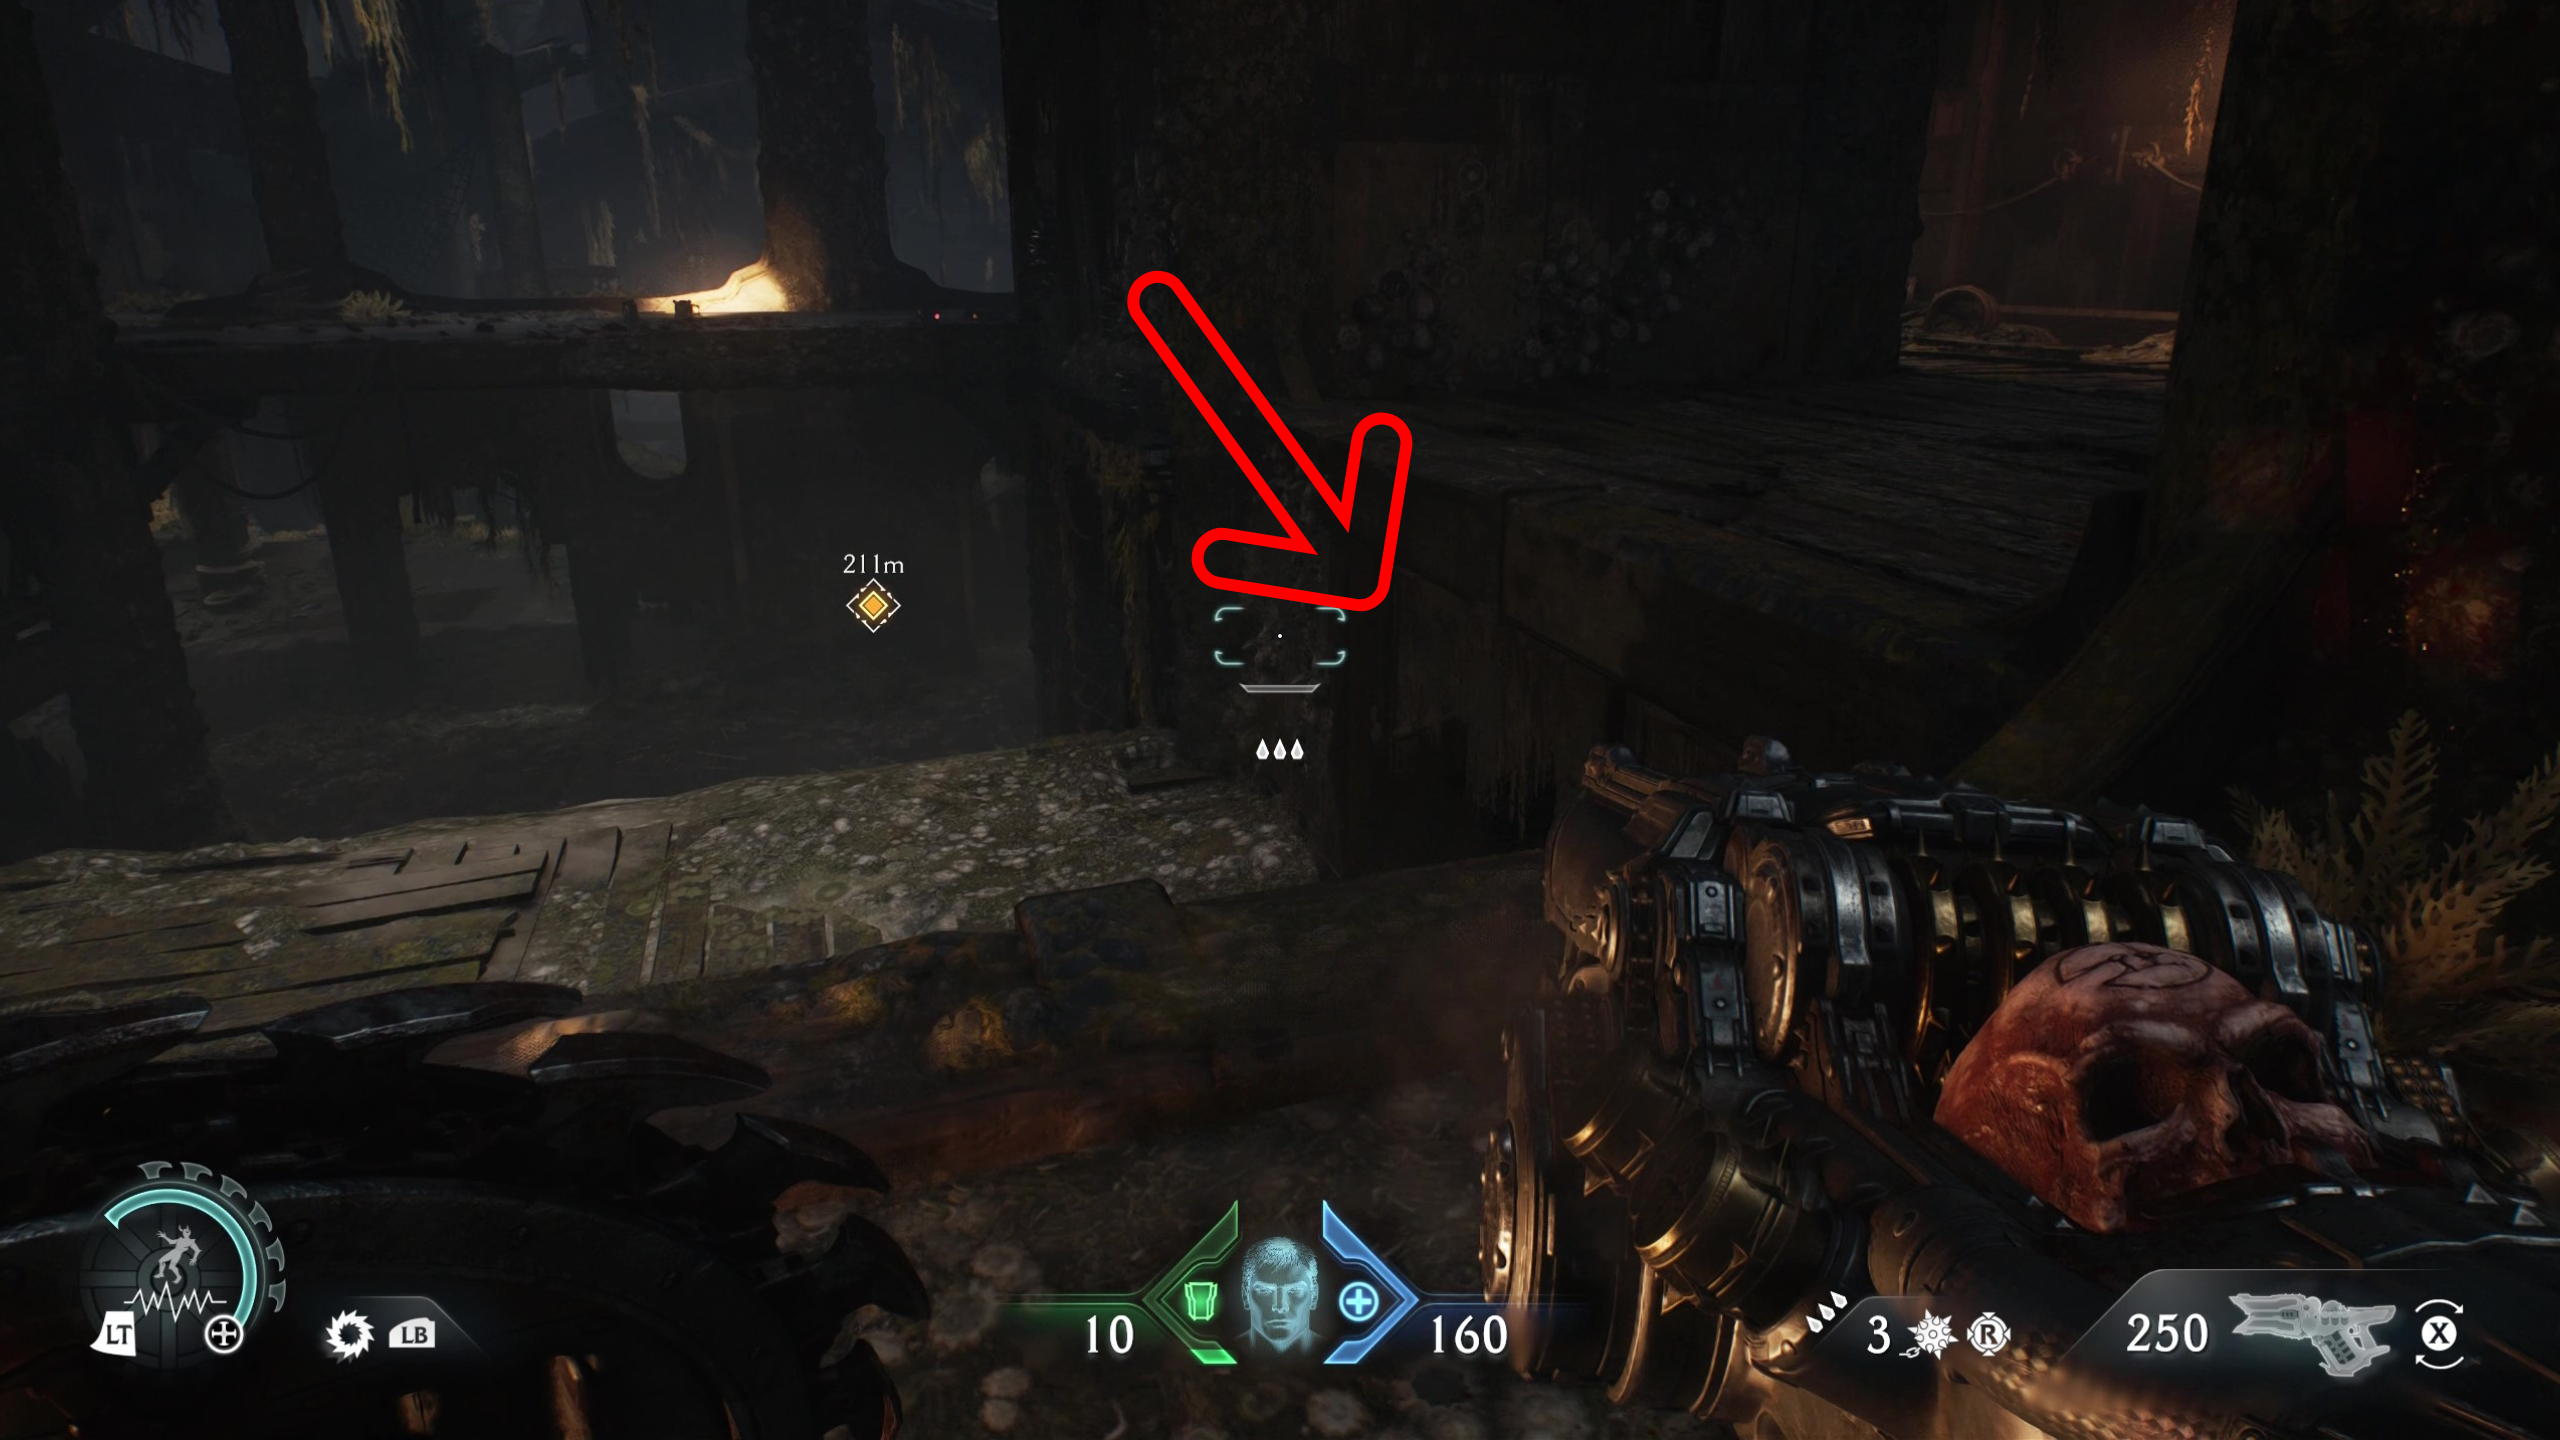
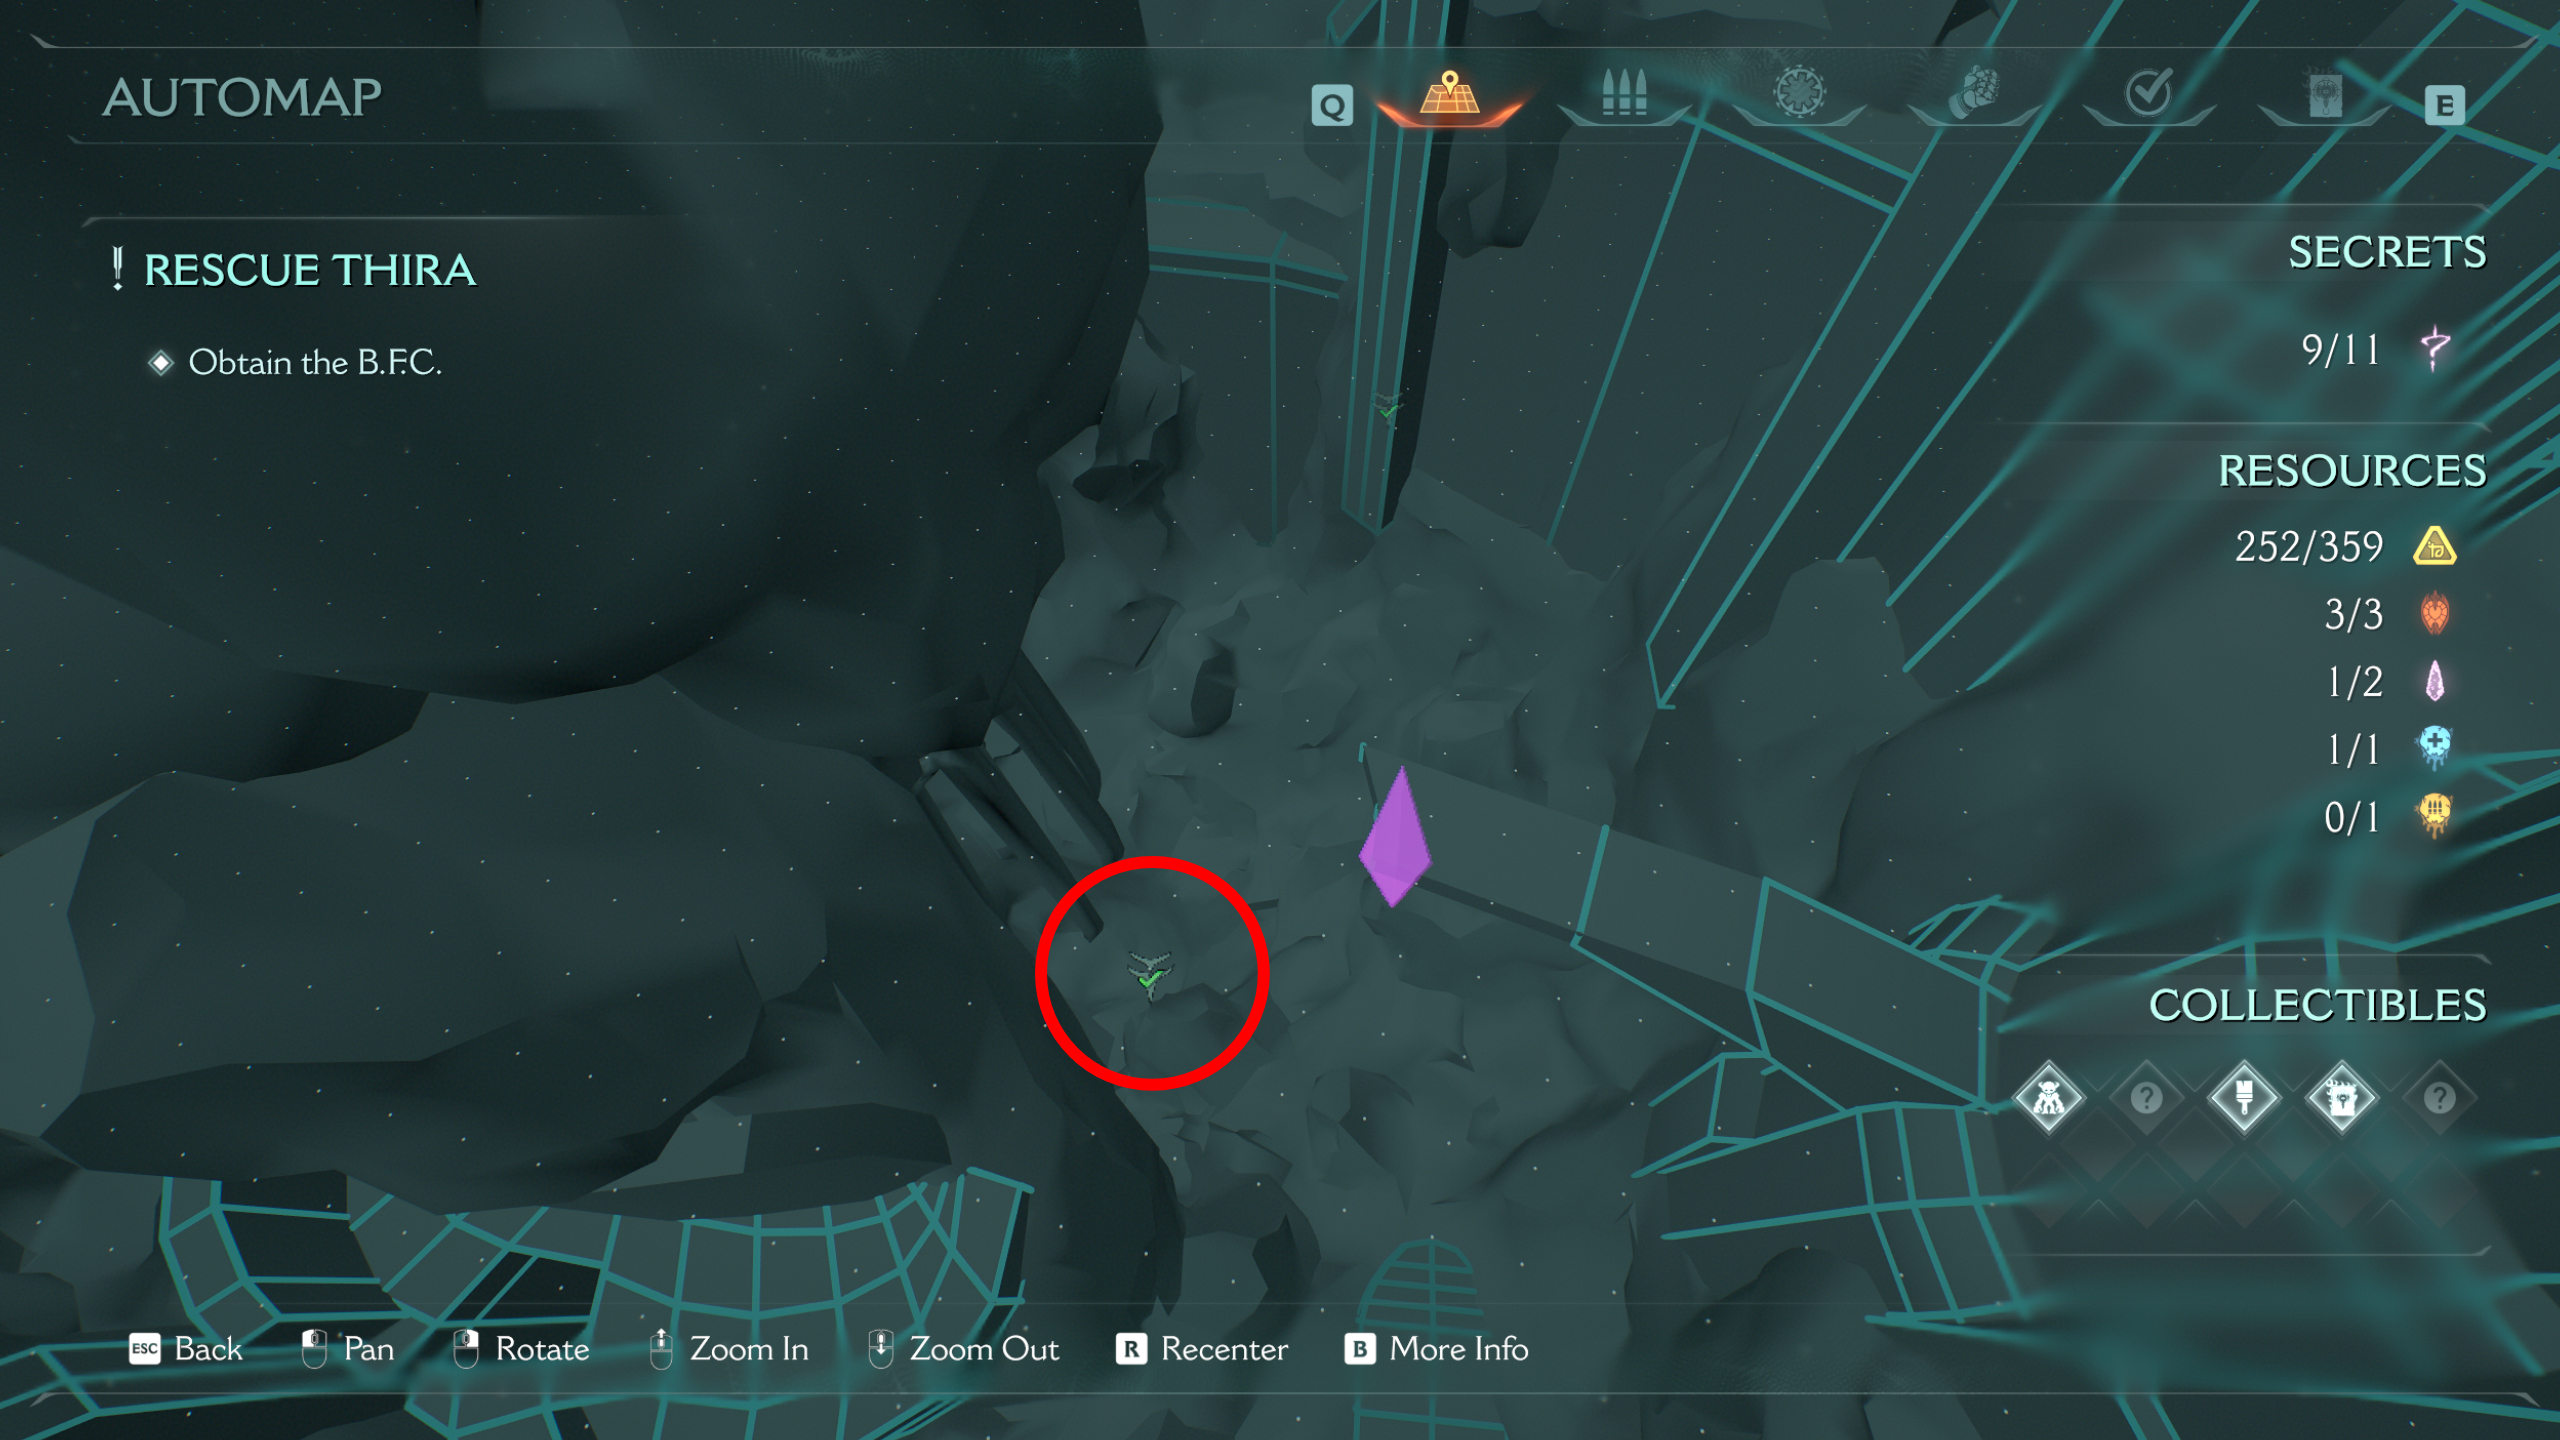
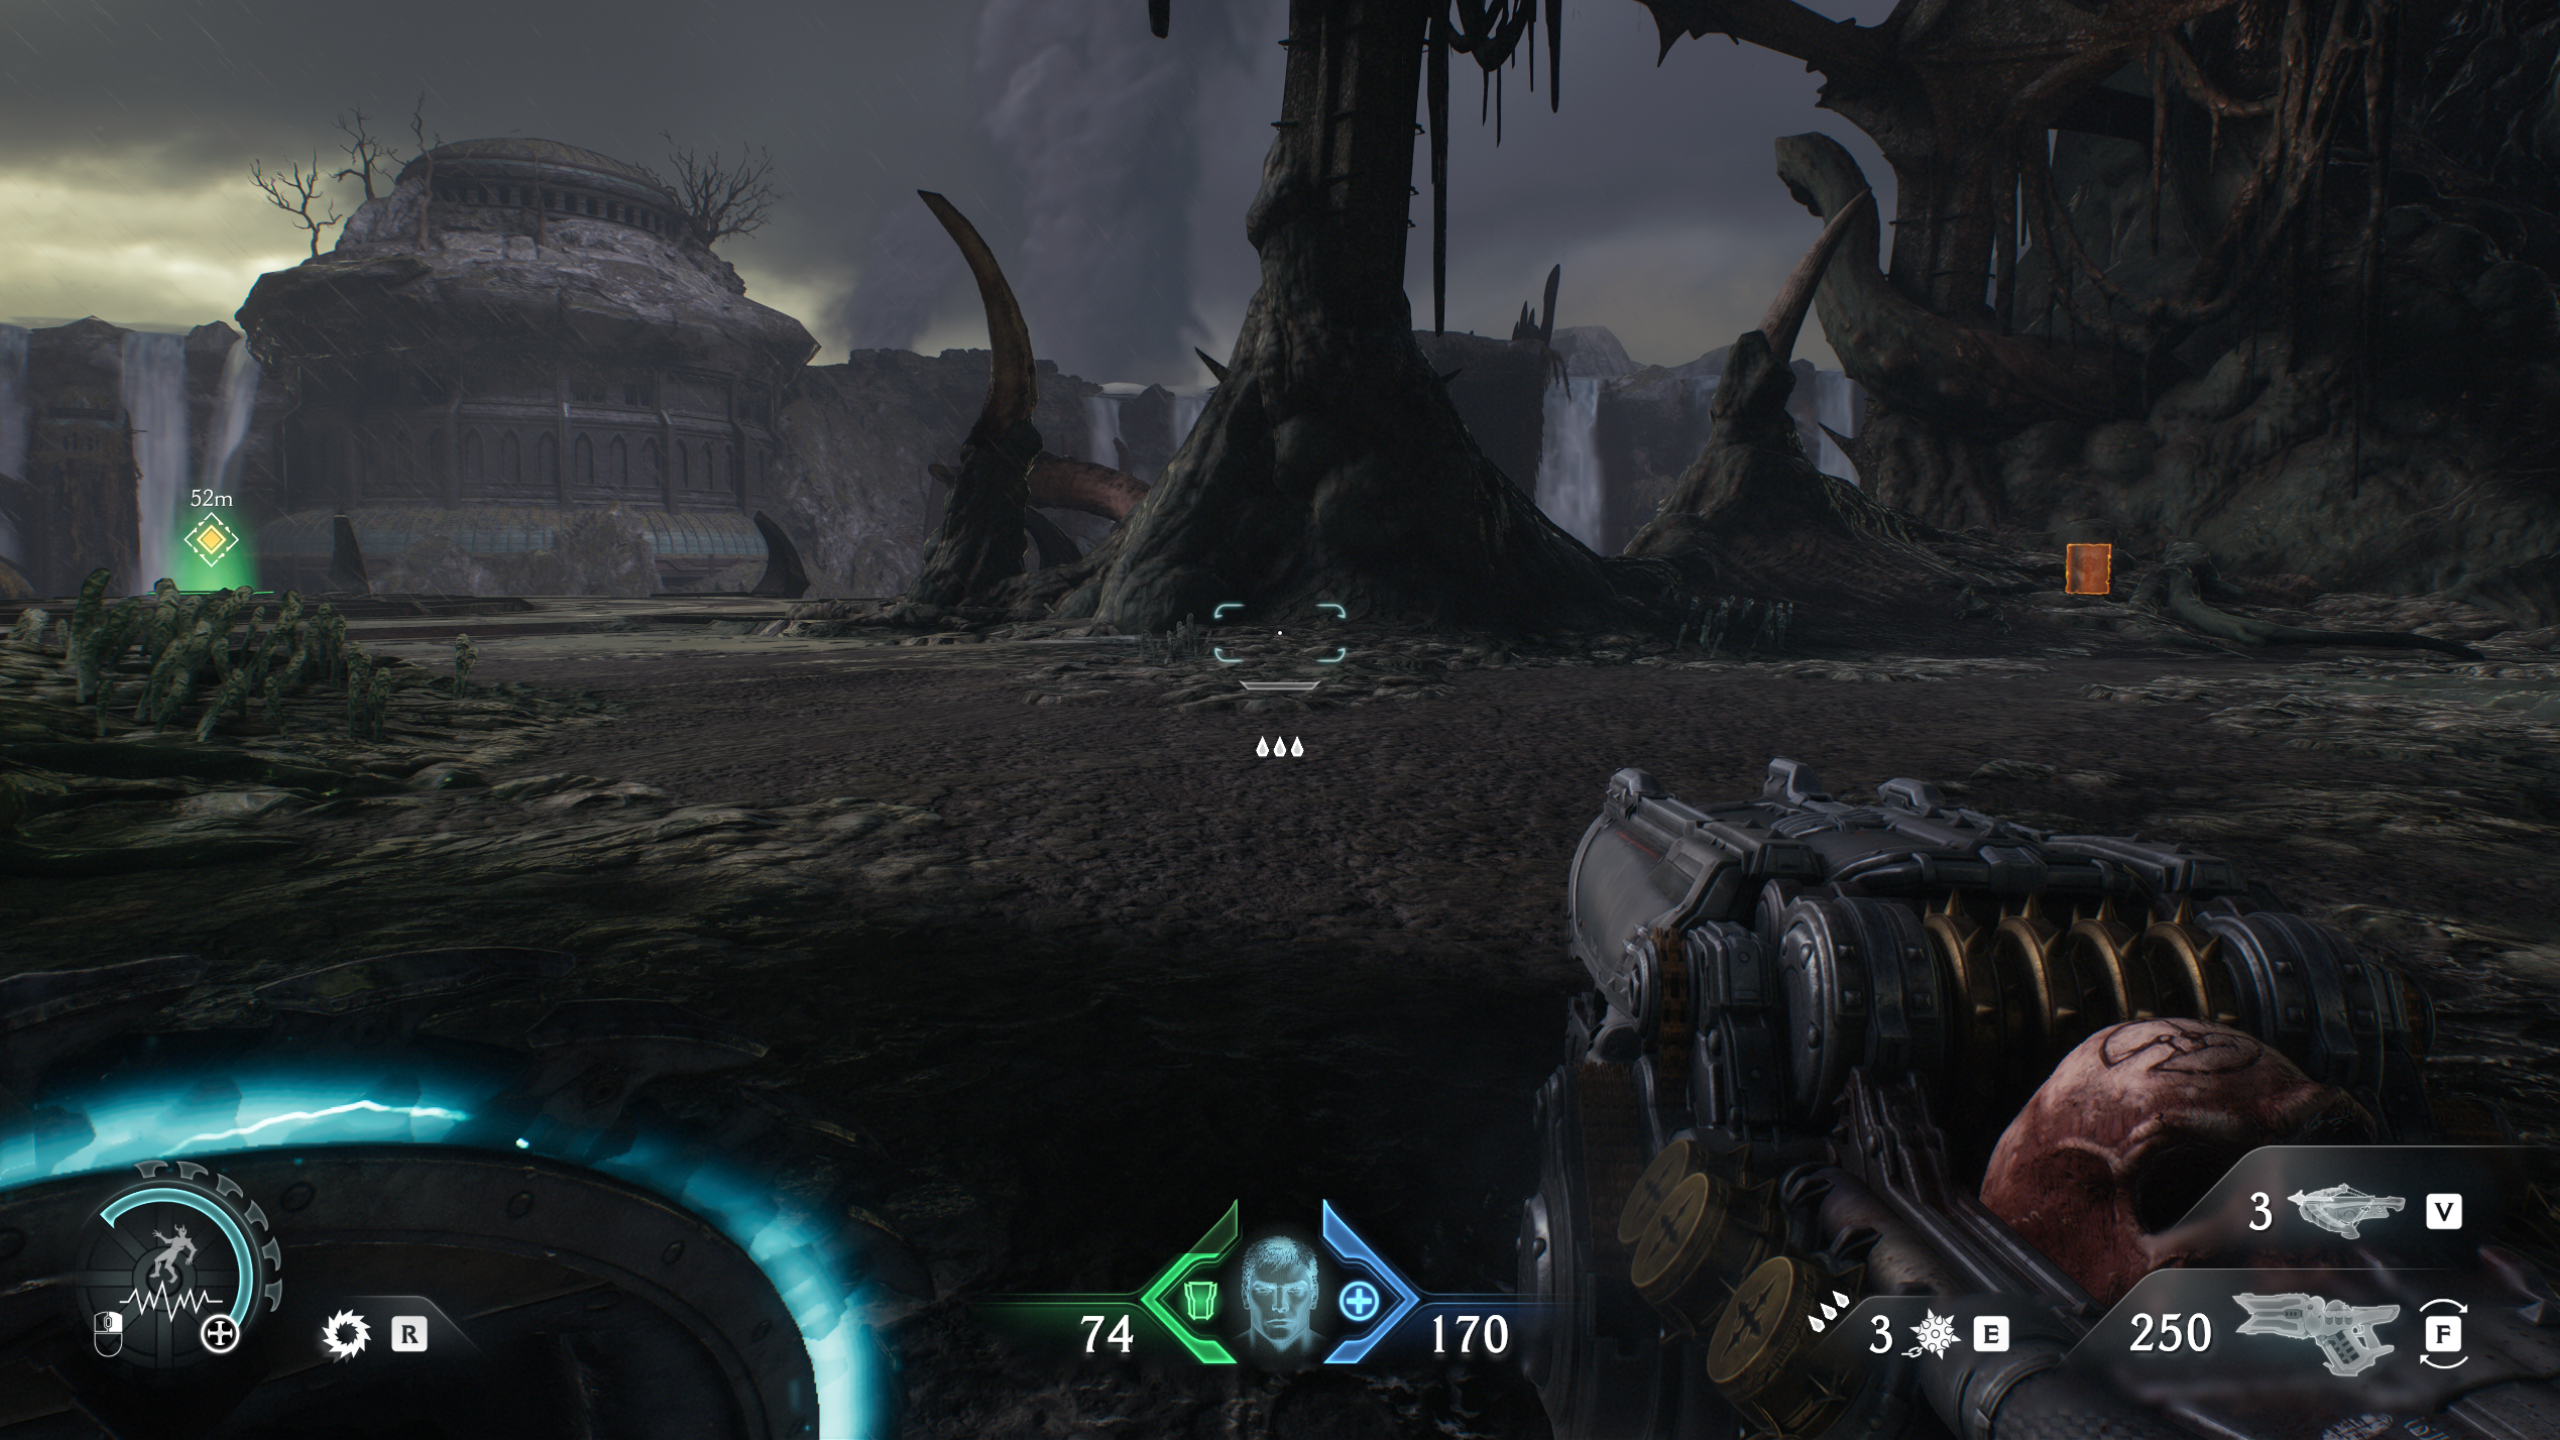
The first secret in Chapter 14 is a gold chest on the left side of the first arena, where you kill the komodo demon, inside a cave. To reach the chest, go up the hill above the cave and drop off the edge of the island onto a ledge that leads to the back of the cave.
It’s very easy to miss if you’re not paying attention, though you’ll have a second chance when you return to the area later on in the mission.
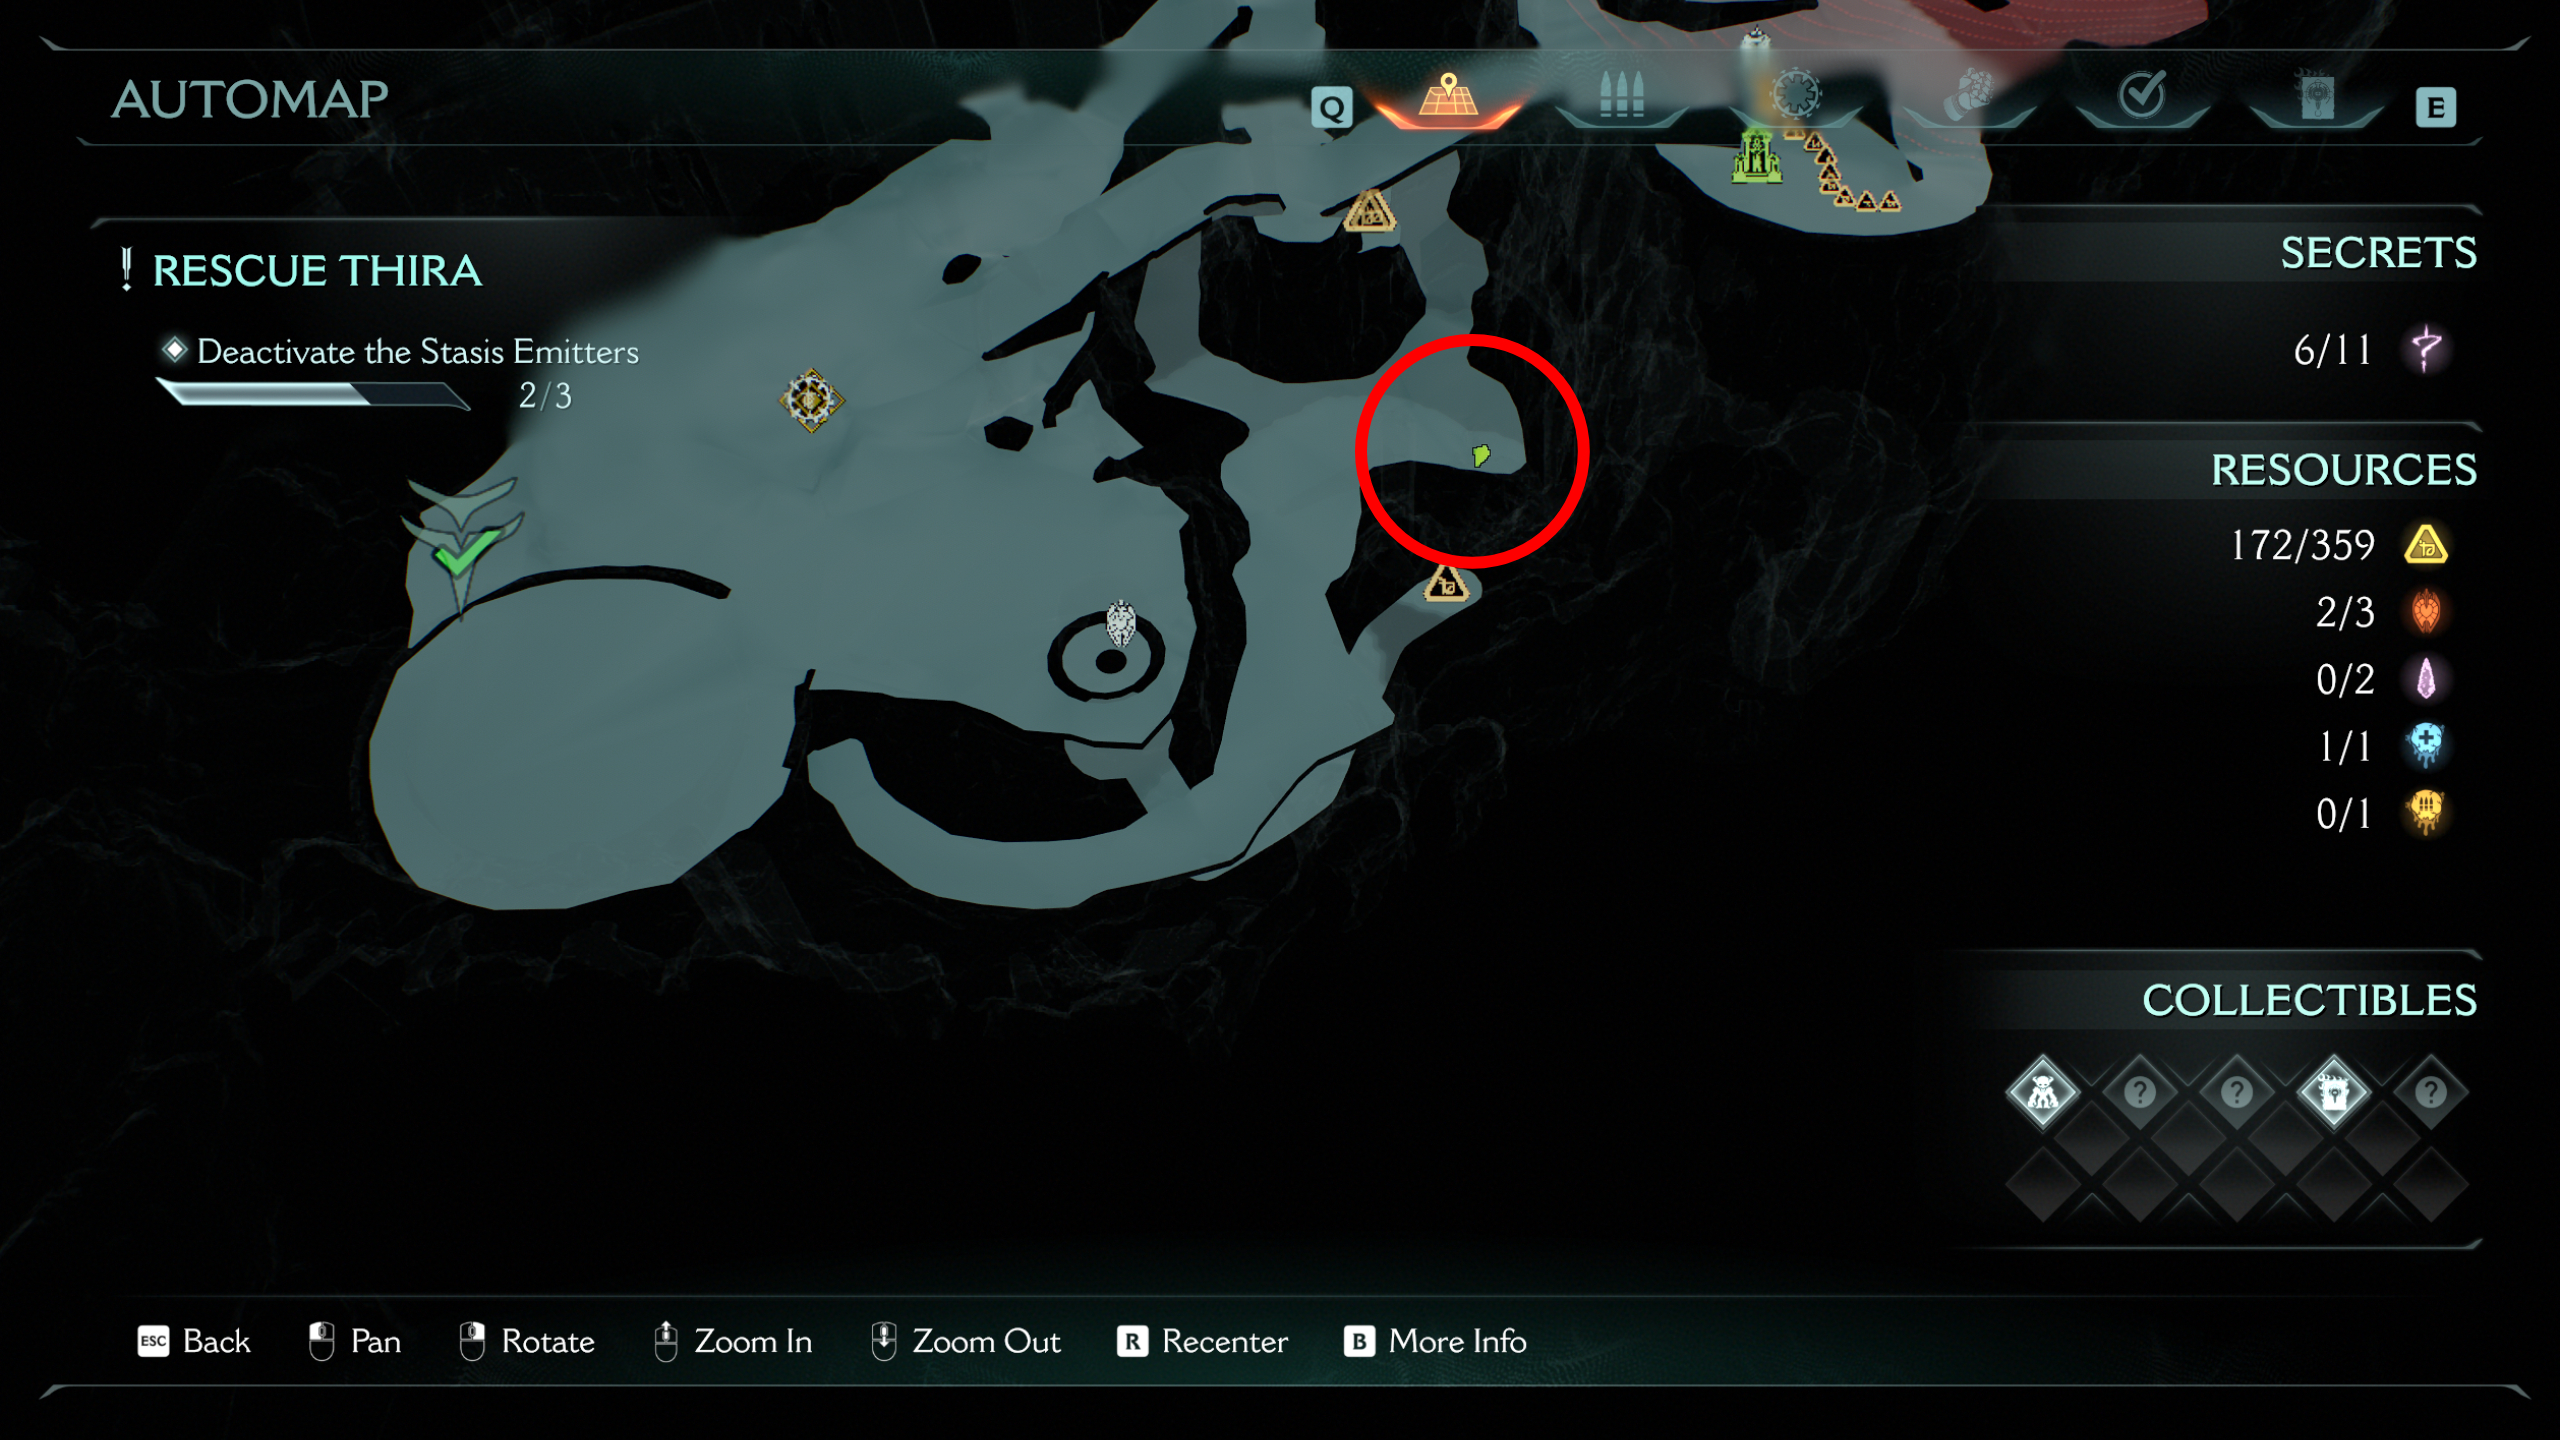
2 – Wraithstone
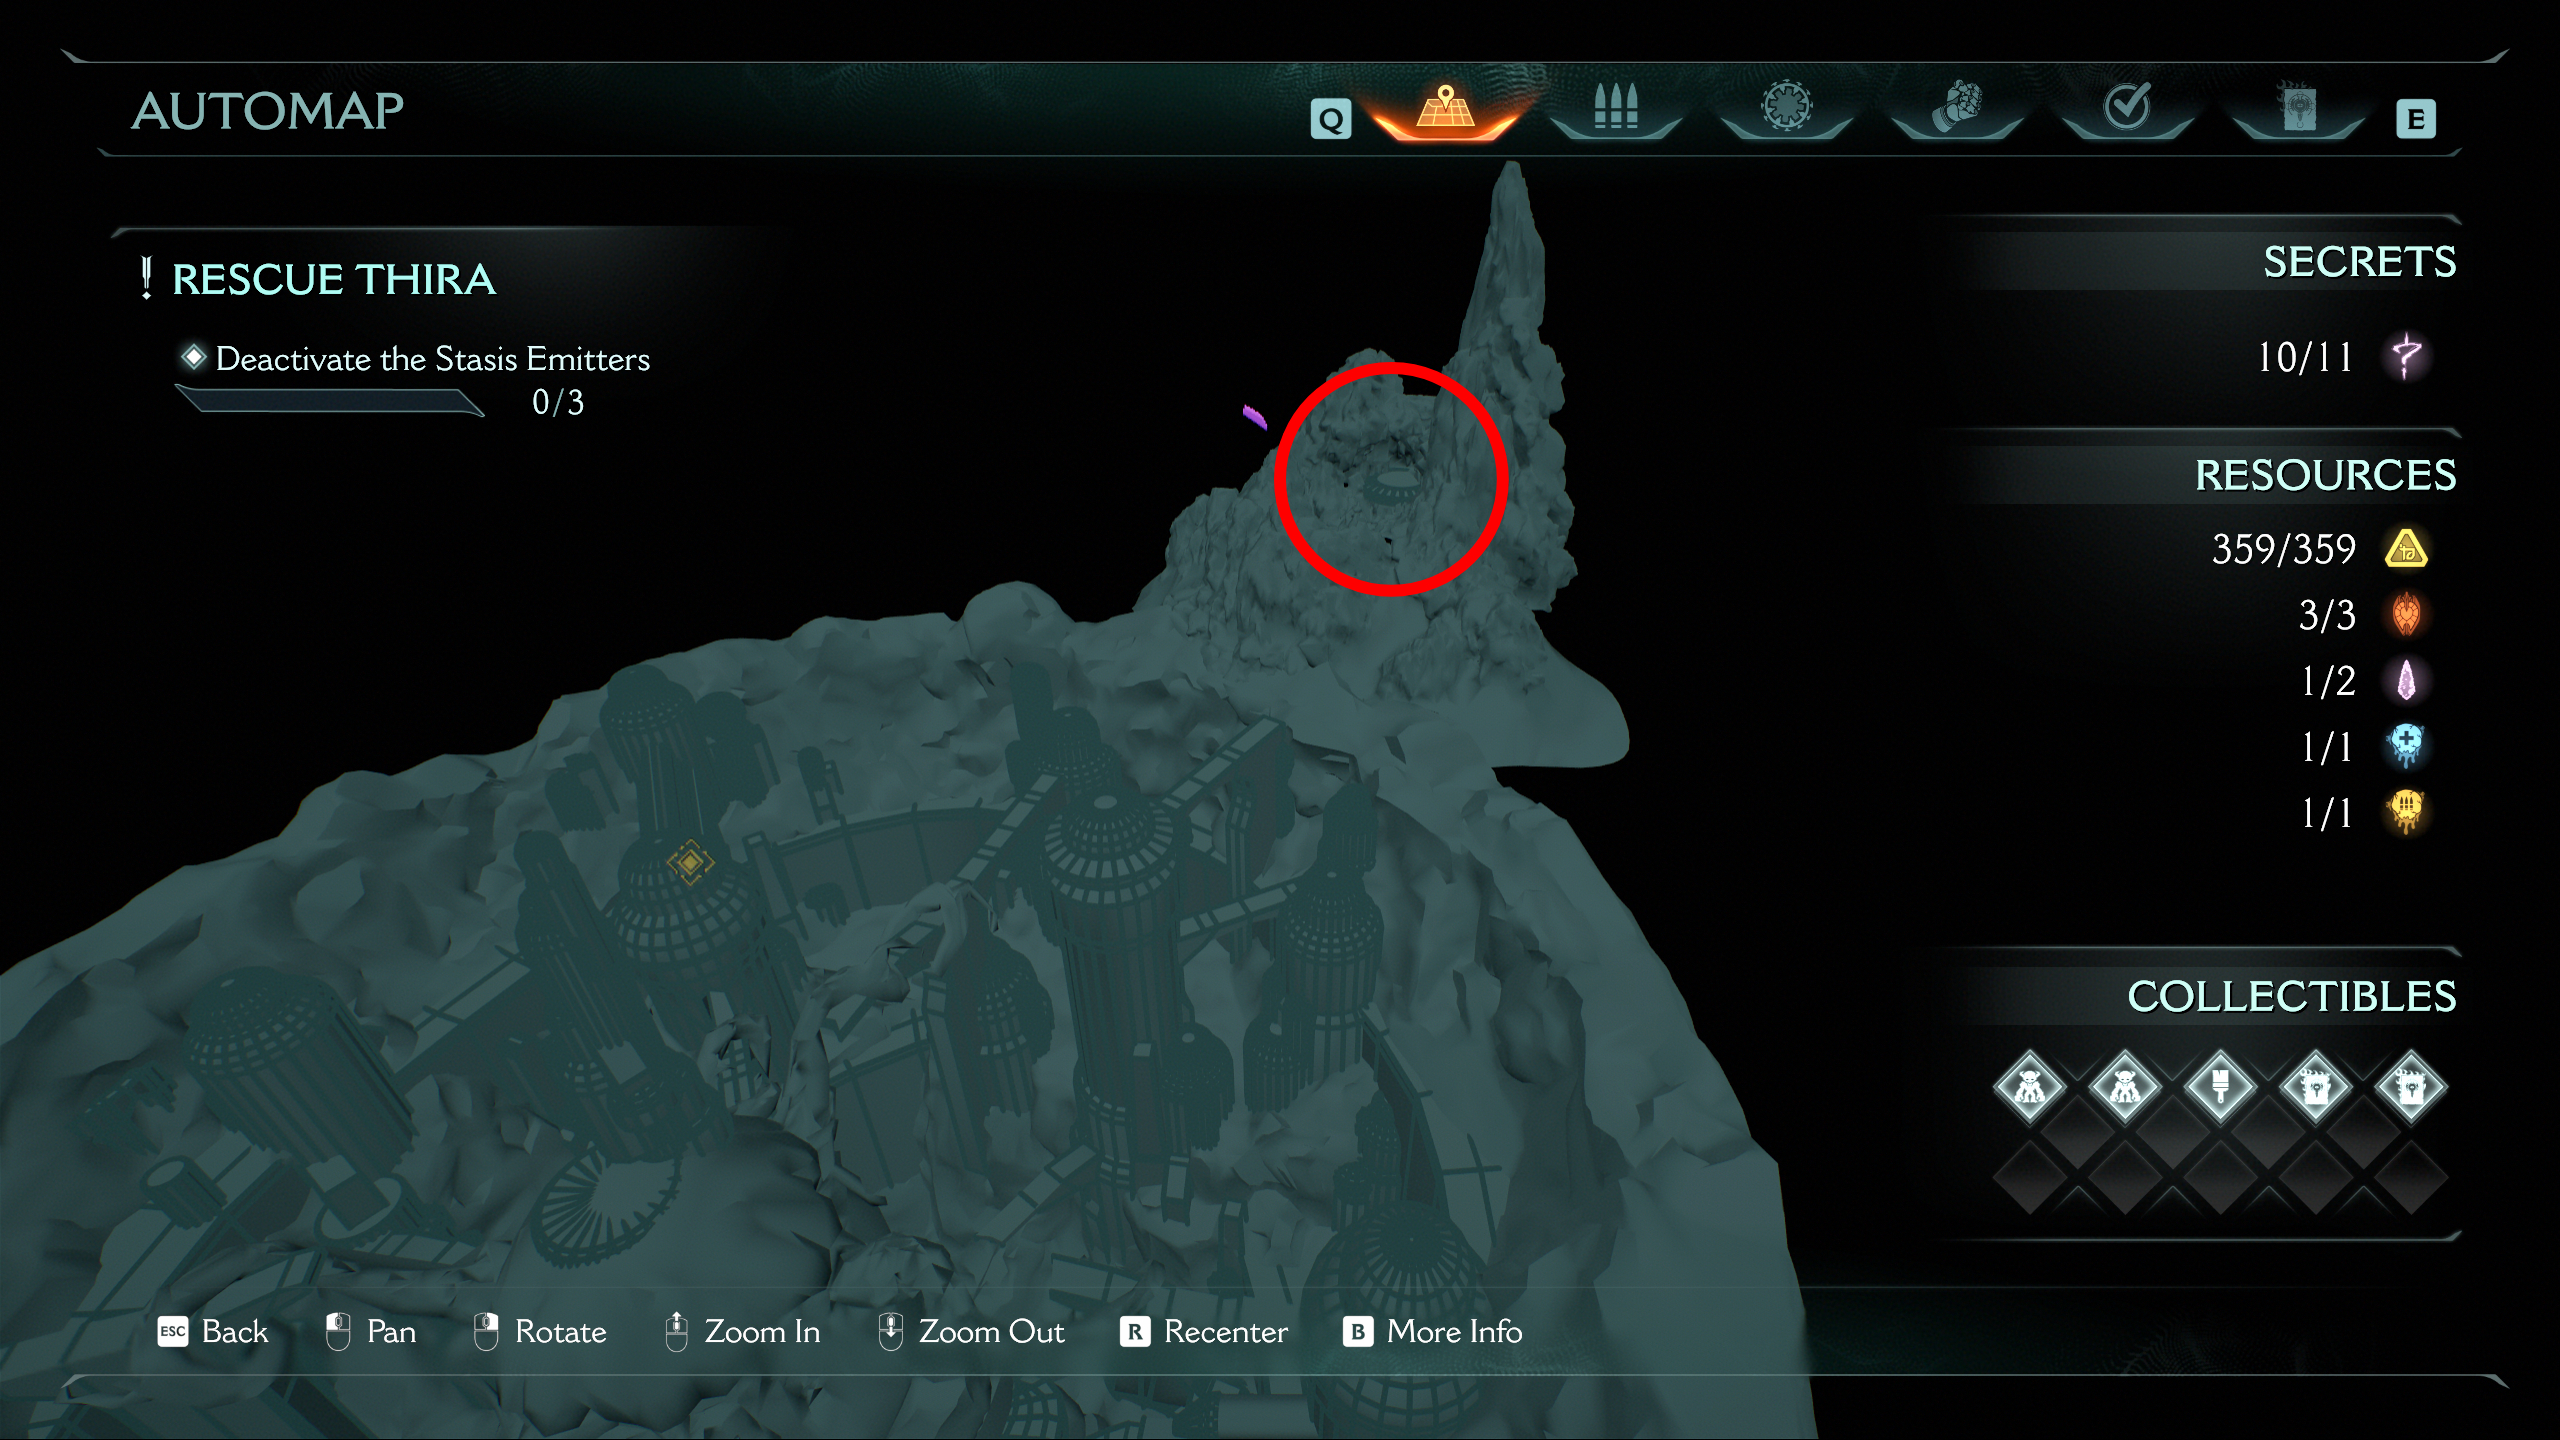
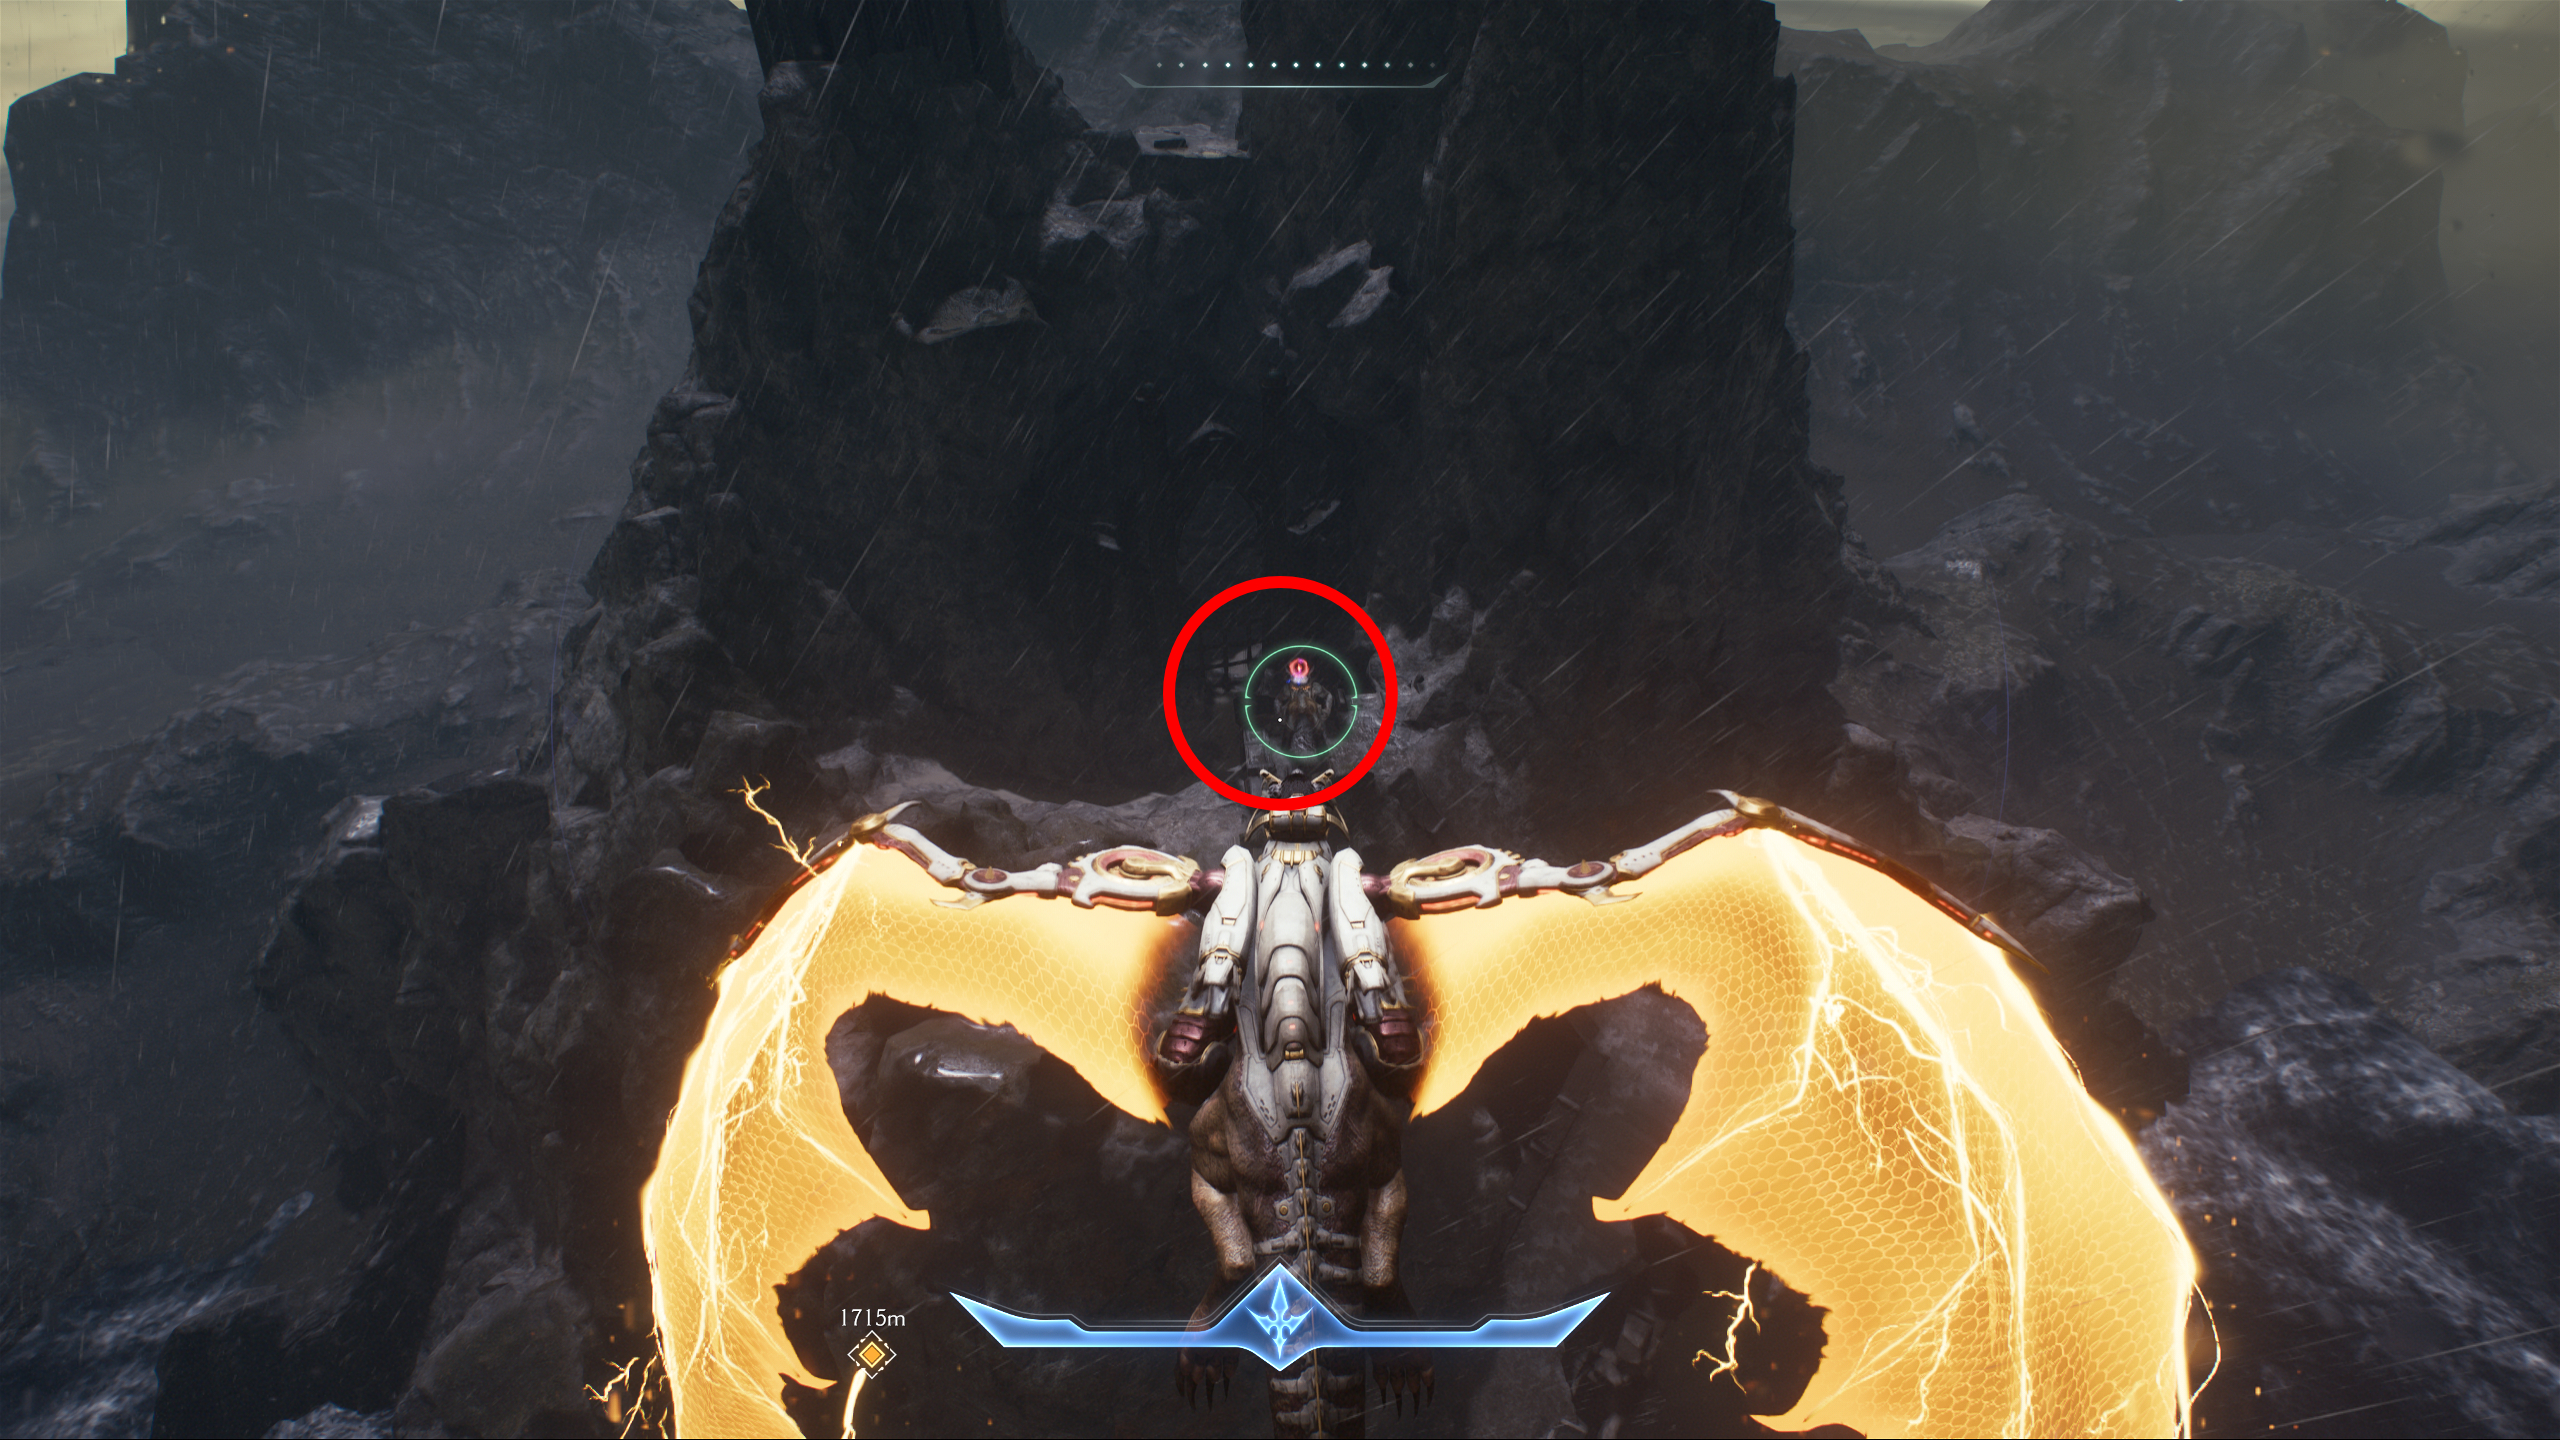
Right after getting access to the dragon, turn around and fly up into the hills on the far side of the map. Here you’ll find a lone titan, which will reveal a hidden landing zone once killed. Land here and defeat the waves of enemies to disable the barrier protecting the wraithstone.
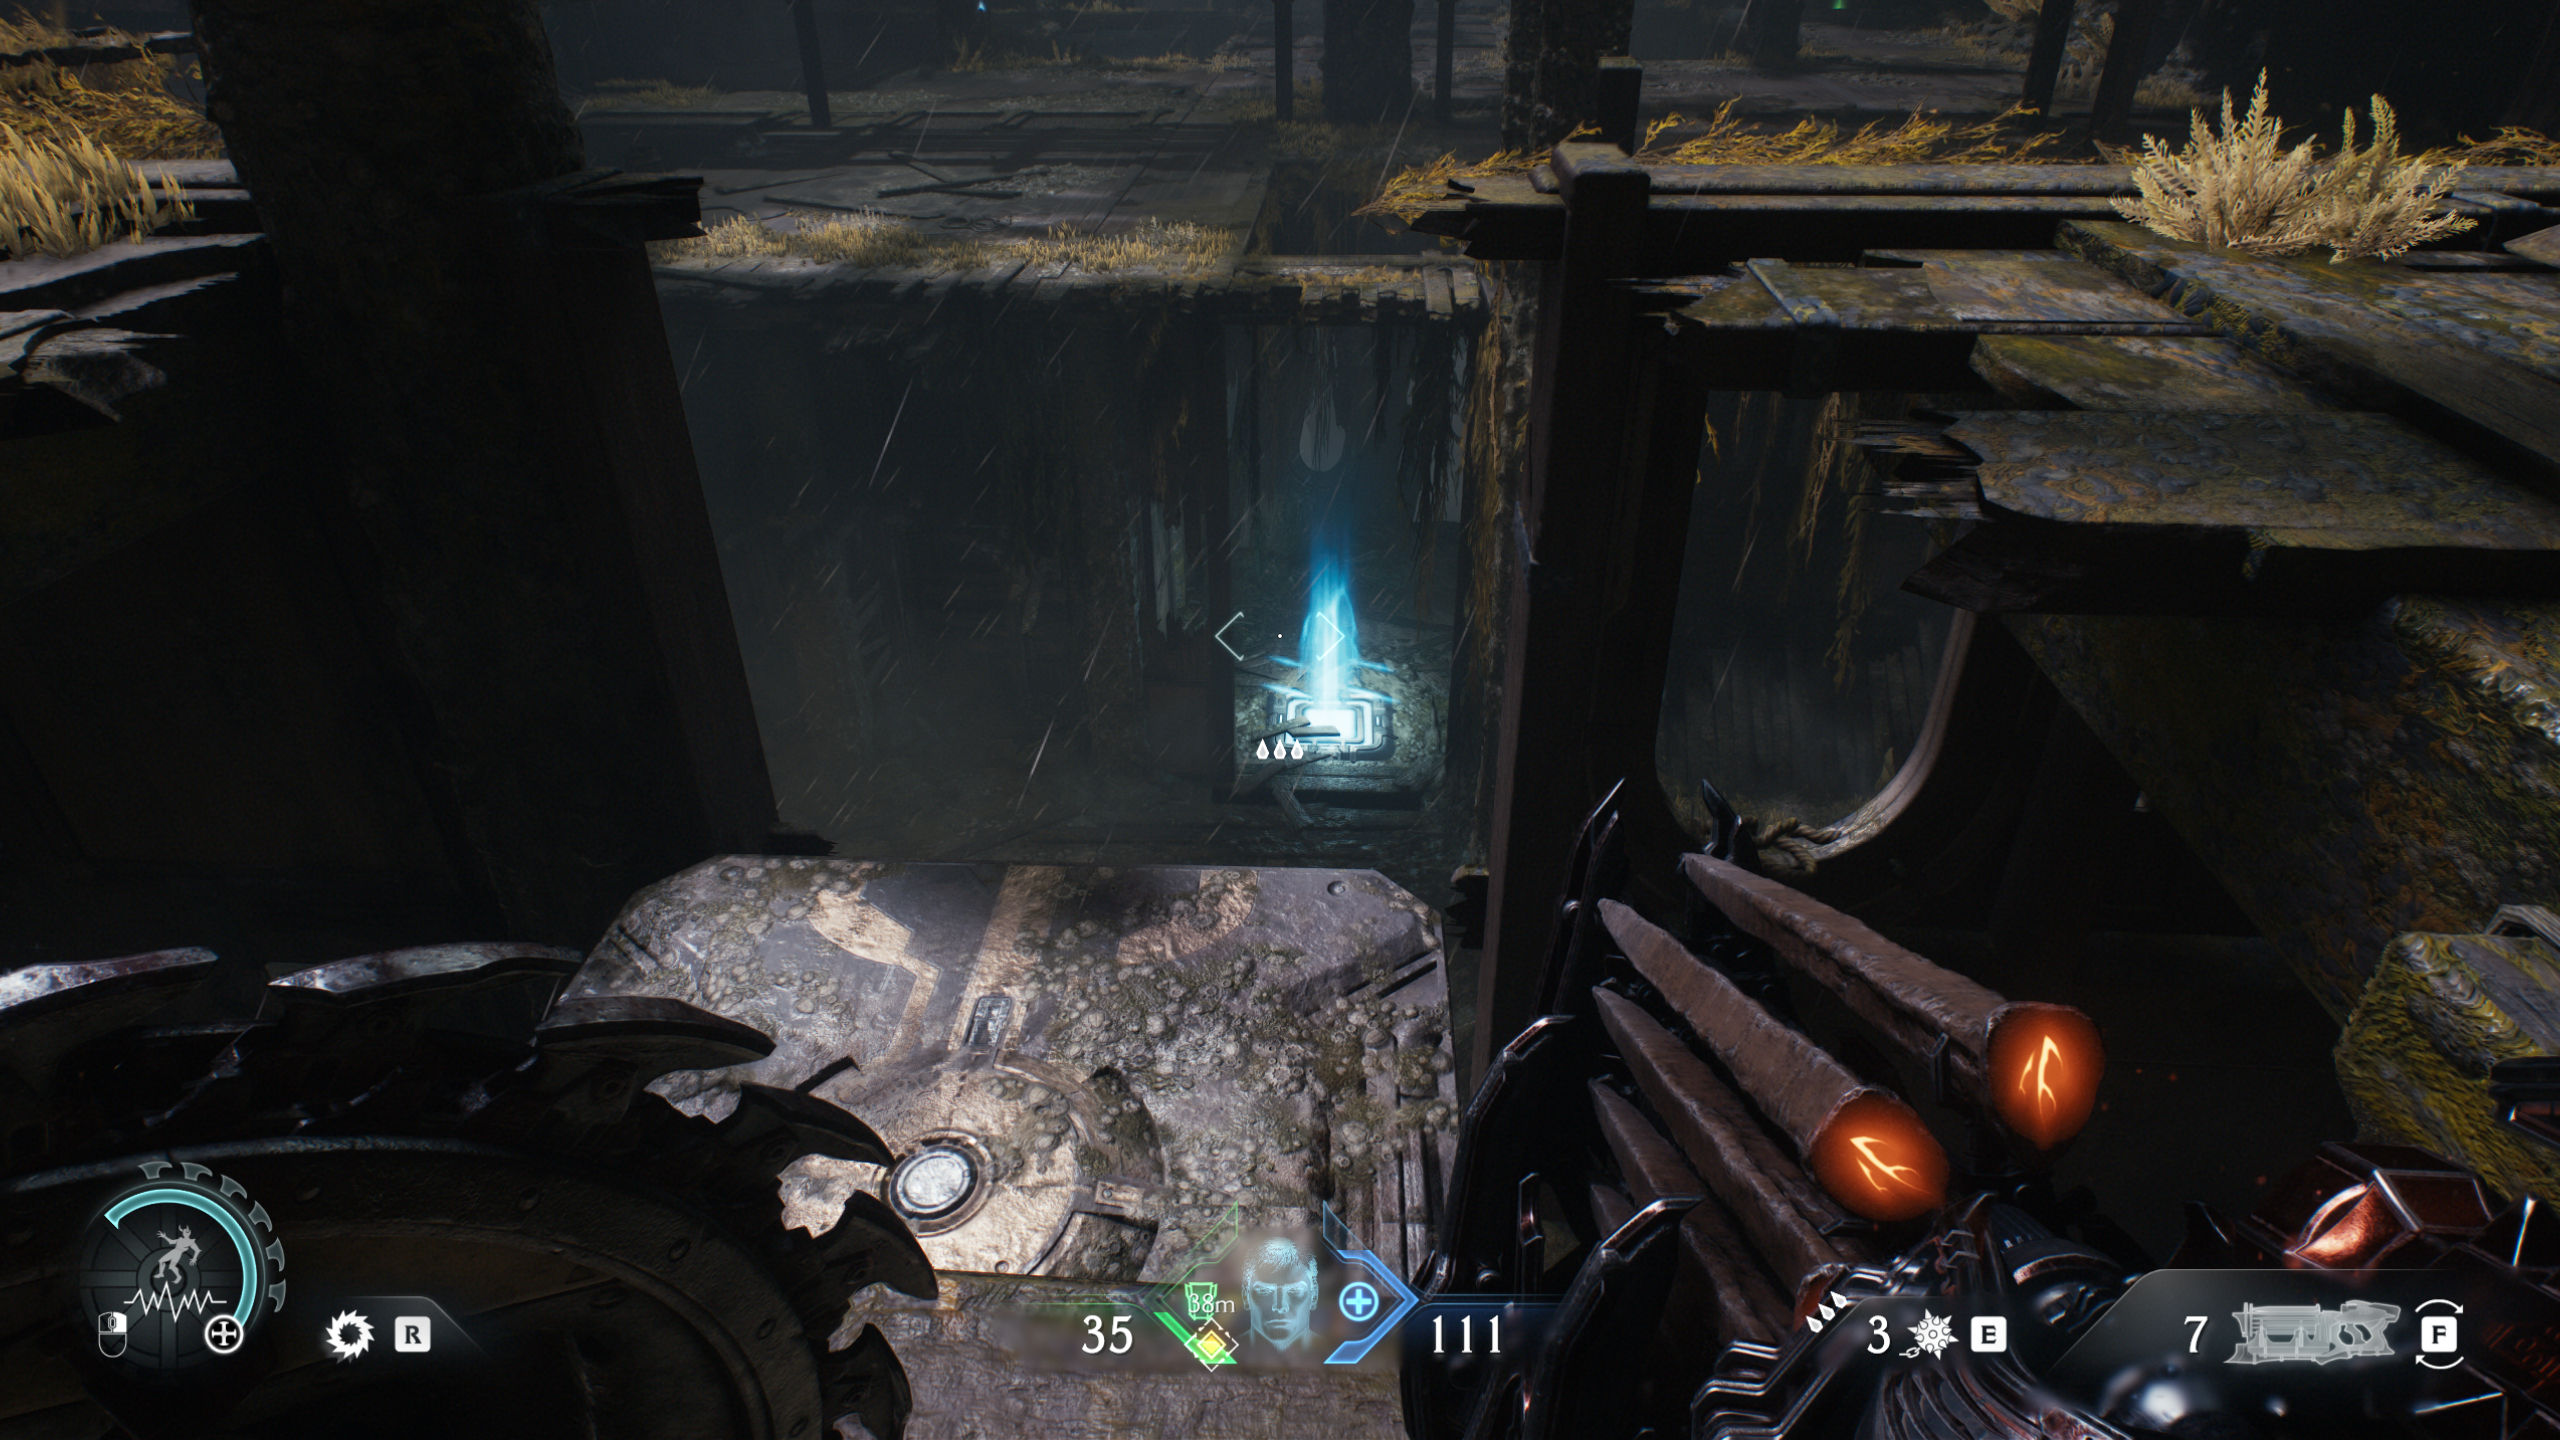
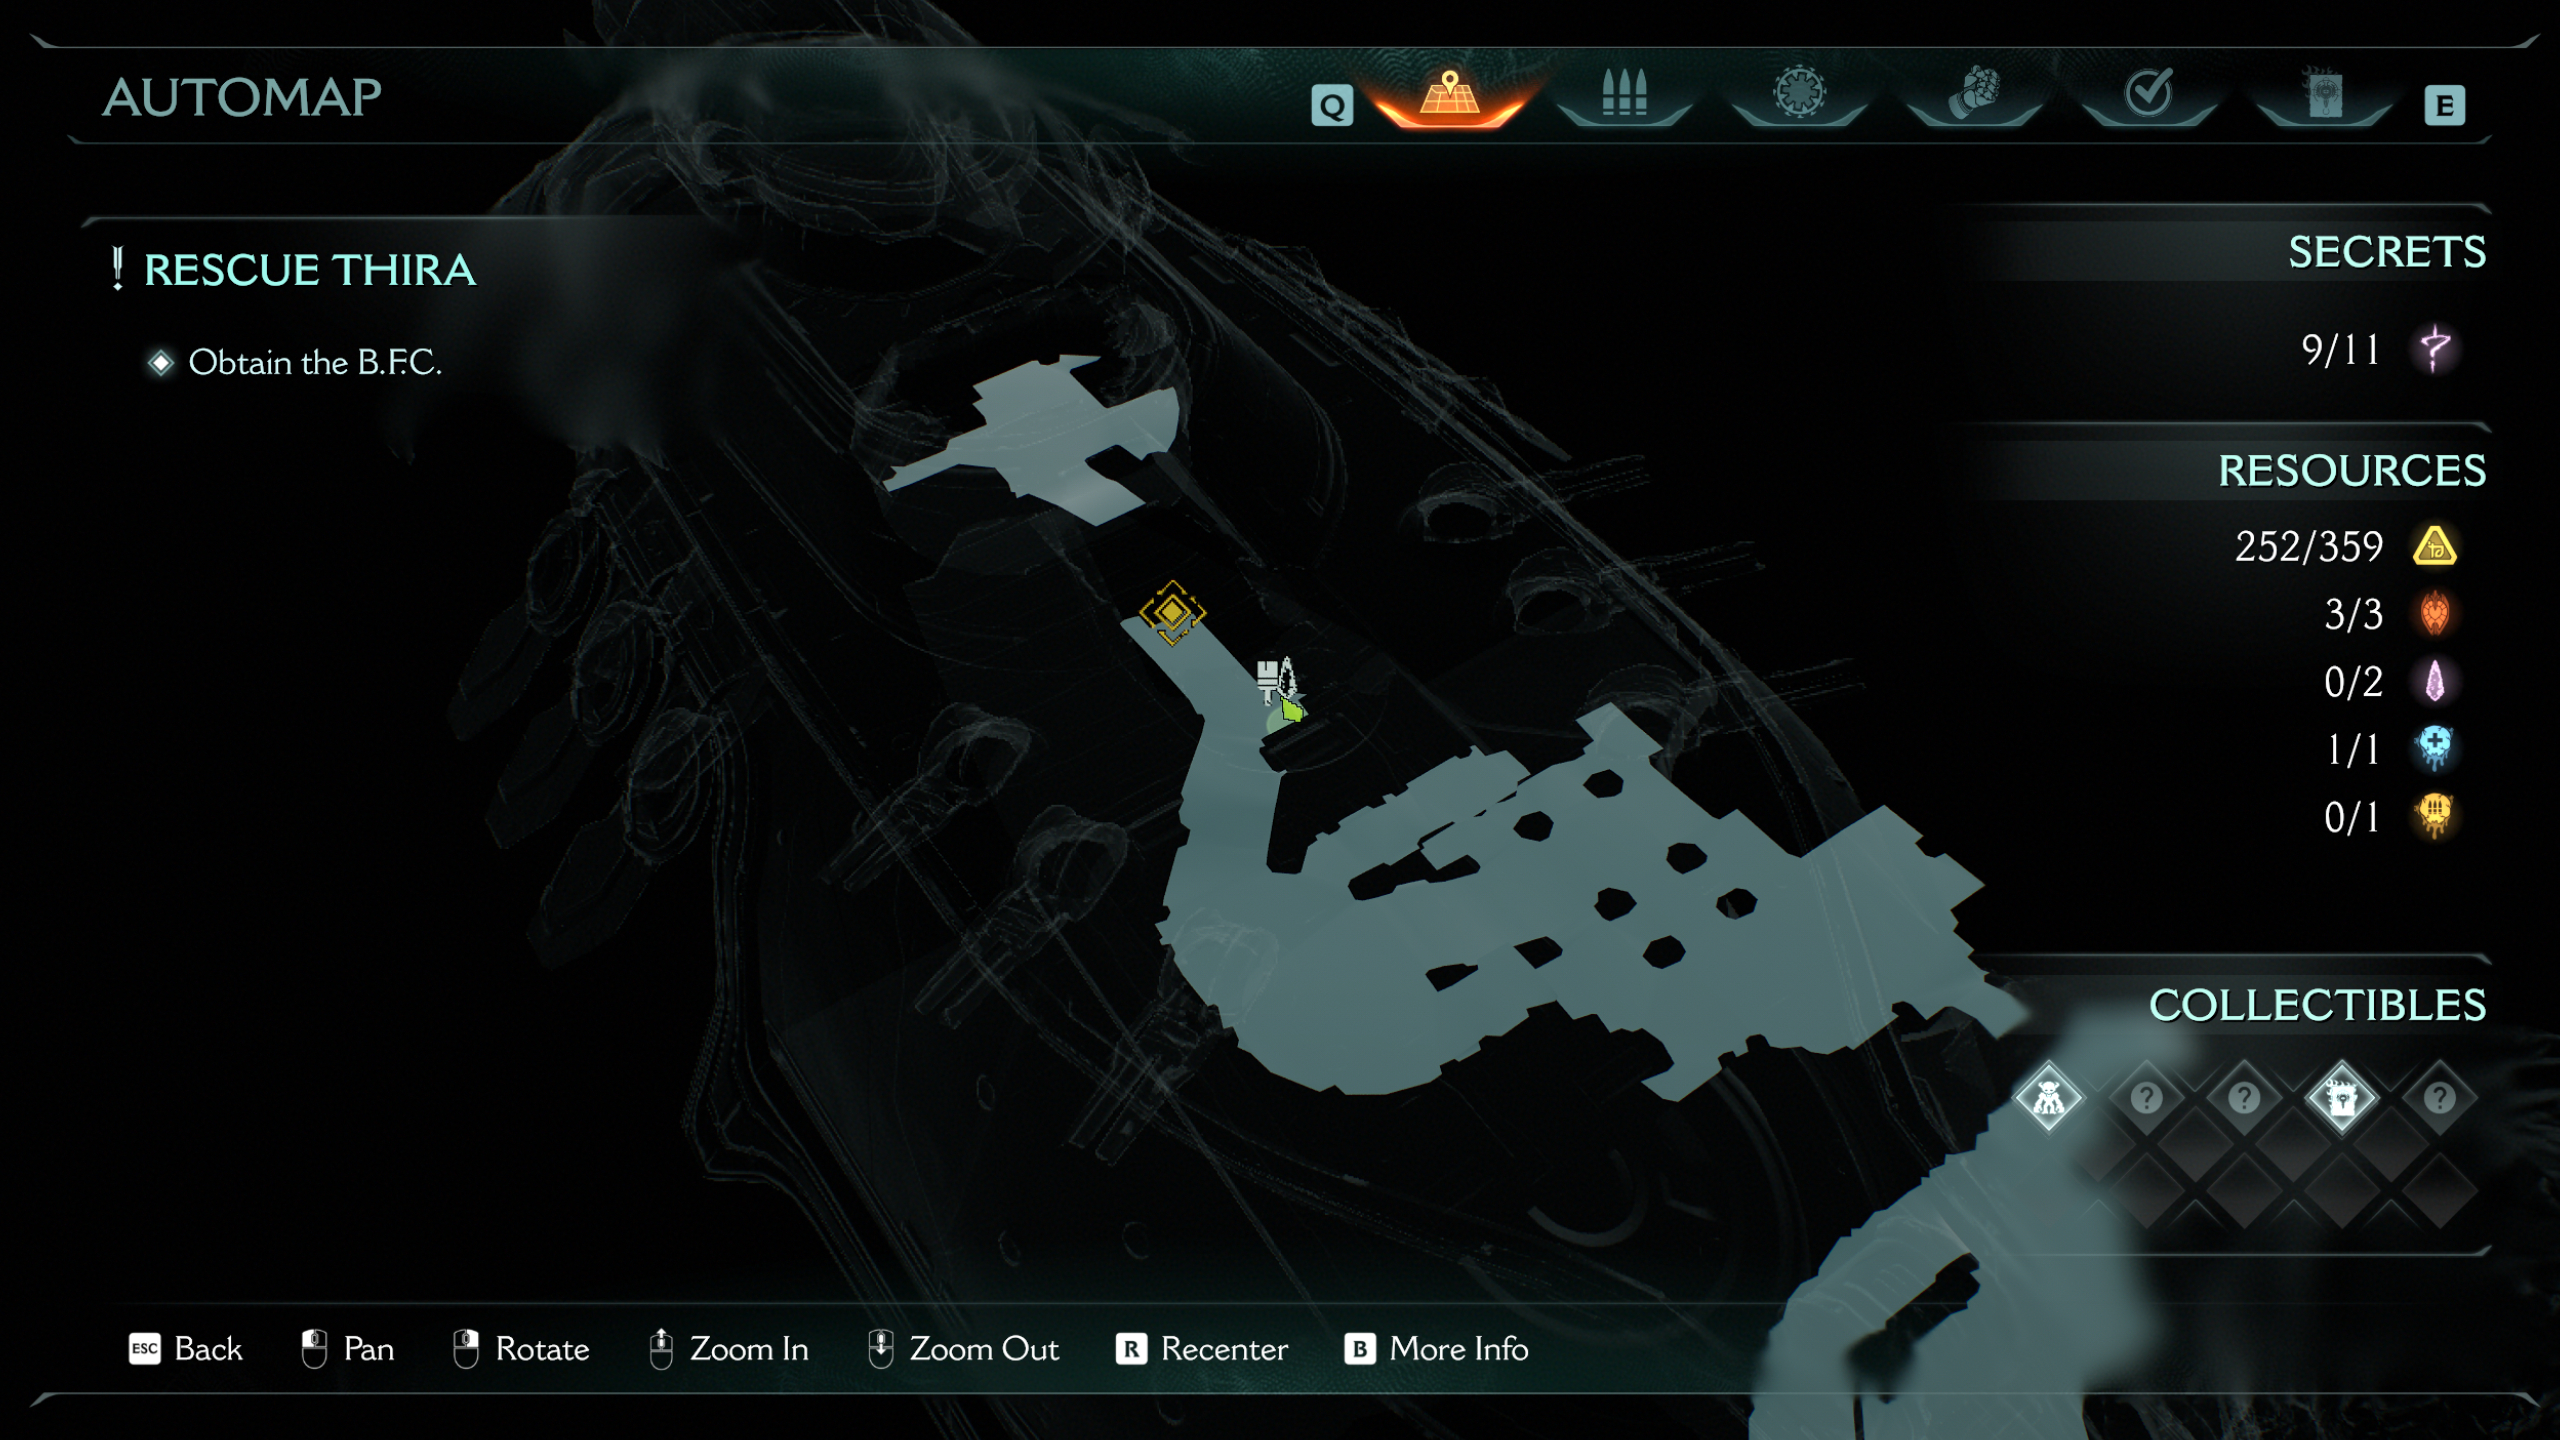
3 – Life sigil

After clearing the first area and gaining access to your dragon, follow the objective to the next zone. Just after landing here, head towards the big building at the back of the area, past the Sentinel Shrine, and you’ll find a cave under the right side of the structure.
4 – Gold chest
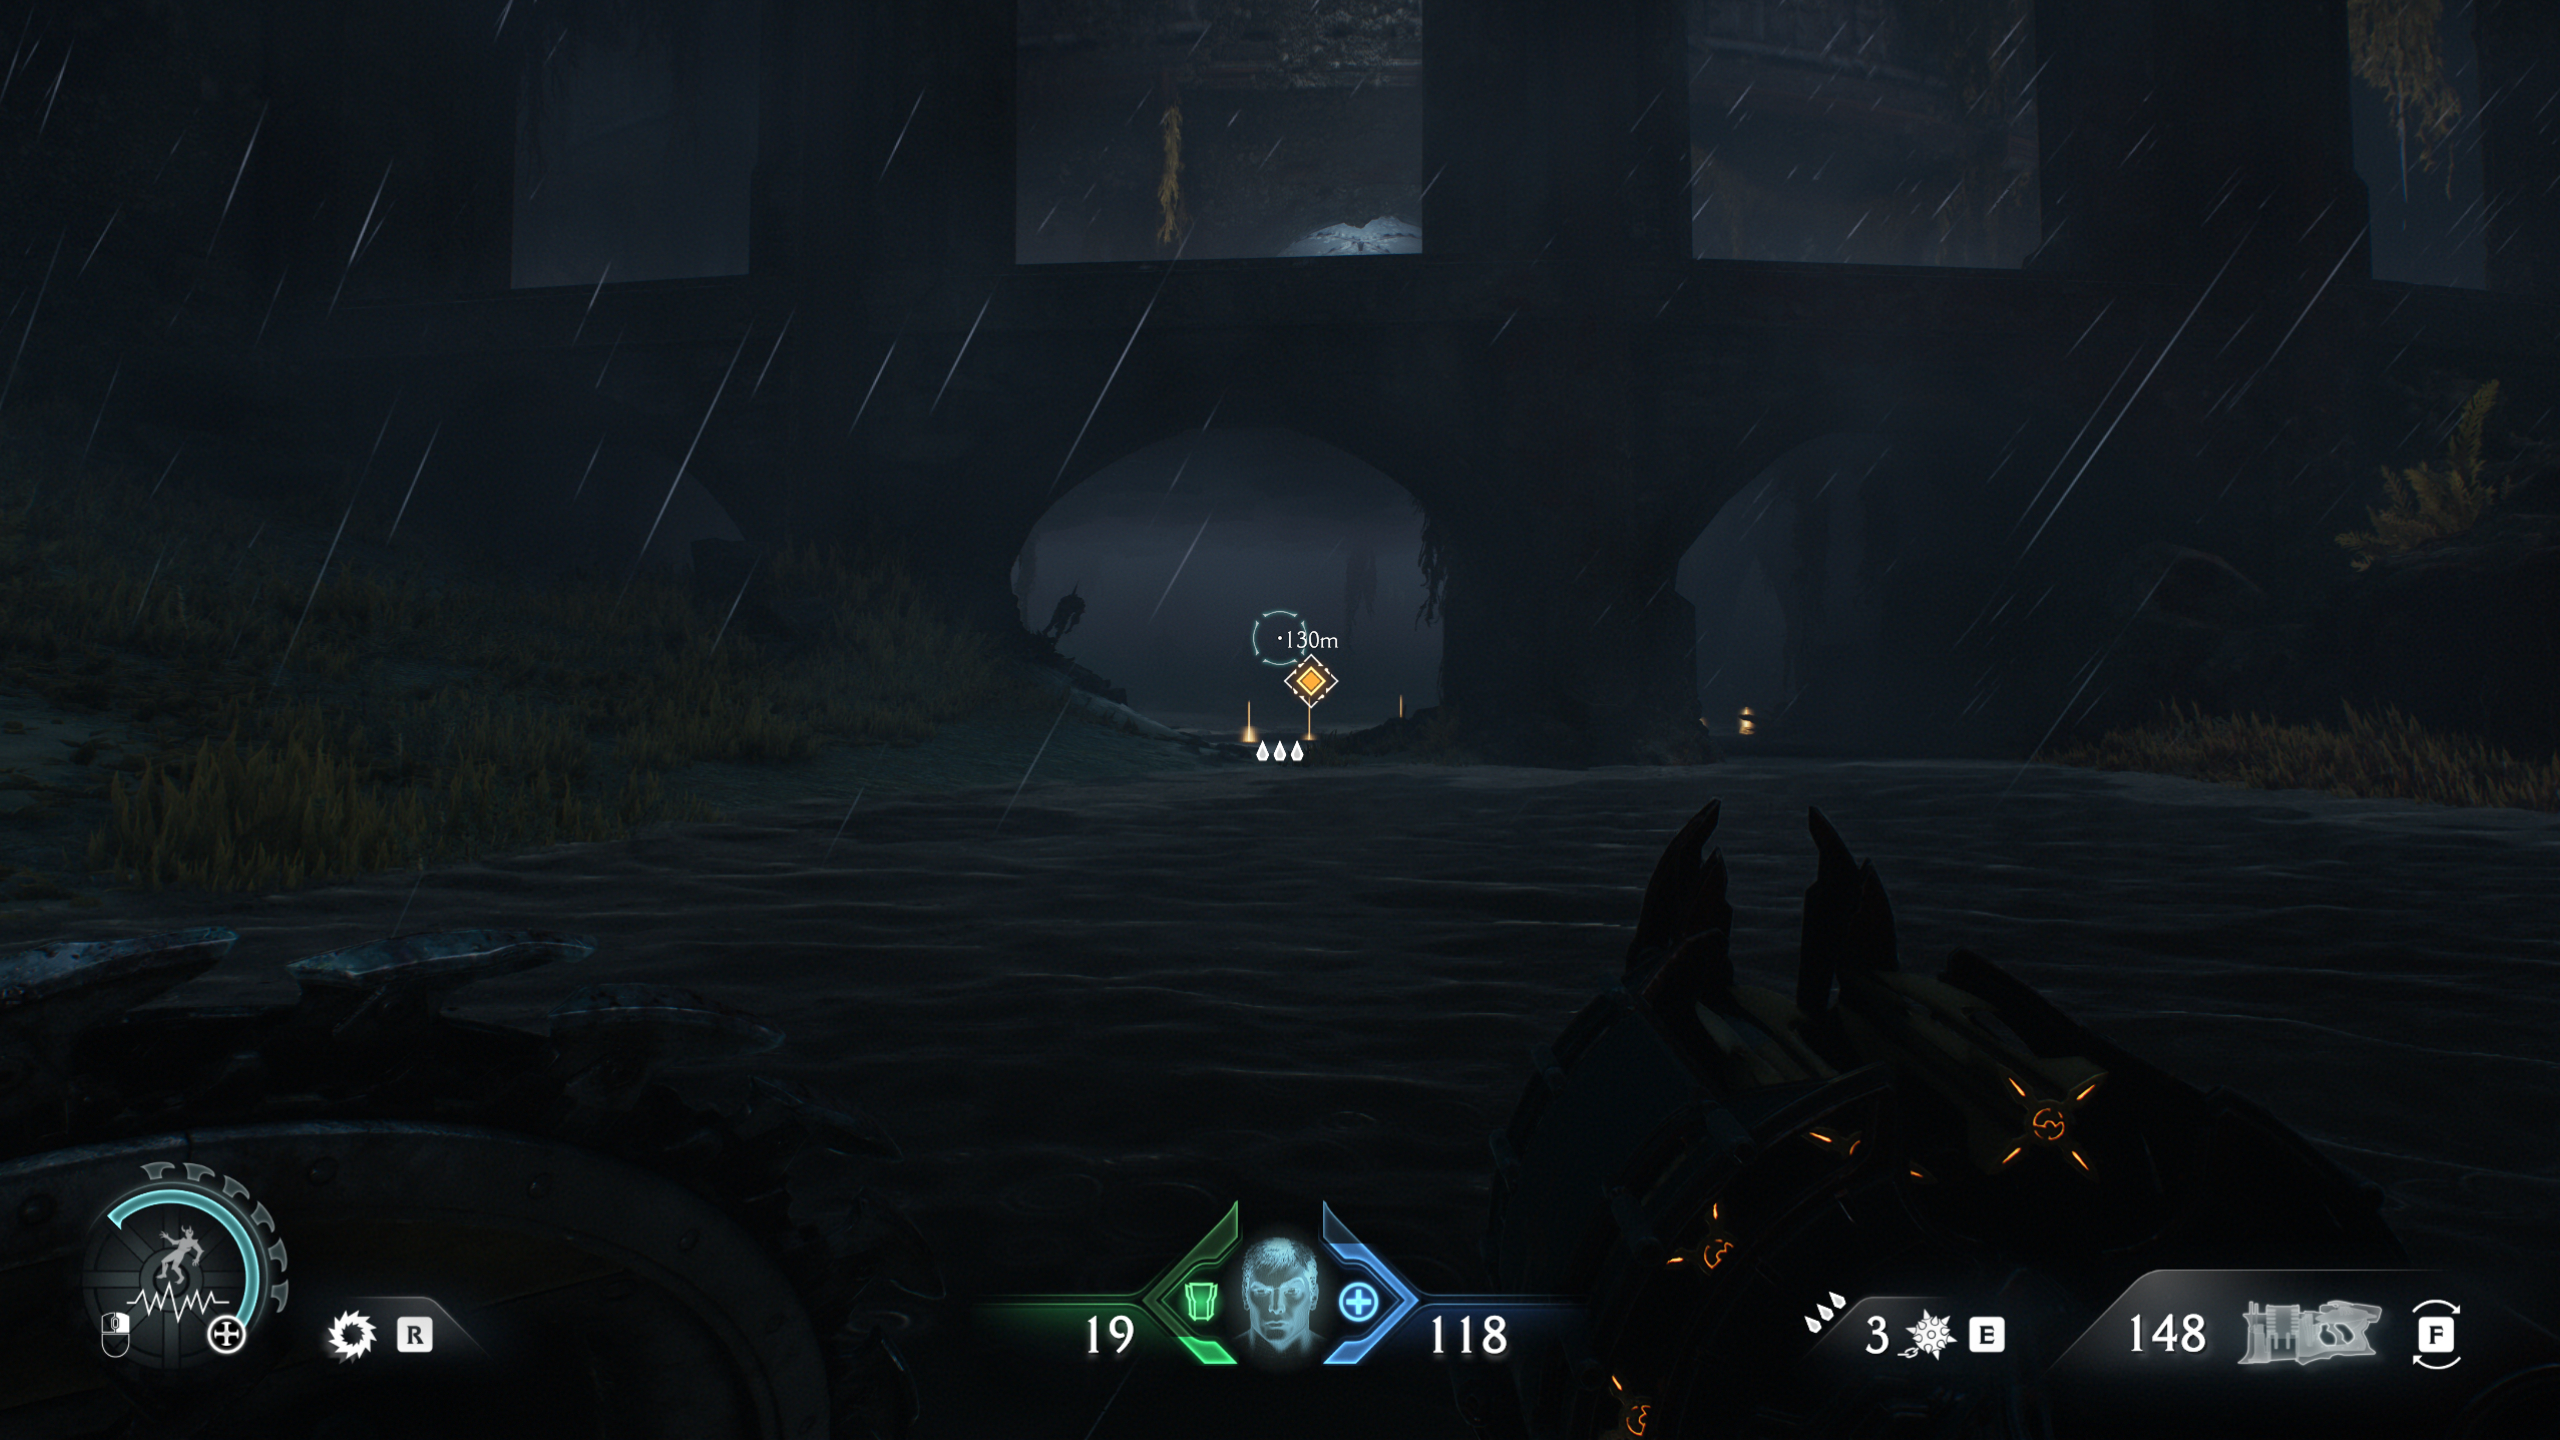
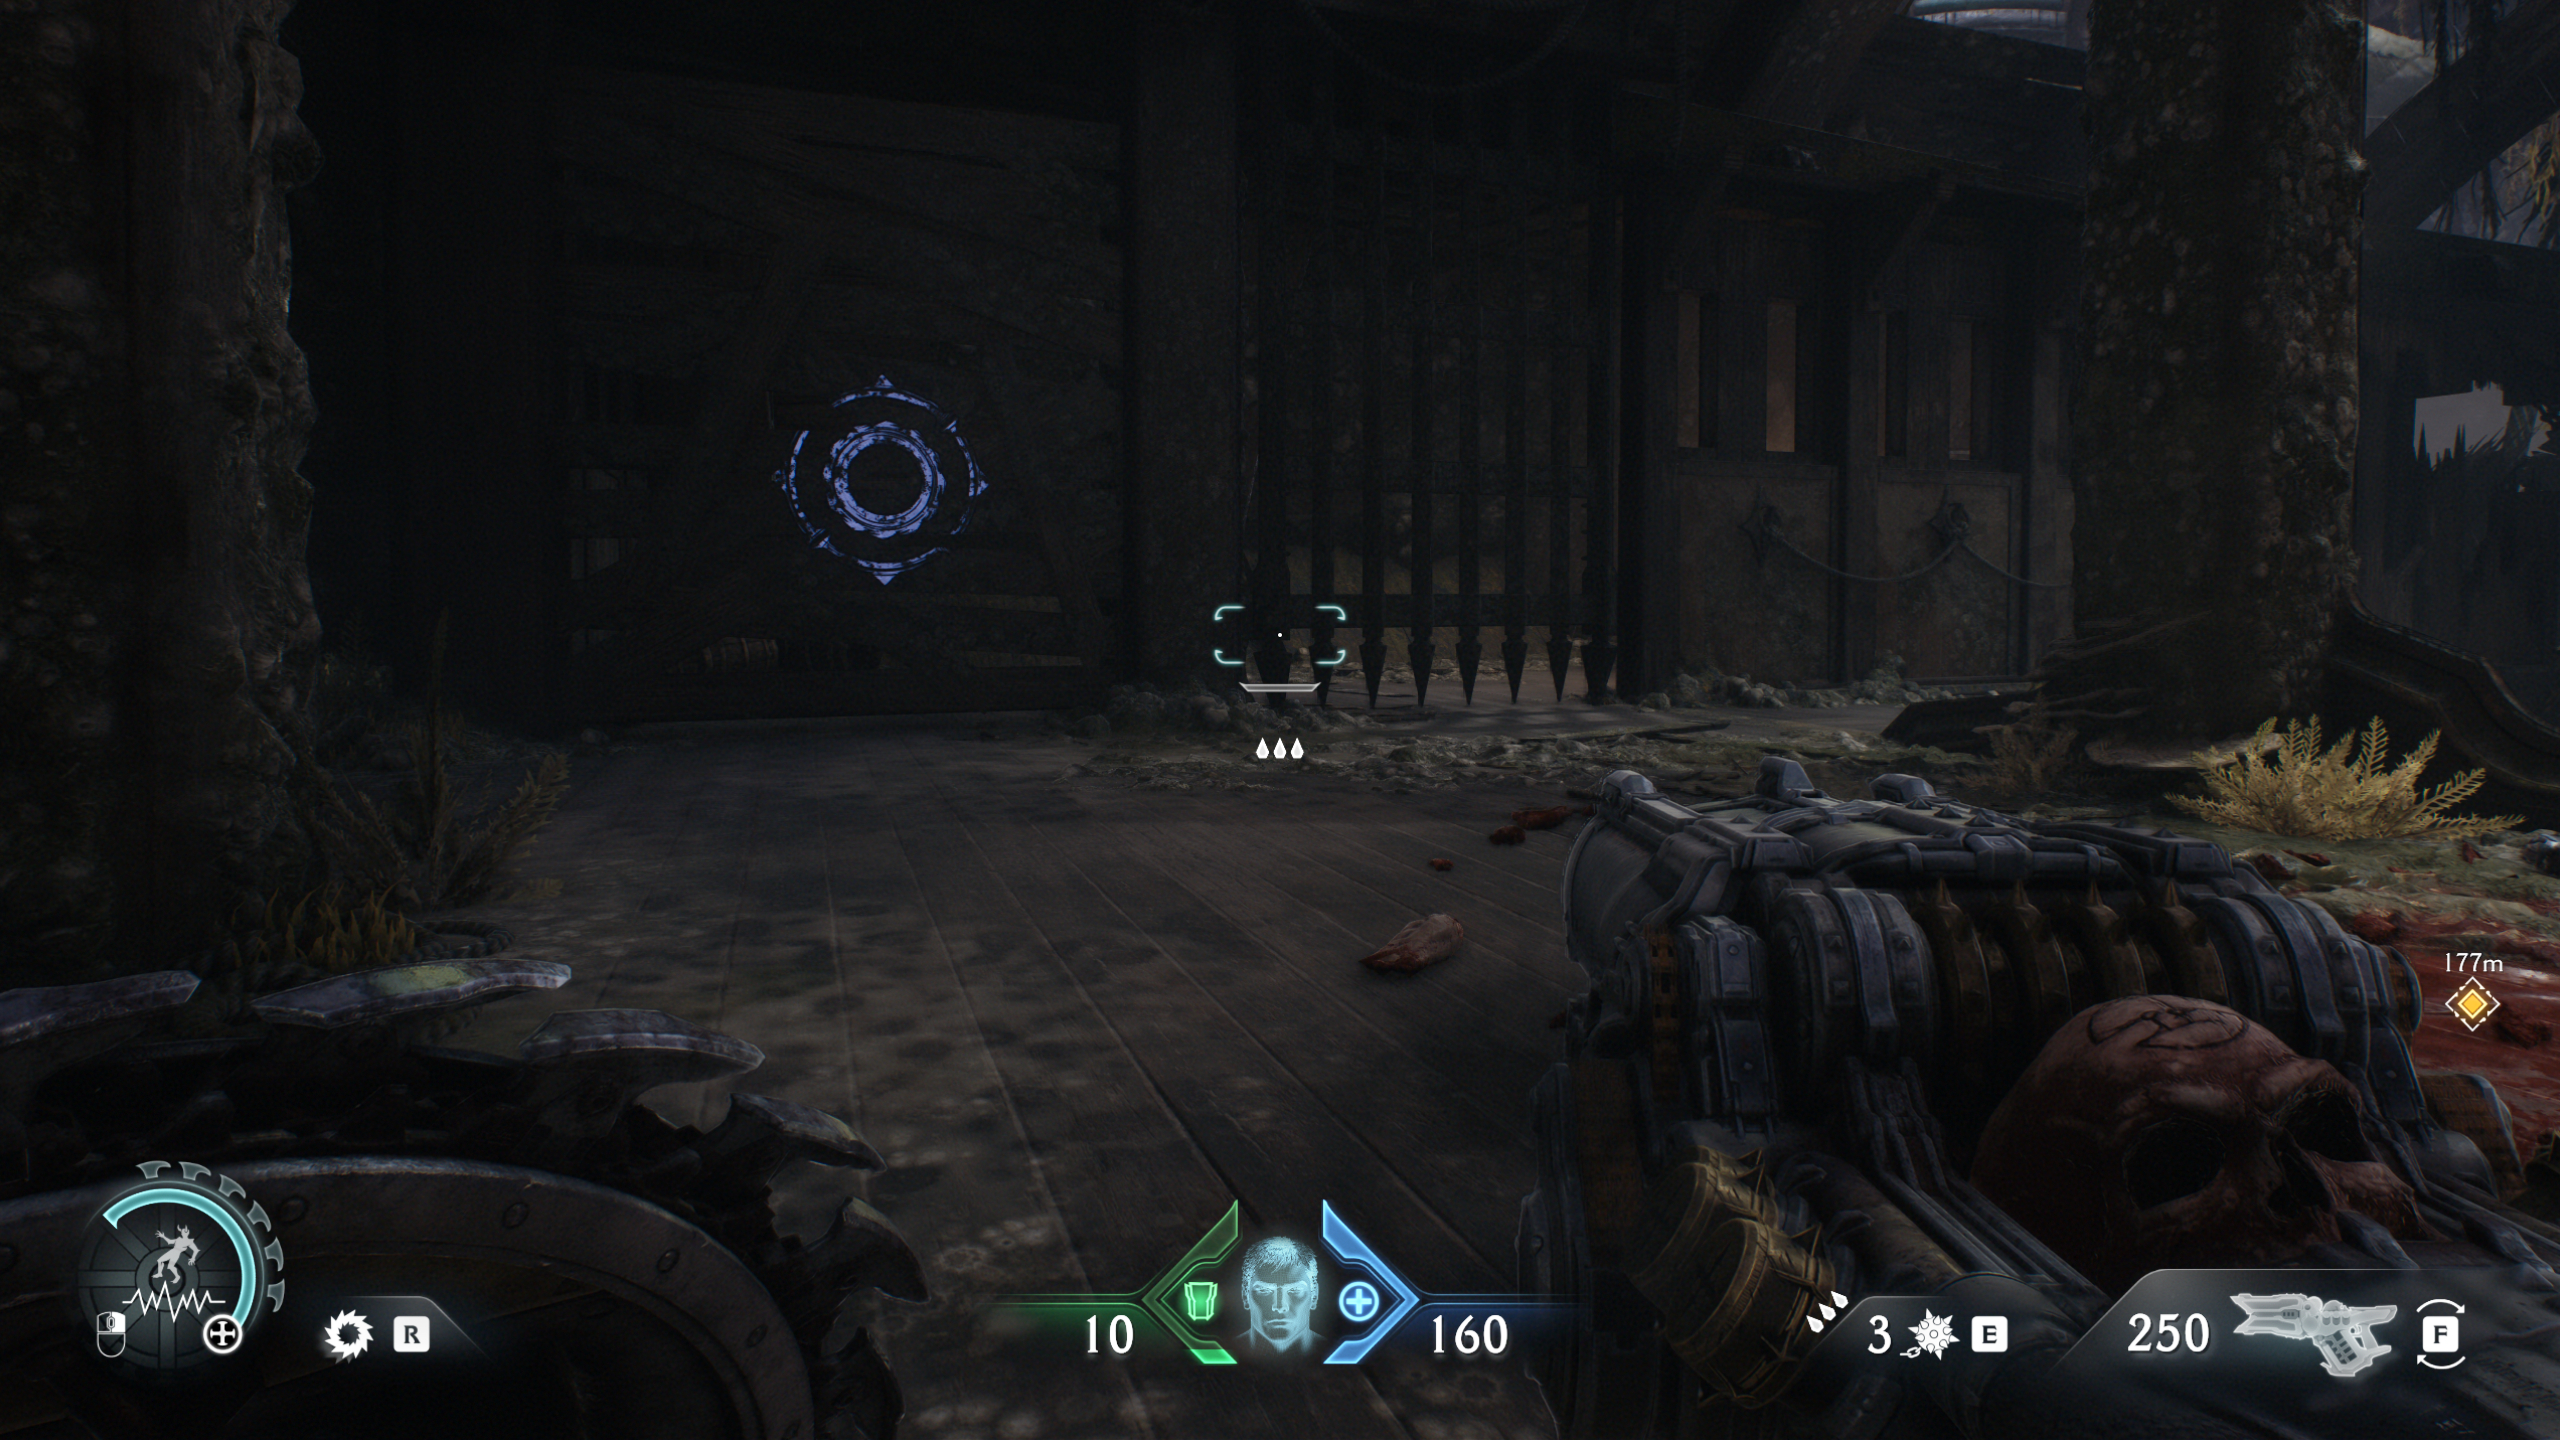
The next secrets in Chapter 14 are on the second major area you’ll visit for the main objective—to activate stasis emitters. Once you land here, follow the objective marker into the shipwreck. From here:
- Walk down the ramp in front of you
- Look through the destroyed wooden wall to your right
- Shoot the explosive barrels
- Head further down the ramp and take a right to enter a room with the gold chest
5 – Arachnotron toy (collectible)

Near the previous secret, you can find the Arachnotron action figure on the main deck of the pirate ship. From where you entered the ship, hug the left wall and break the wooden barricade to reach the toy.
6 – Ruby
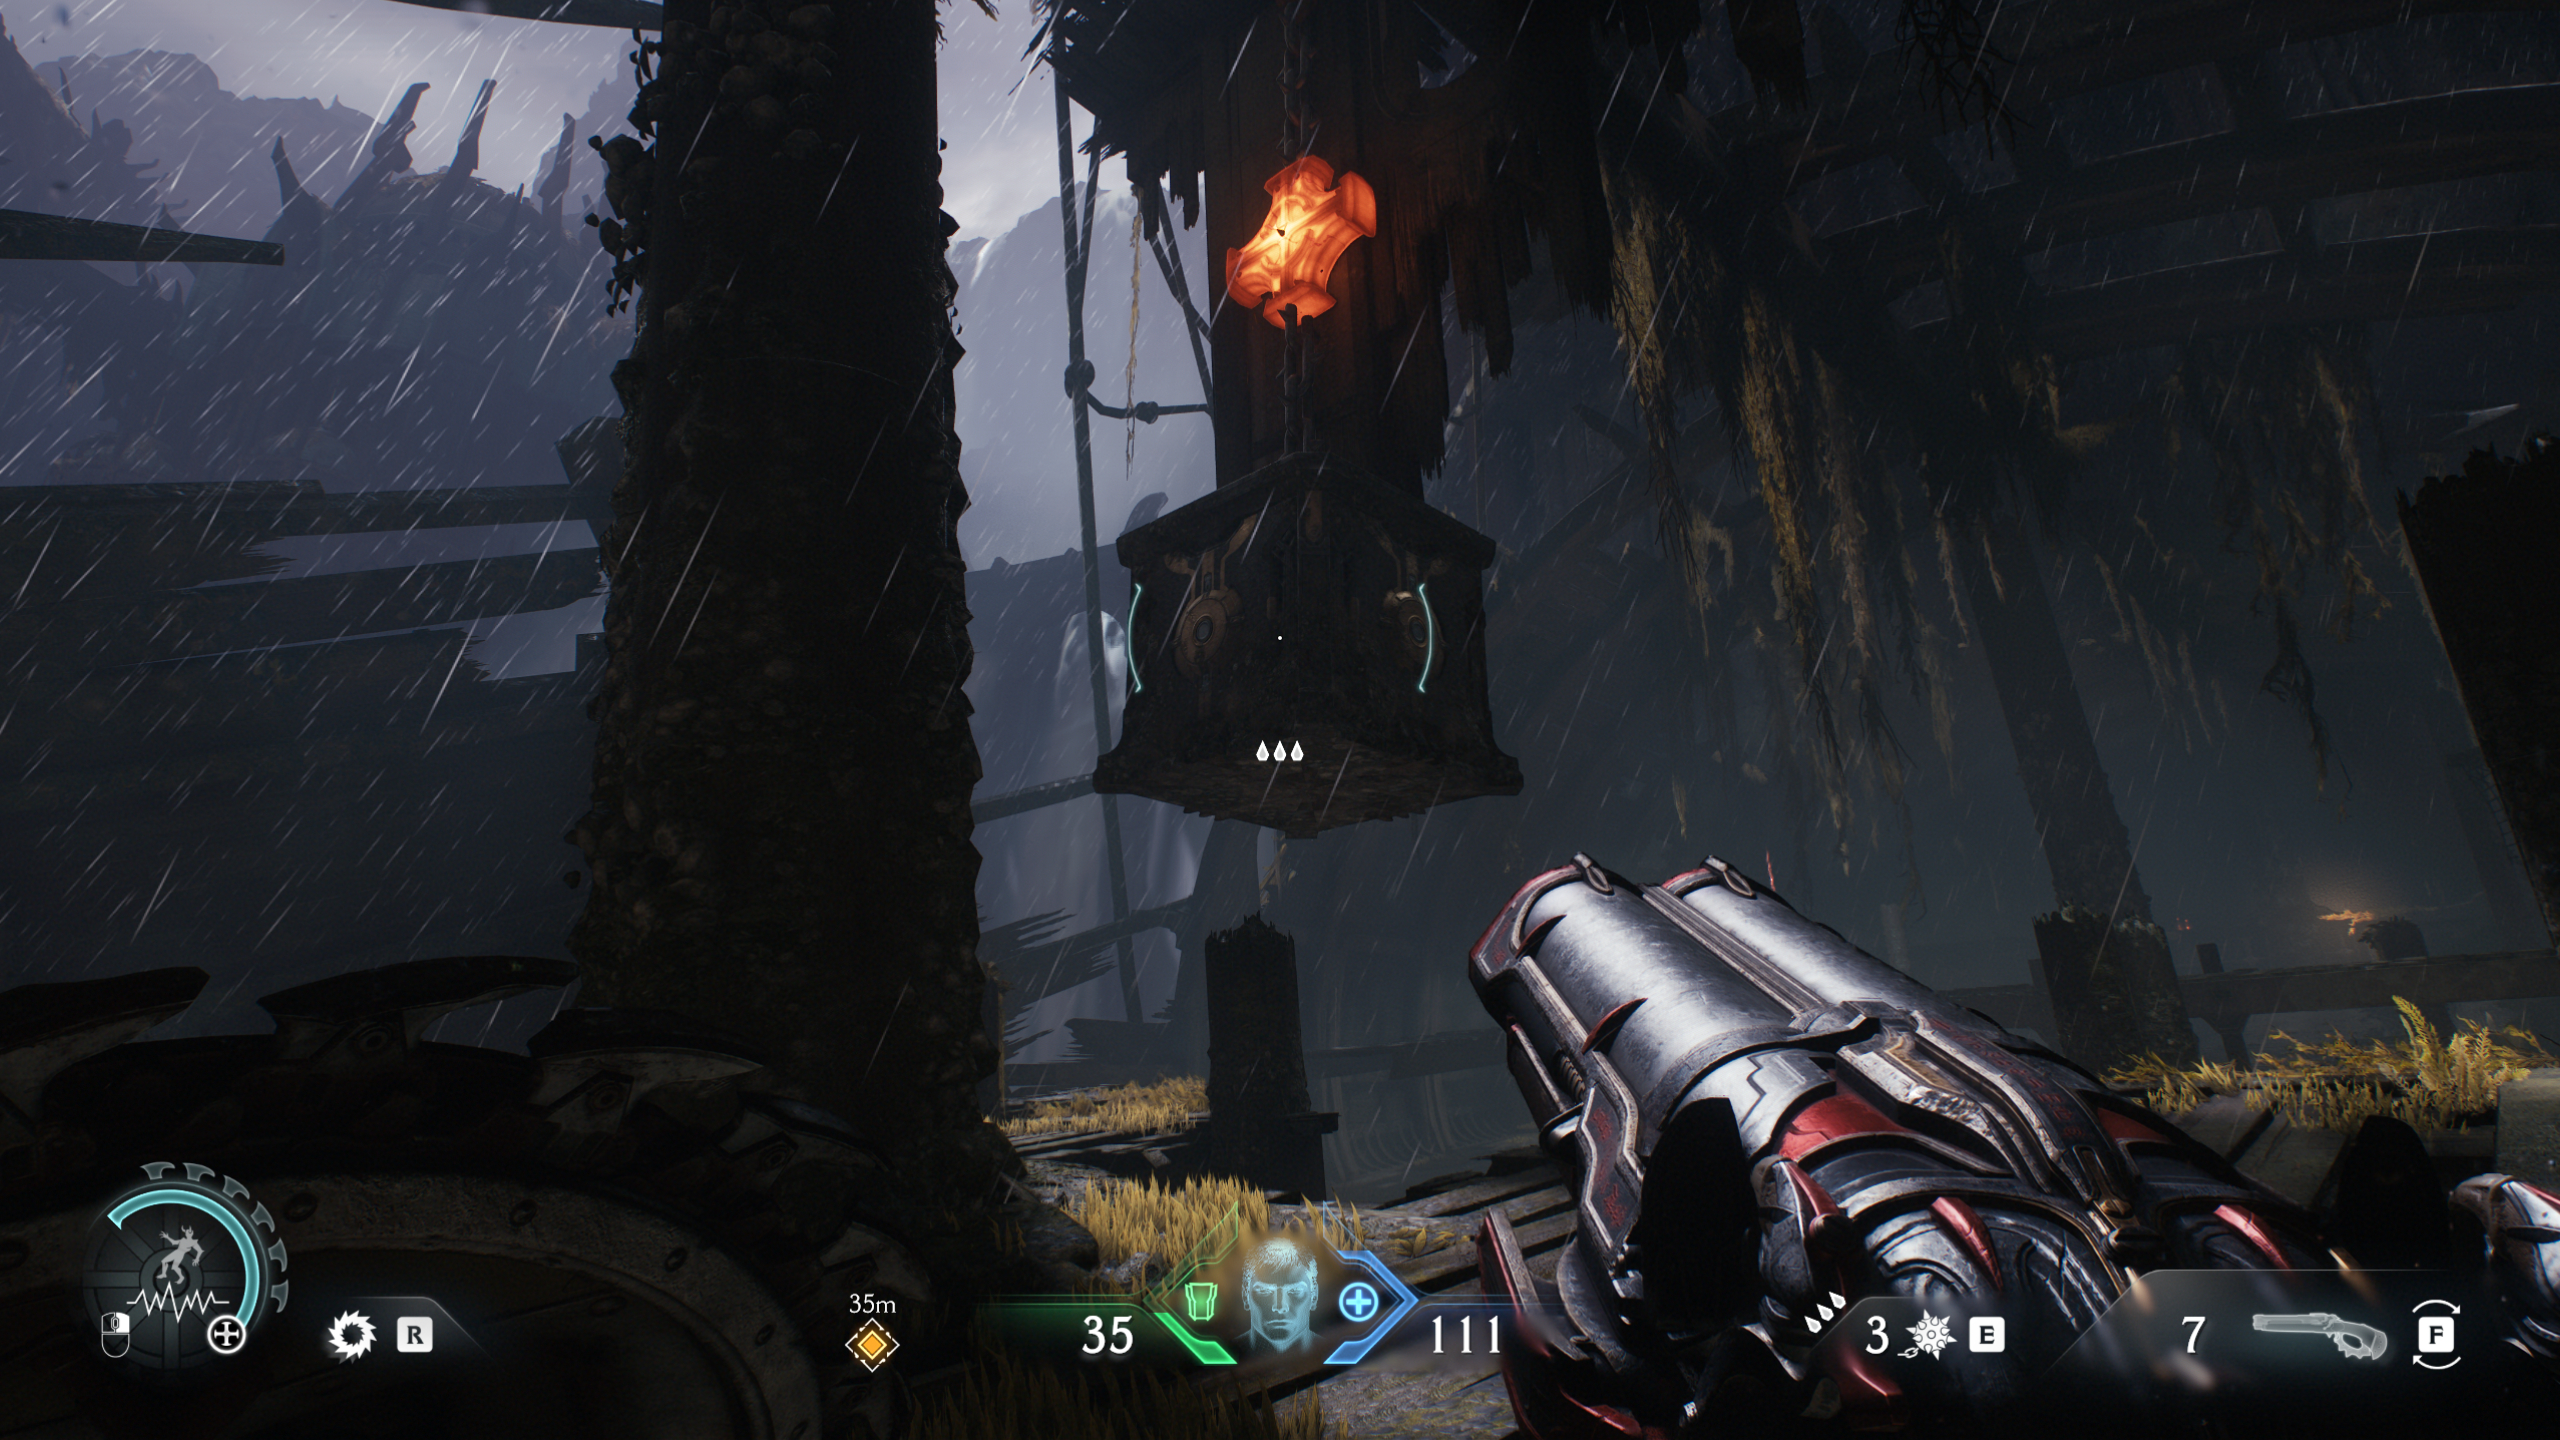
Before heading into the bottom of the ship and into the caves for the objective, head up to the helm of the ship and break the chain holding a cube in the air. This will cause it to drop and activate a pressure pad, turning on a jump pad just ahead of you. Use the launch pad to be catapulted up to the walkway with the ruby.
7 – Life sigil
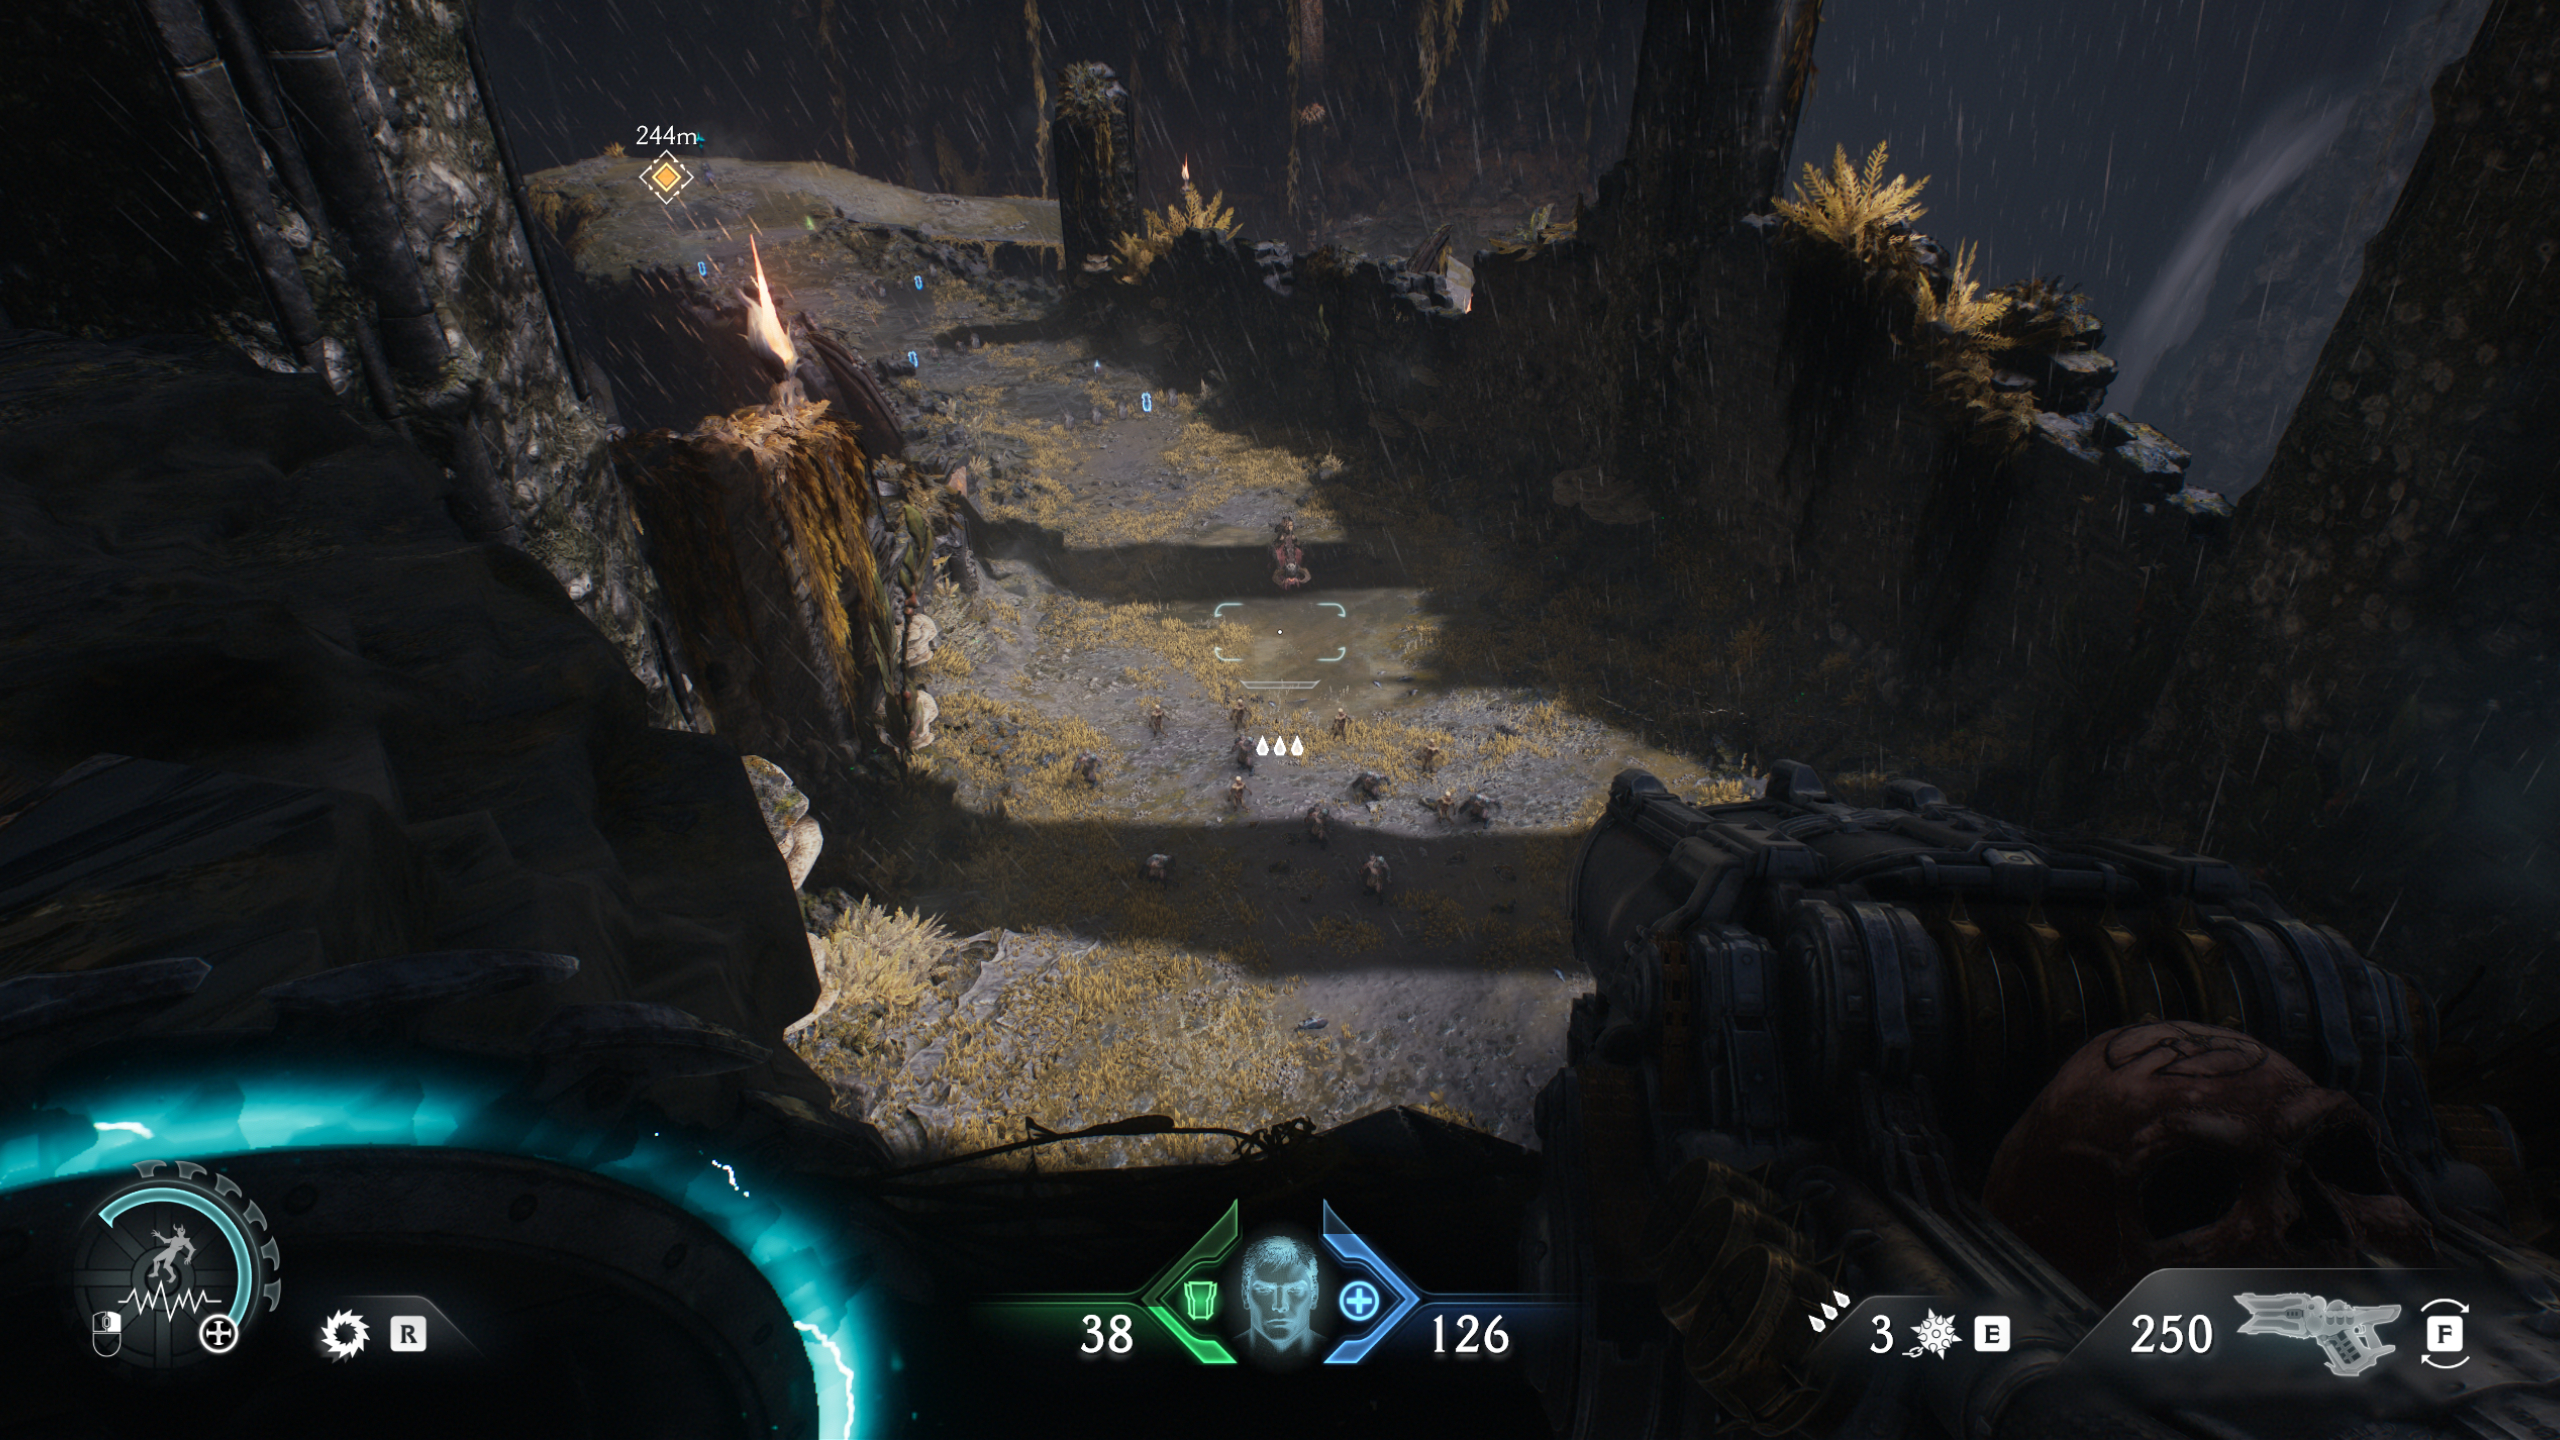
After heading down through the ship, crossing the pipe, and dropping down the point of no return, jump down to the hill (it’s the one with all the enemies waiting for you) and turn around. Go through the doorway, and you’ll see the life sigil guarded by a komodo demon.
8 – Spire of Nerathul codex entry (collectible)
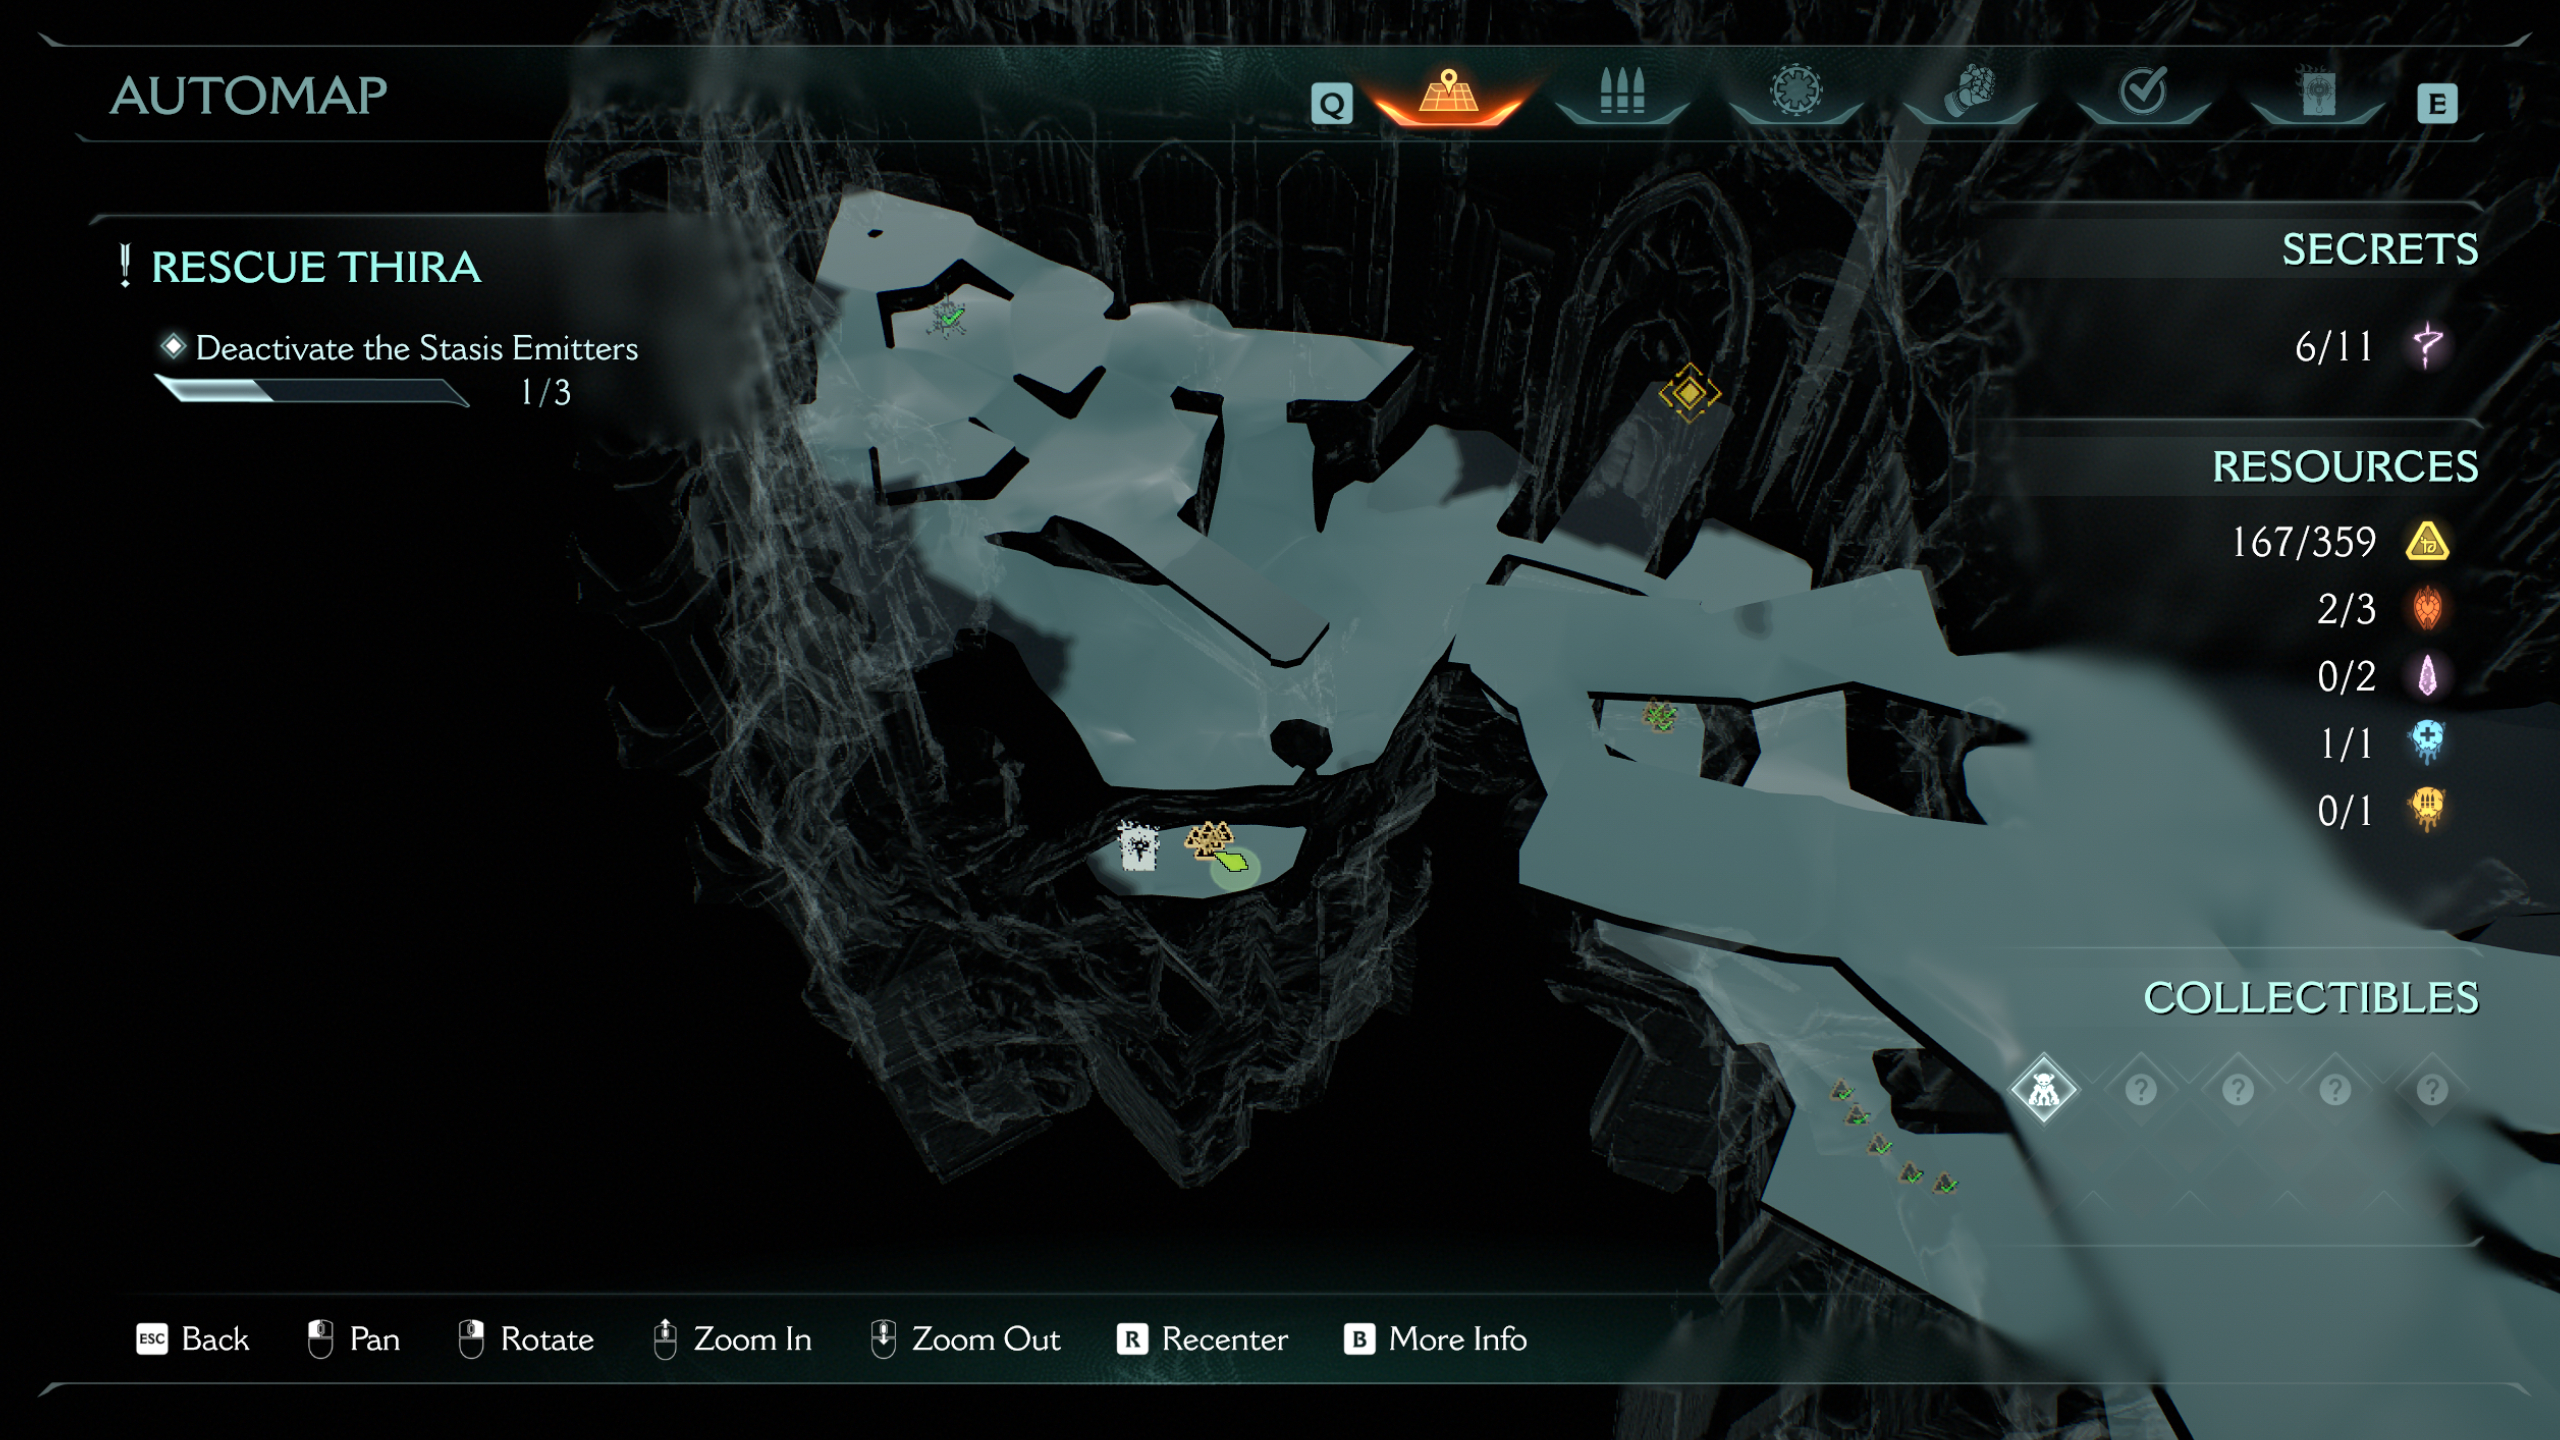
At the very end of this area, right where you activate the second stasis emitter, you’ll find the Spire of Nerathul codex collectible. You can drop off the side opposite the emitter to grab the codex on a ledge. You’re safe to continue to the next stasis emitter objective now.
9 – Ruby
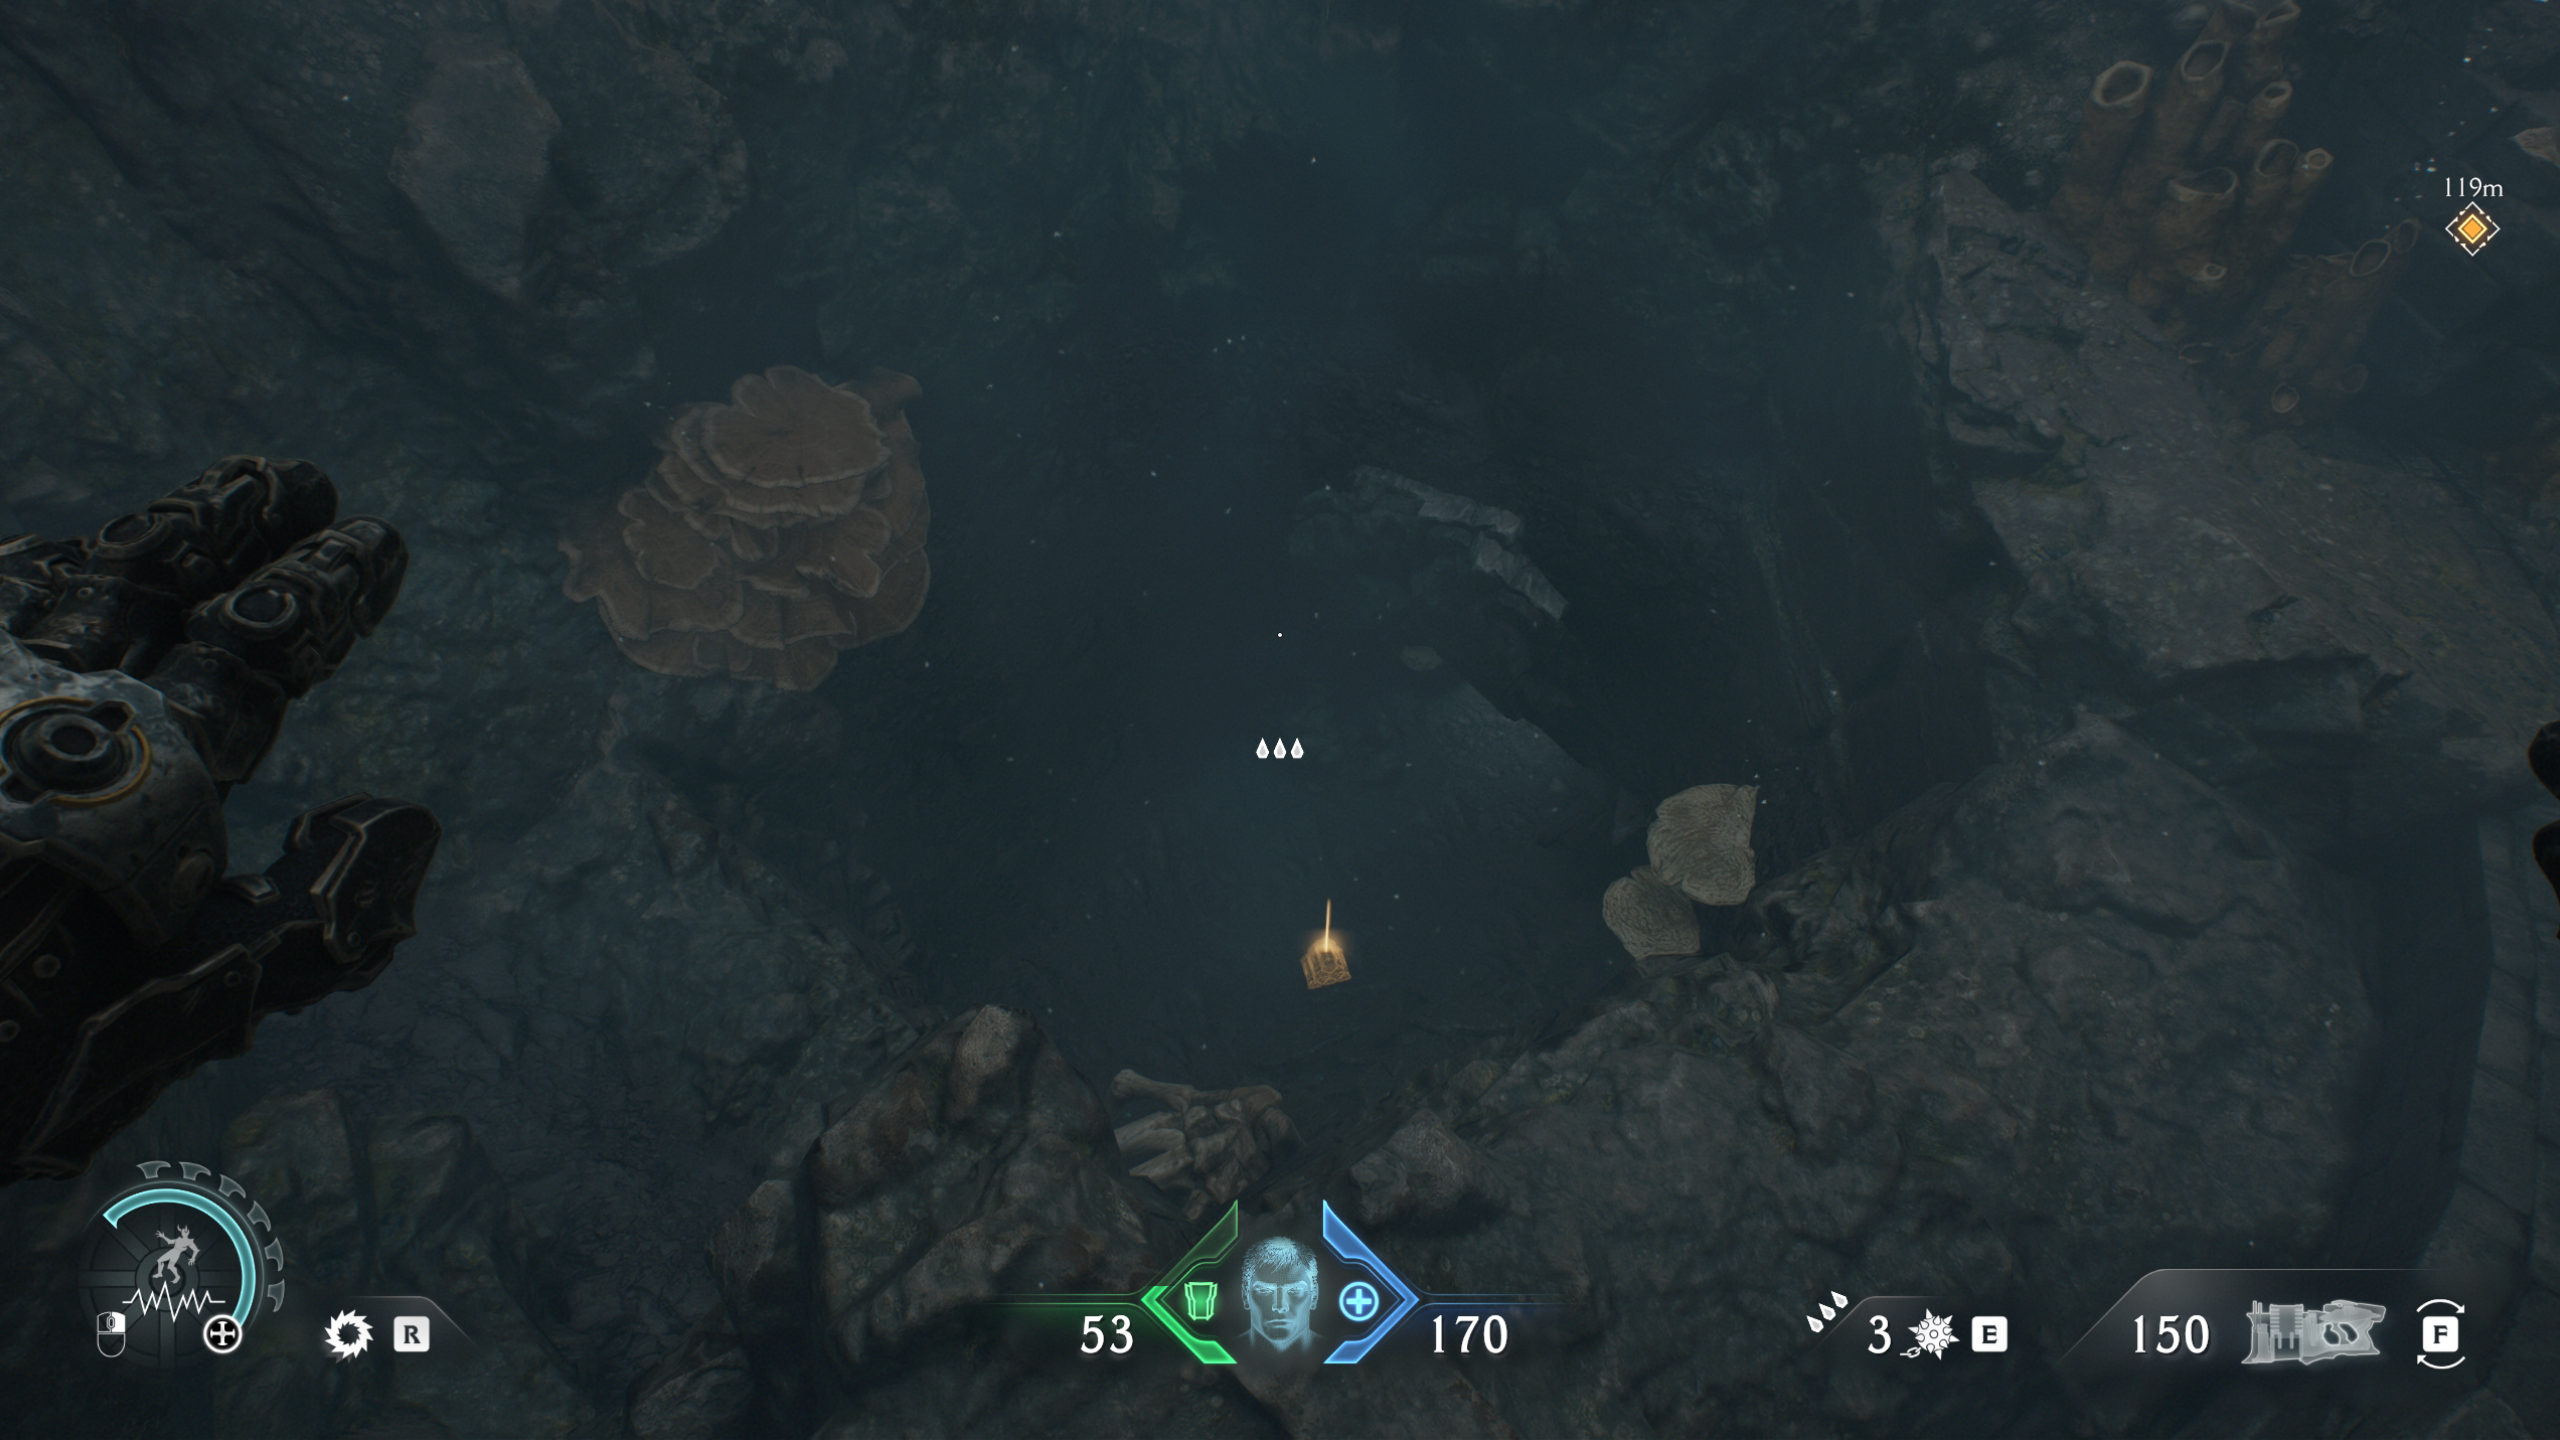
Once you land on the third stasis emitter island, walk over to the tower on the right side housing the ruby. Head into the water a bit further up to find an underwater cave opening, which you’ll need to swim through (avoiding fireballs) to enter the tower.
10 – Life sigil
The next secret is barely a secret at all, but after getting the Heaven Splitter shield rune, continue up the hill towards the Sentinel Shrine. You can grab this “secret” life sigil right next to the Shrine.
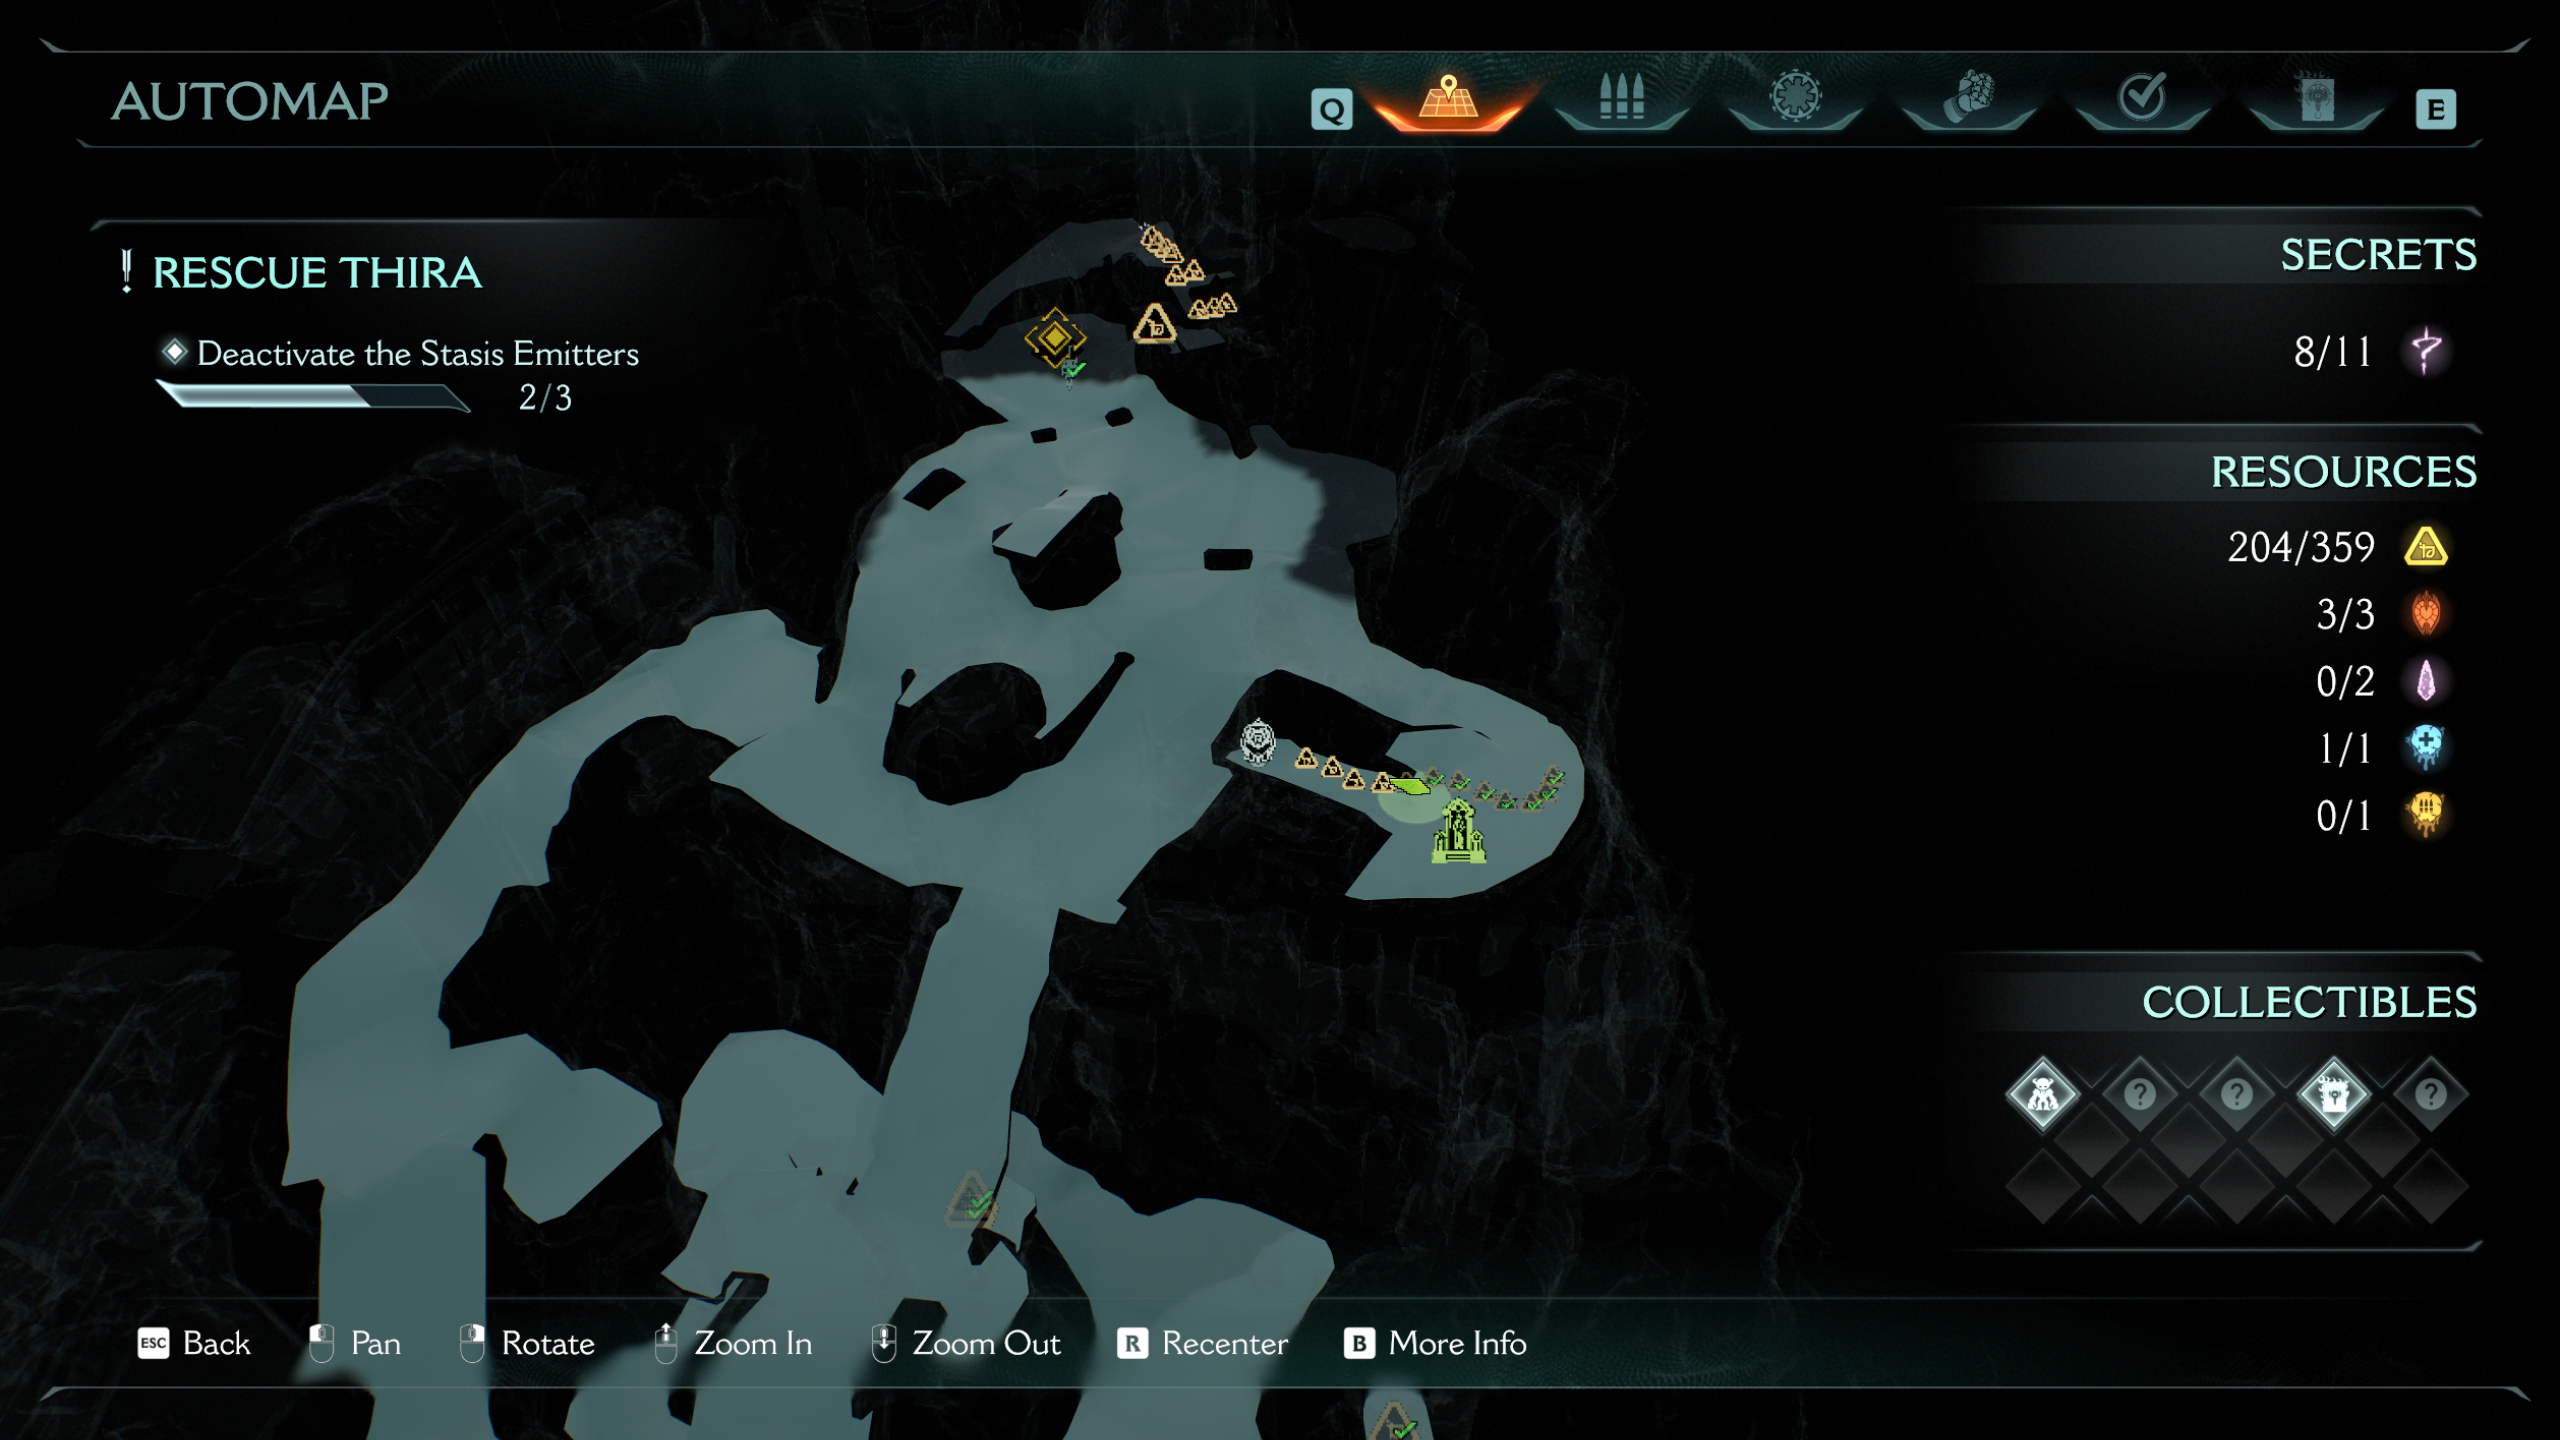
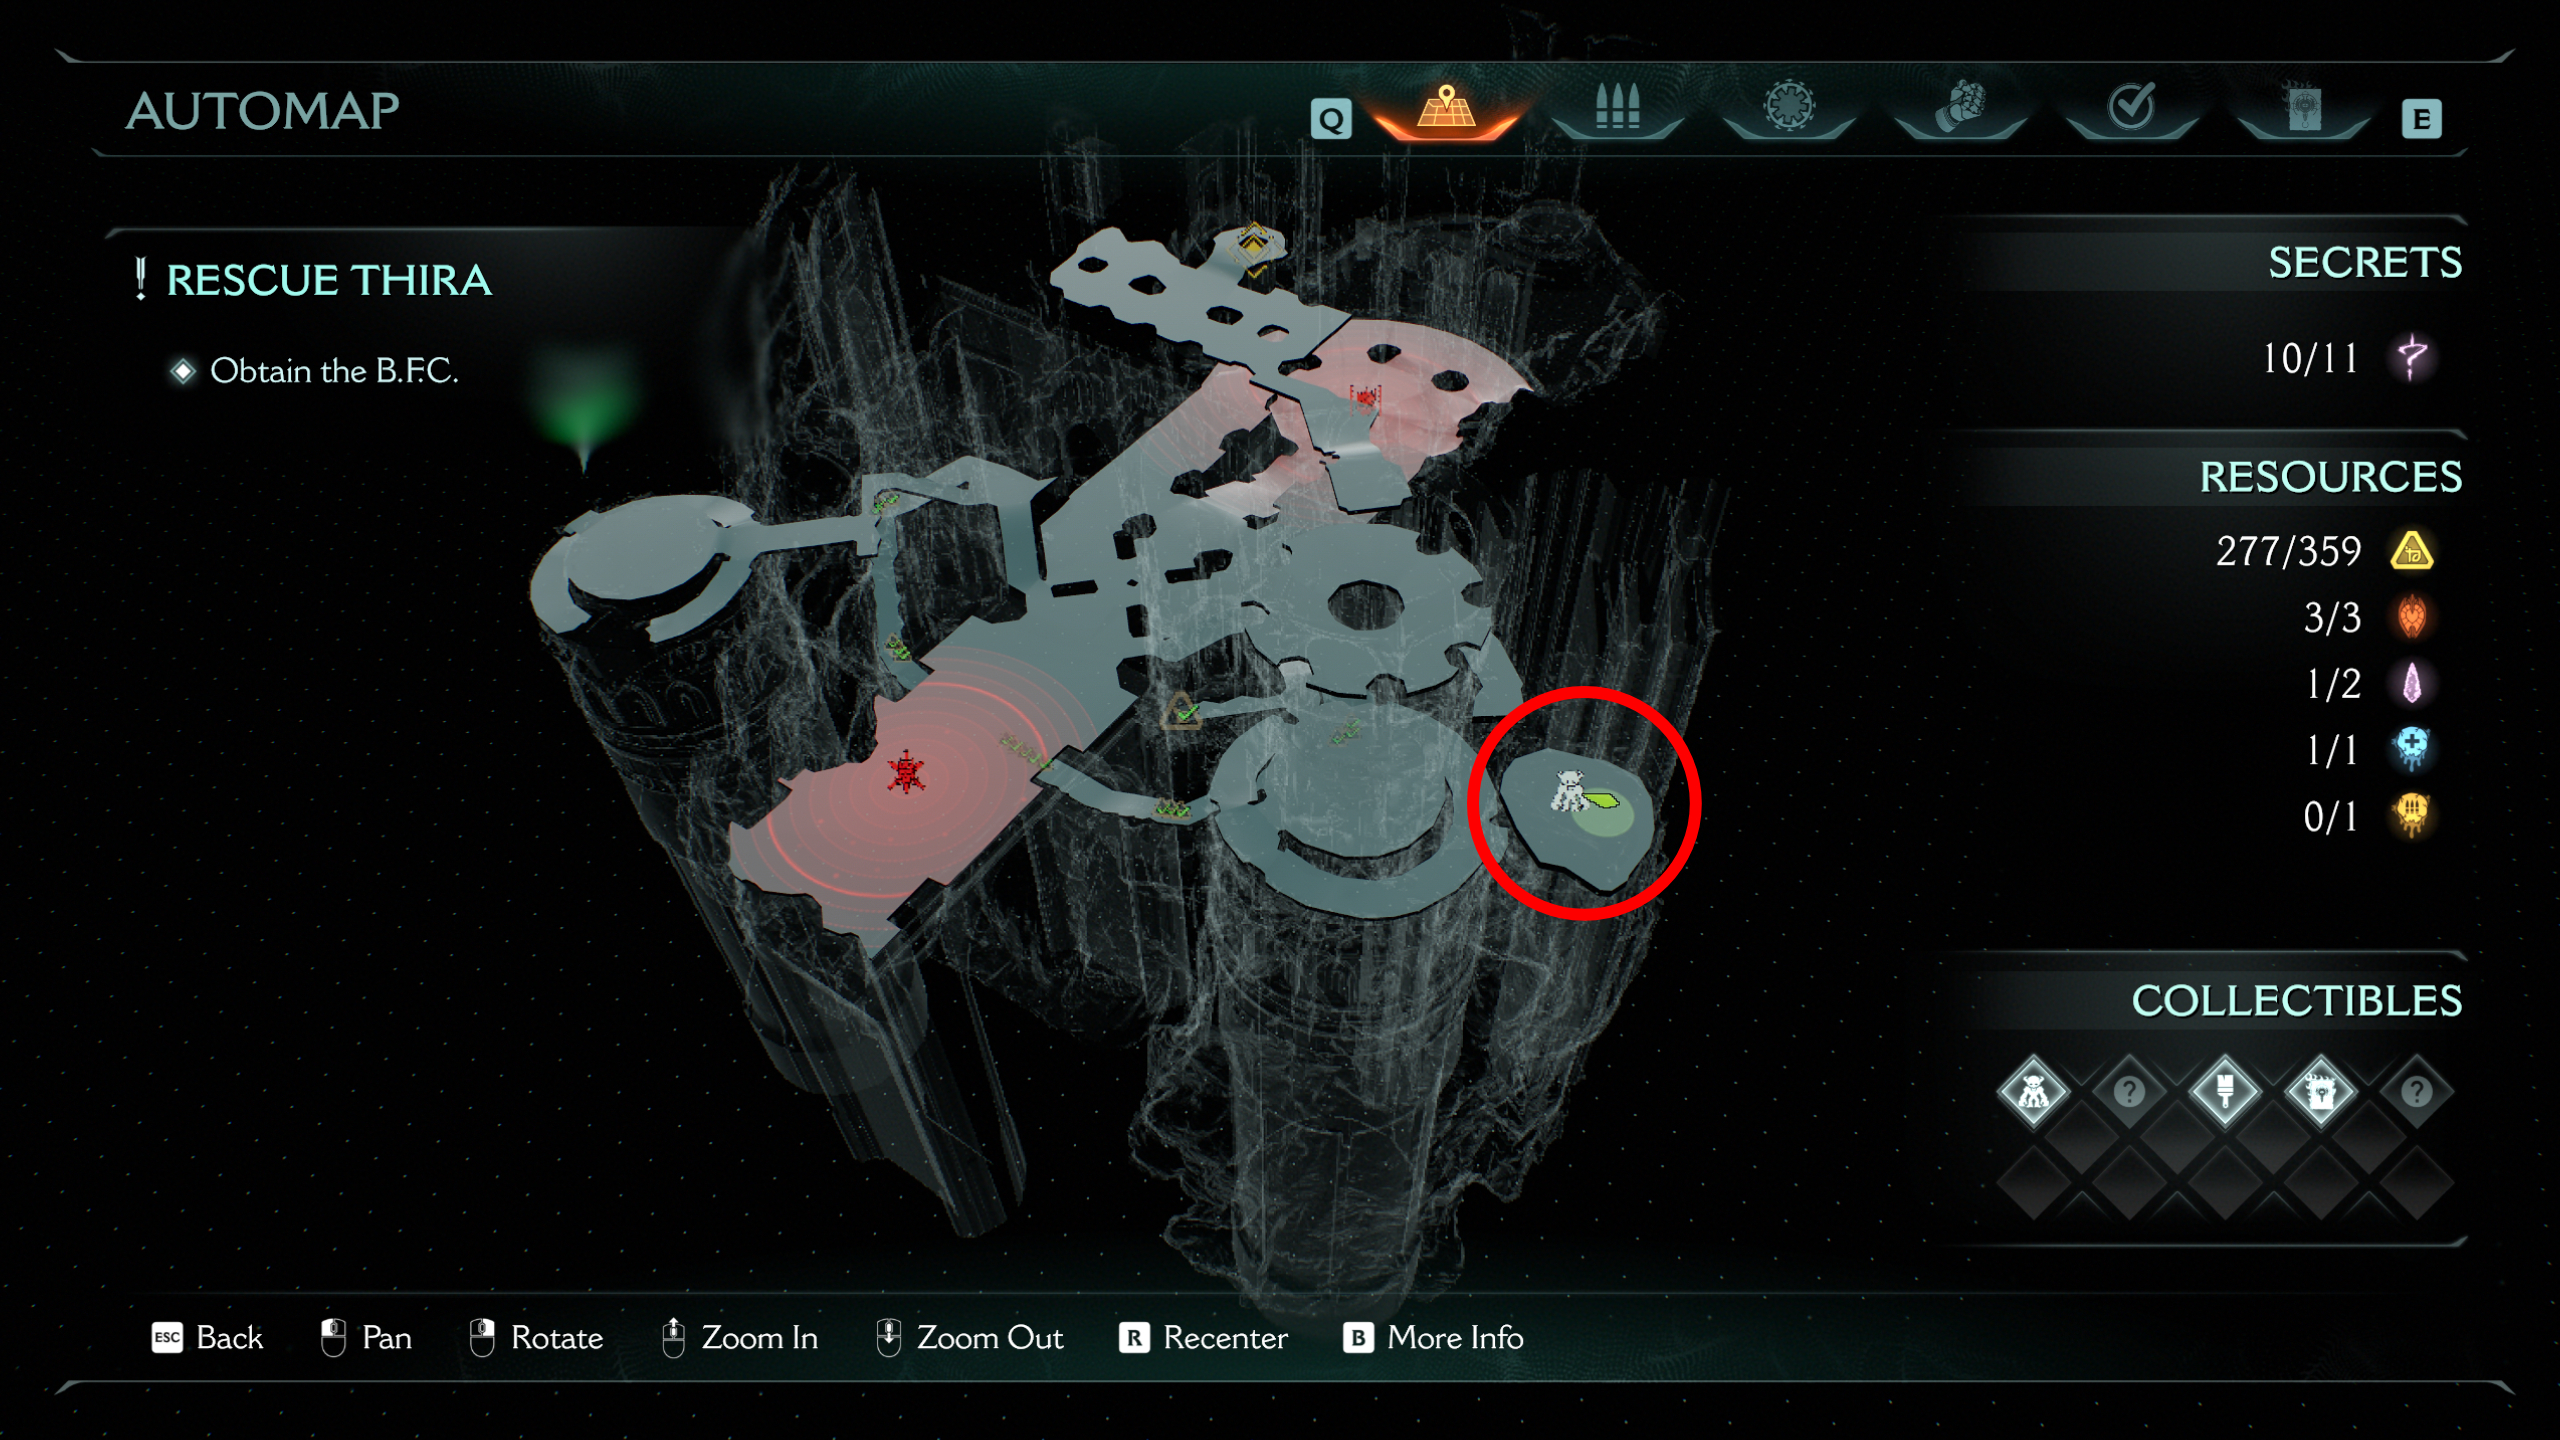
11 – Wraithstone and Nightmare Grenade Launcher weapon skin (collectible)
Now you’ve activated the third stasis emitter, you’ll mount up on your dragon again. From the landing pad to the final emitter, at the very bottom of the map, fly through the tunnel that appears to lead outside of the map boundaries (you’ll have raced through here earlier to catch a hell fighter ship).
Midway through the tunnel, you’ll find a secret landing zone which leads to hordes of demons to cleave through. At the end of the fight, you’ll find both the Nightmare weapon skin for the Grenade Launcher and a wraithstone.
12 – Revenant toy (collectible)
On the final landing pad, where you’ll unlock the almighty B.F.C weapon, head down the stairs, then up the stairs on the opposite side. Climb up the wall to the tower and use the jump pad inside to launch yourself to the very top of it, then jump off the opposite side onto the island below. It’s a good idea to open your map at the top of the tower so you know which side you need to leap off.
13 – Serrat codex entry (collectible)
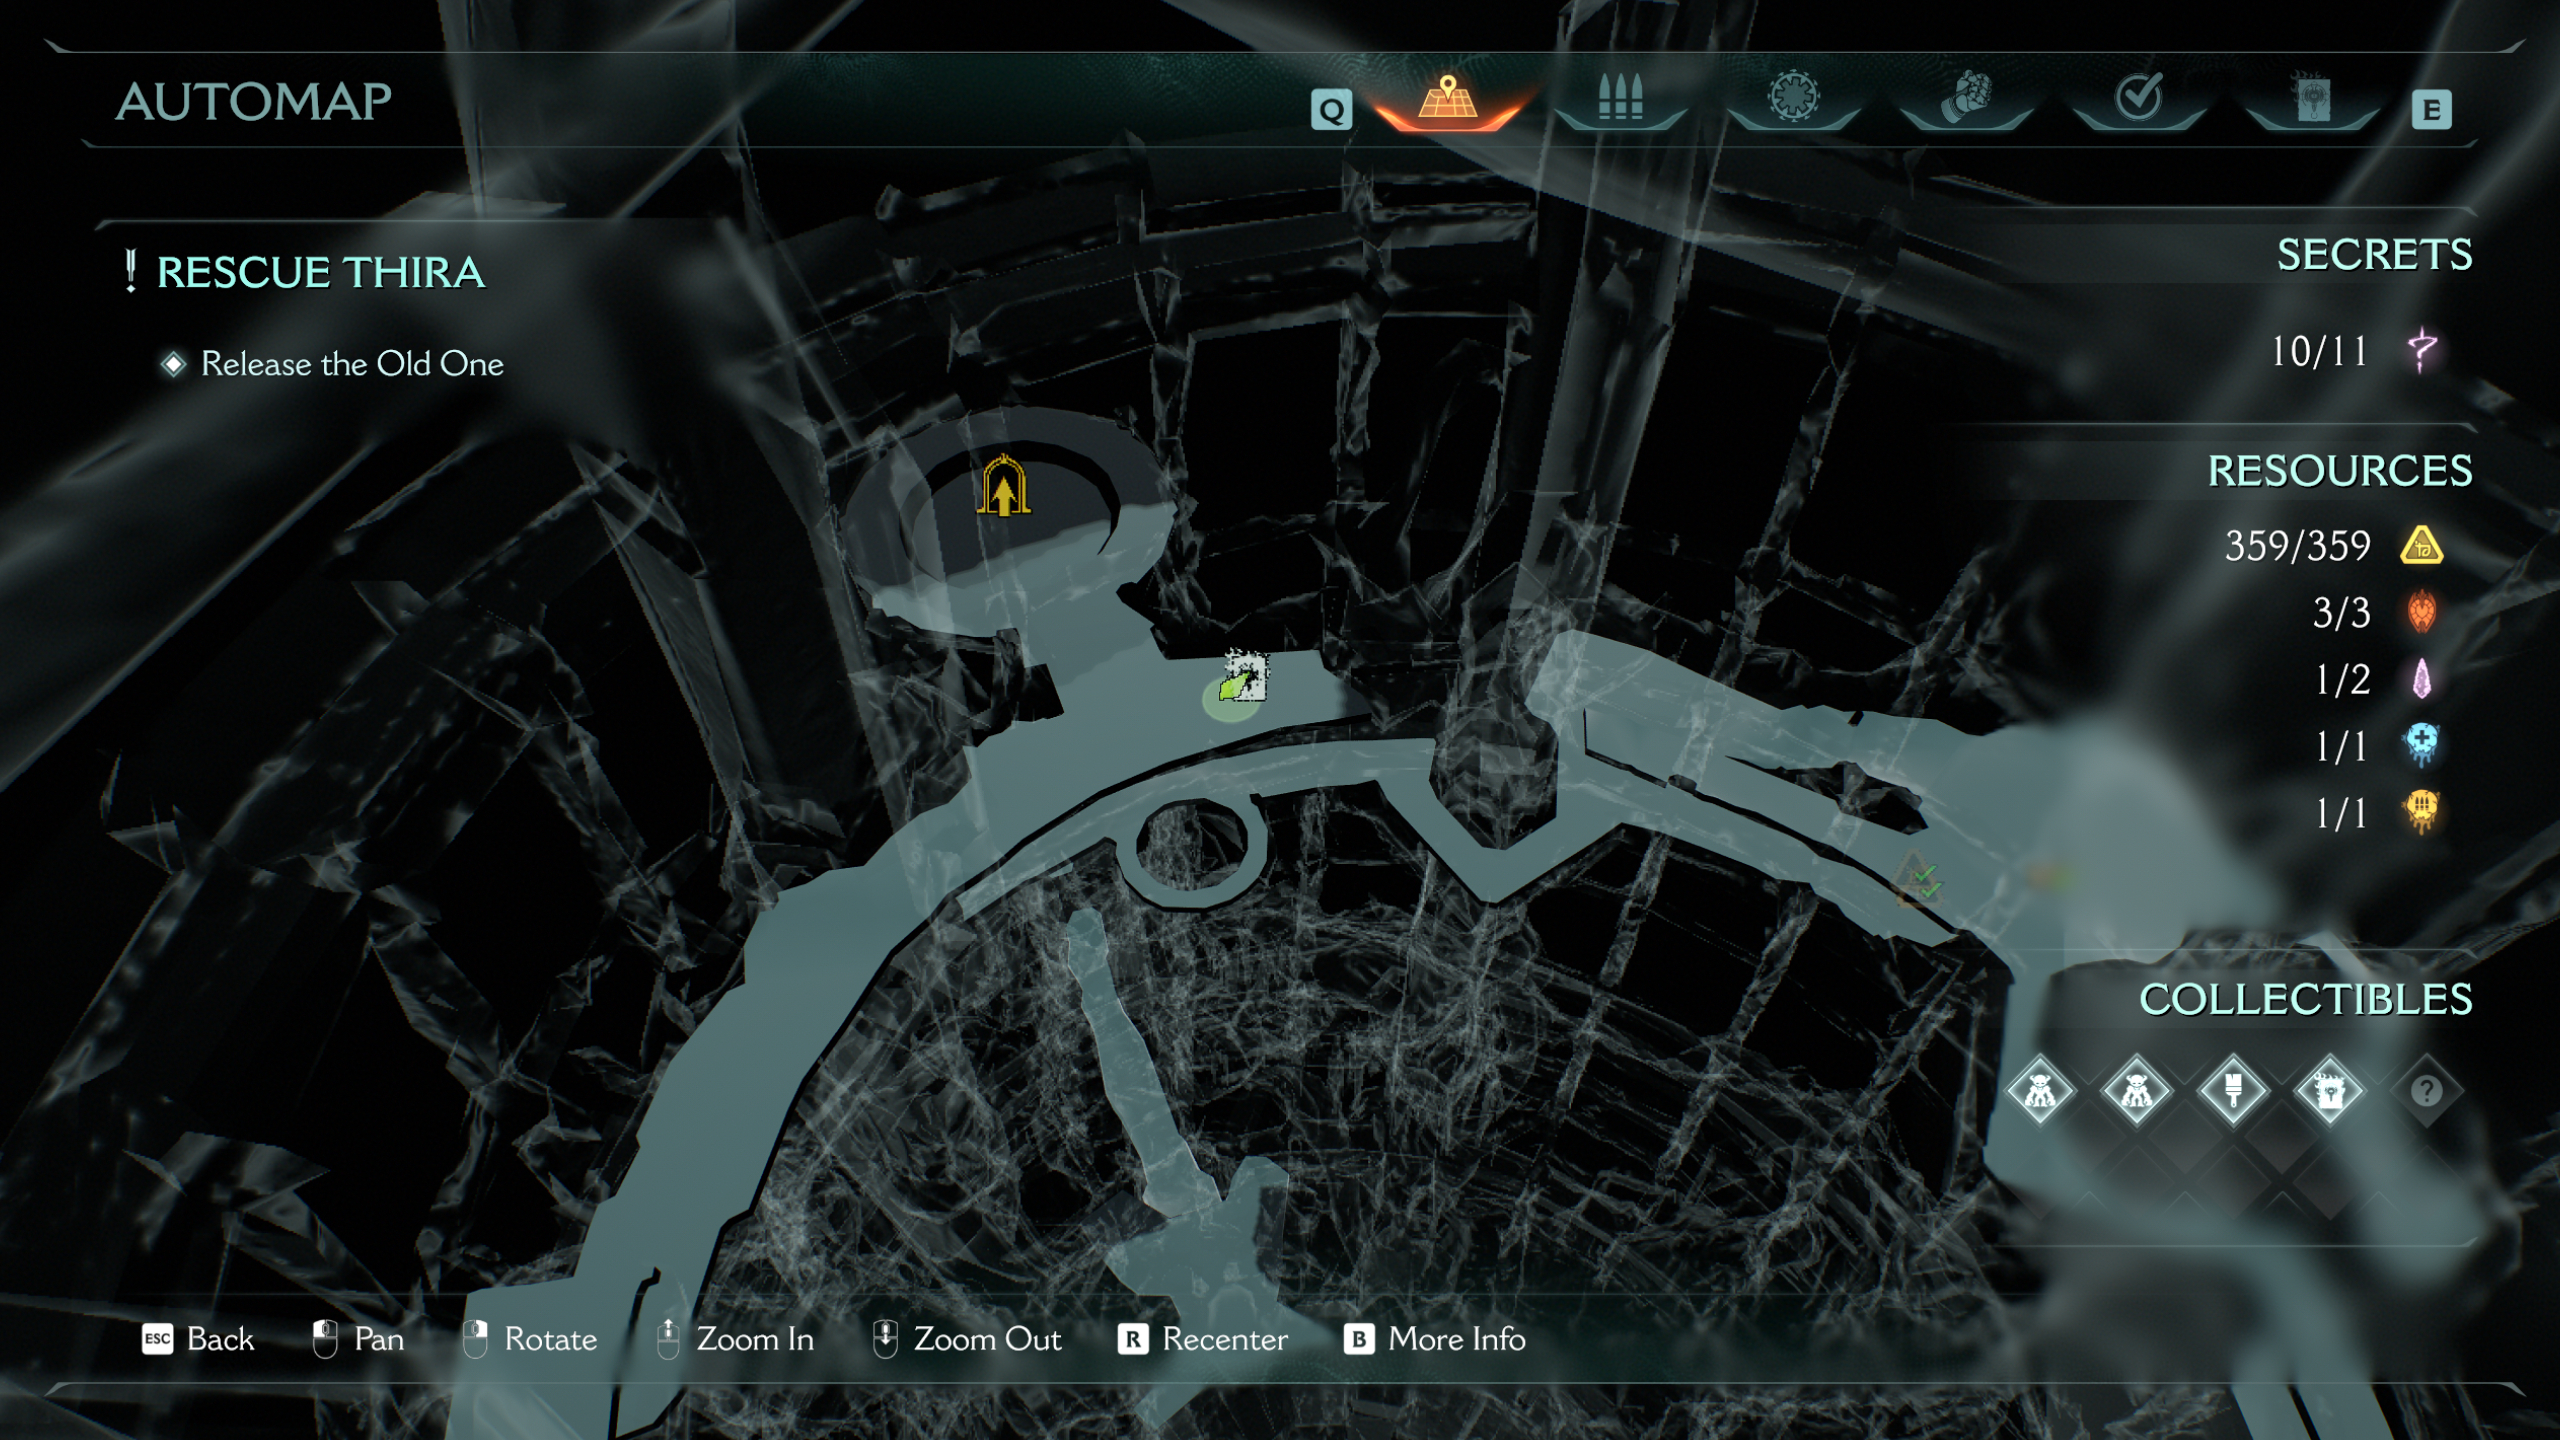
The last secret collectible comes much later in the mission. Once you’ve got the B.F.C, continue up the tower towards the Old One. Before activating the final lift to release the Old One, you’ll see the codex on your right.

Doom The Dark Ages missions list: All chapters
Best Doom The Dark Ages weapons: Superior firepower
Best Doom The Dark Ages Sentinel Shrine upgrades: Gear up
Doom The Dark Ages Twitch Drops: Free skin