Retreating into the city is surprisingly lucrative.
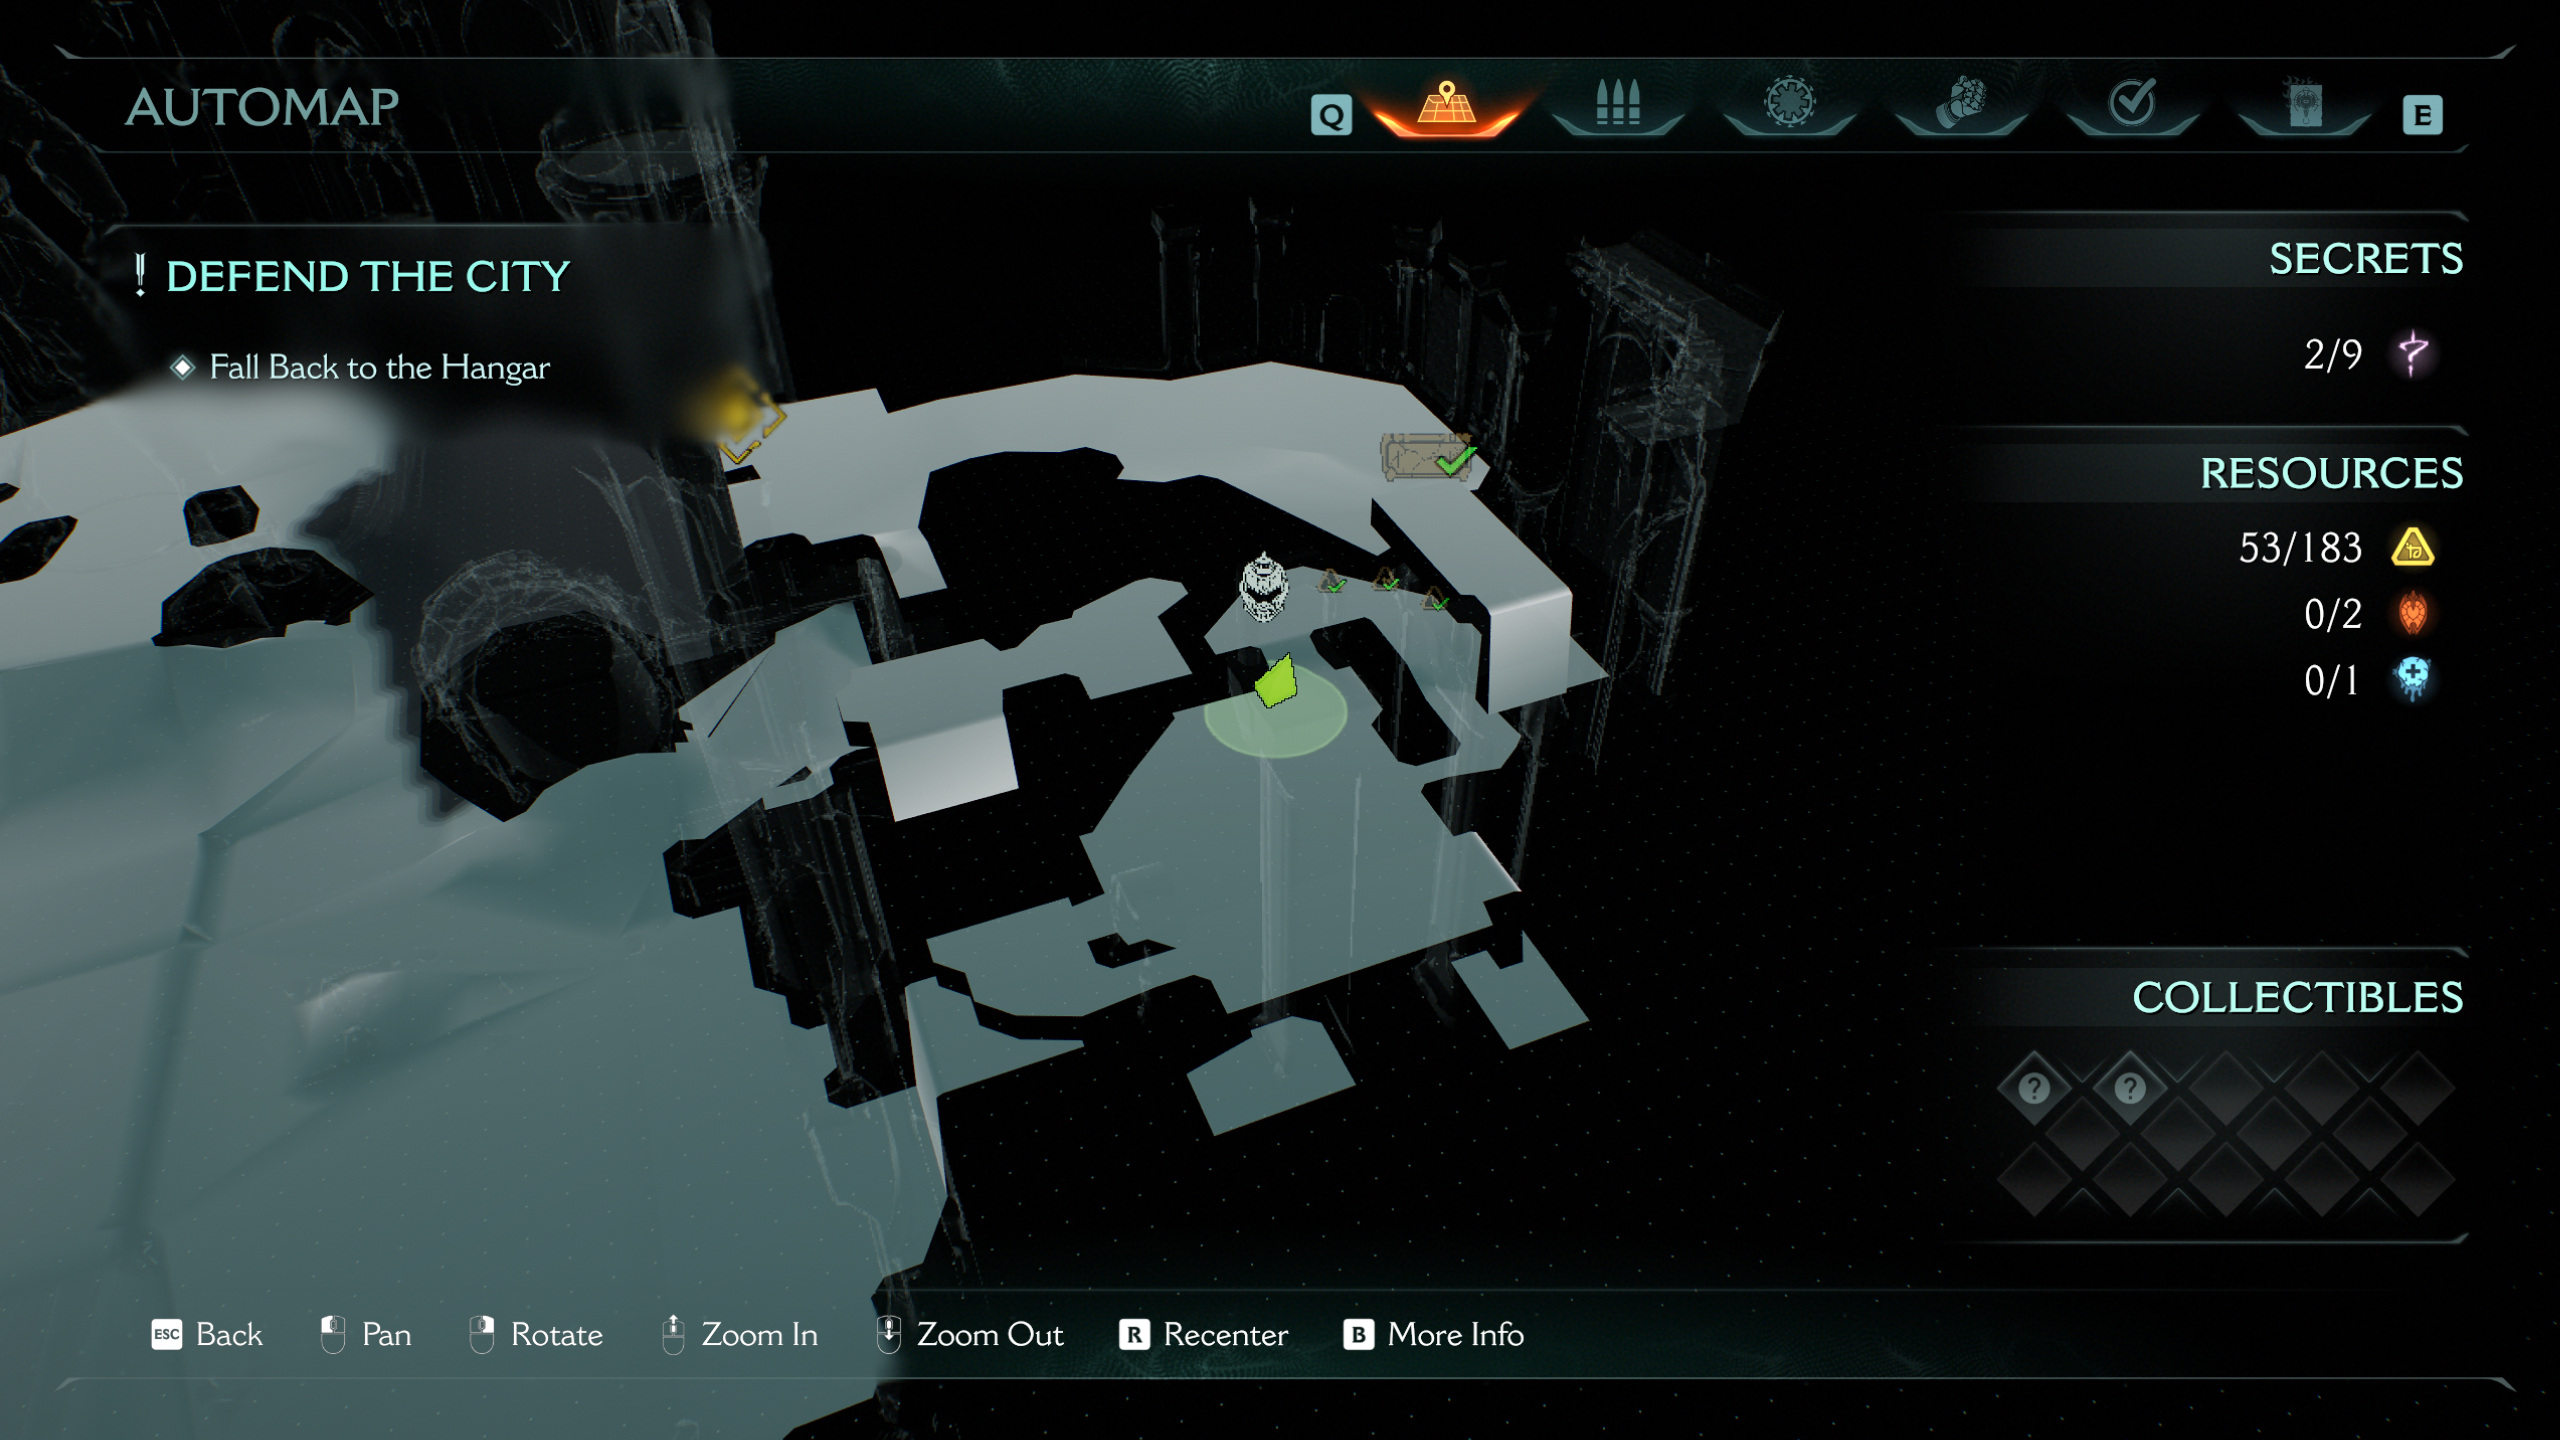
What’s bad for the war effort turns out to be pretty good for your treasure stockpile in Doom: The Dark Ages‘ seventh mission, as you fall back into the city. While it’s much more linear than the previous level, the Siege Part 2 secrets are still easy enough to miss.
Below you’ll find all the Doom: The Dark Ages secrets and collectibles in Siege Part 2 laid out in chronological order, so you won’t need to replay the level like I did on my first attempt.
Doom: The Dark Ages Siege Part 2 secrets and collectibles
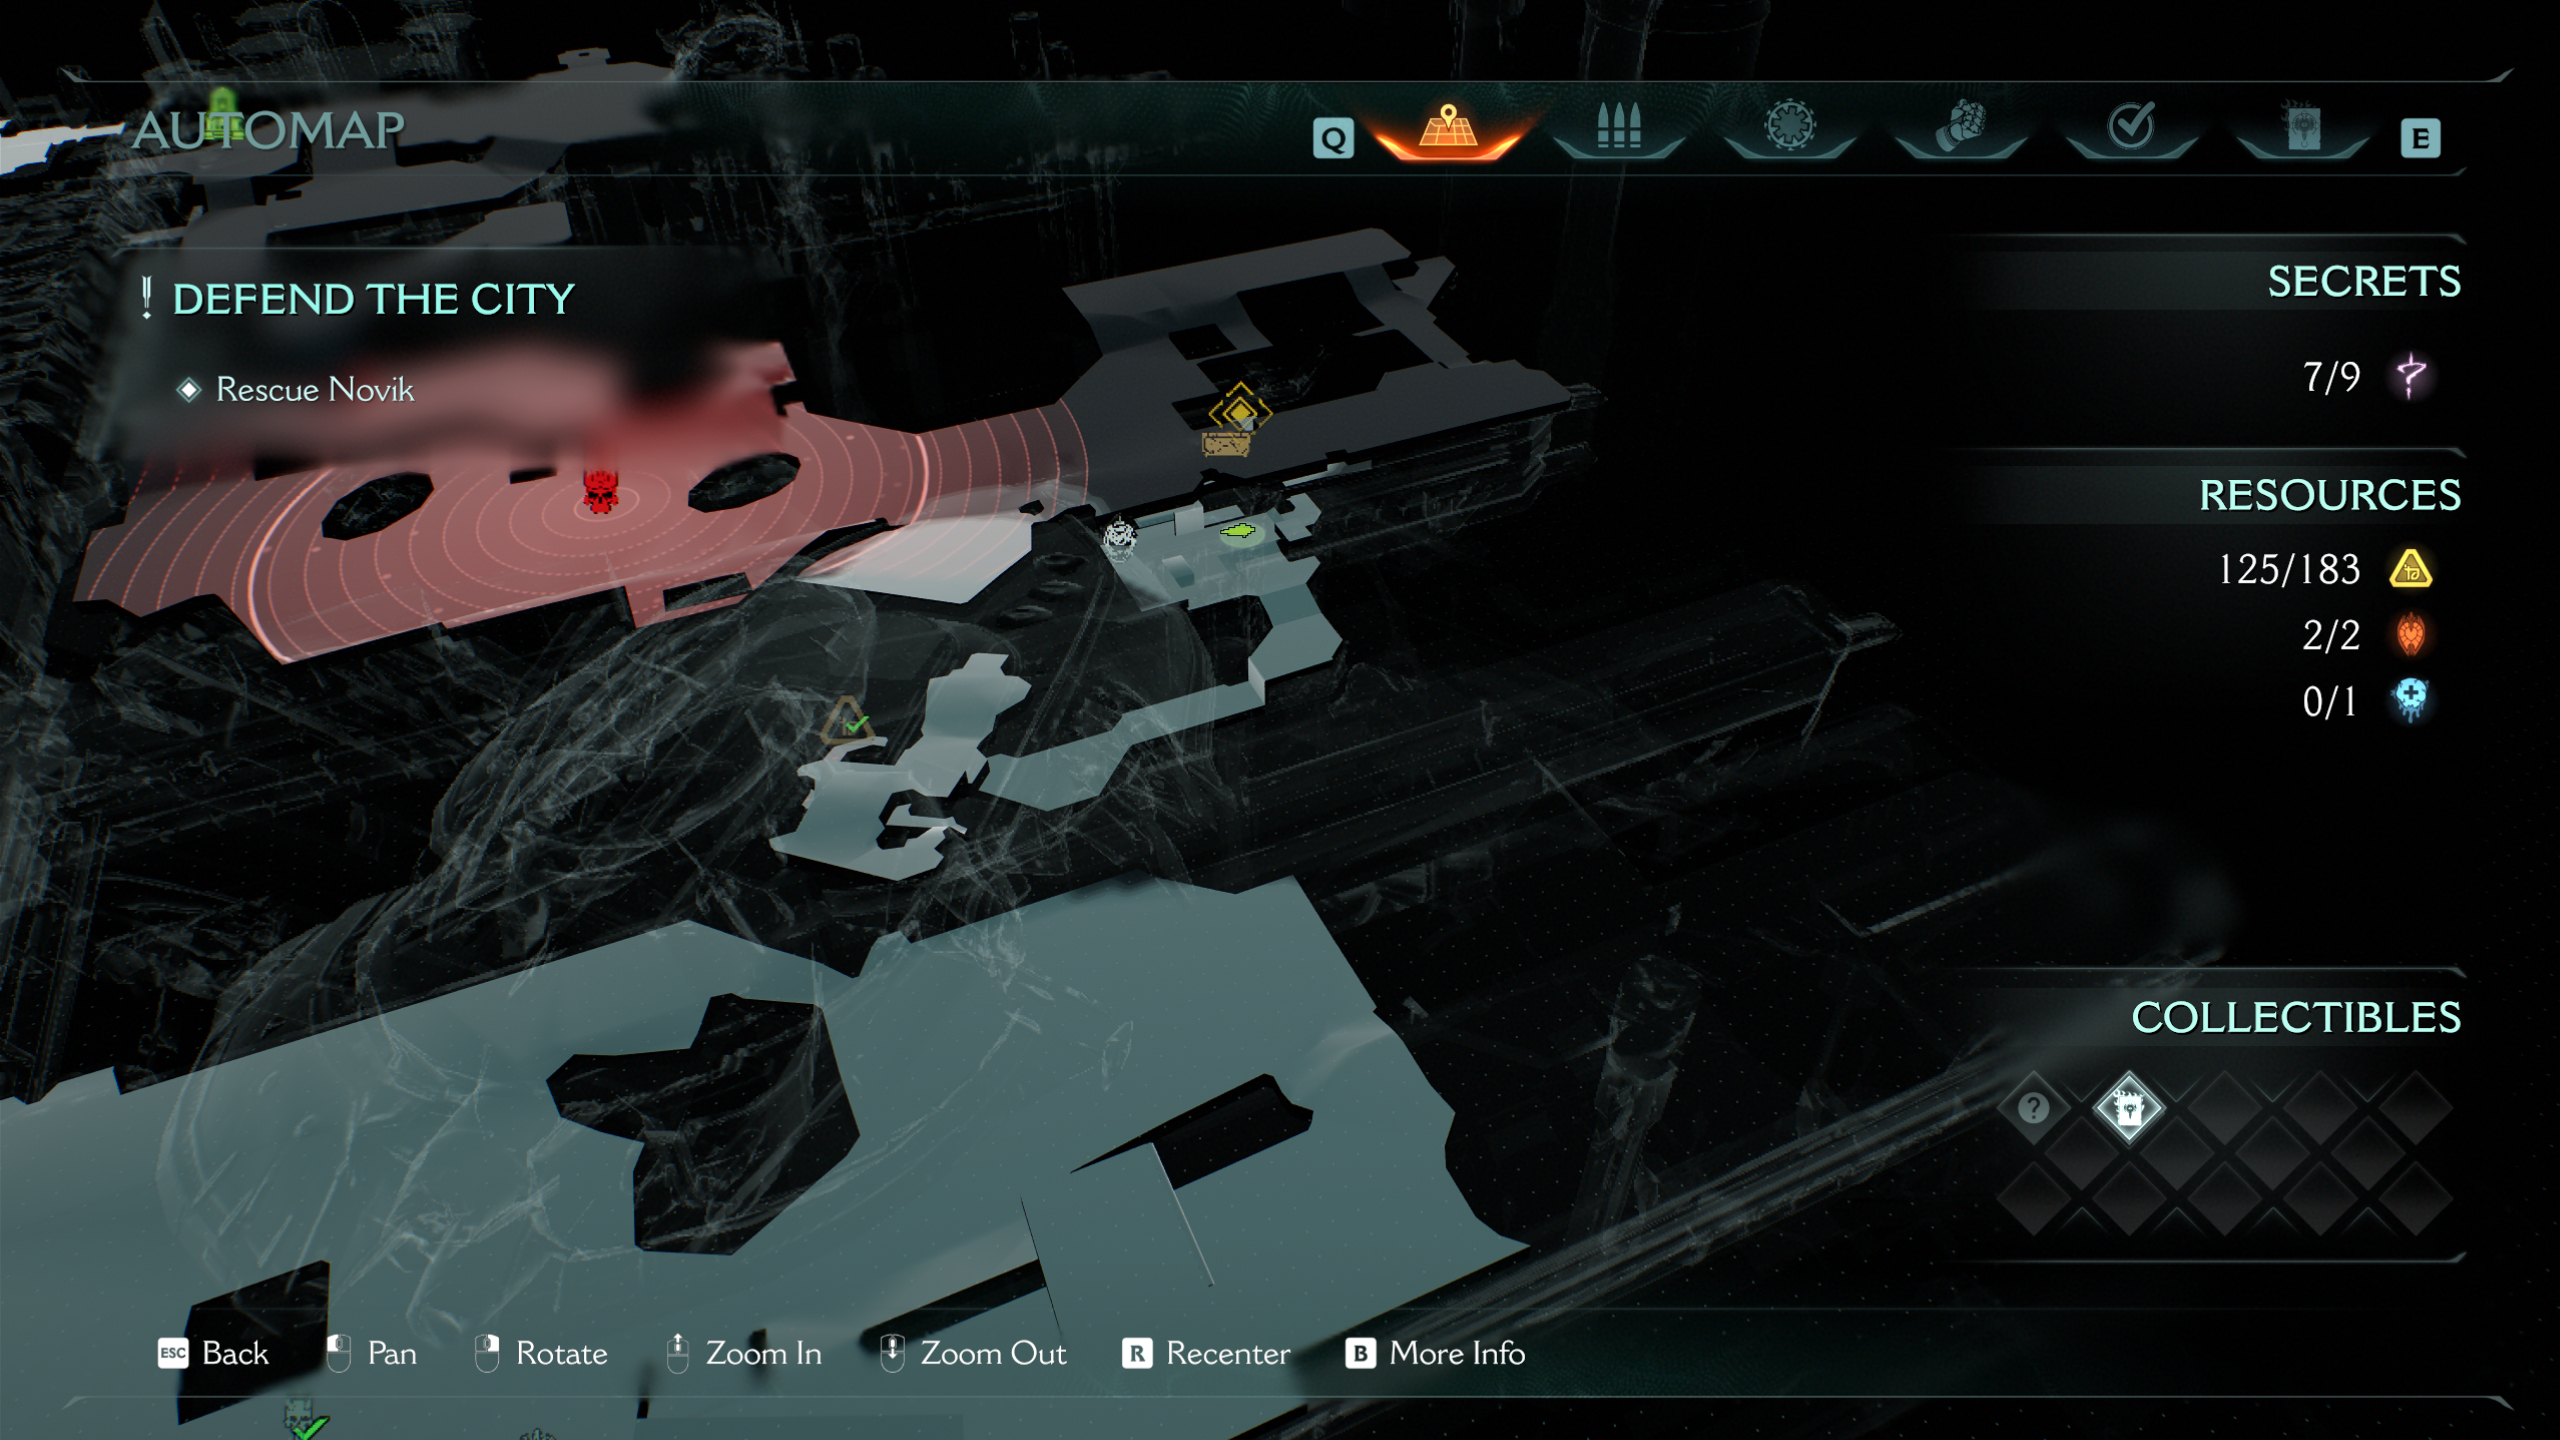
The second part of the Siege mission is much more linear, giving you quite a bit less to dig up. In total, there are nine secrets and two collectibles, with one health Demonic Essence up for grabs from the final boss.
If you’re paying attention to the challenges, then you’ll notice that there’s also a unique Reverent weapon skin for the Shredder if you beat the Exterminator task. This requires you to kill three or more fodder demons with a single shield throw five times, so it’s nice and easy. This isn’t considered a secret or collectible, but it is required for 100% completion.
1 – Life sigil
The first secret you’ll encounter is a boring ol’ life sigil. After taking down the titan demon and climbing up the castle wall, immediately bash the box ahead of you (which you need to do to progress anyhow) to reveal a “hidden” room. Bash the barricade and you’ll find the sigil.
2 – Gold chest

Directly after the first secret, climb up the box and the first wall and then turn around, where you’ll find a hidden wall you can jump to and climb up. This leads to the gold chest on a wooden platform overlooking the first secret.
3 – Pinky Rider toy (collectible)

The first of the two collectibles is surprisingly easy to miss, considering you walk right by it on your way to the objective. Once you’ve pulled the lever to open the gate on the other side of the courtyard, go in and clear it out.
Go up the ramp on the right and break the chain to climb up to the higher walkway like you’re supposed to, but instead of progressing, immediately look behind you to find a wooden barricade in the back wall. Bash it with your shield to reveal a walkway leading back into the courtyard, where you can find the Pinky Rider toy (along with a few bars of gold).
4 – Life sigil
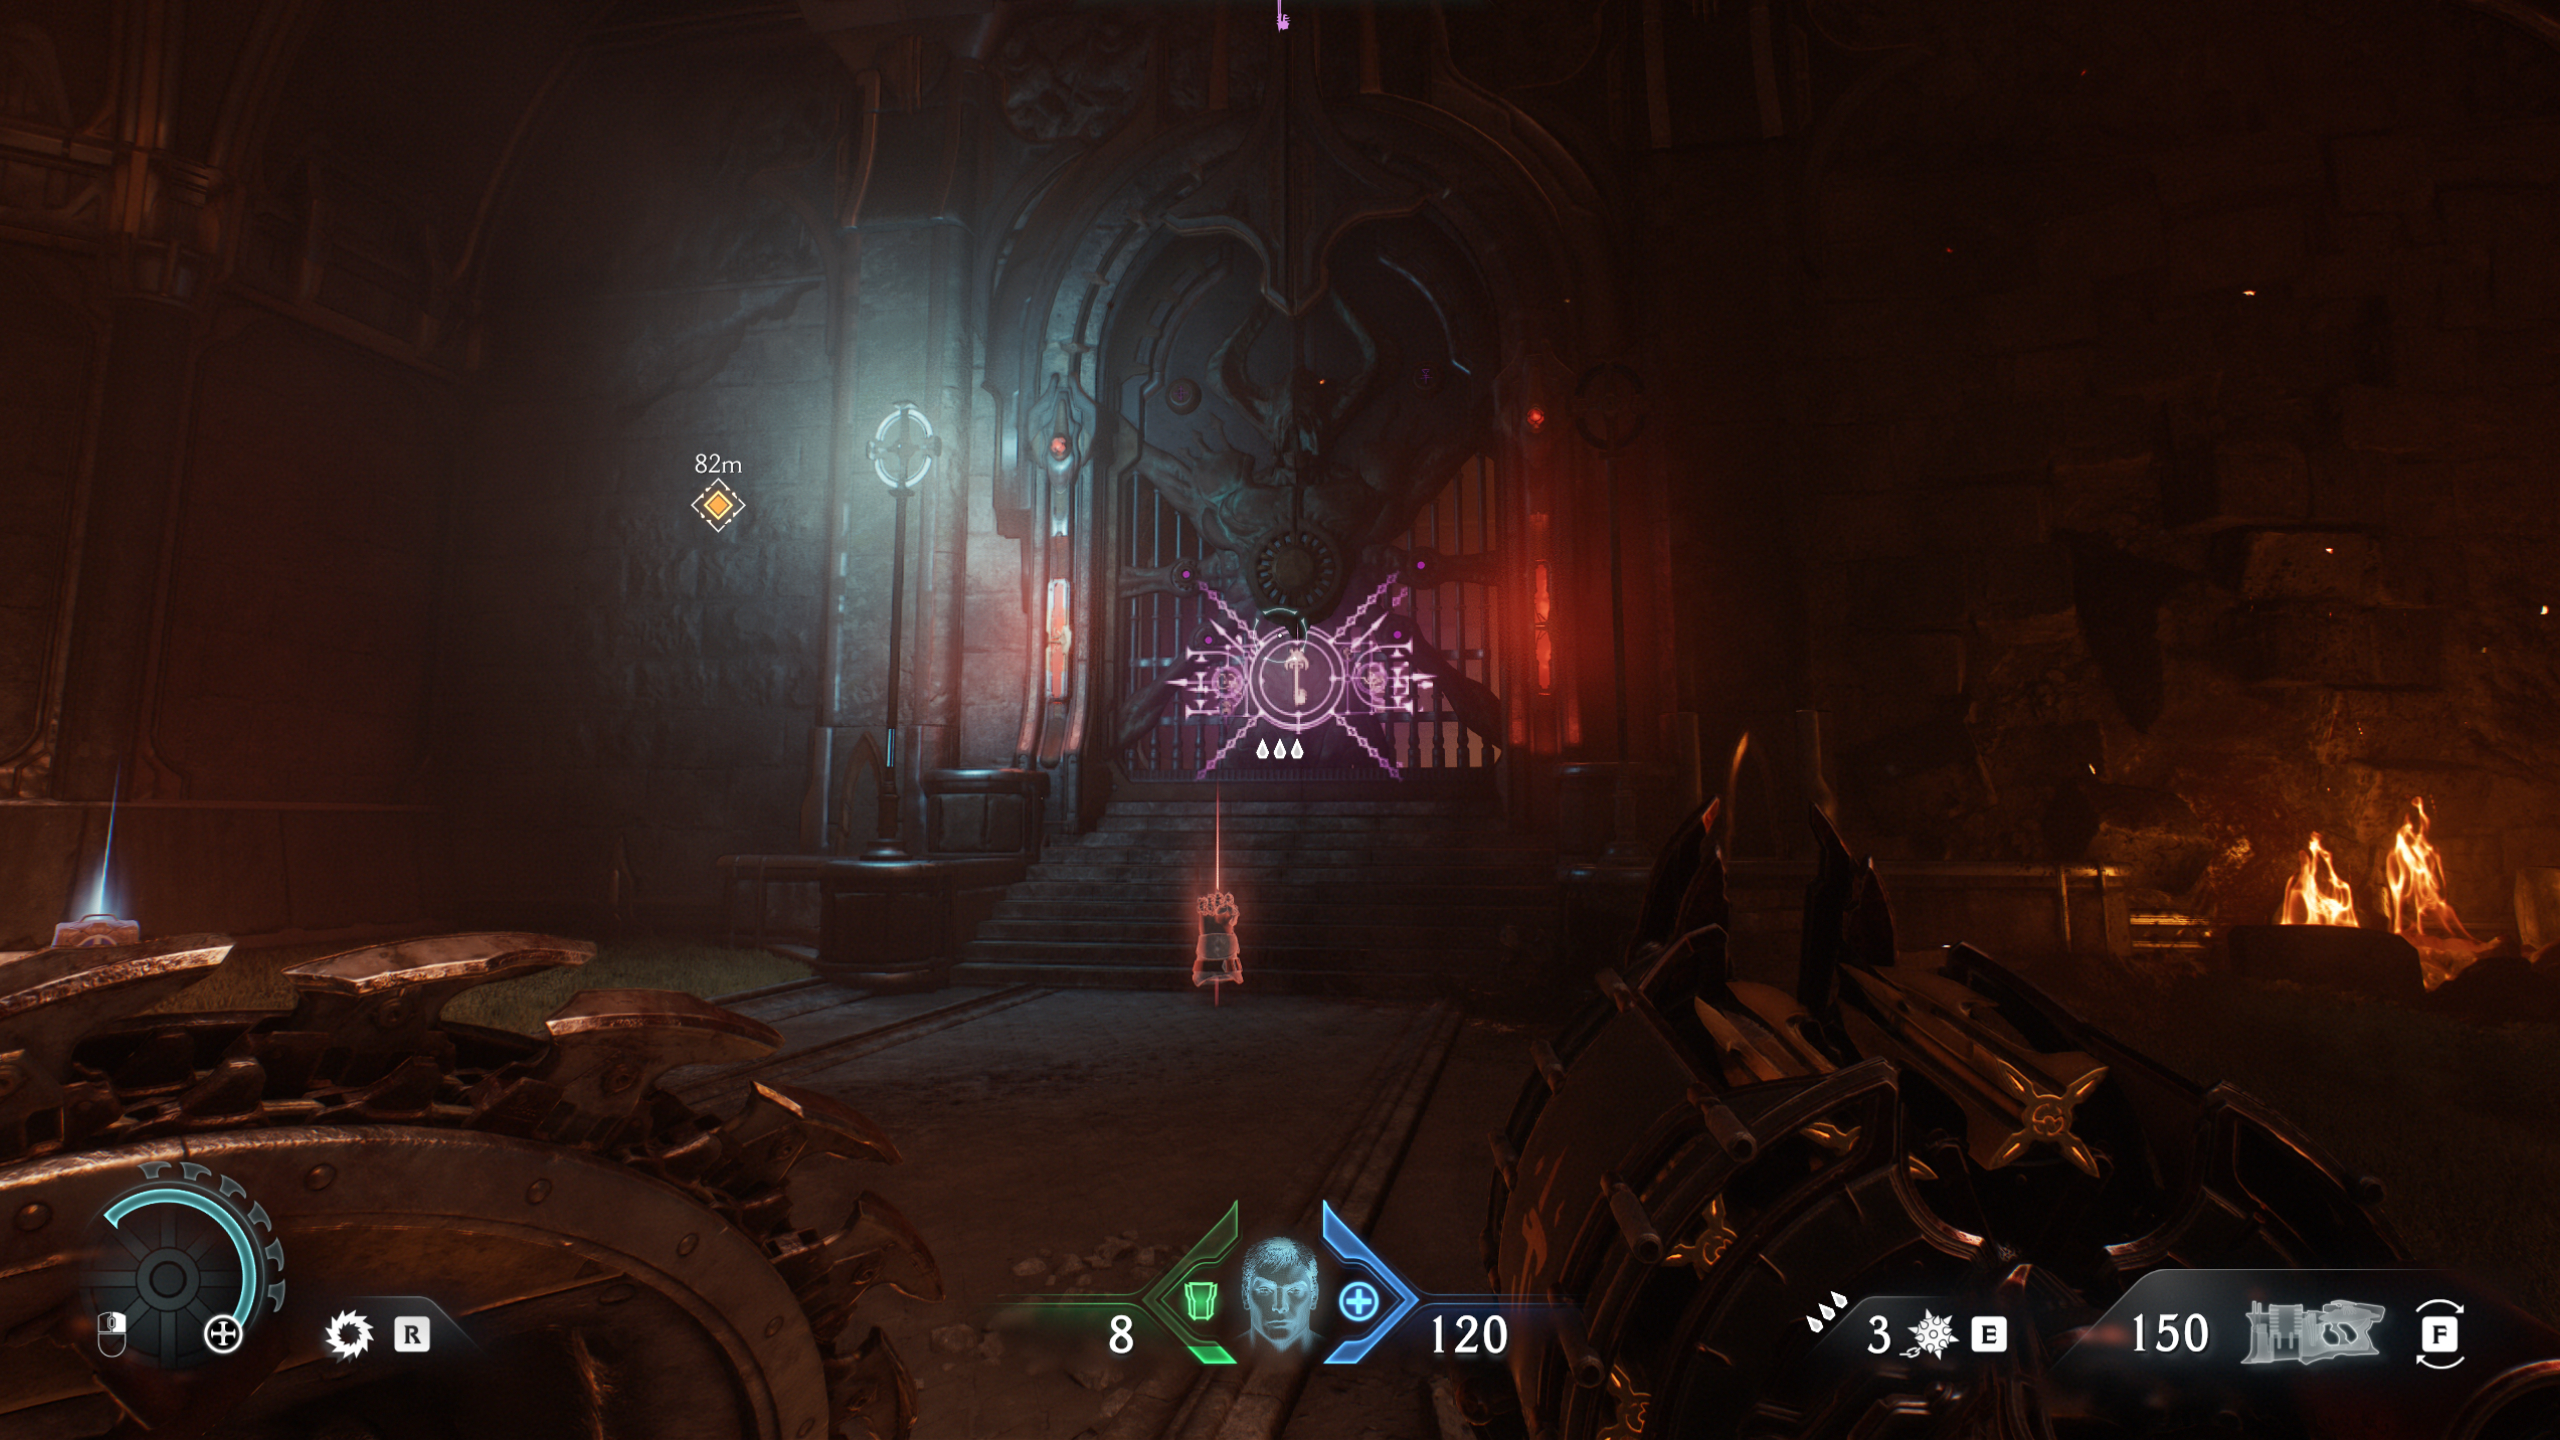
The next secret is a bit further into the mission, when you enter the plaza with two purple key doors and lots of burning trees. Follow the objective into the next room but before continuing up the stairs, look to your right, where you’ll see the life sigil in a boarded-up room. Go around the corner to the right and bash the barricade to break it.
5 – Purple secret key
The fifth secret you’ll come across is actually the purple key you use to access more secret areas in the mission. After heading up the stairs from the hidden life sigil, towards the objective, you’ll enter a balcony area overlooking the plaza—you can see the secret key from here.
To nab it, continue down the hall into the next room and break the barricade on your right, revealing a jump pad that’ll blast you over the gap, directly into the purple key.
Make sure to go left and drop back down into the plaza when you leave, since you can then use the key for the next two secrets before continuing with the mission.
6 – Ruby
Now you have the key, head back to the plaza as mentioned above, whether through the shortcut by the secret key or by backtracking a bit. Simply walk up to the largest of the two purple key doors, and you’ll be treated to a ruby.
7 – Siege Part 2 codex entry (collectible)
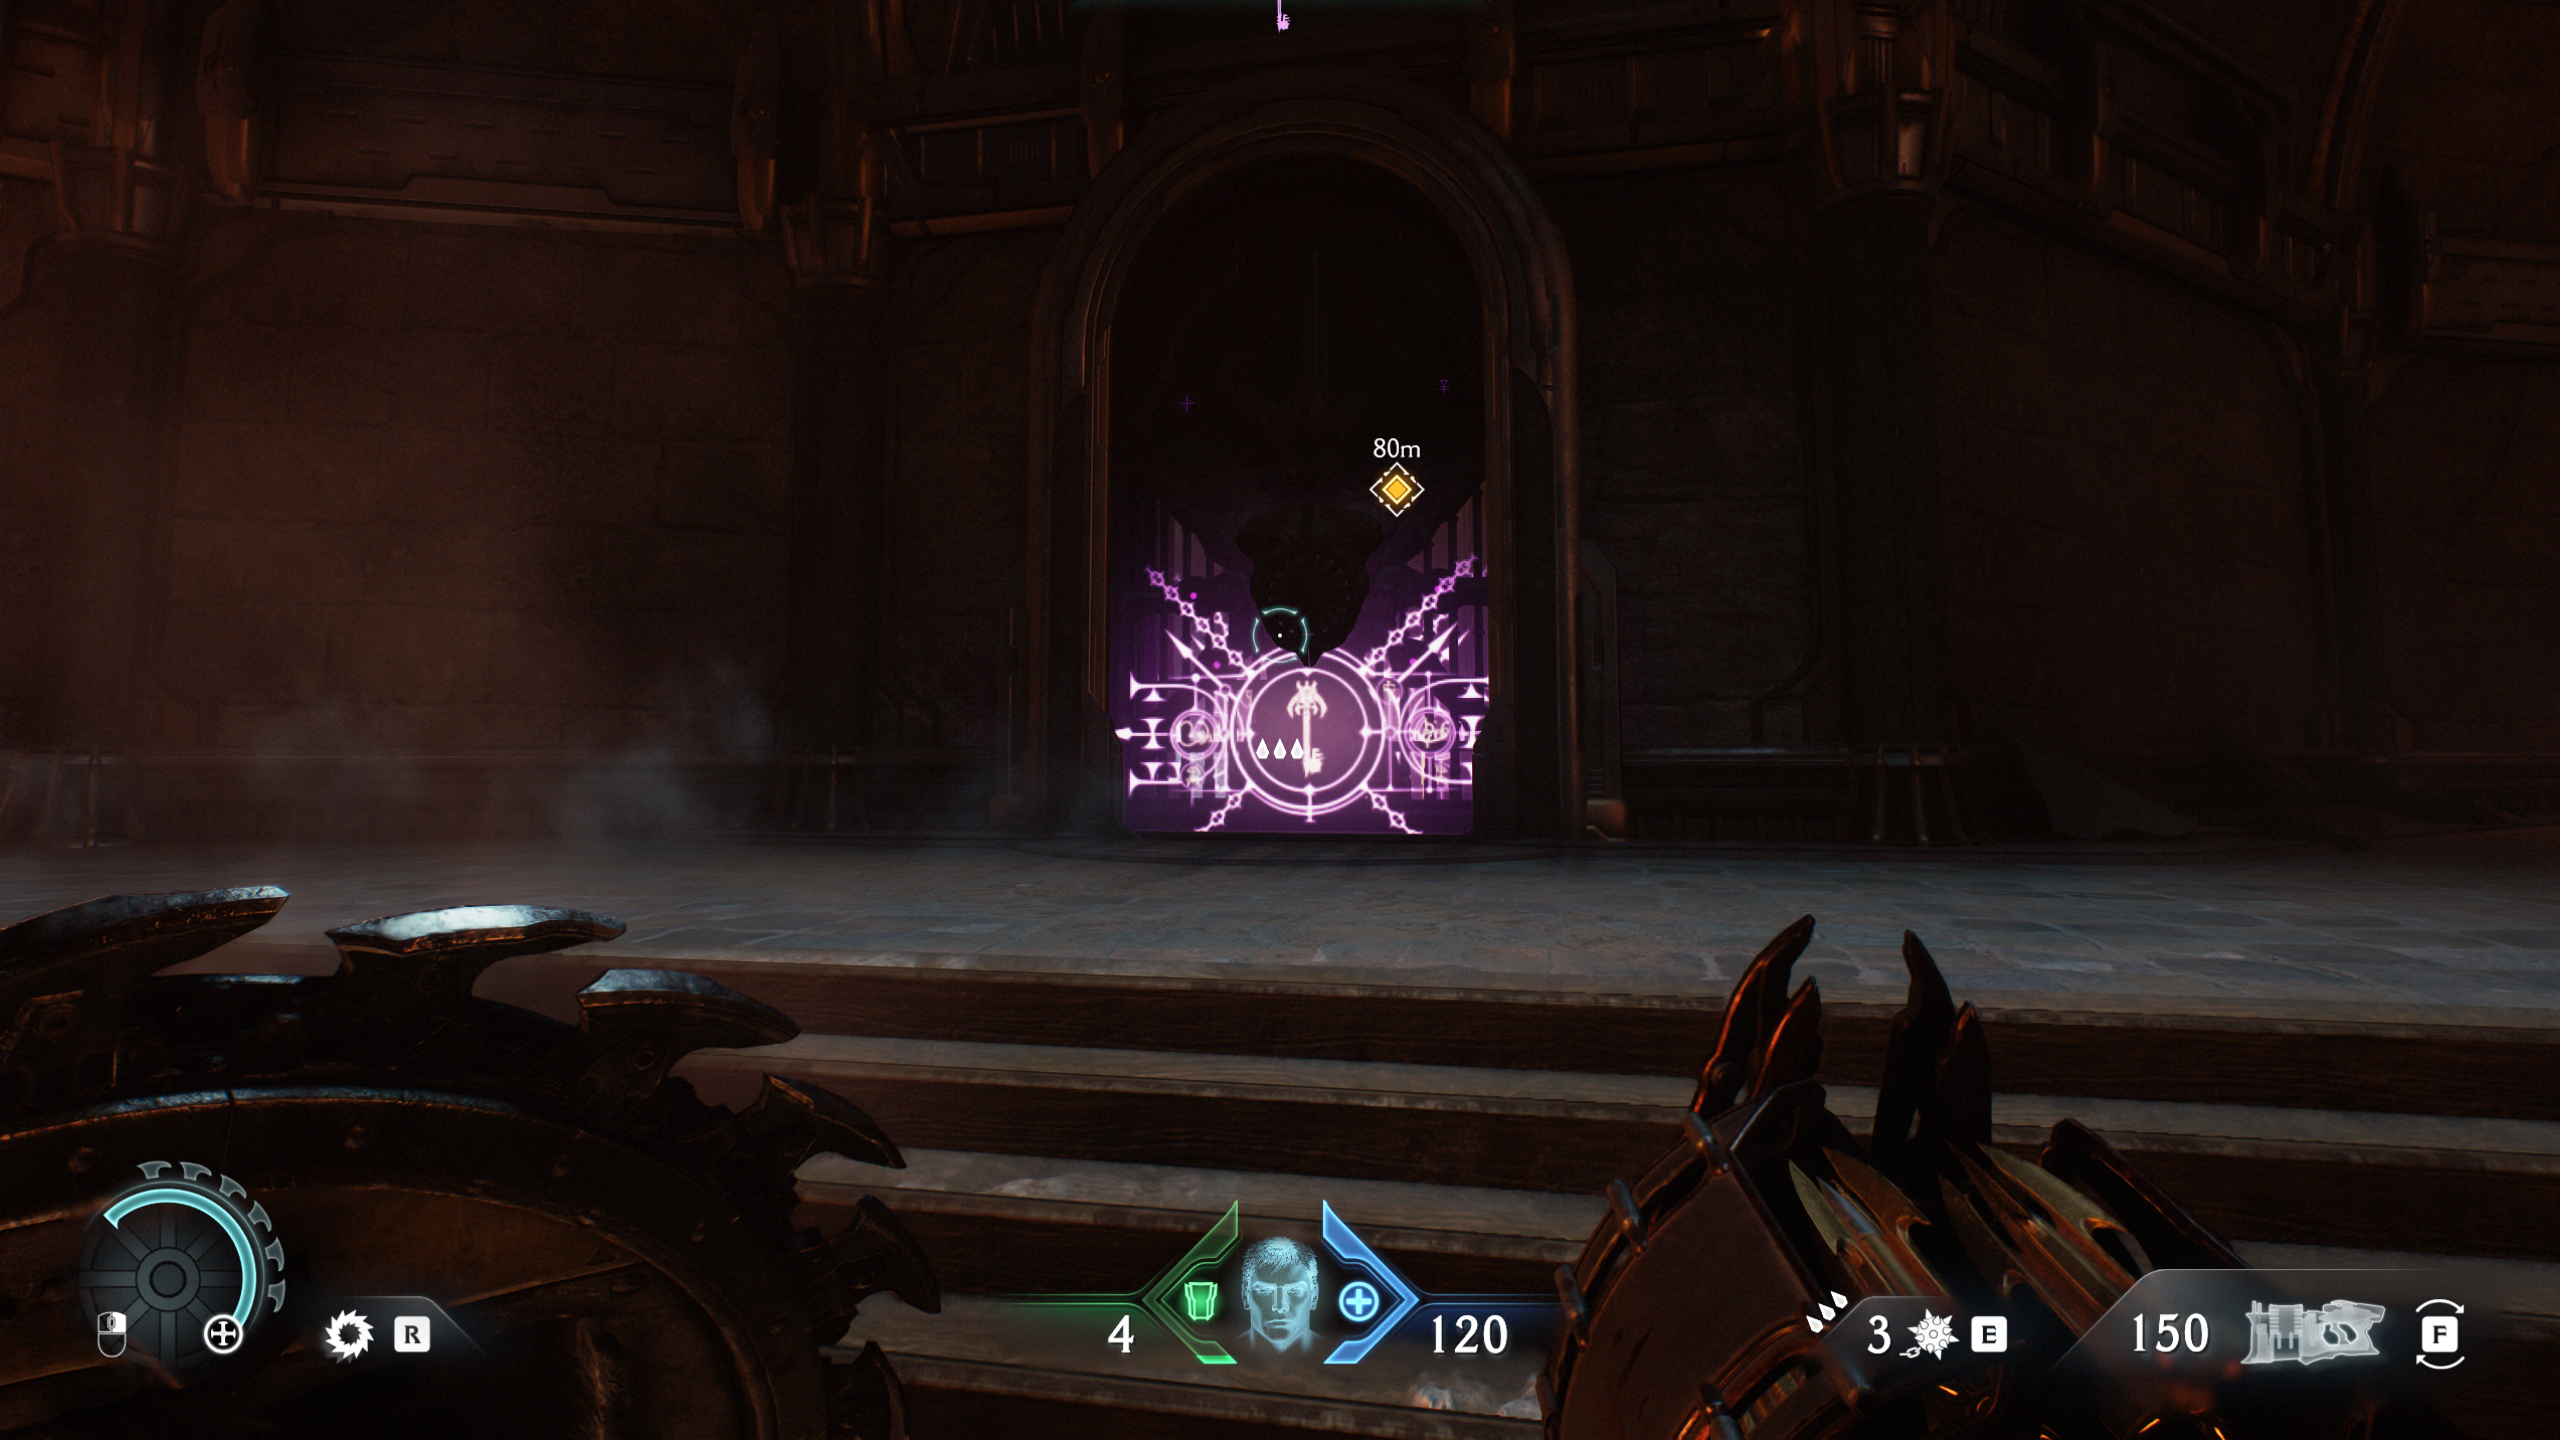
Right next to the previous secret, there’s a smaller door with a purple lock. Walk up to this one to get the codex entry for this mission. With these two secrets in hand, you’re safe to continue with the mission until you reach the hangar.
8 – Ruby
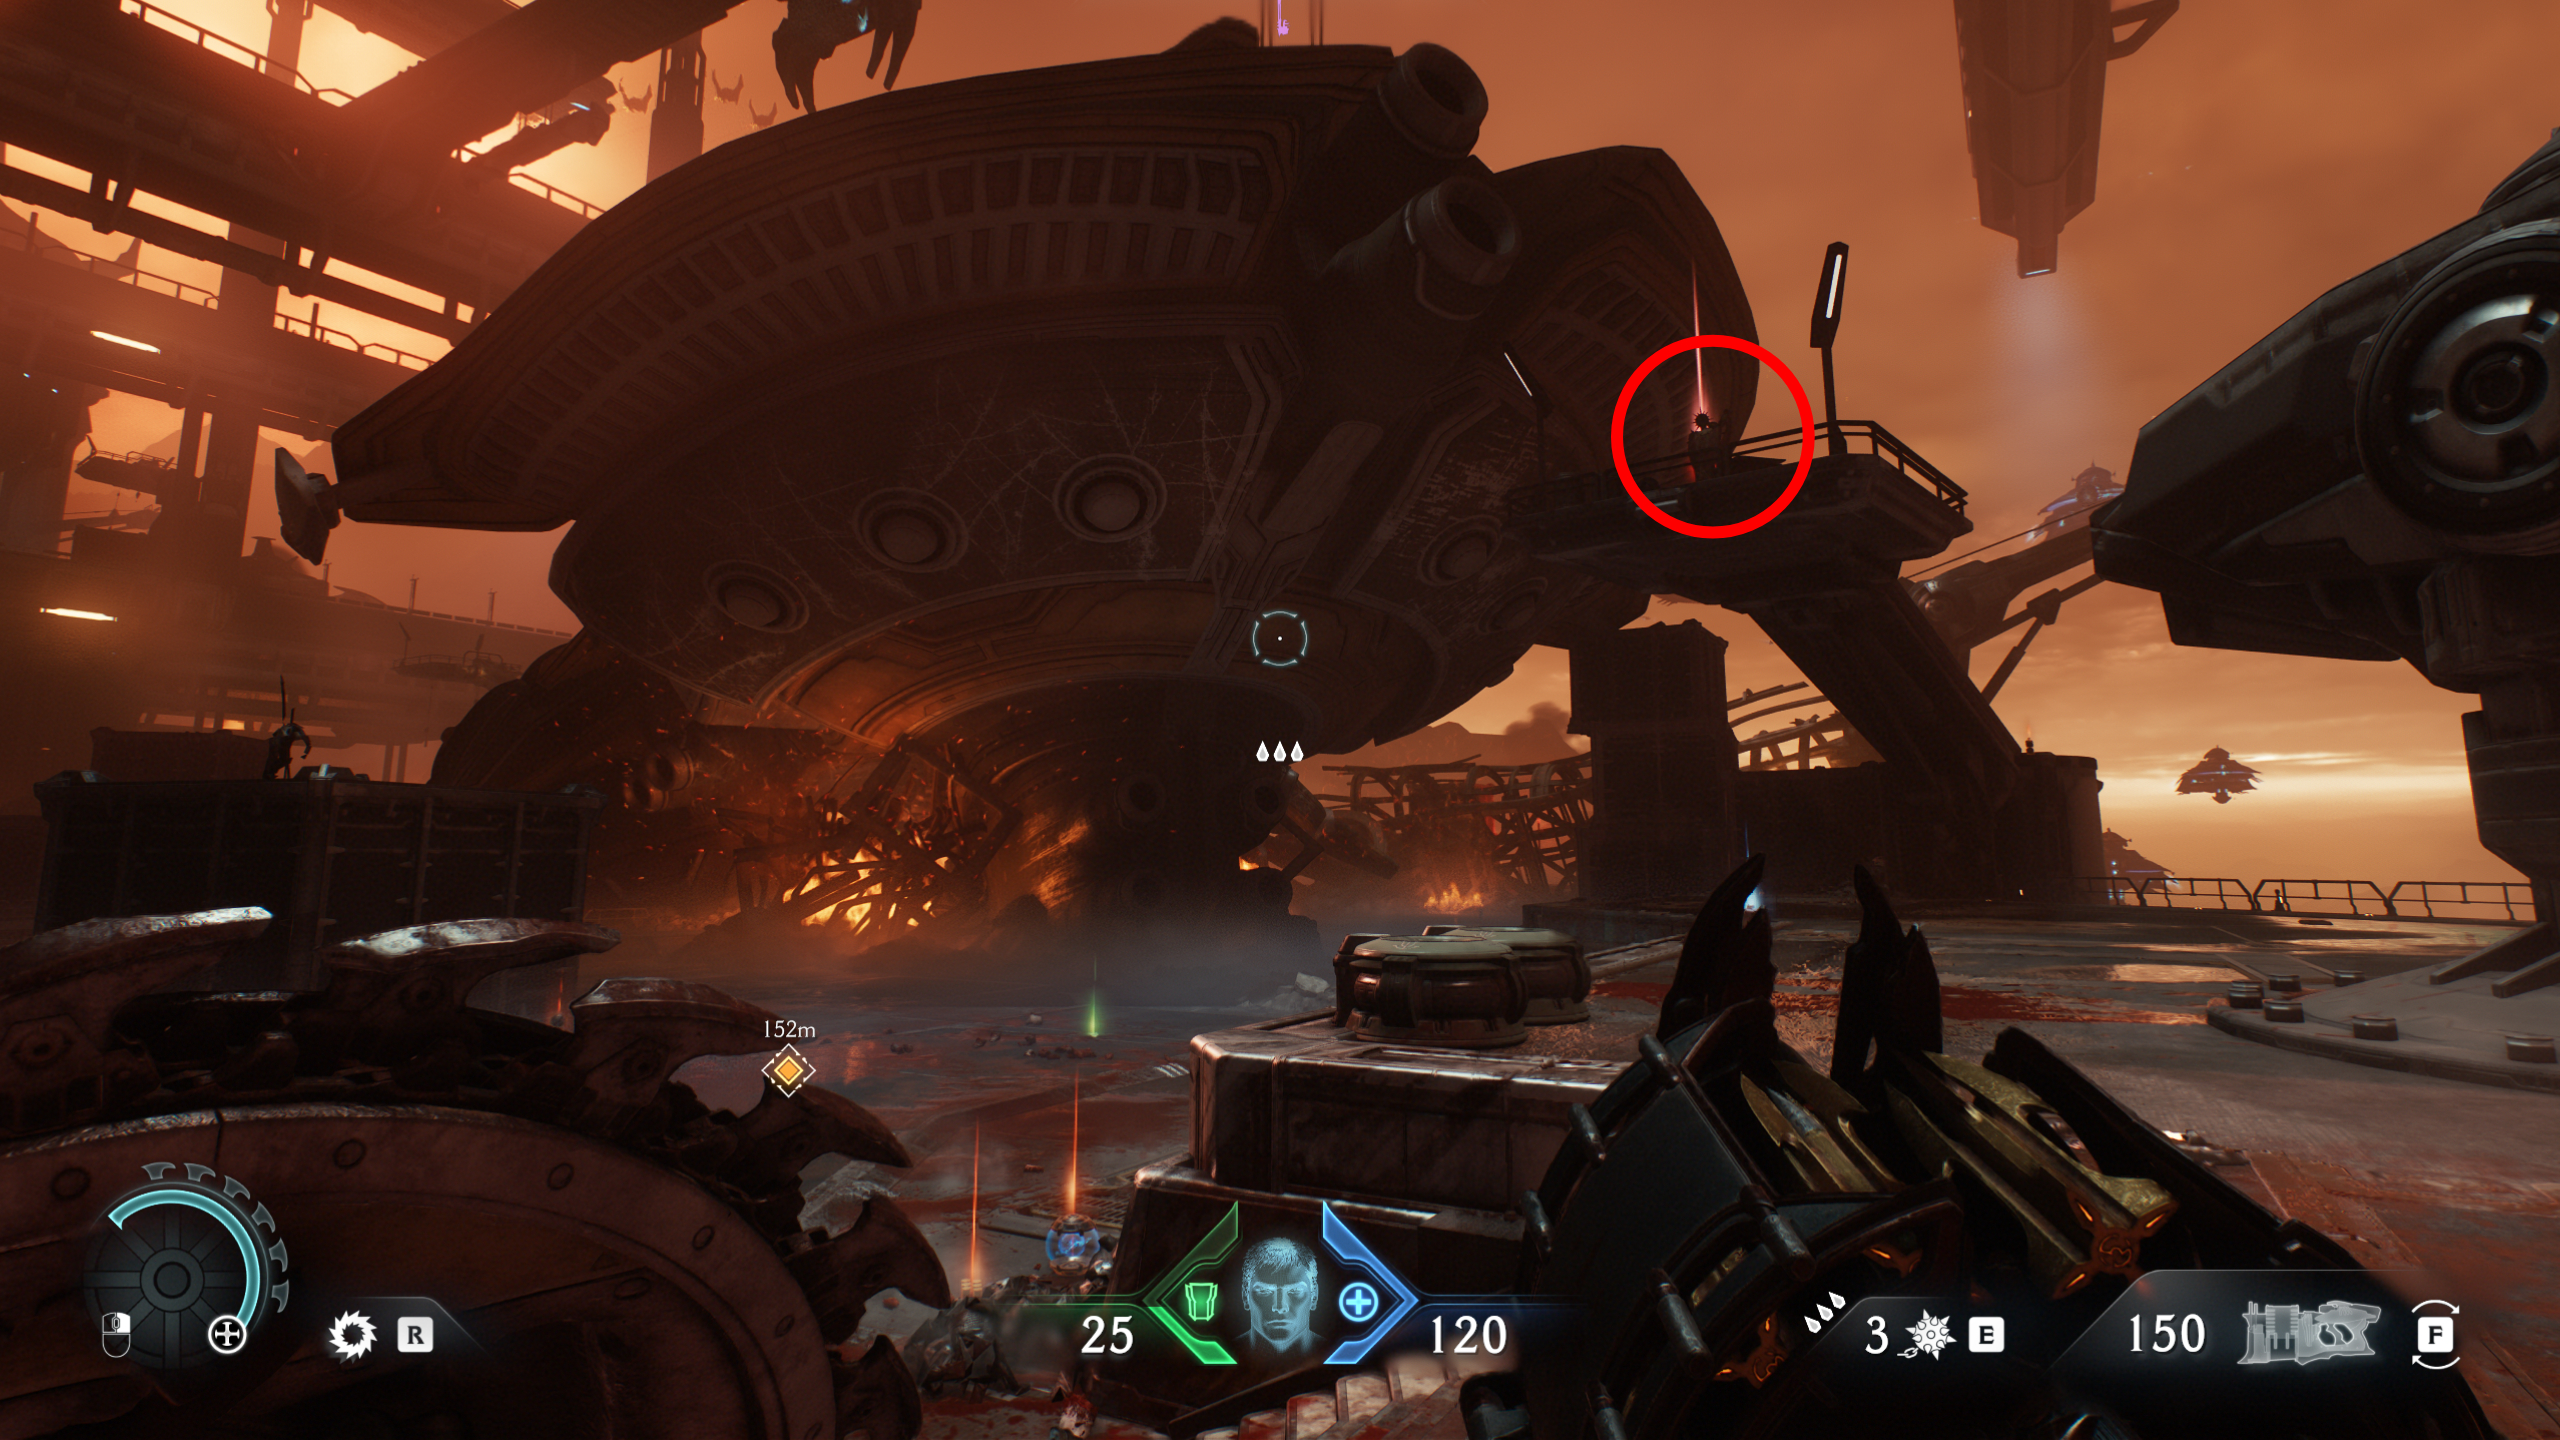
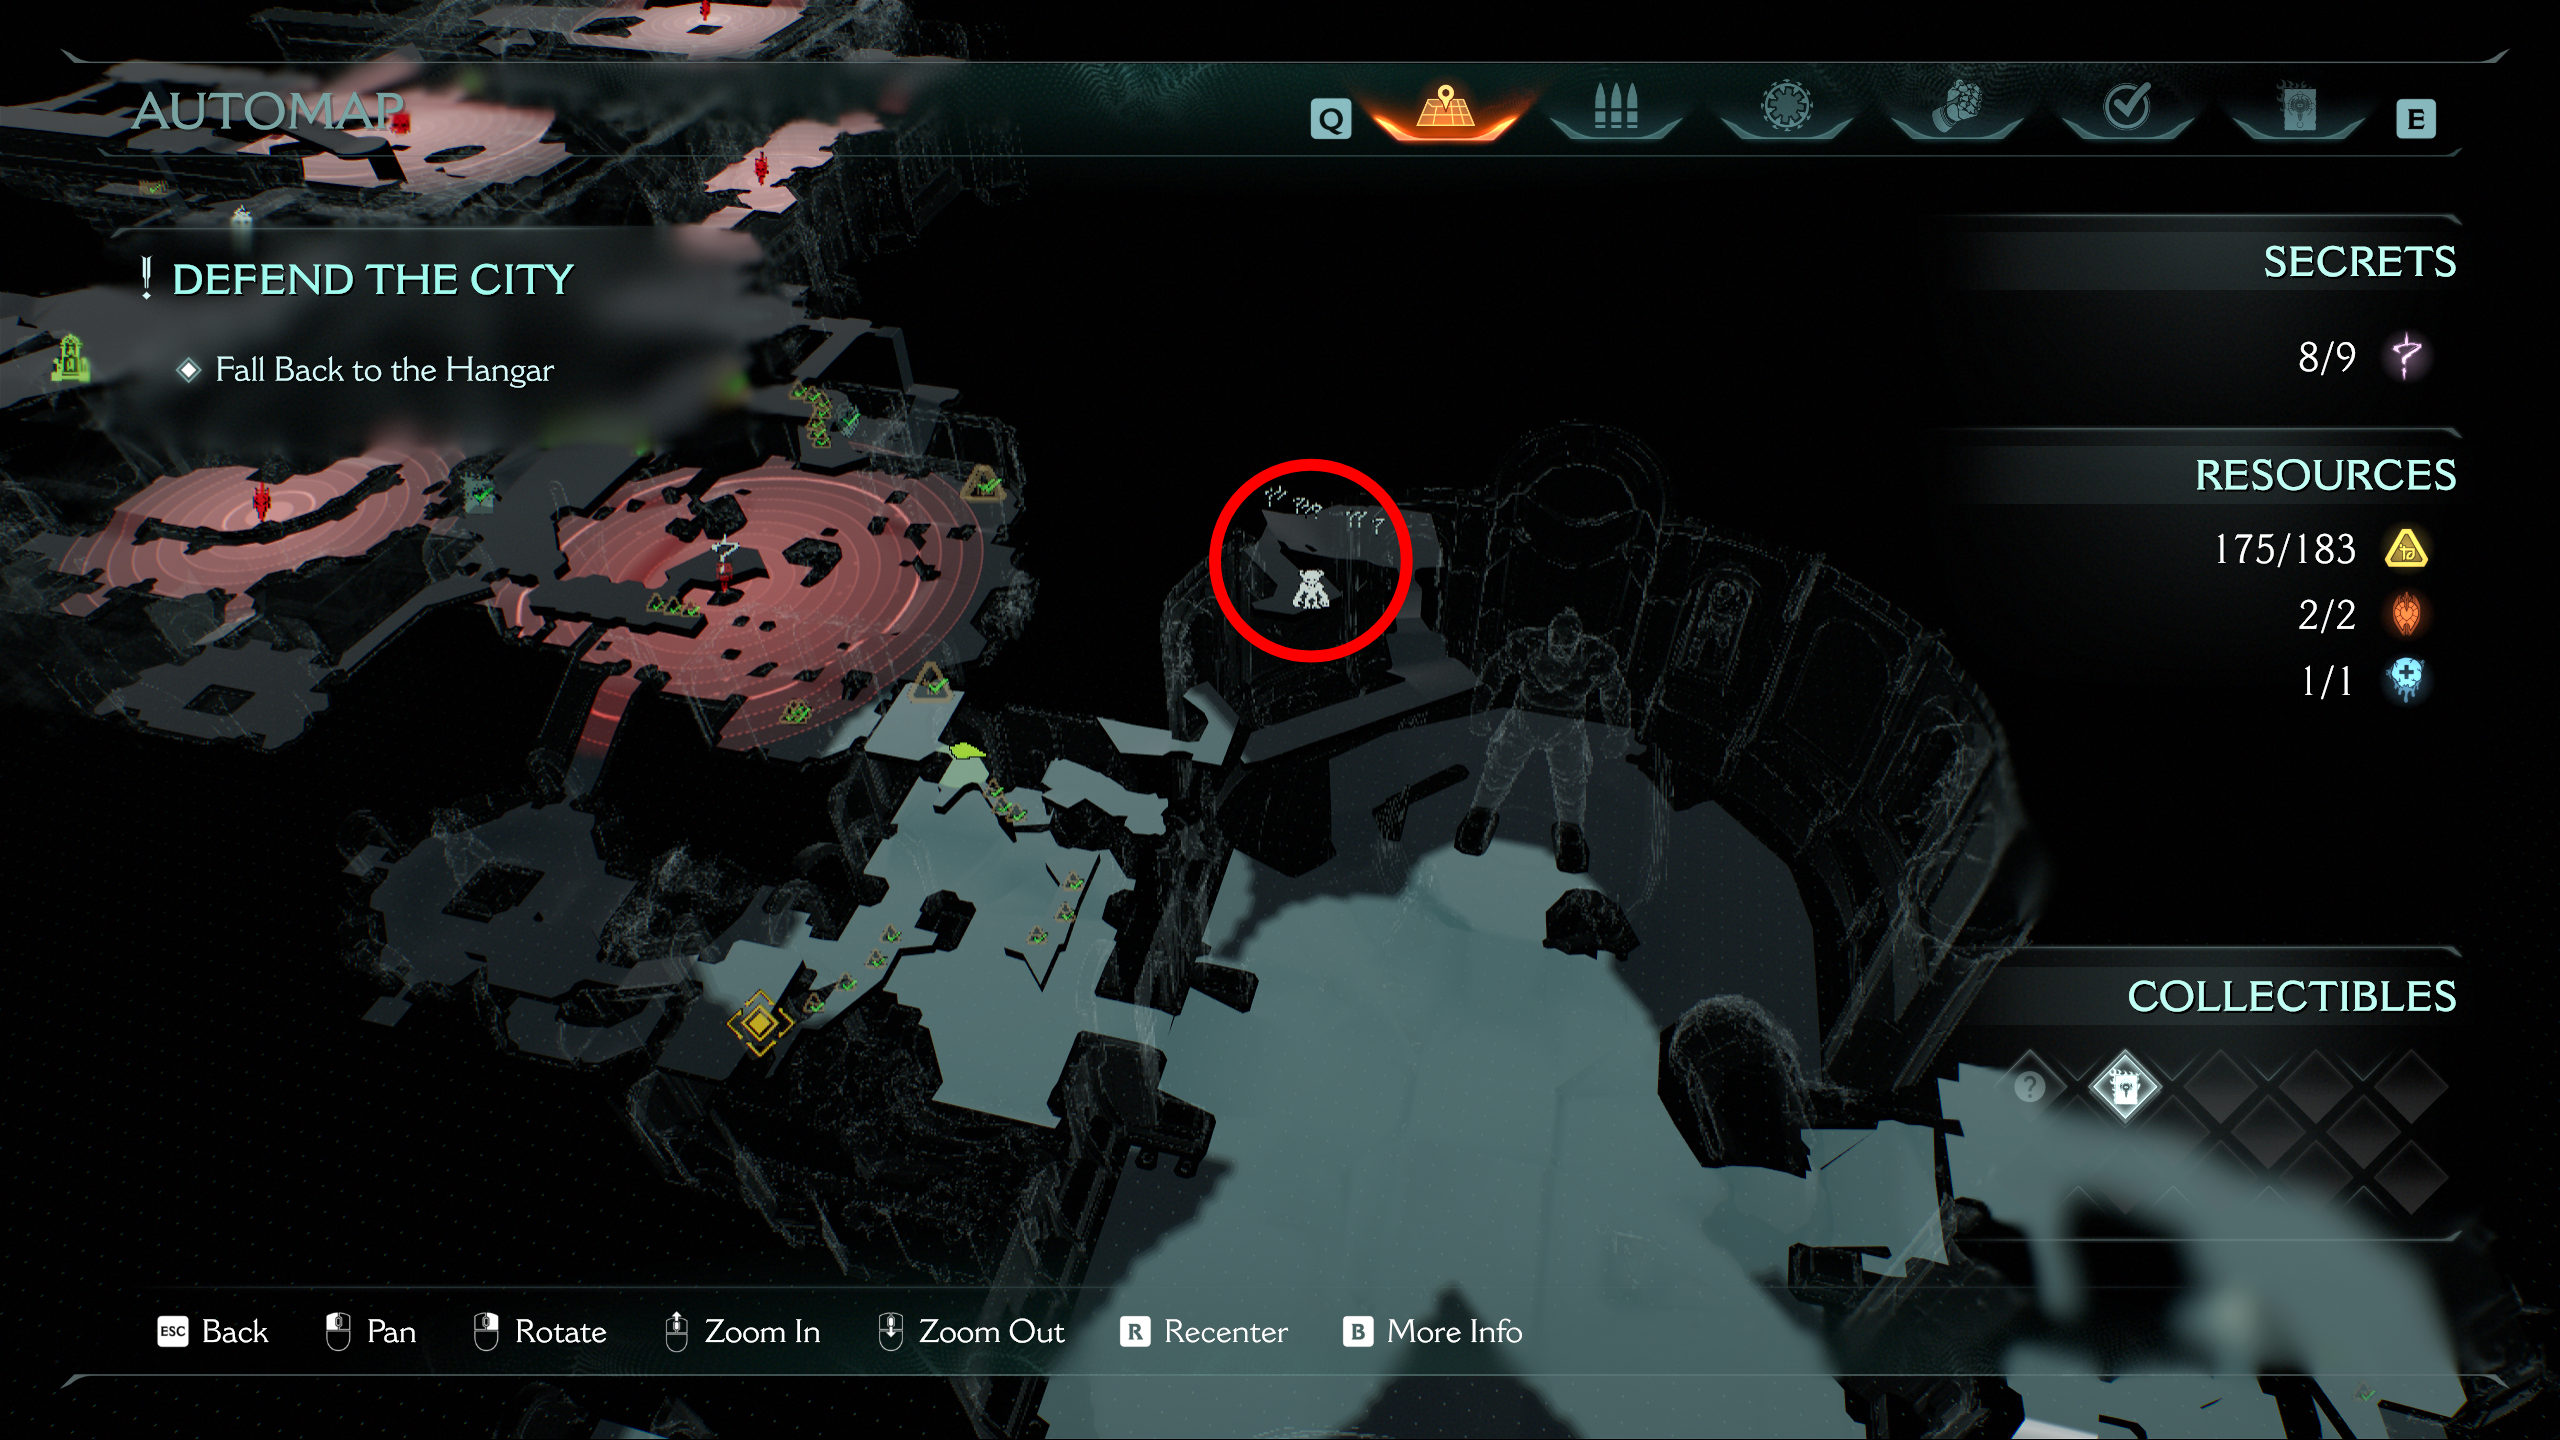
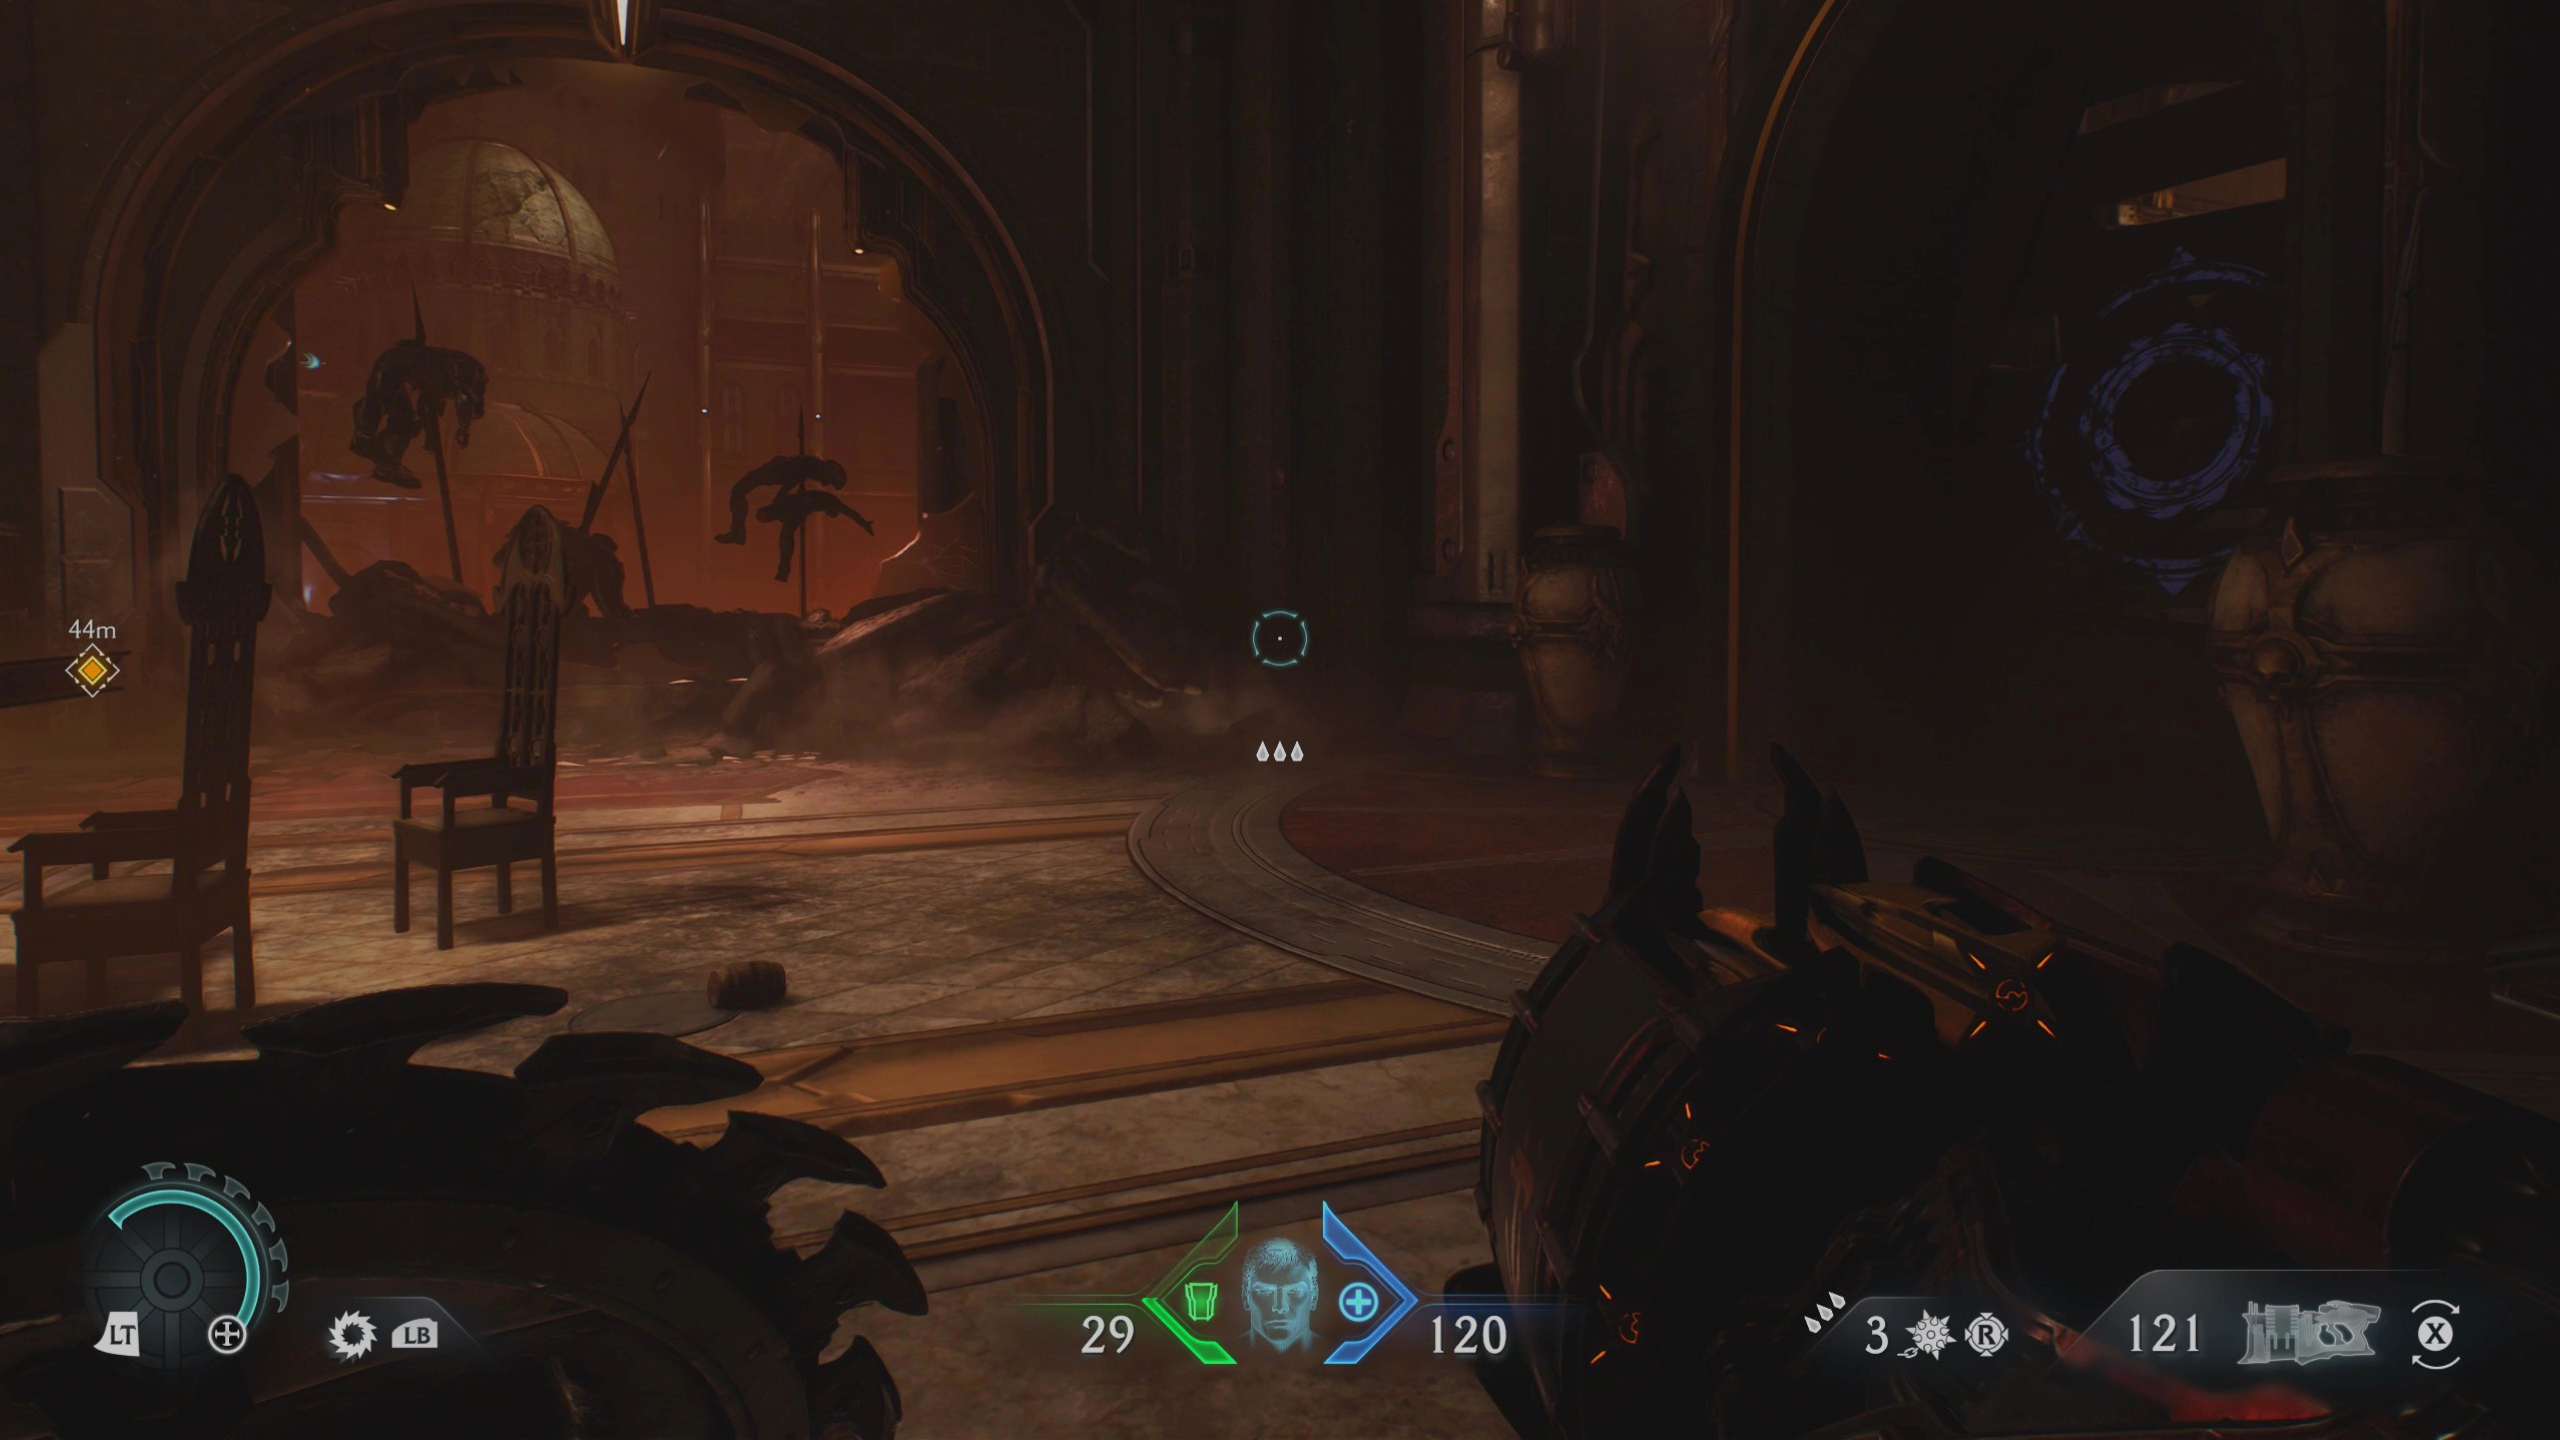
After the point of no return to enter the hangar, just before going through the destroyed ship, take a right and climb up the boxes to find the ruby statue at the end of the crane.
9 – Life sigil
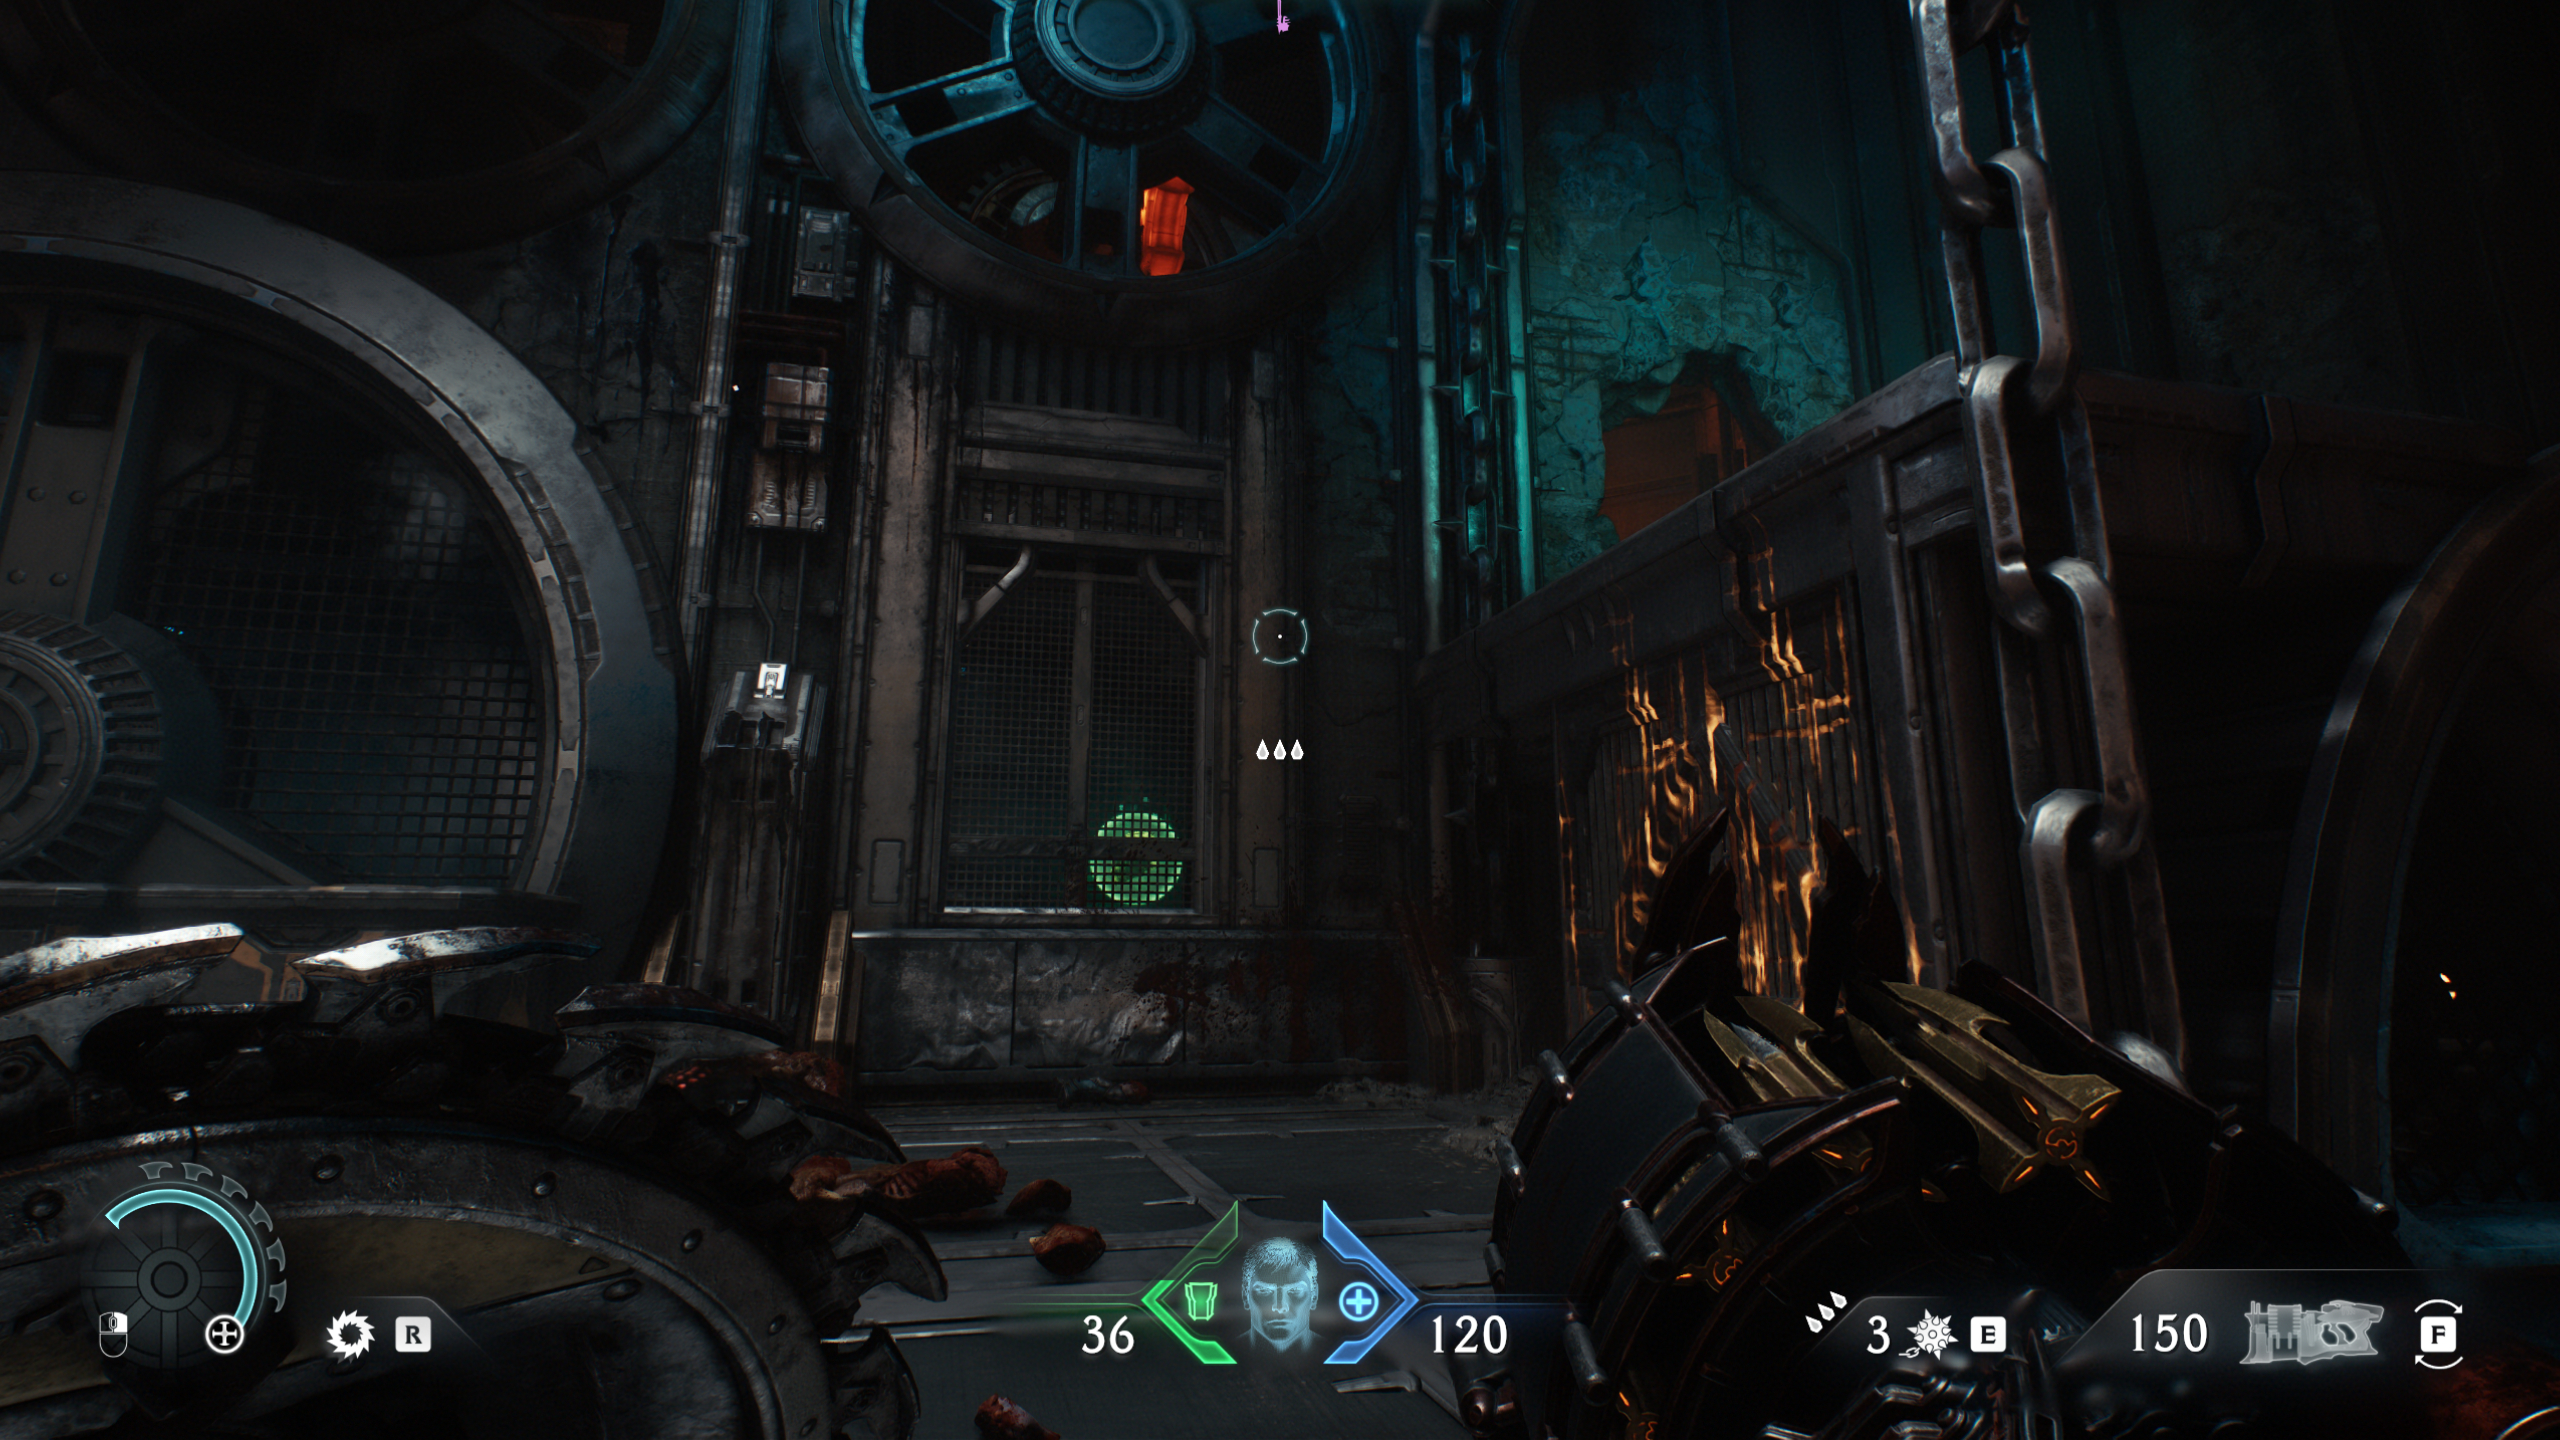
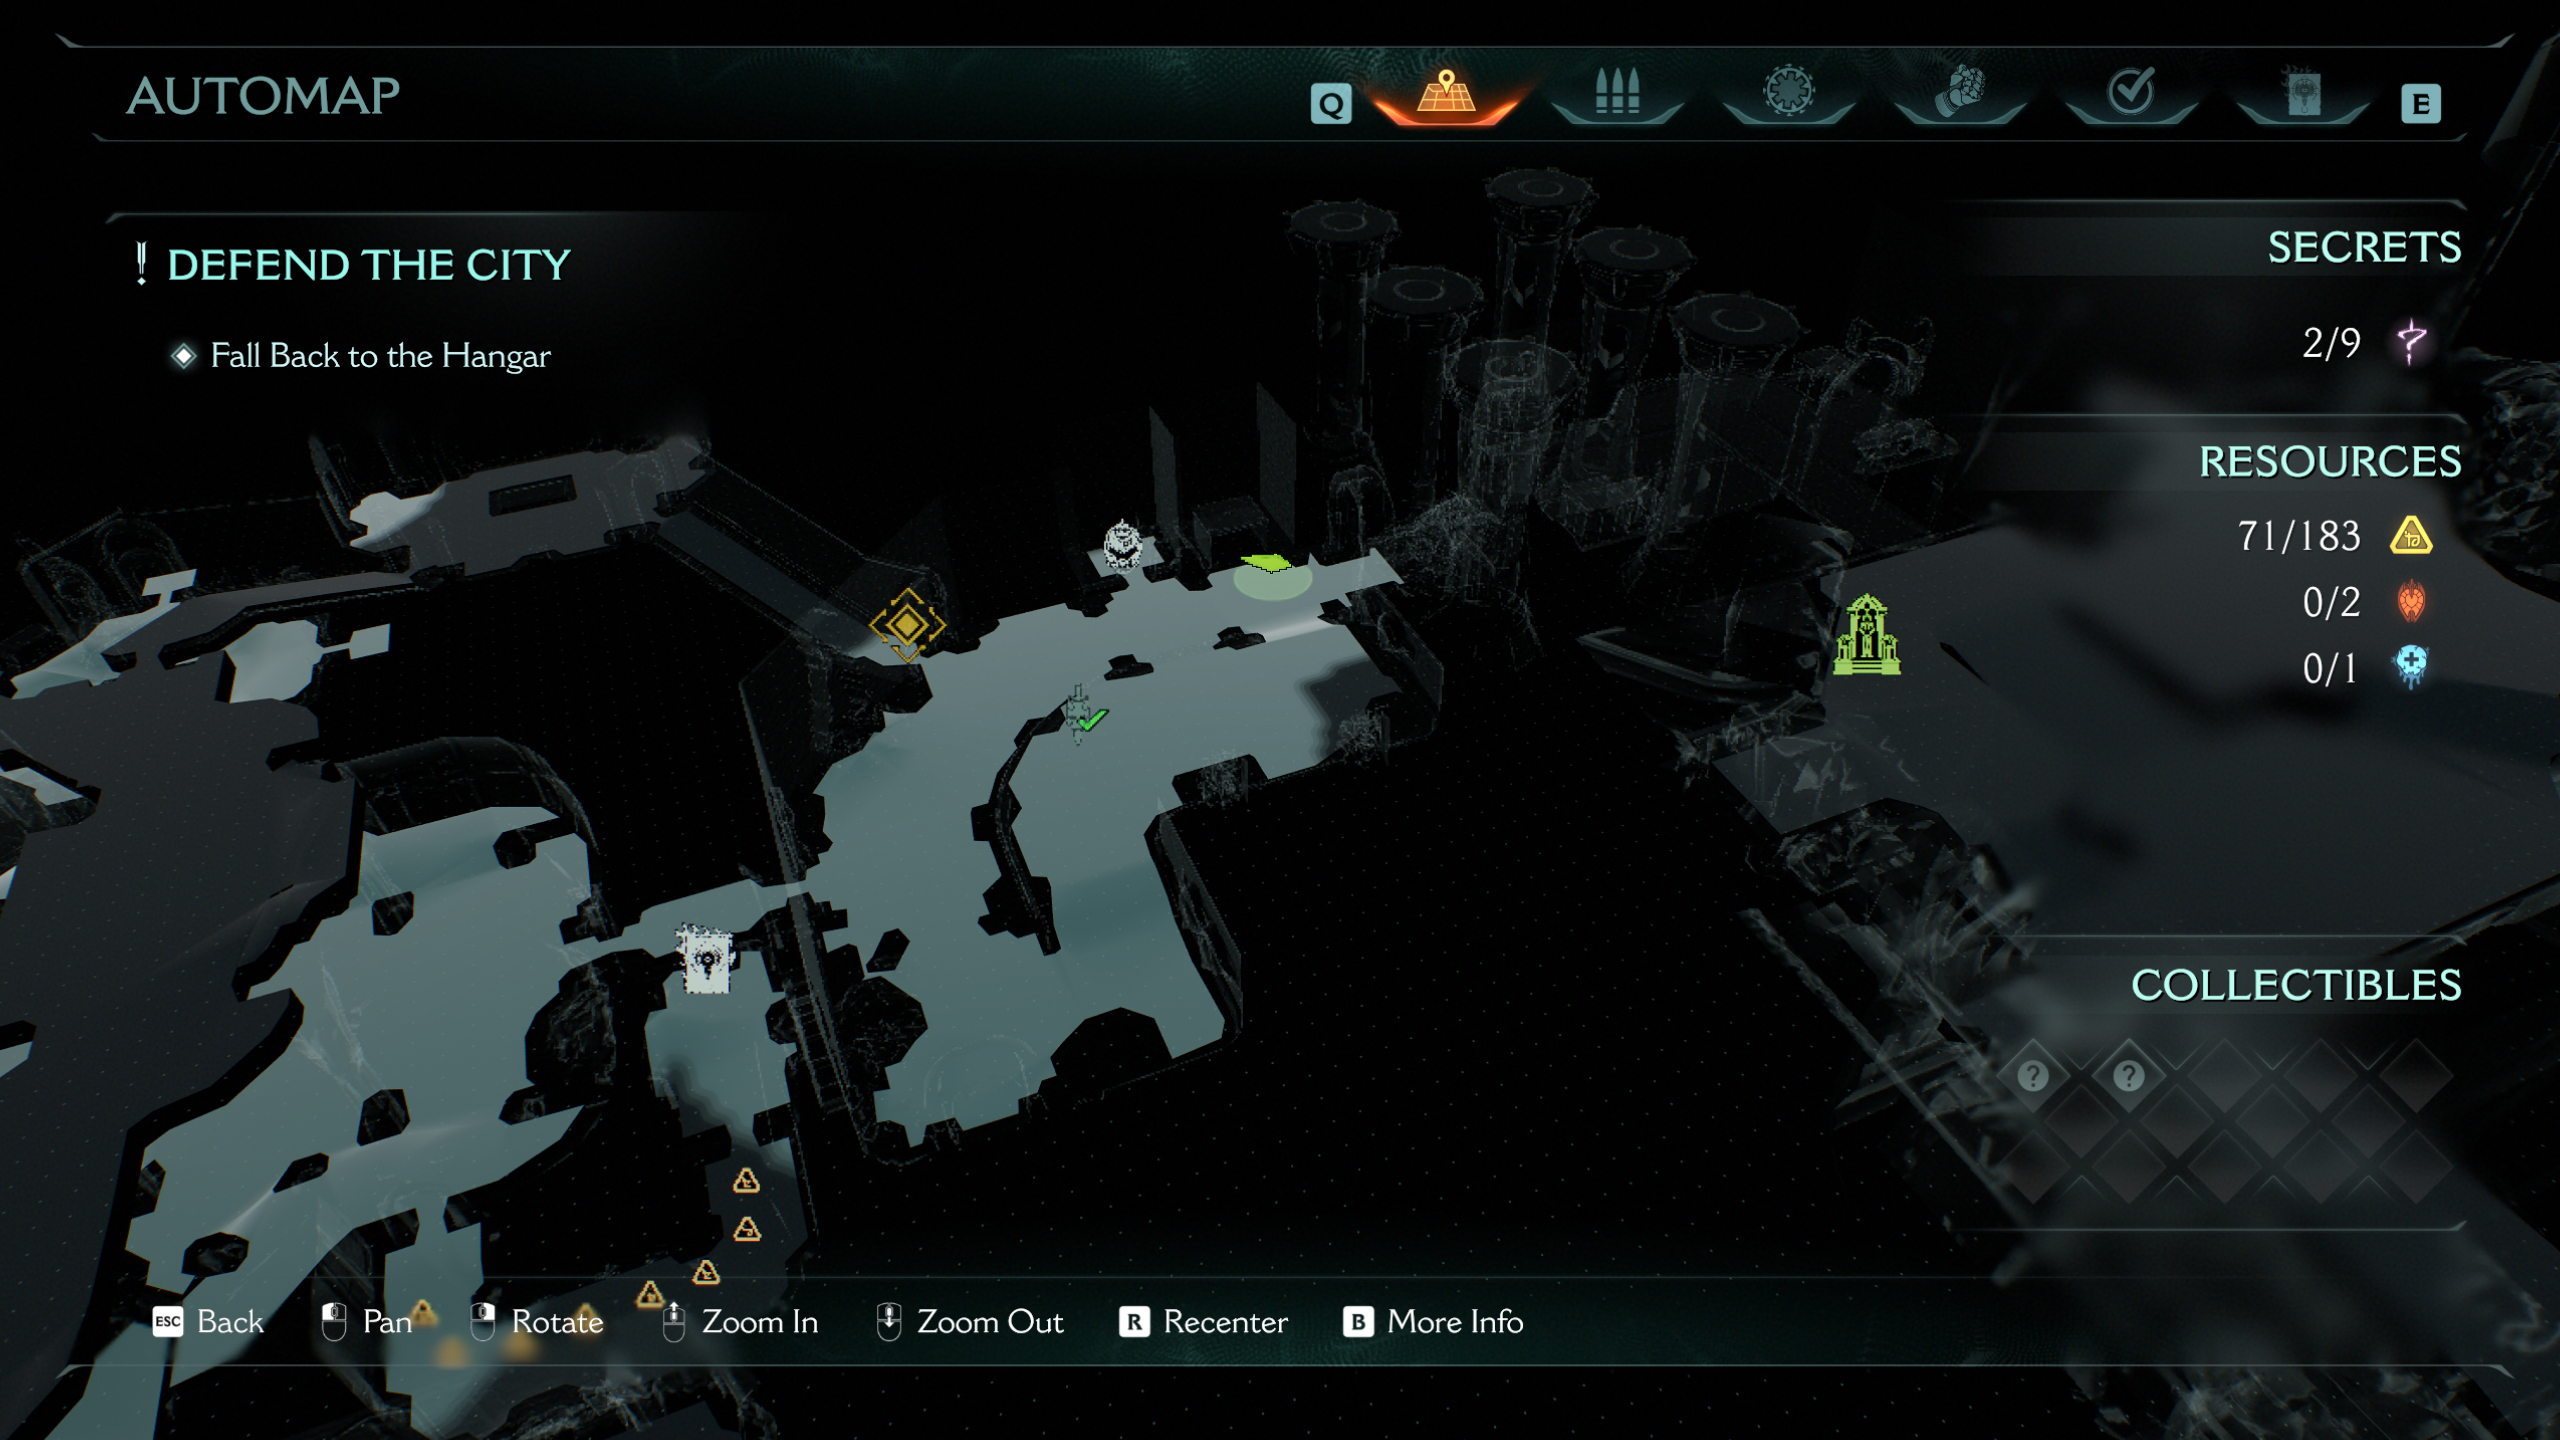
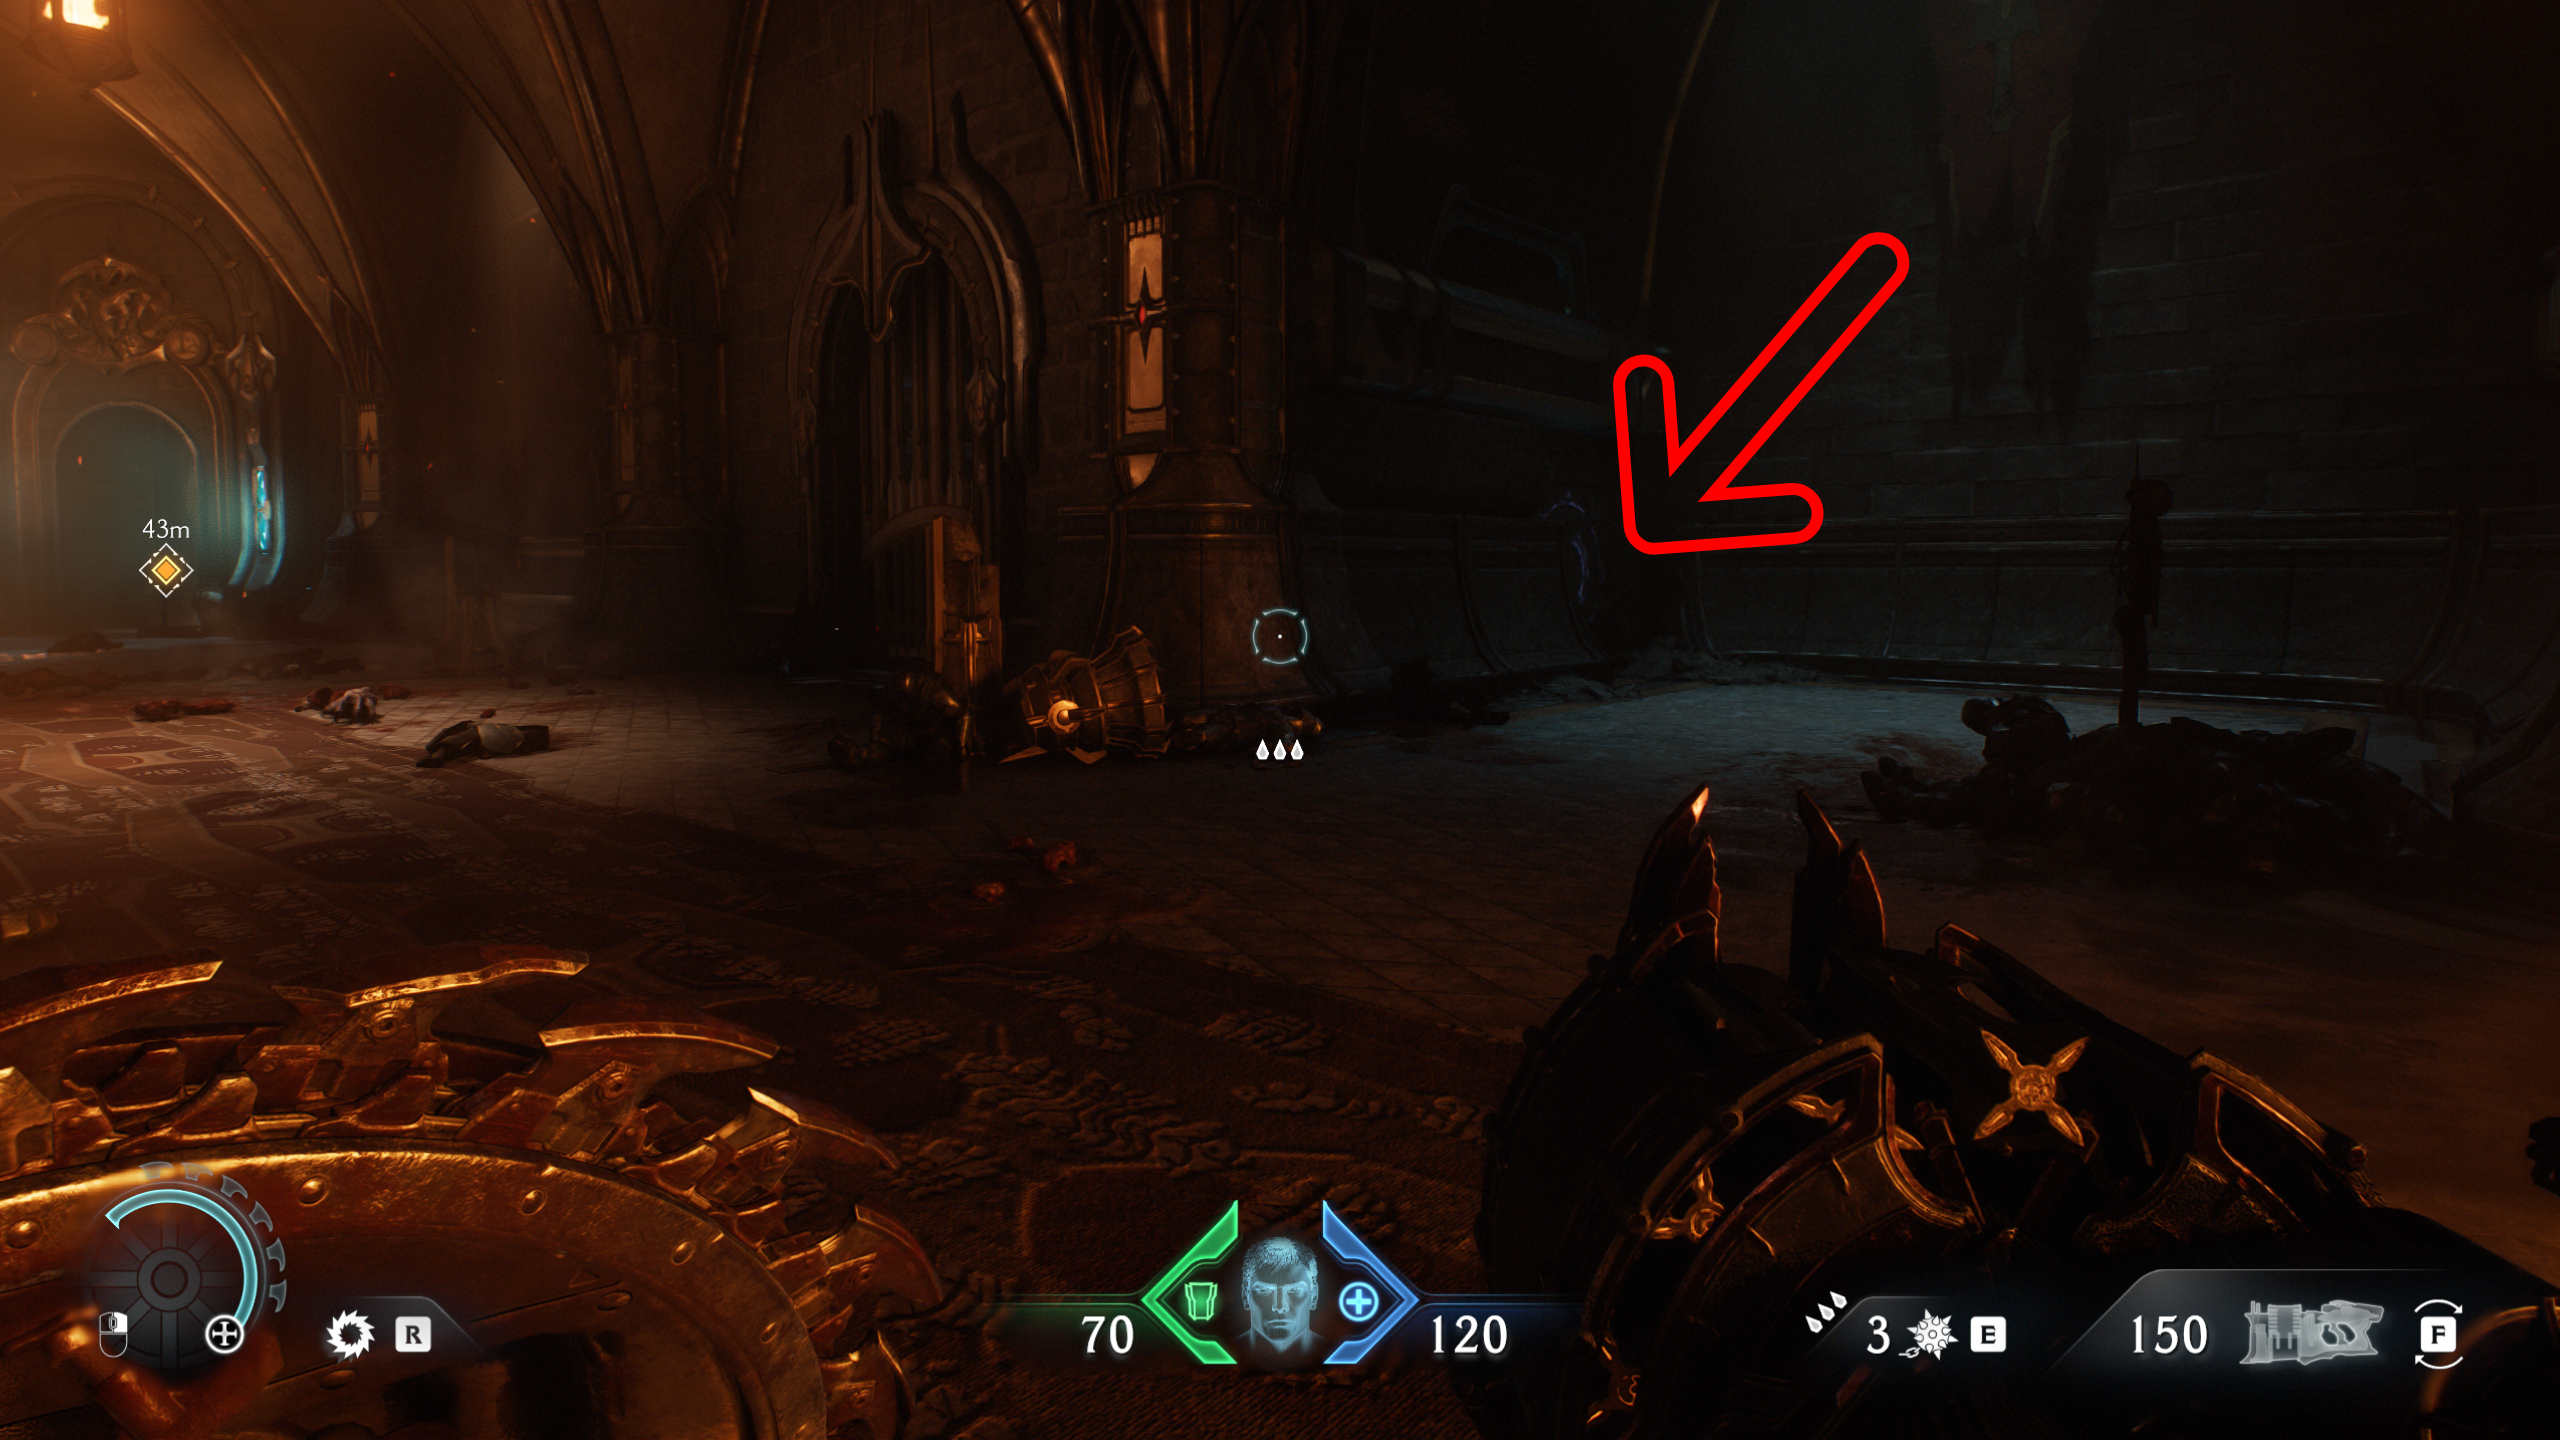
Head through the destroyed ship in the hangar and you’ll drop onto a walkway where you can see a life sigil behind a fence, with a wheel blocking your path. Climb up the ledge on the right to get a good view of the chain holding the wheel in place, then throw your shield at it. The wheel will then stop turning, so you can climb through the small opening.
While you’re here, you might as well also grab the gold chest under the ledge you need to climb to progress the mission.

Best Doom The Dark Ages weapons: Superior firepower
Best Doom The Dark Ages Sentinel Shrine upgrades: Gear up