"The result may not be perfect, but it is far better than just 'working'.”
Making cool electronics is often a damn fiddly process requiring hand eye coordination at a microscale. This isn’t helped by the fact that components continue to get smaller and more complicated, thanks a lot Moore. The benefit of this progression in tech is we can make grander things in little packages. Some of which might have been completely out of the individual’s ability before due to price or availability as well as skill. Well, that is until Tobi decided to show us all how to solder an itty bitty board with the same life skills as making a slightly complicated grilled cheese.
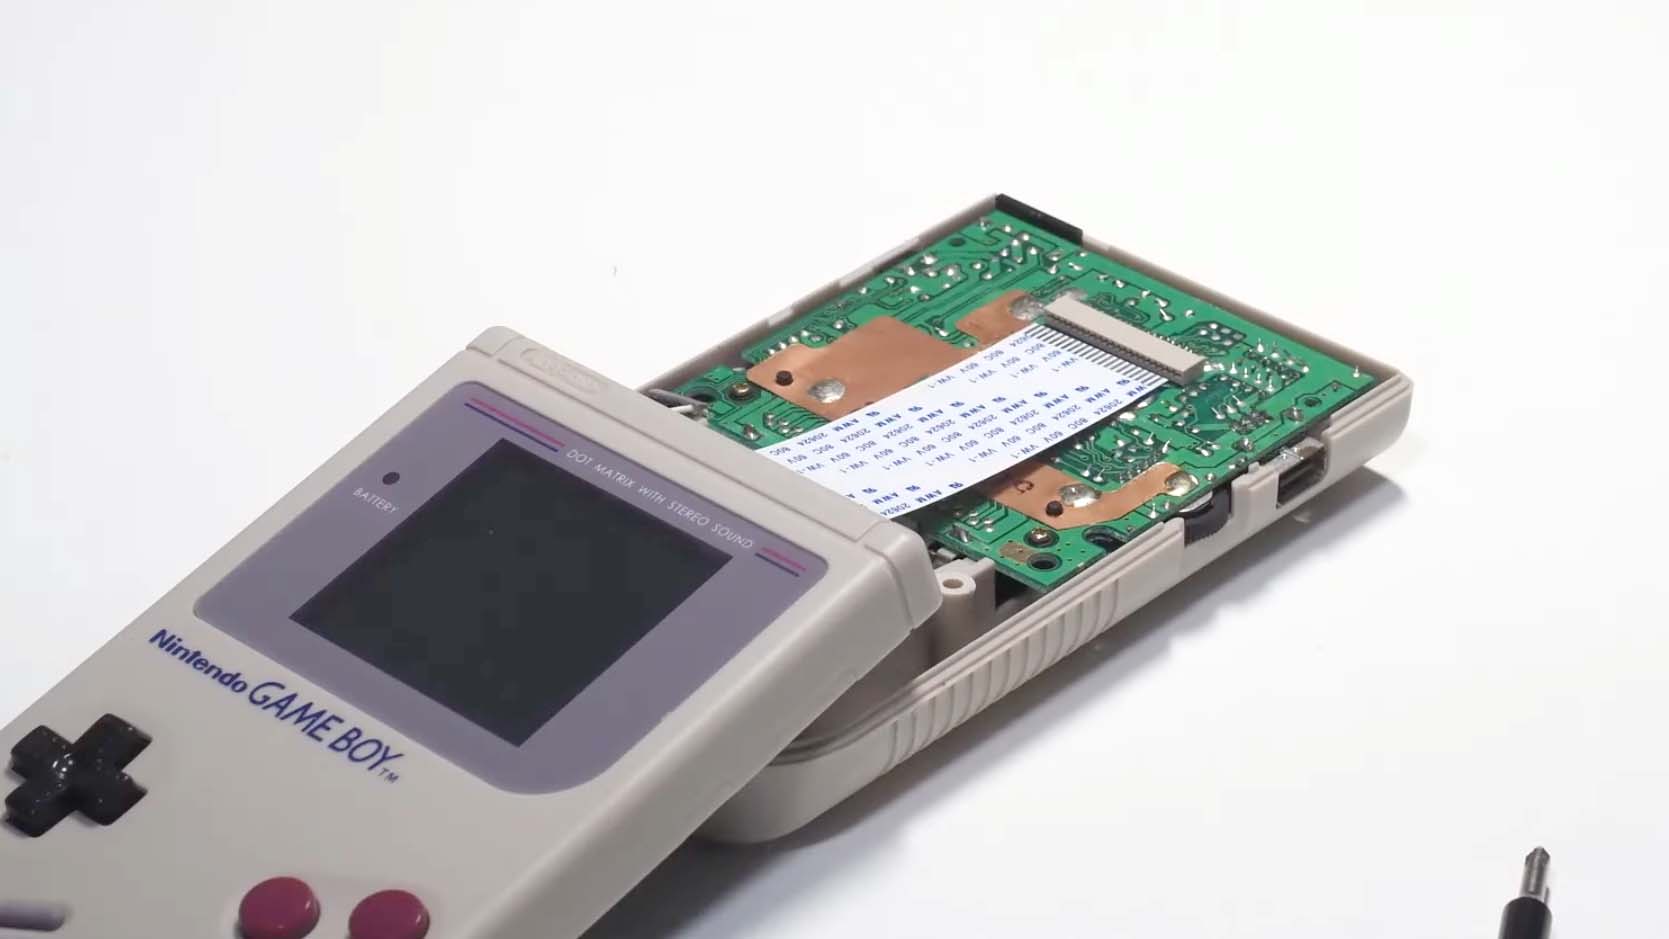
Hackaday shared the little soldering trick Tobi’s been using to make all sorts of neat things, including an upgraded GameBoy. The main goal in this project was to create a GameBoy with an upgraded screen that still fits into the form factor of the original portable gaming handheld. This required scaling things down a little to make room, so a RP2350B microprocessor, better known as a Pi Pico 2. To make the challenge more interesting and accessible, Tobi has also kept to using affordable tools for this nifty upgrade.
To start the construction, Tobi uses a USB powered hotplate to assemble this PCB soldering setup. Before turning it on, other similarly sized PCBs are placed around the board to hold it in place, and then some heat proof tape is applied to keep things stable. After that, solder is applied to key places on the board before placing the components. Then the hotplate is set to the desired heat (which will depend on the solder used) and as Tobi describes it, things just kind of move into place.
“I really like watching this process,” they say. “The solder paste starts to melt, and shortly after, everything aligns itself. If something doesn’t align properly, you can use the tweezers to gently wiggle it until it sits perfectly.”
After this has successfully been completed you can clean the results up with a little flux and you have a complete board. Well basically any way. Tobi calls out the results for being a little messy and having some minor misalignments, but it looks far better than I expected from this simplified method.
“The result may not be perfect, but it is far better than just ‘working’.”
To get the full run down on the project and everything required, absolutely check out Tobi’s walkthrough as well as the above video. After looking through it all I’m left with the sense that even I could potentially achieve this. Then when you’re done you can even make some games for it yourself—without any coding required.
Given I don’t like my chances at a successful Switch 2 preorder, maybe a home-made upgraded GameBoy will have to be my next gen Nintendo console instead.
Best gaming mouse: the top rodents for gaming
Best gaming keyboard: your PC’s best friend…
Best gaming headset: don’t ignore in-game audio