Skip the guesswork and check this full walkthrough of Black Ops 6's Shattered Veil Easter egg.
Shattered Veil is the fifth round-based Zombies map in Call of Duty: Black Ops 6, taking players to a moody manor with plenty of dark secrets to uncover. The map has a fairly extensive main questline to follow with a few other easter eggs to discover along the way.
The Shattered Veil main quest involves a lot of random item spawns and tough boss fights, so it can be quite a headache even for experienced Zombies players. Since there’s only a limited amount of time that you can spend in the pause menu during a match, we recommend studying this guide in its entirety before attempting to complete the Shattered Veil easter egg.
How to unlock Pack-a-Punch in Shattered Veil
As always, the first step in this Zombies quest is getting the power turned on and unlocking the Pack-a-Punch machine. Thankfully, there are directed objective markers for this part of the quest.
Make your way inside the manor and follow the objective markers until you reach the elevator. Two parts are required to repair the elevator: a fuse and a circuit board. The fuse is dropped by a special Maintenance Worker zombie found in the library in the eastern wing of the manor. The circuit board is obtained by destroying Richtofen’s computer in the Director’s Quarters on the opposite side of the building.
With both parts in hand, return to the elevator and fix it to gain access to the underground portion of the map. The Mainframe Chamber underneath the manor is home to the Pack-a-Punch machine, located at the top of a staircase in the Security Overlook with a clear view of the S.A.M. AI.
How to get the Ray Gun Mark 2
Once you’ve unlocked the Pack-a-Punch machine, quest markers are disabled and the real Shattered Veil easter egg begins. Obtaining the Ray Gun Mark 2 is the first step of the main quest. As always, you can pop a Wonderbar Gobblegum and take your chances with the Mystery Box to possibly get the Ray Gun and skip some steps, but here’s the guaranteed way of obtaining the new Ray Gun Mark 2.
After reaching round 10, head to the Mainframe Chamber. A special Lab Technician zombie will spawn. It drops a Floppy Disk when killed. Take that Floppy Disk and head back up to the manor. The Floppy Disk can be inserted into a computer with a small, glowing screen in the corner of the East Foyer. If you head into the manor from the front door and face the T-Rex skeleton, it’s directly to your right. It’s right next to the Stamin-Up machine if you’re having trouble finding it.
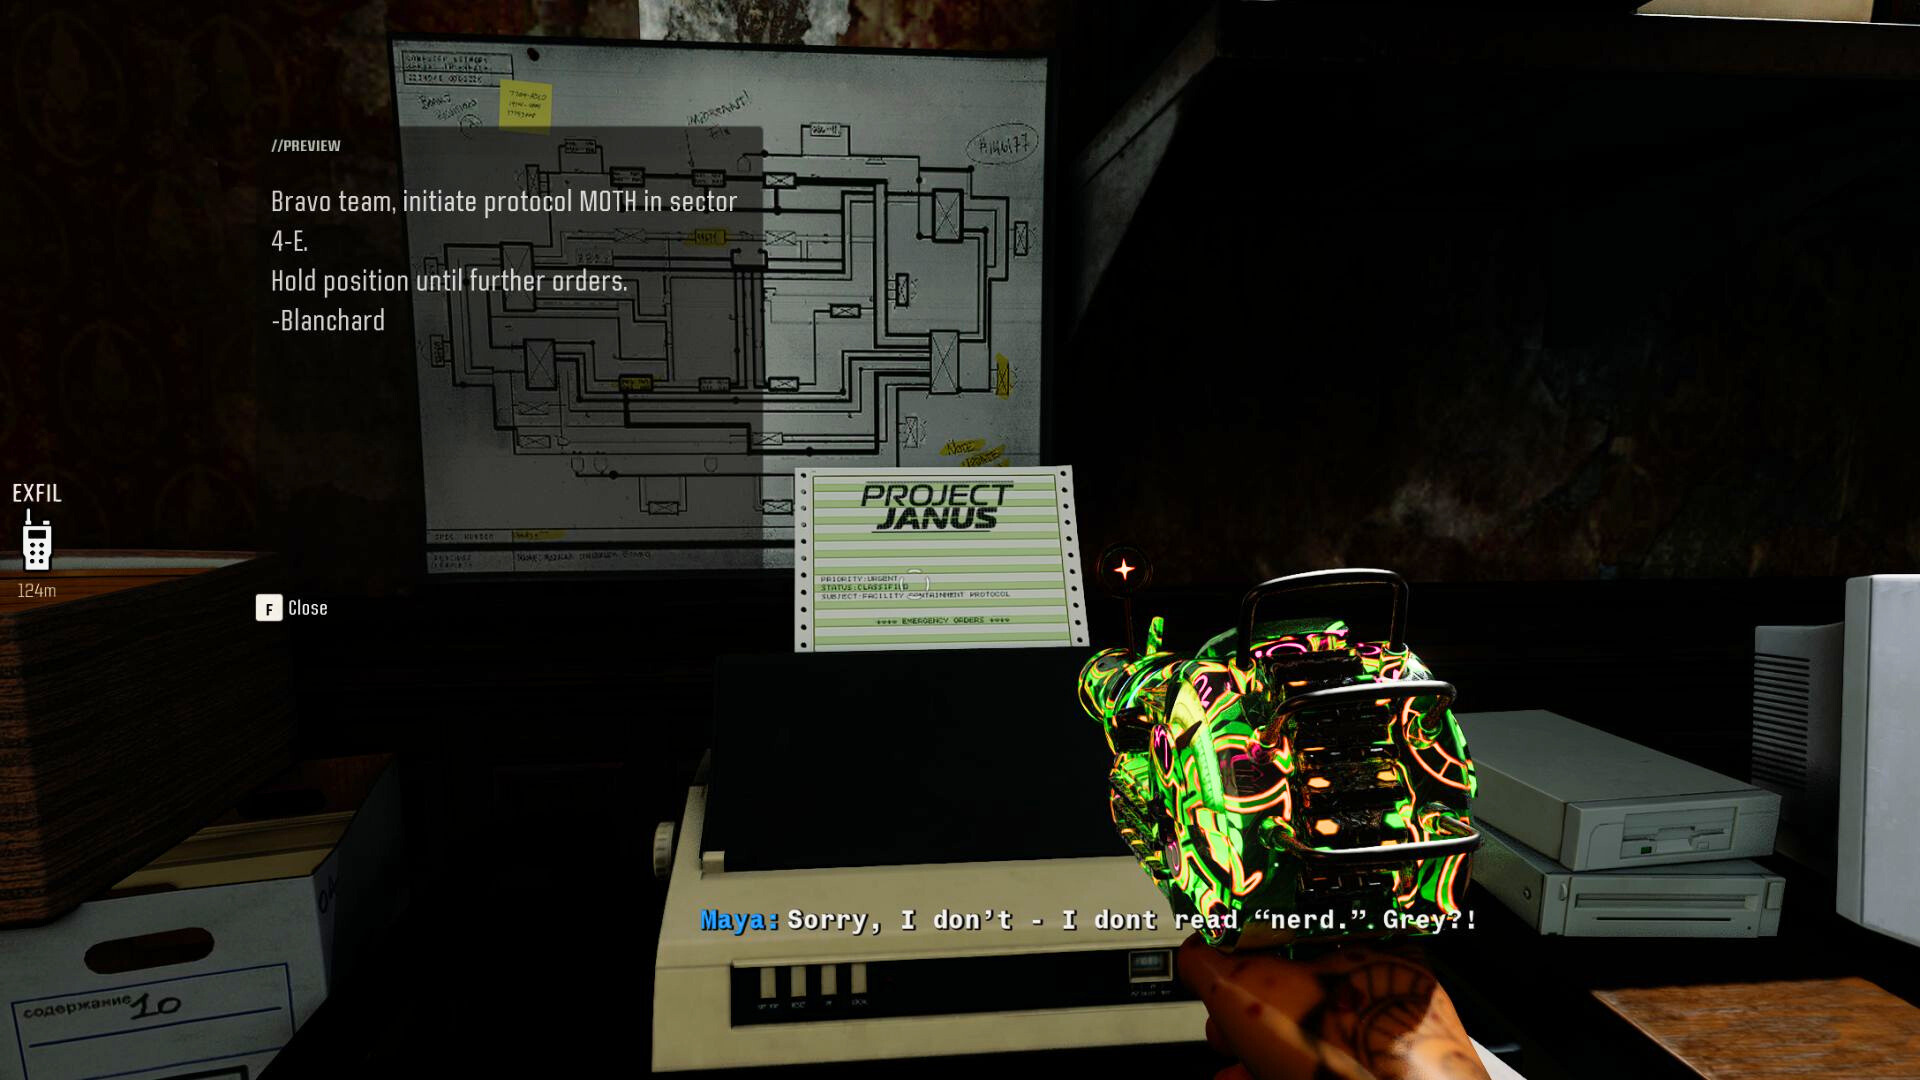
Interacting with the computer will summon a horde of zombies. Defend yourself and interact with the fax machine next to the computer to collect an important message. The document will contain one of four capitalized four letter words: MOTH, CRAB, YETI, or WORM. Remember this word.
With the word committed to memory, go to the Nursery in the west wing of the manor. It’s the room with the PHD Flopper machine. Directly next to the PHD Flopper machine is a chalkboard with several clusters of letters scribbled on it. Your goal is to translate the four letter word from the fax machine into a four digit code.
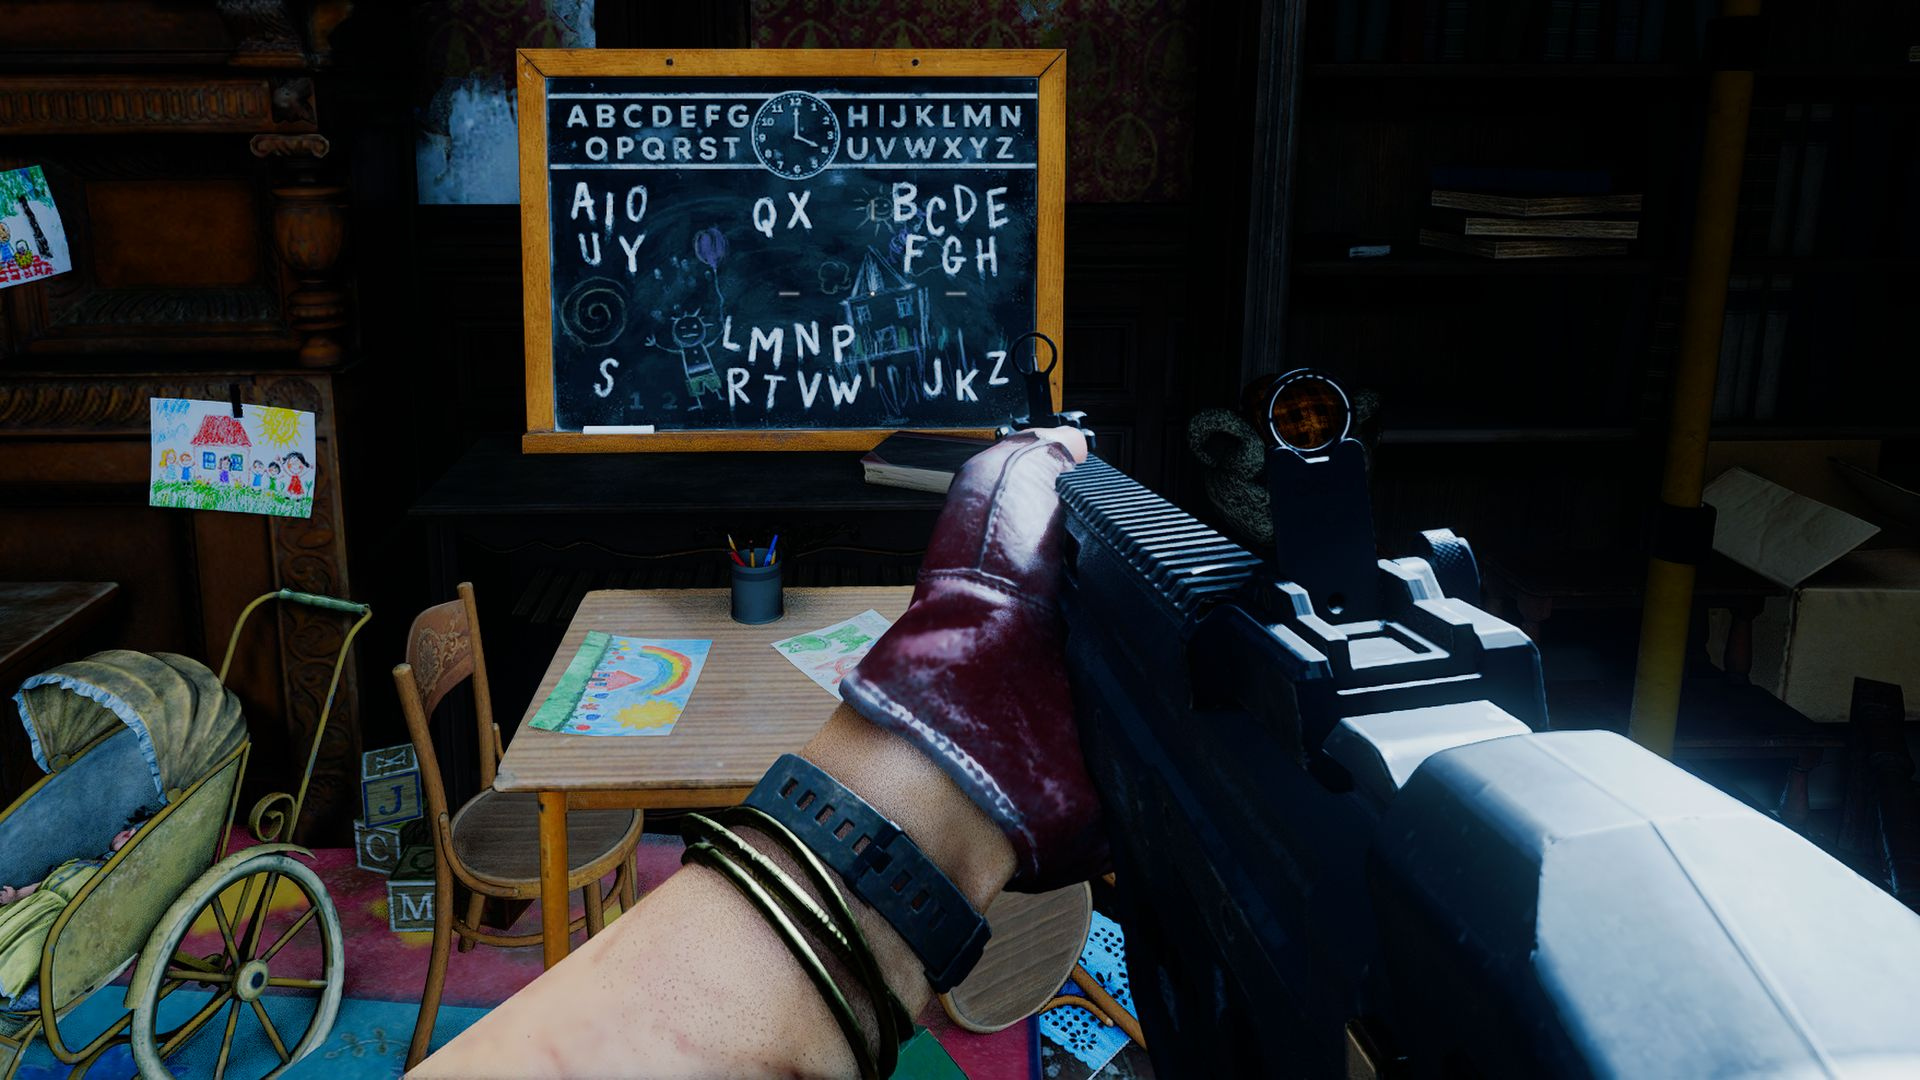
To crack the code, take the first letter of your word and find it on the chalkboard. Count how many total letters are in the cluster containing that letter. For example, if your word is MOTH and the letter M is in a cluster with five total letters, then the first digit of the corresponding code is five. Repeat for all four letters in the word and you’ll end up with a four digit code.
With that code, go back downstairs to the Mainframe Chamber and continue into the Service Tunnel to find a Doppelghast named Baztura locked in a glass chamber. Interact with the keypad and input the code to release the beast. Kill it and pick up the Severed Arm it drops.
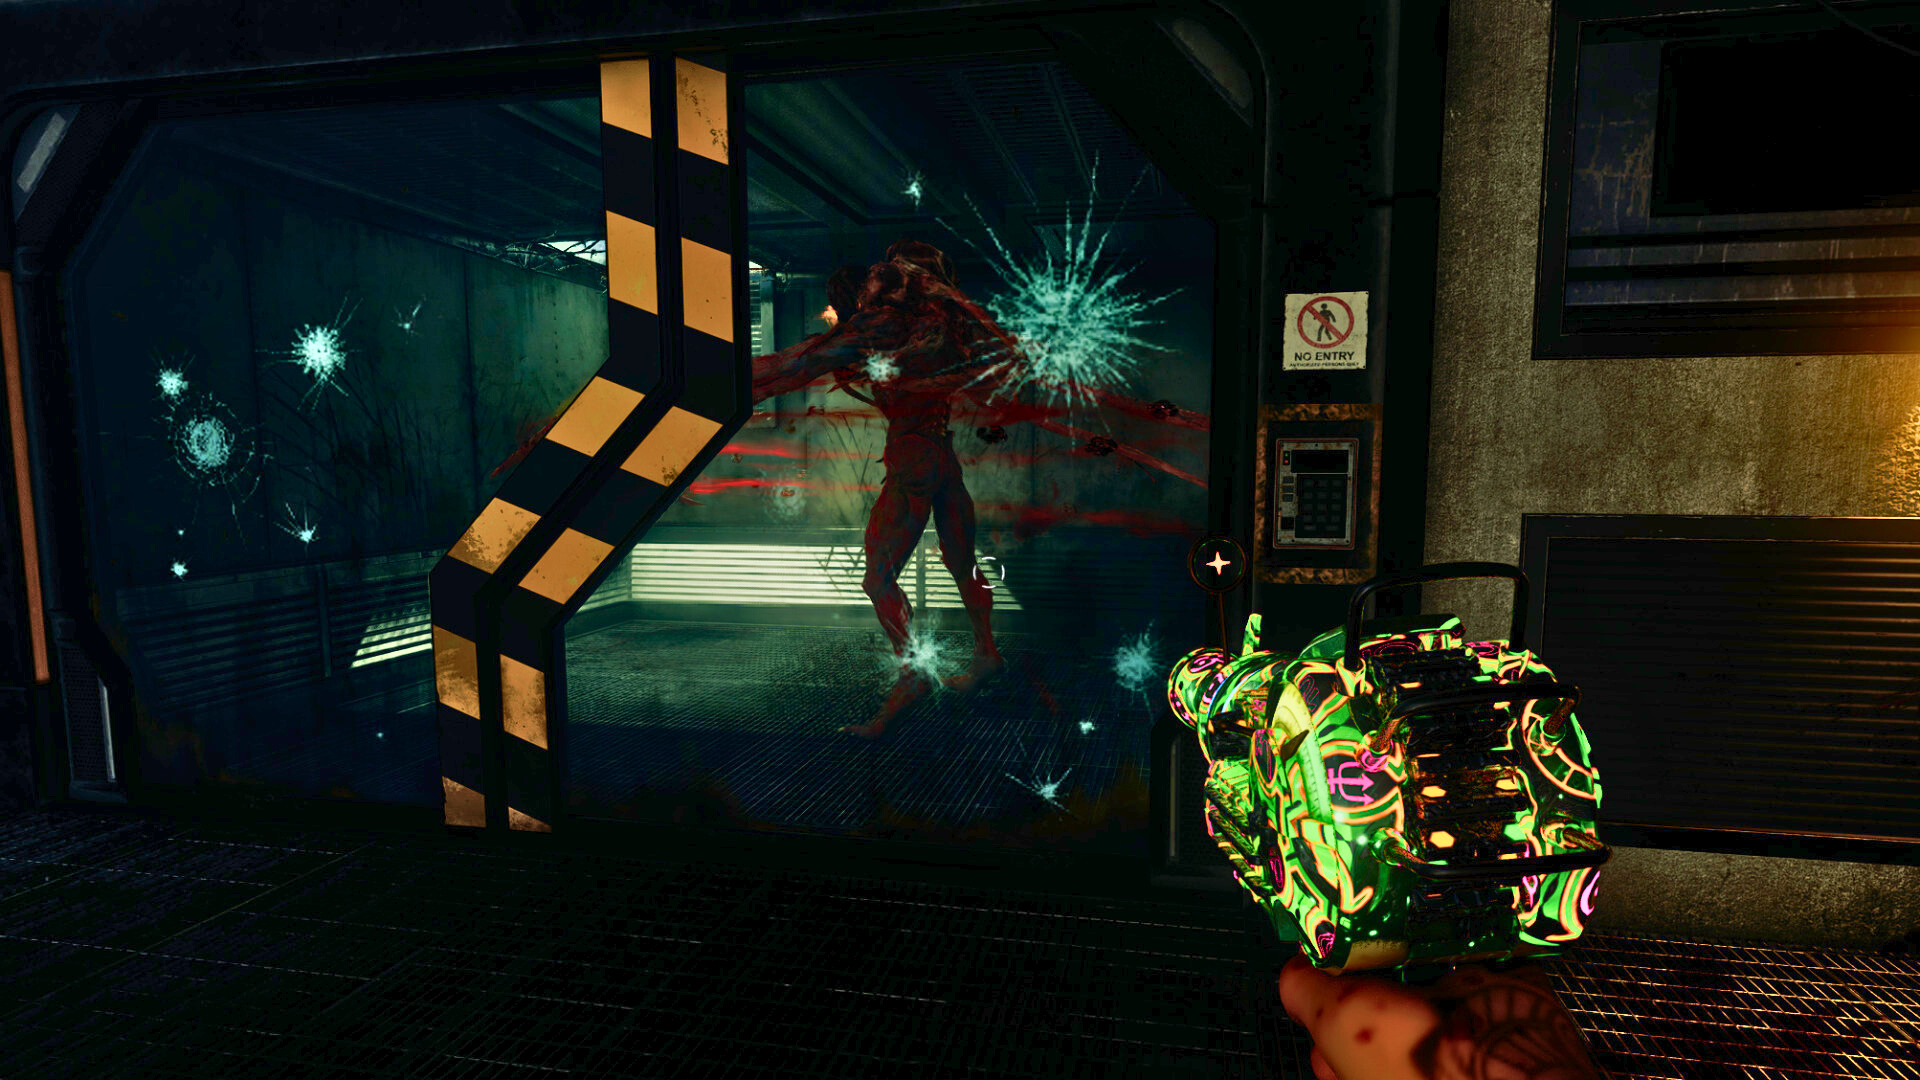
Take the Severed Hand to the nearby Supply Depot near the teleporter that brings you back to the beginning of the map. Interact with the Project Janus door on the west side of the room to enter the Armory. The Ray Gun Mark 2 is locked in a display case inside. Use the Severed Arm to bypass the security scanner and obtain the Wonder Weapon.
Upgrading the Ray Gun Mark 2
The next chunk of the easter egg involves upgrading the Ray Gun Mark 2 by collecting hidden canisters and defeating minibosses across the map. You can do these in any order, but we’ve outlined the best sequence below.
Ray Gun Mark 2 Wraith Fire
To get the first canister, you need an LT53 Kazimir grenade. You can craft one, but there’s a free one sitting on a corpse in the Service Tunnel behind a wrecked truck.
Take the Kazimir grenade to the Rear Patio on the northern edge of the map near the Double Tap machine. Behind Double Tap, there’s a hole in the wall where zombies spawn. Throw the Kazimir grenade in front of the opening to suck a canister out of the hole and into the playable area.
Take that canister to Shem’s Henge on the southern side of the map near the Speed Cola machine. There’s a yellow machine hooked up to a pad with a bunch of yellow wires. Insert the canister into the machine and an Abomination will spawn on the nearby pad.
If you take a look at the surrounding area, you’ll notice a bunch of big and small rocks arranged in a circle surrounding the Abomination’s spawn pad. Bait the Abomination into using its electric beam attack on the small rocks. They’ll start glowing blue when hit. Once they’re glowing, bait the Abomination into charging at the rocks. It’ll knock them into the air where they’ll remain floating.
Once all three blue rocks are airborne, the Abomination will die and Vermin will begin to flood the area. Protect the pad from the Vermin while the rocks do their thing, and then go and collect the newly-charged explosive canister from the machine. Take it back down to the Supply Depot and place it on the Workbench across from the Armory. Then, place the Ray Gun Mark 2 on the Workbench with it to craft the upgraded Ray Gun Mark 2 Wraith Fire.
Ray Gun Mark 2 Preservation
To get the second version of the Ray Gun Mark 2, you have to solve a simple gas puzzle. You need Tomahawks for this, so craft some before you get started.
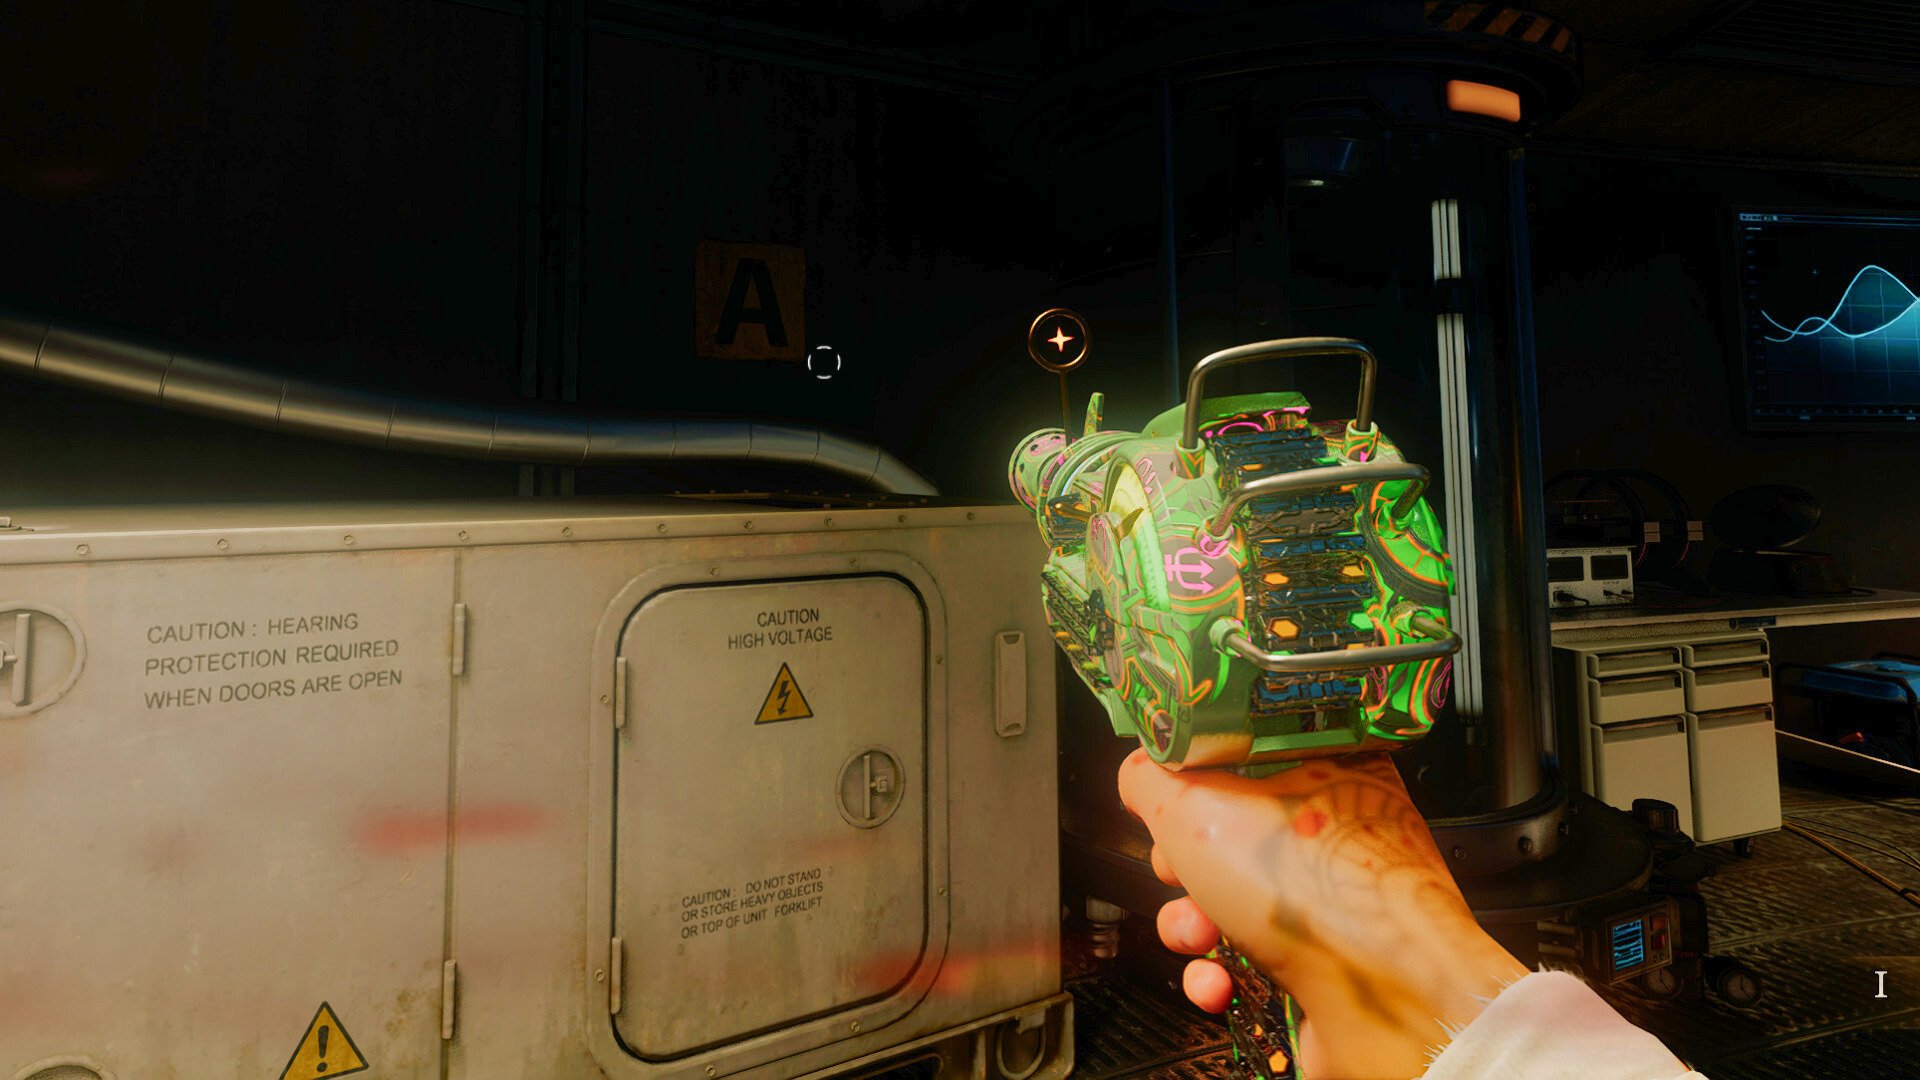
To begin, go down to the Mainframe Chamber and investigate the big tube holding a corpse to the left of the crafting bench. A yellow letter will be on the wall to the left of that tube. It’ll either say “A” or “B,” so make note of which one you have.
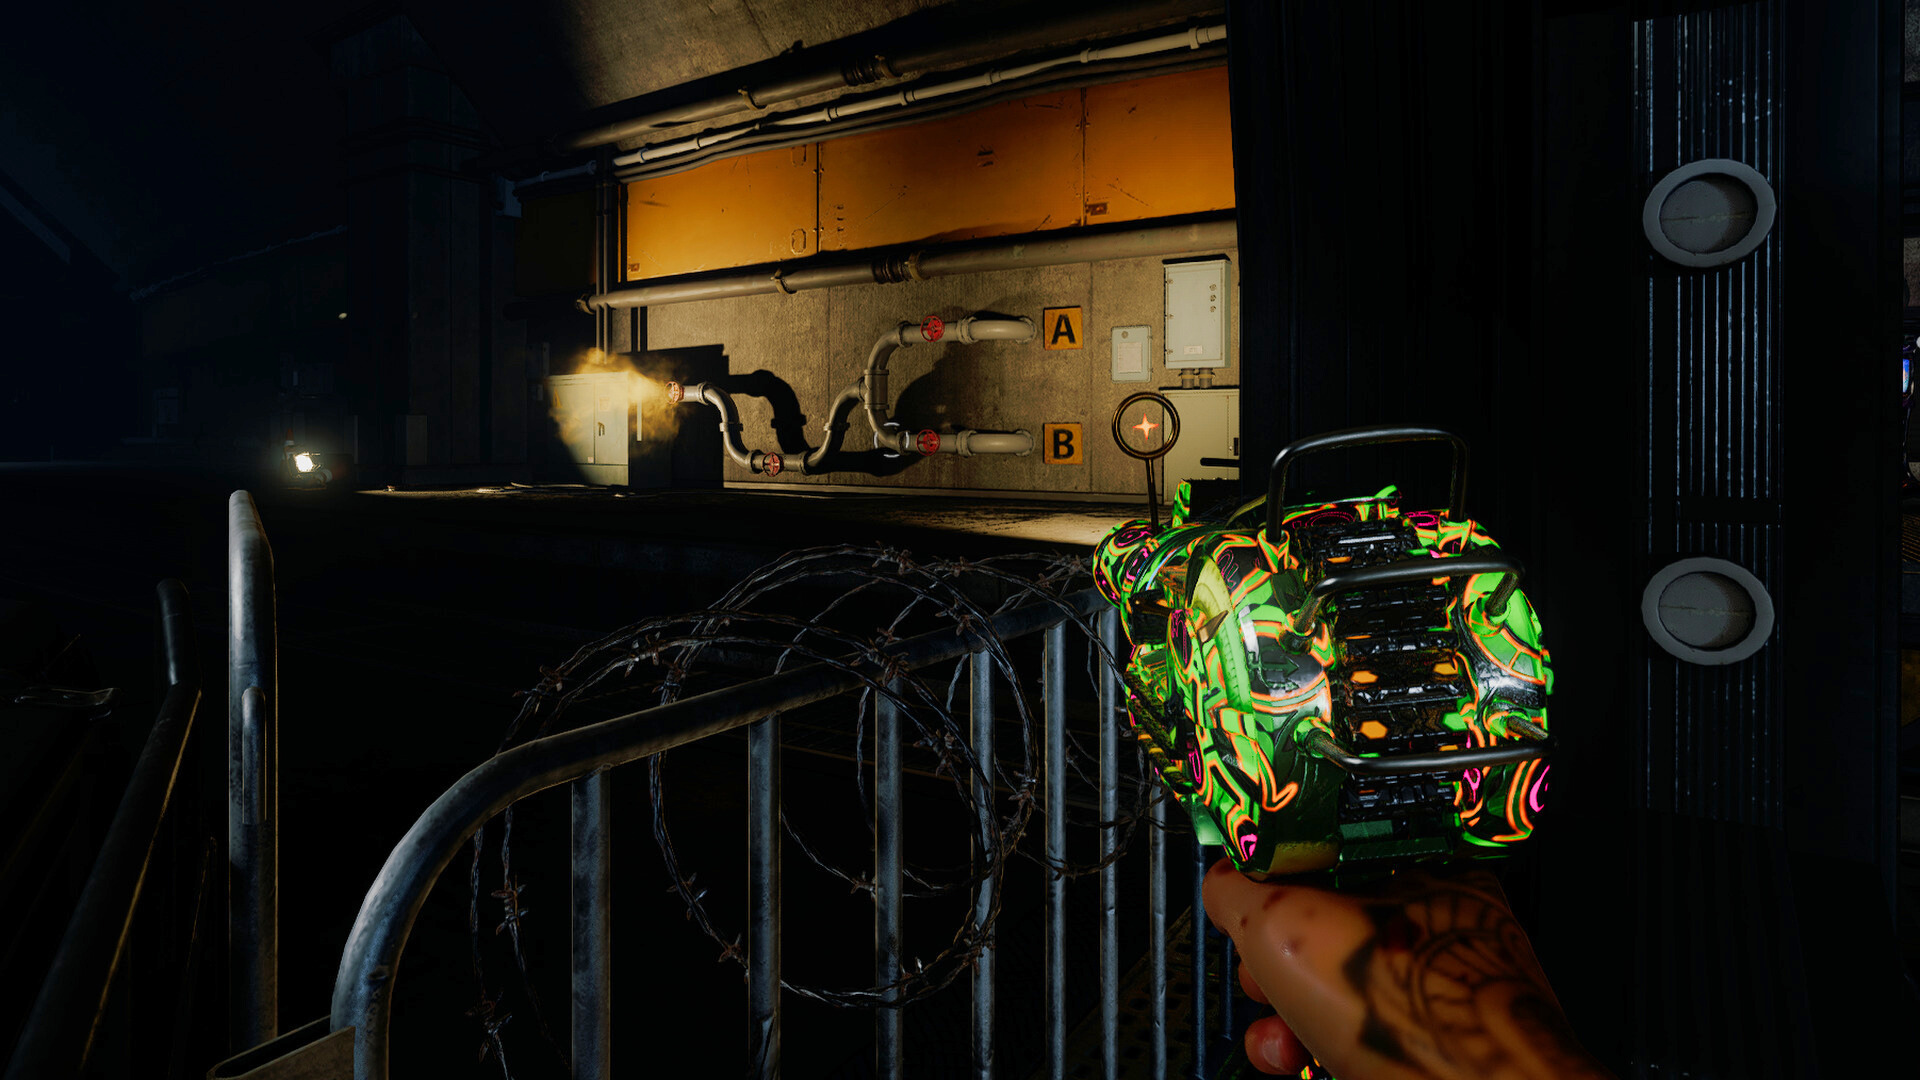
Once you’ve learned your letter, head to the southeastern edge of the Service Tunnel where you’ll see some pipes on the wall marked with the letters A and B outside of the playable area past a barricade. Gas is leaking out of these pipes, and your goal is to get the gas to flow to the letter that matches the one by the tube in the Mainframe Chamber.
You can adjust the gas flow by tossing Tomahawks at the red valves along the pipes. The first two valves need to be activated regardless of your assigned letter, so make sure they have gas flowing out of them. Then, use a Tomahawk to activate the valve that leads to either A or B depending on your assignment. Make sure only A or B has gas flowing to it, not both.
With the gas flowing correctly, head back to the tube in the Mainframe Chamber and use an explosive to blow it open and reveal the second canister. Next, you need to get your hands on an Essence Bomb.
This is one of the more annoying steps of the Shattered Veil easter egg since it’s a bit random. There are several white Project Janus crates scattered across the map. Only one of them has the Essence Bomb. Comb your way through the manor and destroy every white box you see until you find it.
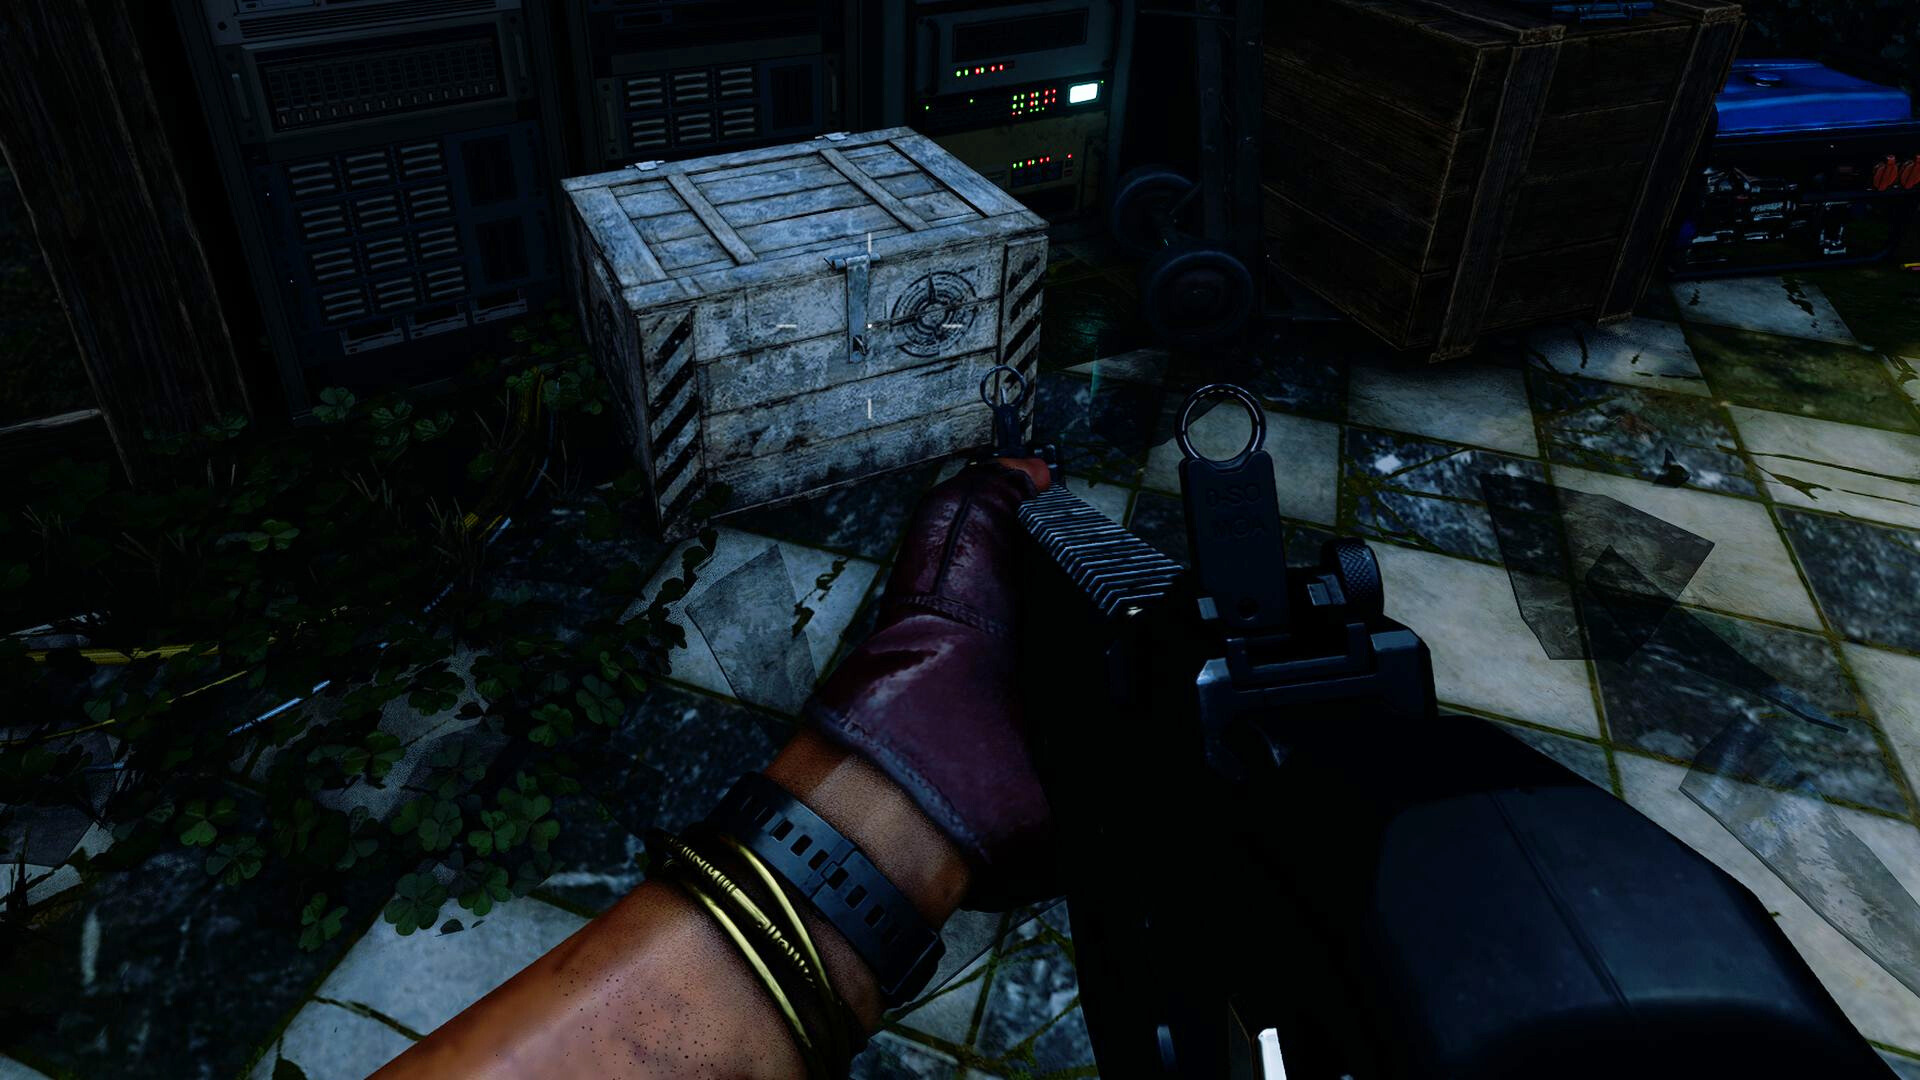
Here are all of the white crate locations we’ve found in Shattered Veil:
- On the eastern wall of the Armory
- In the southwestern corner of the Service Tunnel across from the ammo cache
- In the Service Tunnel to the left of the armor wall buy
- On the Southwest Balcony near PHD Flopper
- In the West Hallways near Death Perception and the weapon wall buy
- On the West Balcony in the northwest corner of the map
- In the northeast corner of the Overlook up the stairs past the T-Rex
- In the Grand Foyer near the entrance across from Juggernog
- Outside in the Motor Court near the ammo cache
- In the southeast corner of the Motor Court near the crafting table
- On the western side of Shem’s Henge
- On the Lower Terrace by the Gobblegum machine
- On the Upper Terrace to the northwest of the Gobblegum machine
- In the Garden Pond by the teleporter
- In the Conservatory by a hole in the wall
Again, only one of these boxes will contain the Essence Bomb. Happy hunting!
You’re not done collecting parts just yet, though. To continue, you need to collect a pair of Reflectors hidden in different parts of the map. The first Reflector is hidden in a fountain in the Conservatory next to the Quick Revive machine. The second one is in a fountain on the Southwest Balcony by PHD Flopper. You won’t see a prompt to collect these, but they’re there.
Once you have the Essence Bomb and both Reflectors, go down to the Service Tunnel and find the damaged wall to the left of the armor wall buy. Interact with the rubble to place the explosive and blow it up. This will open up the path to a new area called the Serpent Mound.
Place the canister in the yellow machine in the Serpent Mound. Time for another puzzle! Blue laser beams will activate once the canister is placed. Head to the southeast corner of the room to find a laser hitting a wall. Place a Reflector on the podium in its path to deflect it to another part of the room. Then, go to the west part of the room to find a podium for the second Reflector.
Finally, find the blue crystal where the beam originates from and hit it with a melee attack. A Doppelghast will spawn. Defeat it to obtain the first of three Doppelghast Souls required for this quest step.
To spawn the second Doppelghast melee the first Reflector you placed in the southeast part of the room to adjust its direction. Then, go and collect the other Reflector. Take it through the tunnel on the north side of the room and place it on the elevated pedestal. Melee that Reflector once to adjust it as well. Then, just go melee the blue crystal that the beam is coming from once again to spawn the Doppelghast.
To get the third Doppelghast to appear, go to the first reflector on the ground floor and melee it to adjust it. Then, hit the crystal to summon the final foe. The canister will now be fully charged, so retrieve it from the machine. Take it to the crafting bench in the Director’s Quarters, combine it with the Ray Gun, and collect the newly-constructed Ray Gun Mark 2 Preservation.
Ray Gun Mark 2 Rot Blight
To get the third and final canister, all you need is a Ray Gun Mark 2. There are glowing blue crystals growing in certain parts of the map. Only the Ray Gun Mark 2 can destroy them, and one of them contains the canister you need.
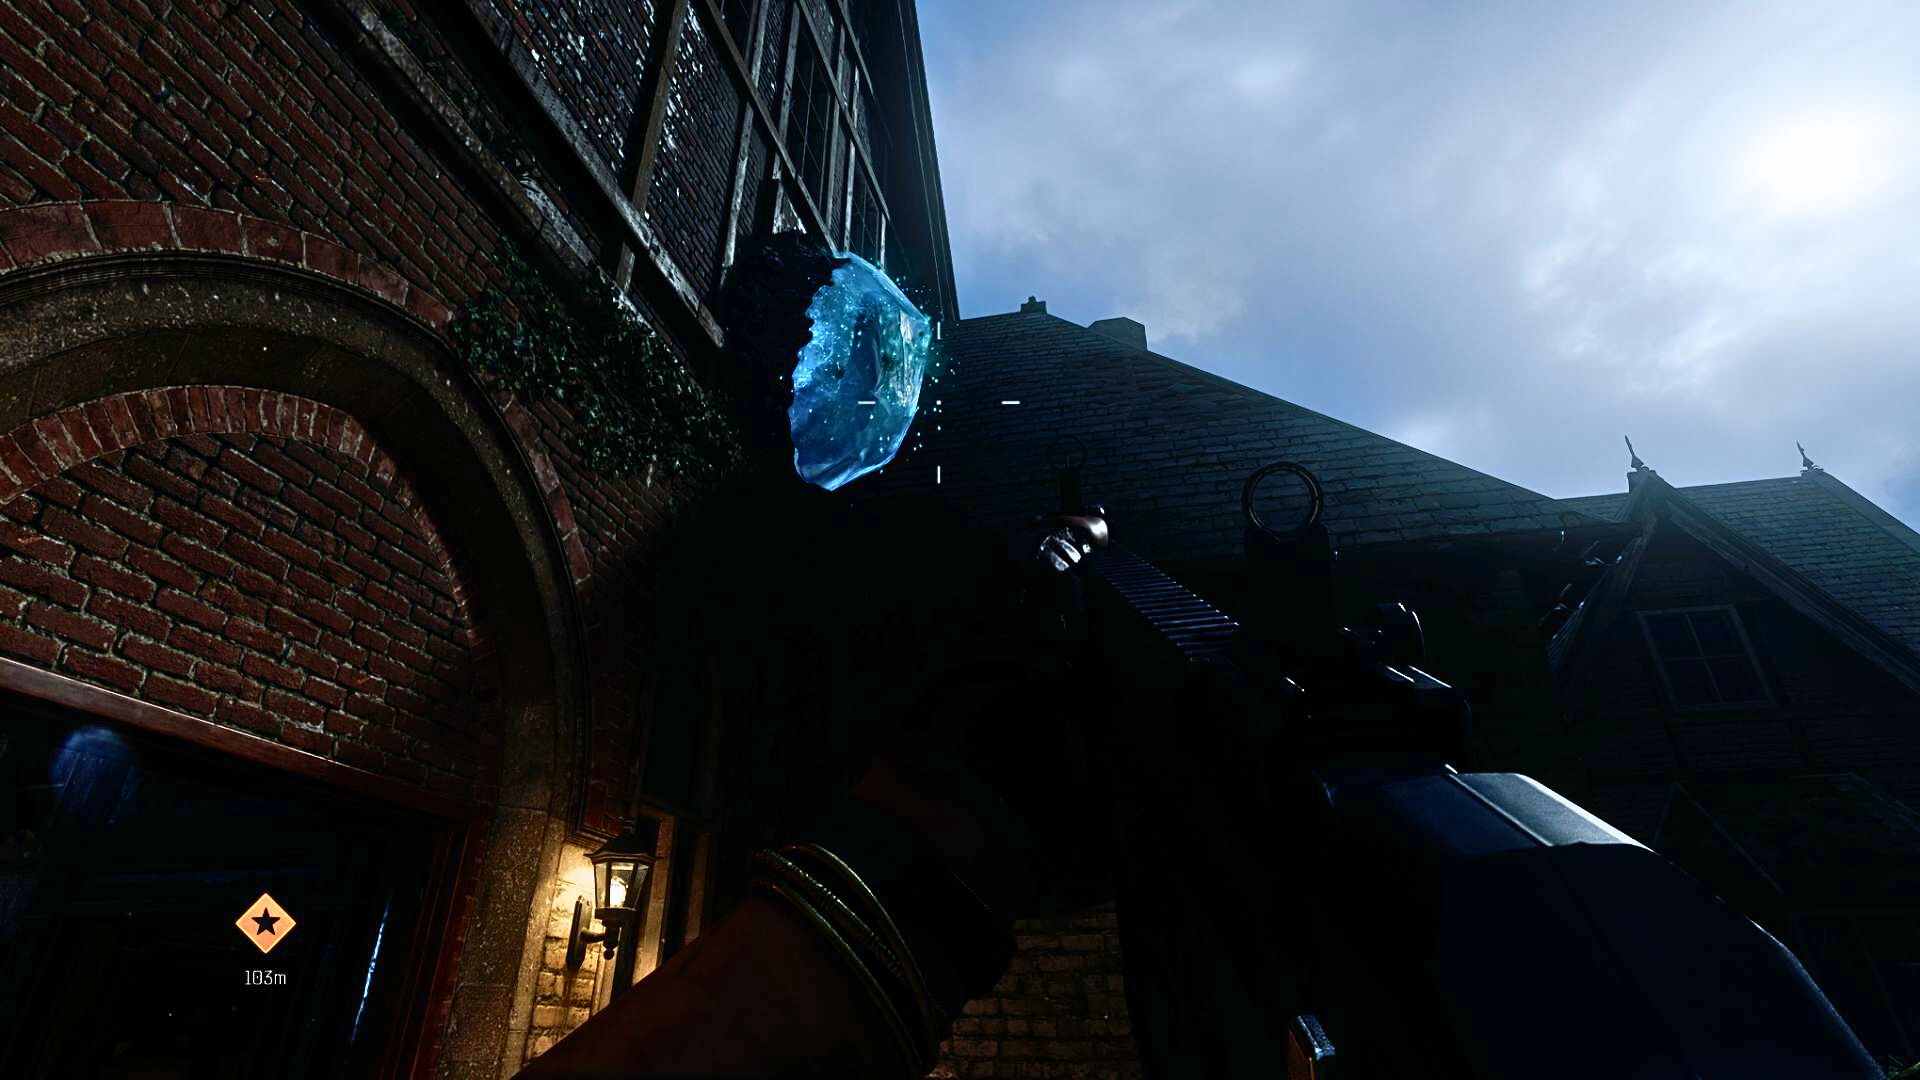
Here are all four blue crystal locations in Shattered Veil:
- On the ceiling in the Conservatory near Quick Revive
- On a wall on the Southwest balcony near PHD Flopper
- On the ceiling in the East Foyer by Stamin-Up
- On the ceiling in the Service Tunnel by the ammo cache
Next, you need to collect four Plant Seeds that can be obtained by destroying Spores hidden throughout the map. It’s time for another wild goose chase! There are several Spore spawn locations throughout the map, and they can only be destroyed with explosive damage. The base Ray Gun Mark 2 works for this too since it technically dishes out explosive damage, but the upgraded variants won’t work.
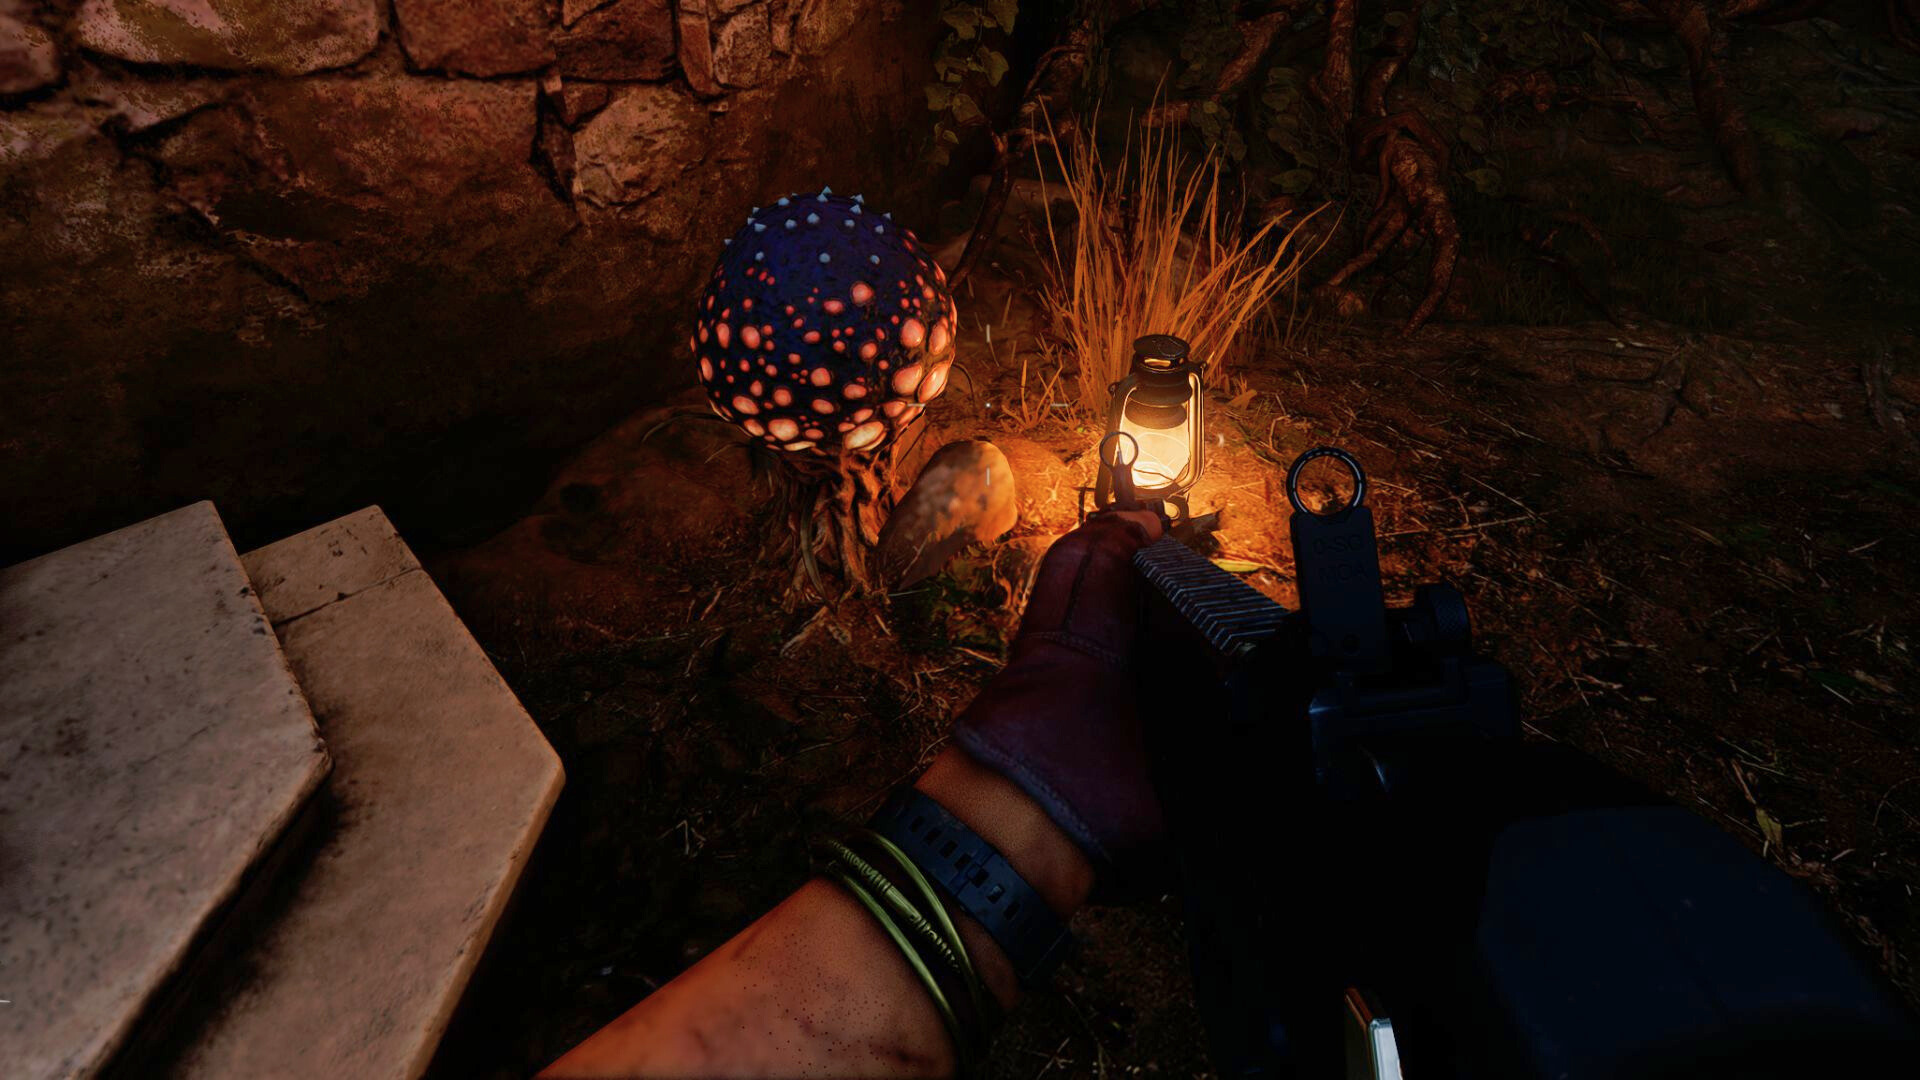
Here are all the possible Spore spawn locations in Shattered Veil:
- On the southern edge of Shem’s Henge
- In the Conservatory next to the fountain by Quick Revive
- On the northern side of the bridge in the Garden Pond
- On the southern side of the bridge in the Garden Pond
- On the northern side of the Motor Court near the manor entrance
- In the southeast corner of the Motor Court near the crafting table
- On the Southwest Balcony near PHD Flopper
- On the Southwest Balcony near the Gobblegum machine
- On the West Balcony by a tree
- On the Rear Patio behind Double Tap
After collecting four Plant Seeds, go to the Conservatory and insert the canister into the machine. Throughout the Conservatory, there are four yellow incubators that can grow your Plant Seeds. Place a Plant Seed into an incubator and then defend it from the incoming hordes of undead until it’s fully mature. Repeat this process four times until you harvest enough toxic spores.
When you’re done, grab the canister and take it to the crafting table in the Garden Pond. Combine it with the Ray Gun Mark 2 to get the third and final elemental variant: the Ray Gun Mark 2 Rot Blight.
Liminal Spaces
Now, it’s time to put these elemental Ray Gun variants to use. Remember, if you need to swap between the Ray Gun Mark 2 variants, just head back to the associated crafting tables for each one. The canisters should still be charged and ready to modify your weapon.
The second half of the Shattered Veil easter egg involves exploring different Liminal Spaces that correspond to each of the Ray Gun variants. More convoluted item hunts and boss fights await. Again, you can do these in any order as long as you have the right Ray Gun Mark 2 variant equipped.
Liminal Distillery (Blue)
First up is the Liminal Distillery, which requires the Ray Gun Mark 2 Wraith Fire (the blue one) to access. Head to the Banquet hall near the elevator and collect the Sconce from a box in the corner across from the Gobblegum machine.
Take that Sconce to the Grand Foyer with the T-Rex and insert it into the suspicious hole in the western wall. Now, it’s time to play a little game with the two Sconces on the wall. They’re going to flash in a certain order, and you need to turn them on in that order to continue.
For example, after inserting the missing Sconce, the left light may light up once. That’s an invitation for you to go and turn on the left light once in response. The process will repeat three times with different sequences. If you do this correctly, the wall will come down and a secret path will open up.
The newly opened path leads to the Distillery. With the Ray Gun Mark 2 Wraith Fire equipped, interact with the computer next to the big painting. Kill zombies with the Ray Gun to charge the Liminal Portal and gain access to the Liminal Distillery.
Before you can do anything in there, though, you need to find a tiny Bell in the Study by the Elemental Pop machine. The Bell has too many different potential spawn locations to list, but it will always be somewhere in this small room. You’ll usually need to break a glass display to reach it, but it can also appear among the debris on the floor.
There are two easy ways to collect the bell without searching everywhere for it, however. First, throw some explosives into the Study to break all the glass and then scour the wreckage while holding down the interact button. You might pick up the Bell without even realizing. Second, solo players can save and exit their game and reload back in to change the Bell’s spawn location until it’s easy to spot.
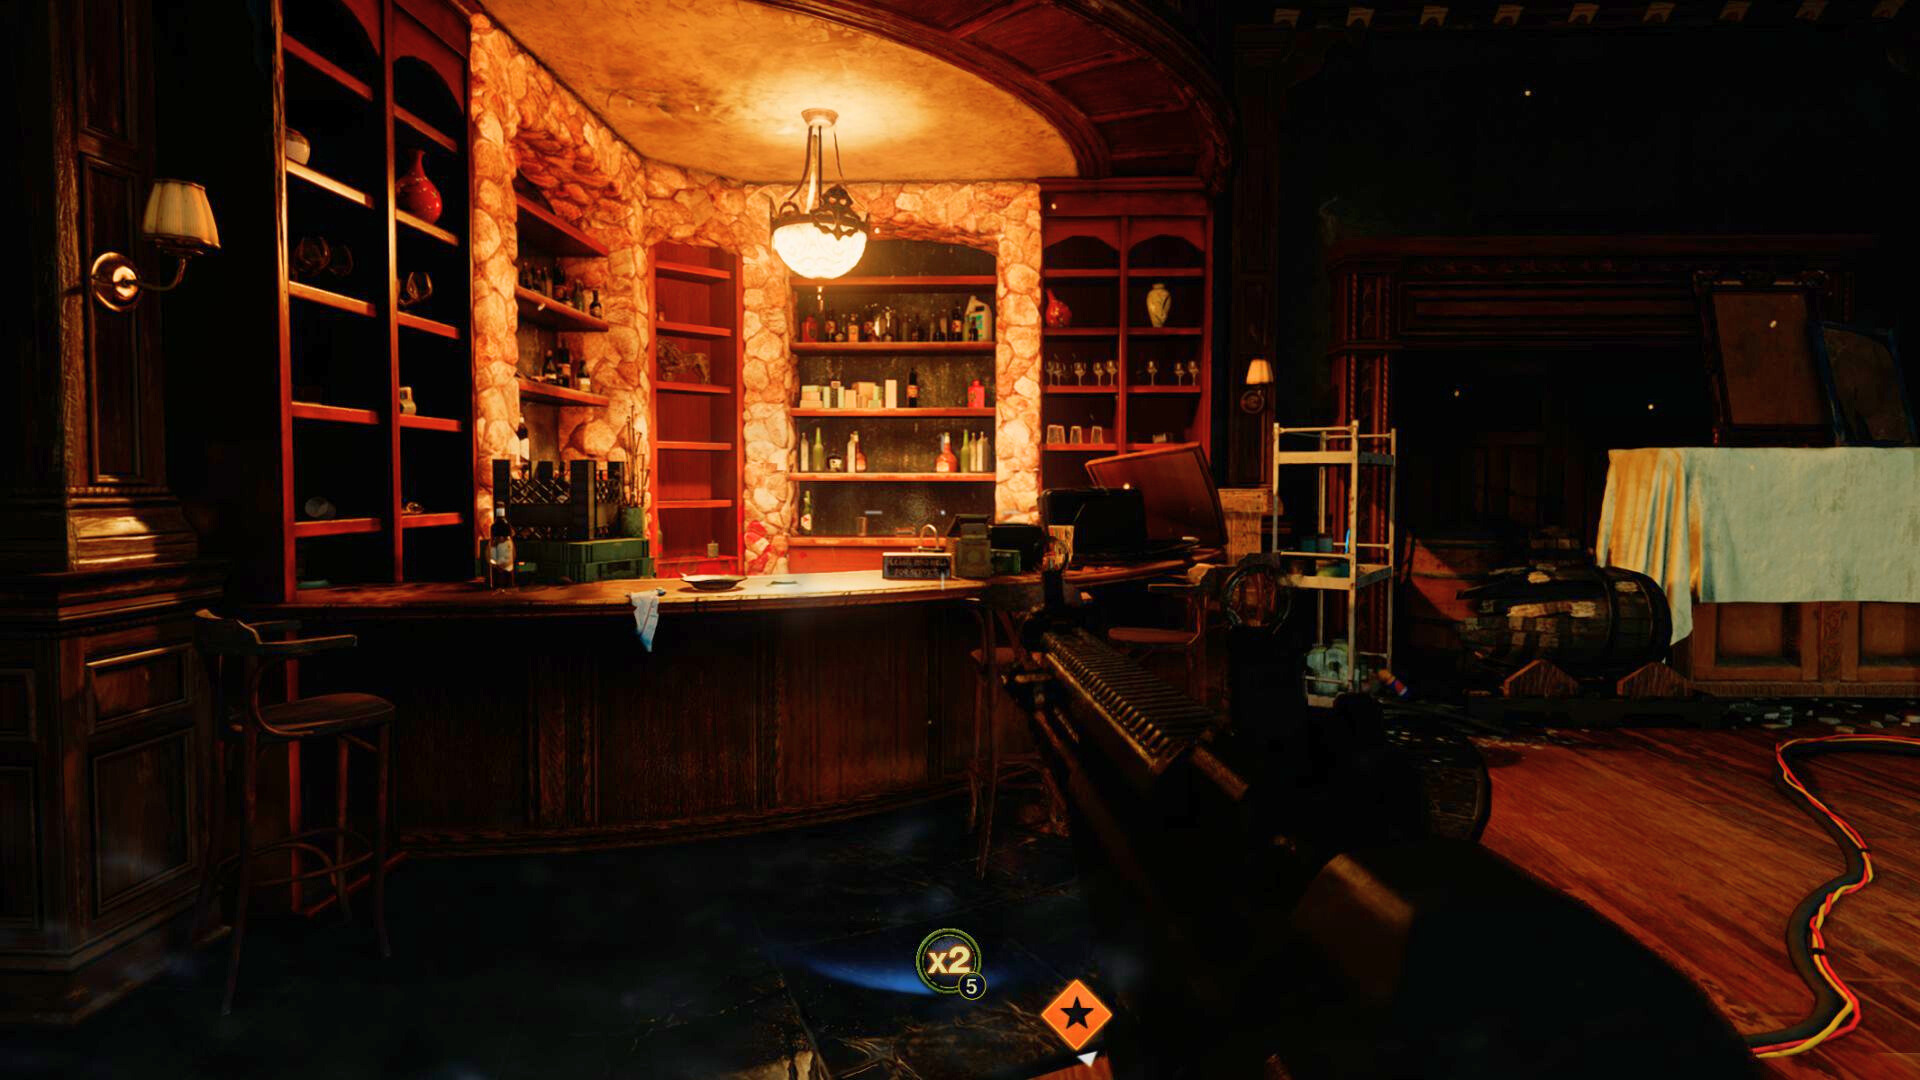
Once you have the Bell, go to the Overlook in the Grand Foyer with the T-Rex and place it on the bar in the southern corner. You need the Brain Rot ammo mod for this next step, so hit up the Arsenal if you need to make a loadout change. Infect a zombie with Brain Rot and then interact with the Bell repeatedly to demand service. A Brain Rotted zombie will hop over the bar and serve you a drink in a Metal Hip Flask.
Take the Metal Hip Flask and go to the Liminal Distillery. Place it onto the pedestal in the eastern side of the room to begin a boss fight. This boss has a blue shield that can only be pierced with the Ray Gun Mark 2 Wraith Fire. Break the shield, hit the boss with your heaviest weapons, and repeat until it goes down. Once the boss is defeated, go to the glowing blue artifact on the pedestal and interact with it to progress the easter egg.
Liminal Banquet Hall (Purple)
Next up, you need the Ray Gun Mark 2 Preservation from the Director’s Quarters. Take it to the Banquet Hall by the elevator and interact with the computer next to the big painting. Just like last time, kill zombies with the Ray Gun to unlock the Liminal Banquet Hall.
Inside the Liminal Banquet Hall, investigate the dining table in the center of the room. You’ll find a suspicious bottle of Ritual Elixir on the corner of it.
Take the bottle and return to the real world. Make your way to the Bottlery and pour the Ritual Elixir into the empty chalice on the table to spawn an Elder Disciple. Clear the area and the chalice will now have a glowing green symbol above it. Repeat this process with two other chalices, one on a bench on the northern side of the Garden Pond and another next to the S.A.M Trial machine in the Overlook of the Grand Foyer.
After all three chalices have been activated, go to the Banquet Hall with the elevator. Three numbers will be displayed on the walls surrounding the elevator. One number is to the left of the elevator, the next number is behind the elevator, and the last number is to the right of the elevator. Read from left to right, these numbers form a safe combination.
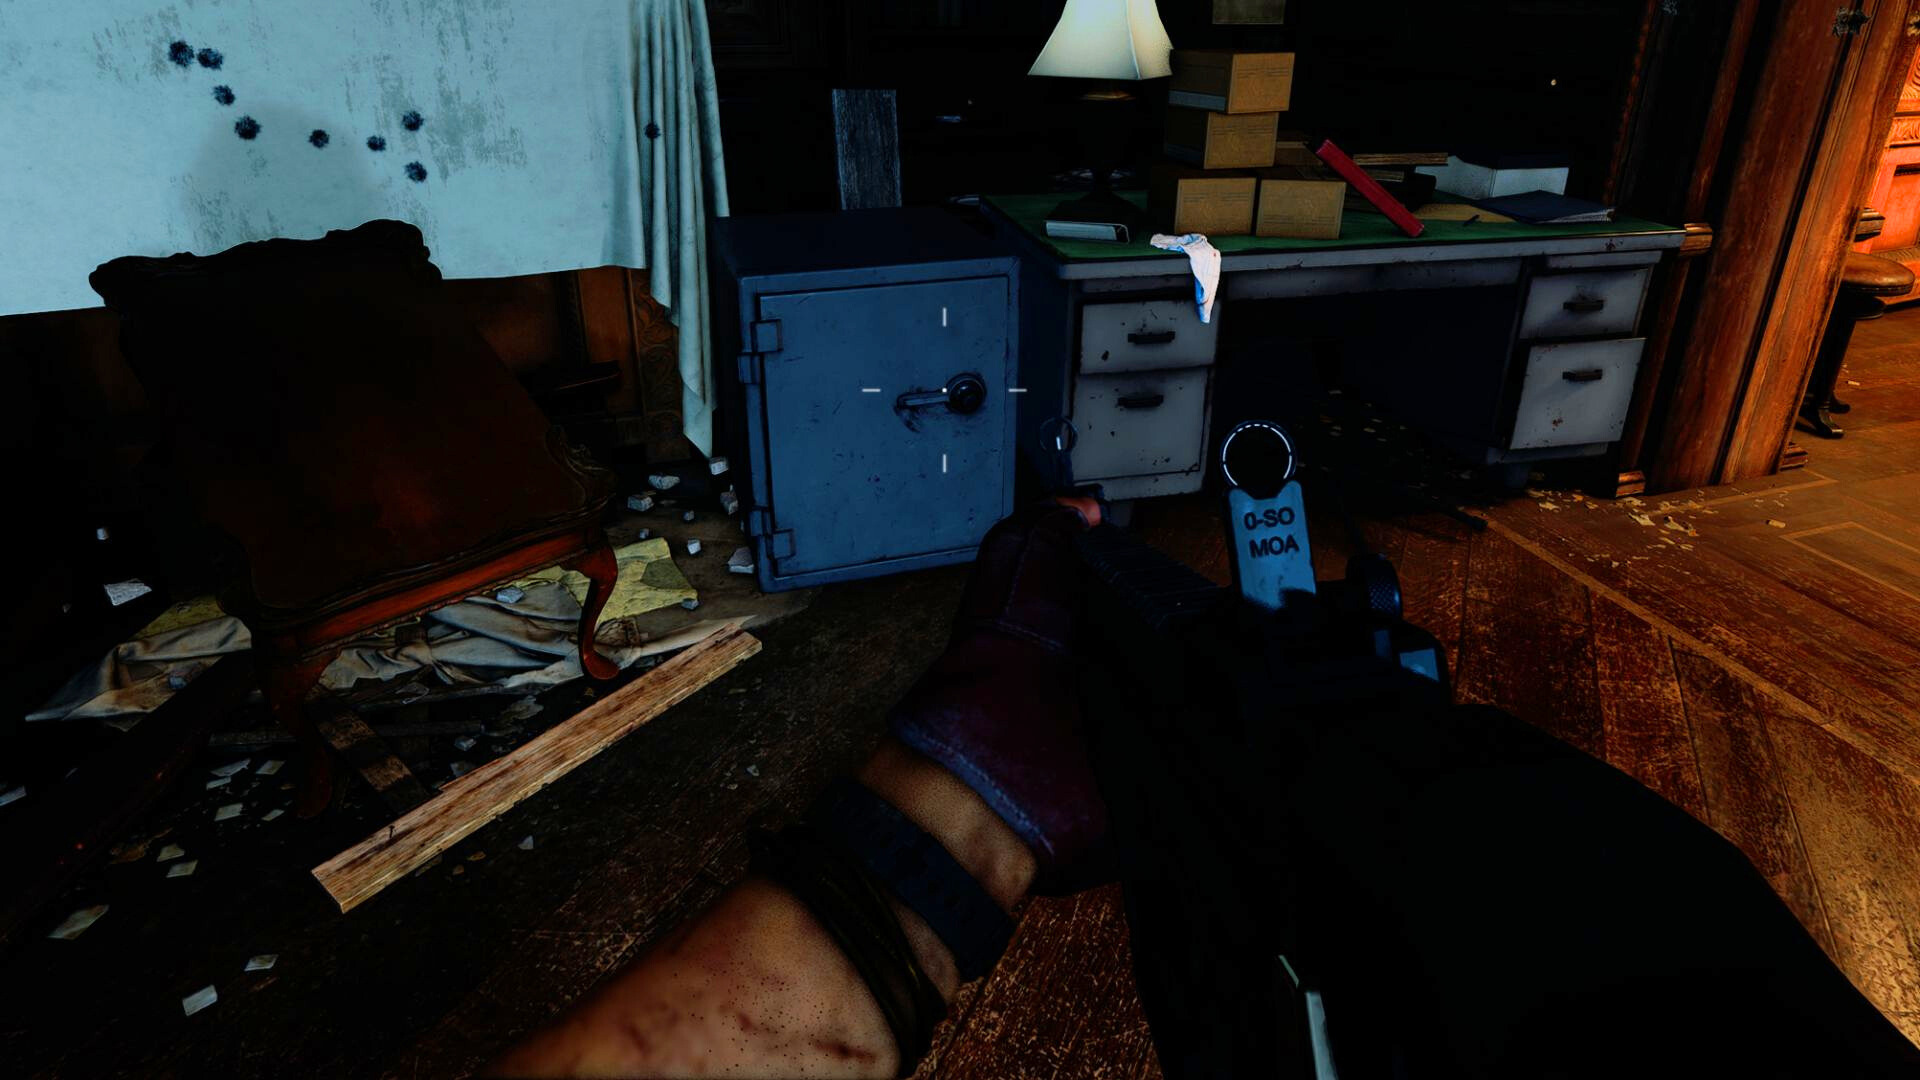
Make a note of these numbers and then go to the West Hallways near the Director’s Quarters. There’s a safe on the floor next to the Death Perception machine that you can unlock with the code you’ve learned.
Open the safe and loot its contents. Return to the Liminal Banquet Hall, place the artifact on the pedestal, and survive the boss fight with the Ray Gun Mark 2 Preservation to continue with the Shattered Veil main quest. Don’t forget to interact with the artifact on the pedestal after the boss fight.
Liminal Library (Yellow)
The last step before the final boss is dealing with the Liminal Library. You need the Ray Gun Mark 2 Rot Blight from the Garden Pond crafting table for this one.
Just like the last two Liminal Spaces, go to the Library and interact with the computer next to the painting. Kill zombies to open the portal. There are more parts to collect this time before you can do anything in the Liminal Library.
You need the Aether Shroud Field Upgrade for this step. The parts that you’re hunting for are only visible during Aether Shroud. We recommend bringing Gobblegums that recharge your Field Upgrades to make this step less of a hassle. These parts have random spawn locations which are listed below.
Nuclear Plant ID Badge
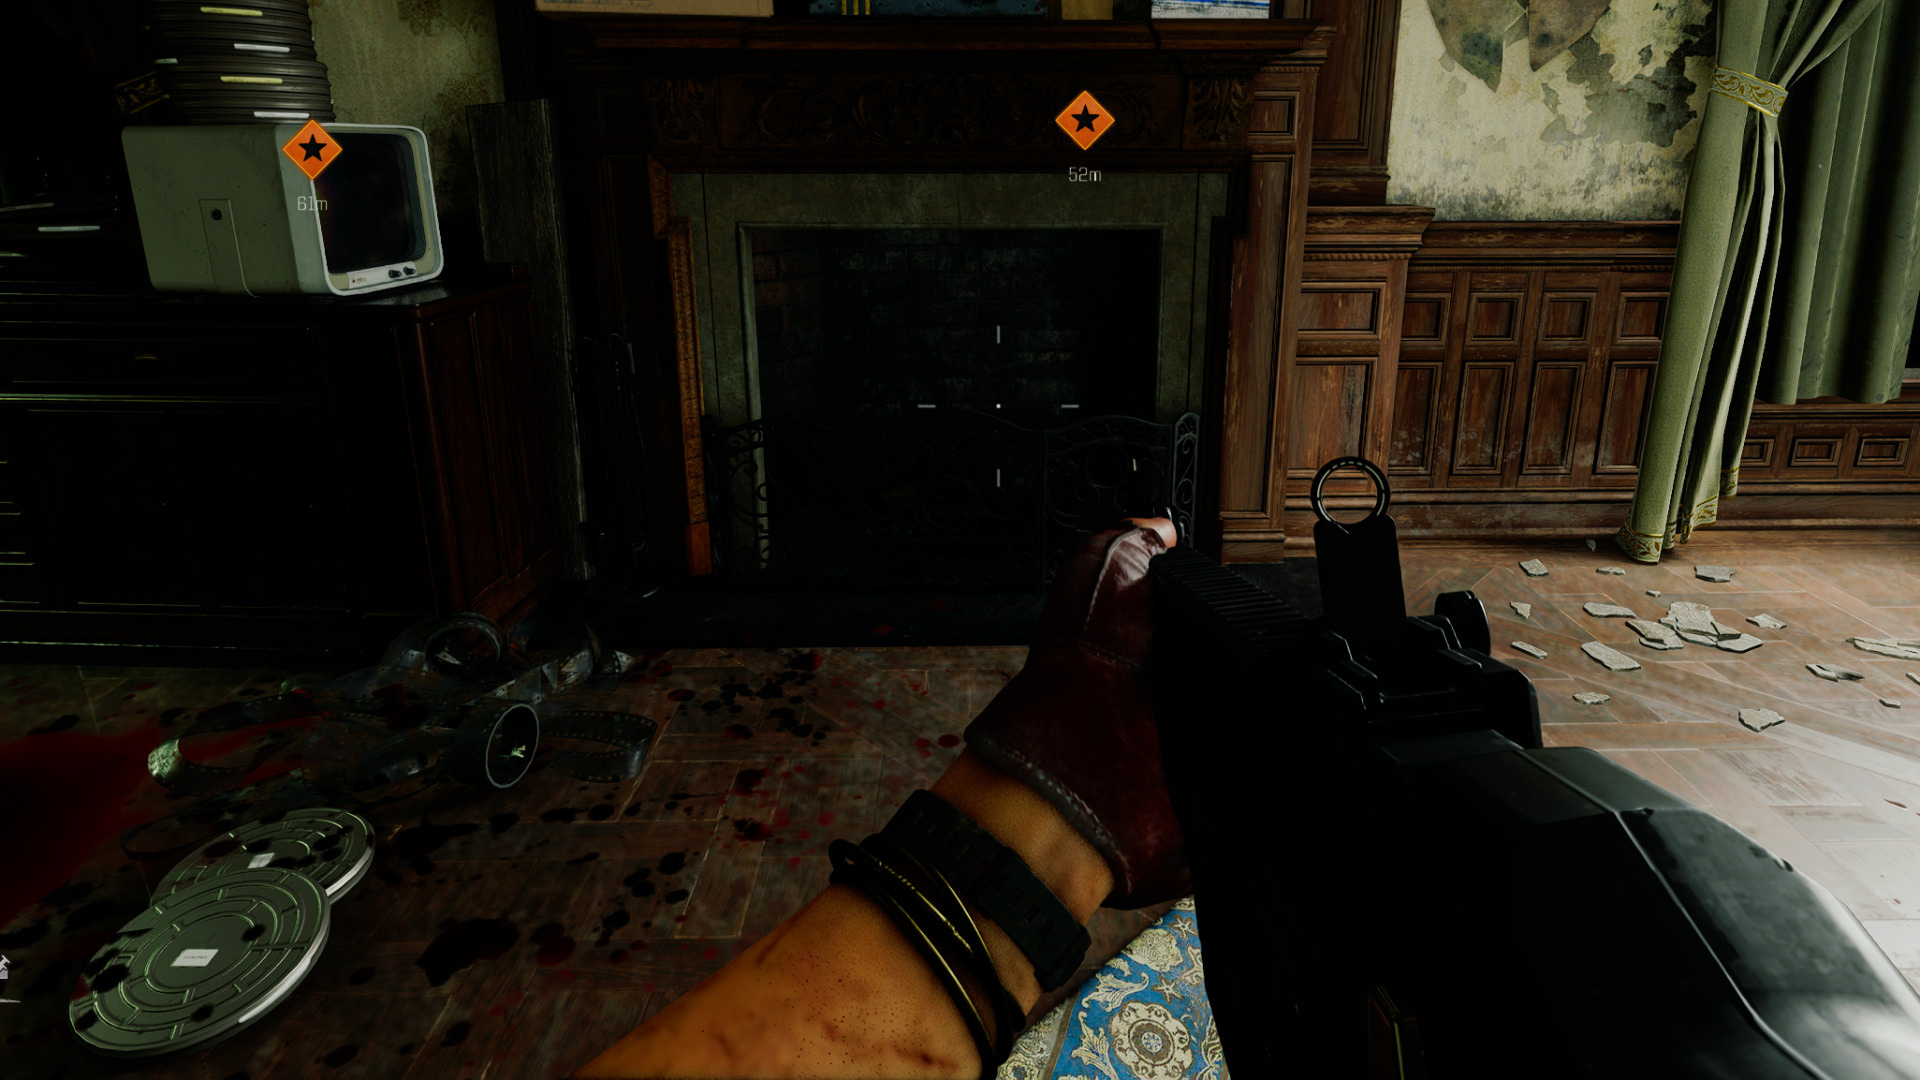
- Fireplace in the East Foyer
- Fireplace in the Study
- Fireplace in the Banquet Hall
Audio Log
- On top of the briefcases on the couch in the Library
- On a desk by the bar in the Overlook by the Grand Foyer
Ledger
- On a desk in the Study
- On a desk at the top of the stairs in the East Foyer
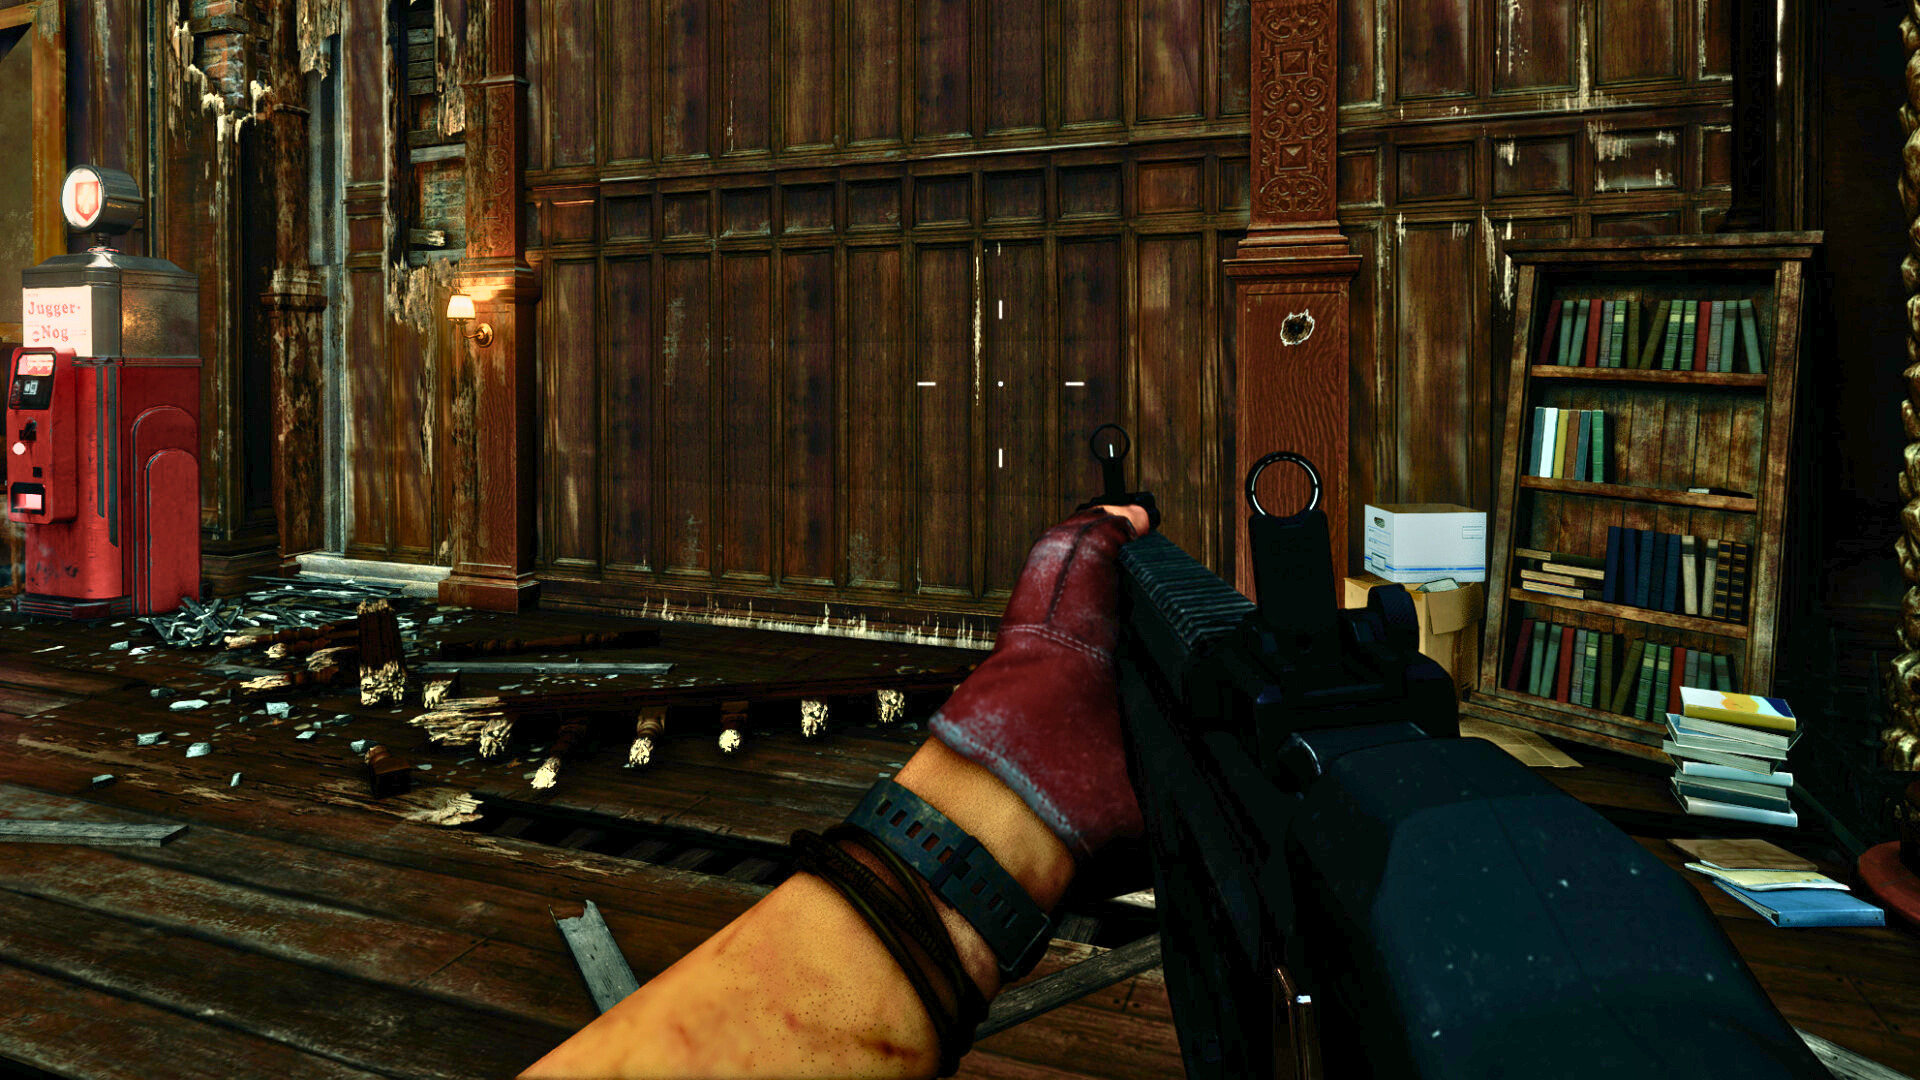
With all three parts collected, return to the Library. There will be three glowing books on the shelves. These books have unique icons on them, and you have to interact with them in the correct order. Interact with the book with a circle and a stem on it first, then the book with a circle and a line going through it, and finally the book with three dots.
If you do this correctly, a secret door will open. Head inside and grab the Nuclear Plant Inspection Report Intel, then enter the Liminal Library and place the artifact on the pedestal to begin the third boss fight. The same shield mechanic returns here yet again, so just clear the room and interact with the artifact once more to finish this section of the Shattered Veil easter egg.
Shattered Veil Final Boss
It is finally time to face the final boss of Shattered Veil after you’ve completed all three Liminal Spaces. Make sure you’re adequately prepared with Pack-a-Punched weapons, max armor, and a Chopper Gunner killstreak.
To begin the boss fight, go to the Mainframe Chamber and interact with the panel in front of the S.A.M. AI. After a brief cutscene, it’s time for a showdown with the fearsome Z-Rex.
How to beat the Z-Rex
The Z-Rex is a relatively simple boss fight, but this massive beast has a huge health bar that will take a few damage phases to whittle down. Focus your fire on its glowing eyeballs. Those are the main weak points. Keep your distance and play safe.

Watch out for toxic zombies during this fight. The Z-Rex will eat any of them in its path, causing its stomach to glow bright green. If you see this, immediately divert your attention to the green stomach and shoot it until it’s destroyed. Not only does this do a huge chunk of damage, but it also prevents the Z-Rex from performing a toxic attack.
At regular intervals throughout the fight, the Z-Rex will leap out of bounds onto the nearby cliffs and begin to spit toxic goop throughout the arena. Use the large rocks for cover and wait until the boss comes back down before you try to attack it. It’s immune to damage while it’s up there, anyway.
Other than the toxic goop mechanics, the Z-Rex is a straightforward boss battle that should go down fairly easily against an experienced squad. It can be challenging during solo play because of the small arena and the Z-Rex’s aggression, but you should be fine as long as you keep your distance and take it slow.