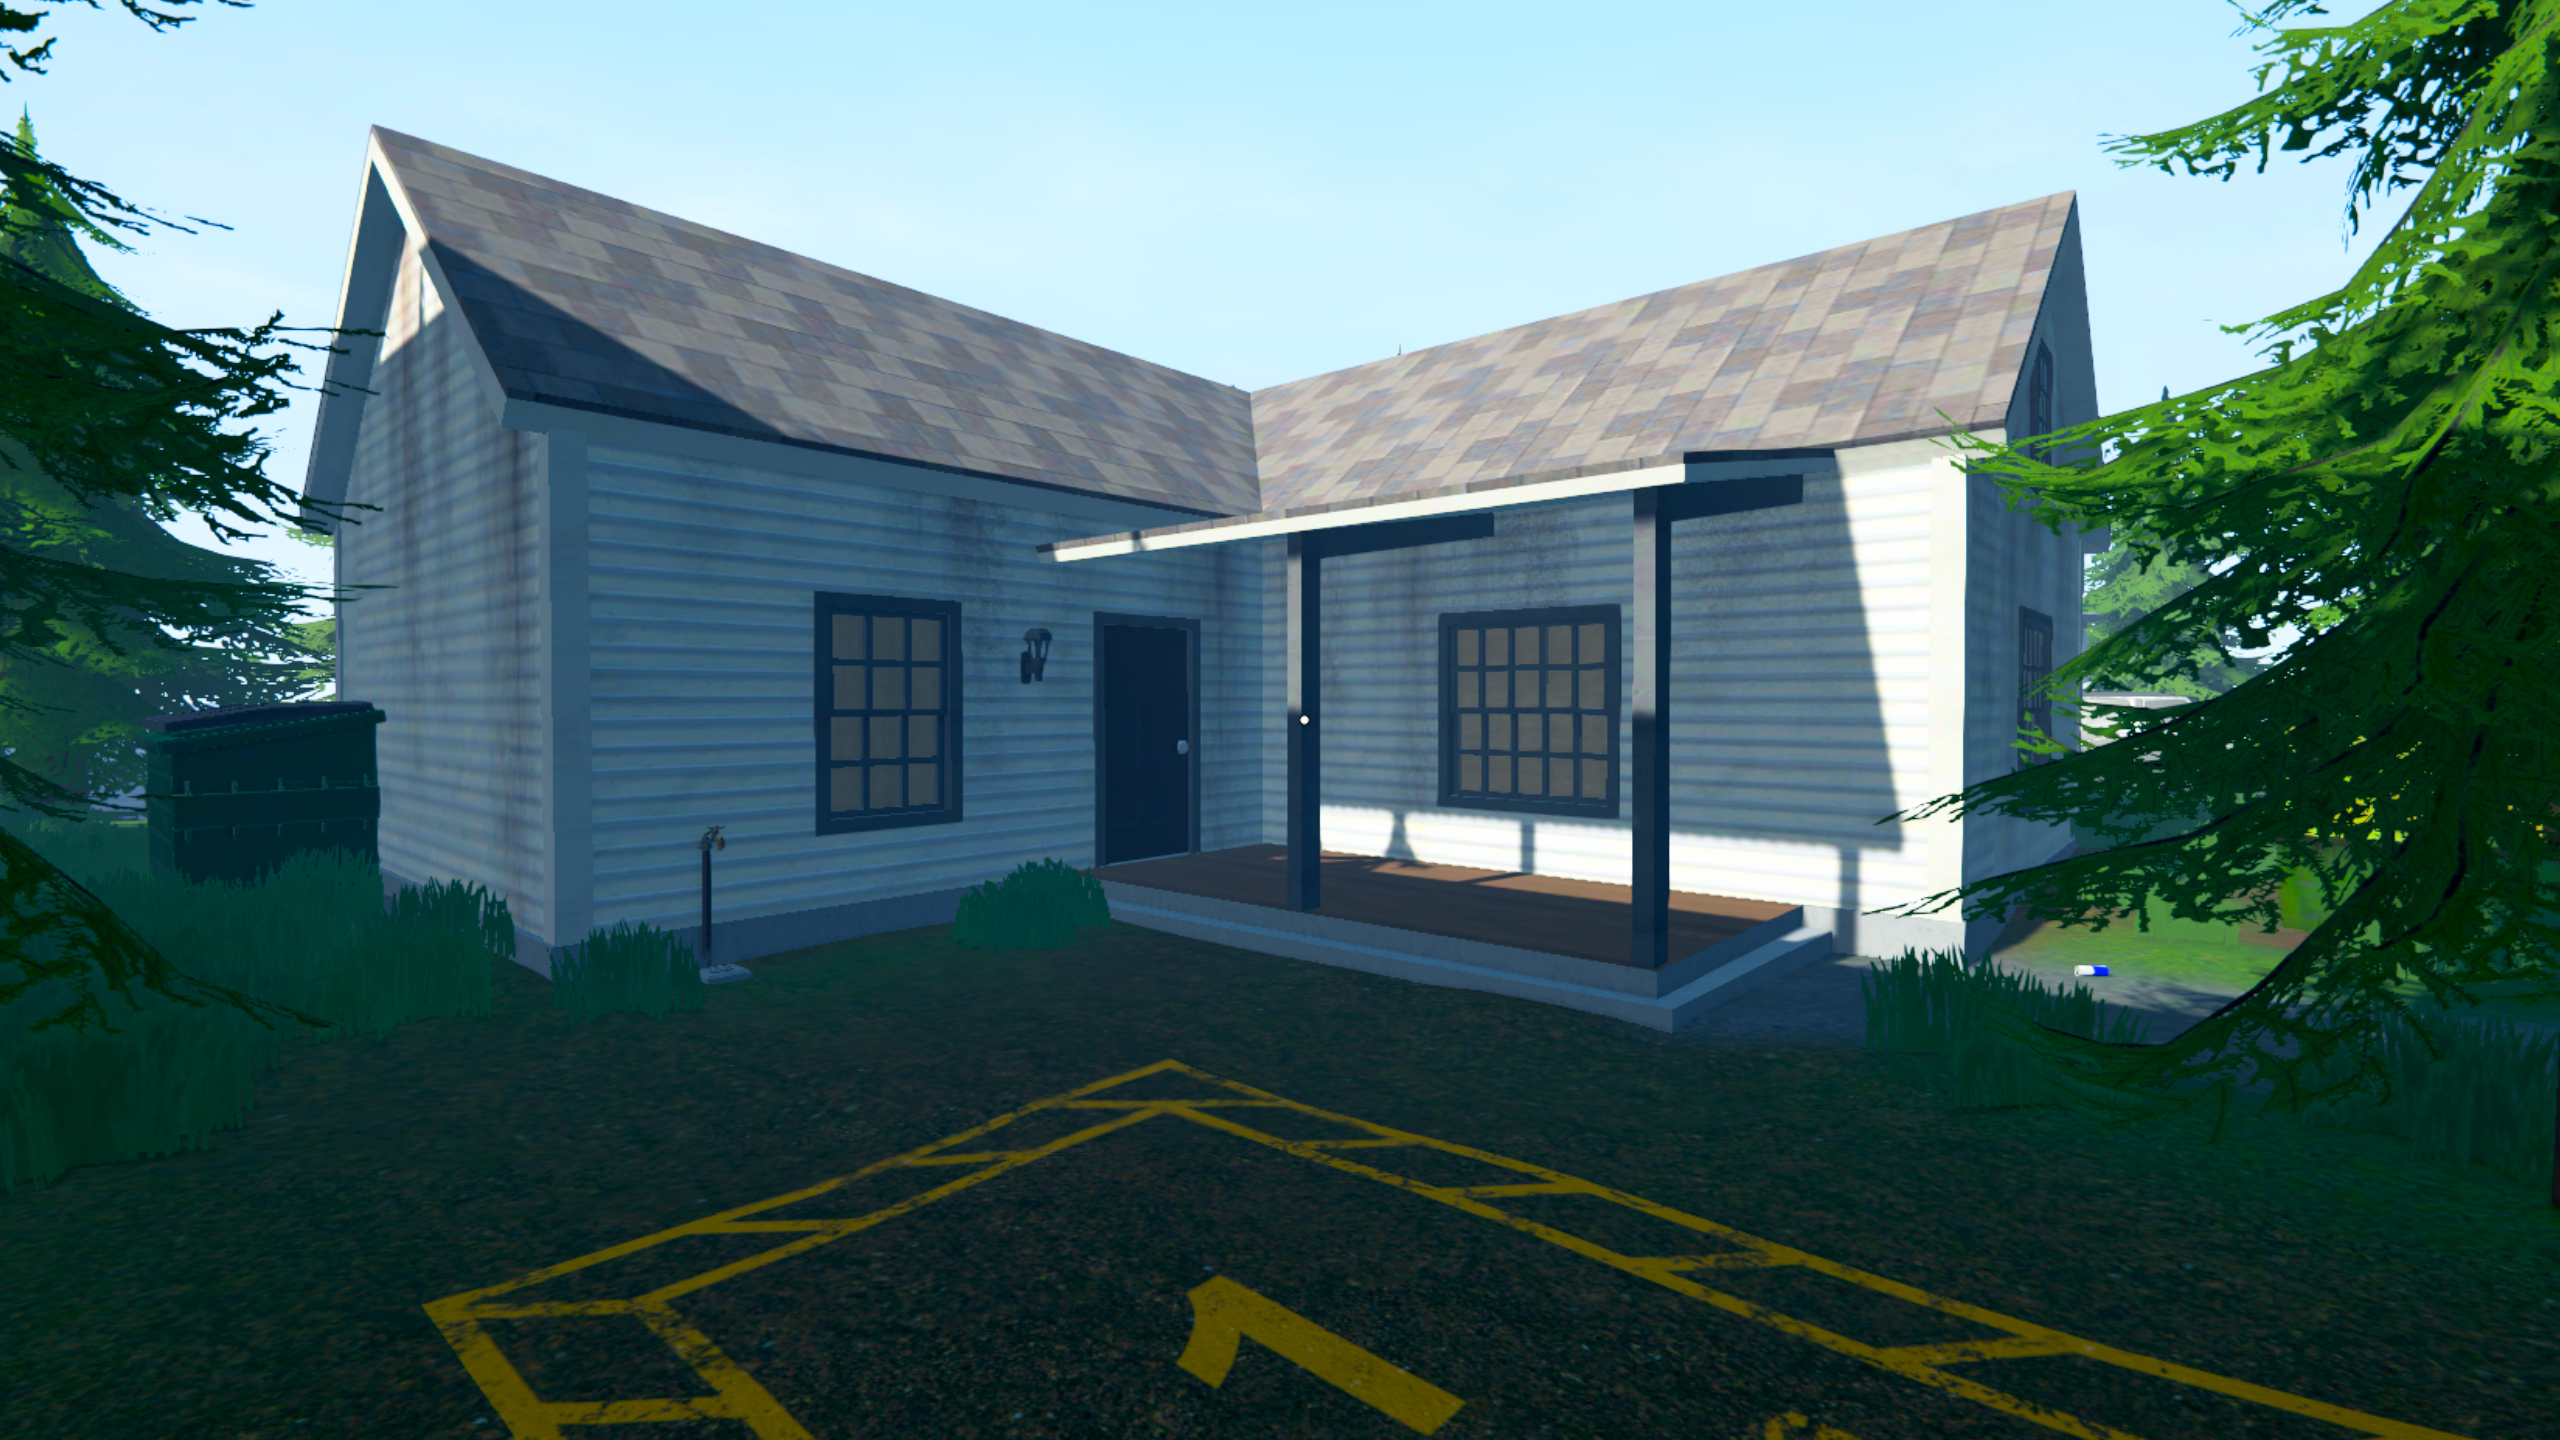
Maximise your profits in the bungalow.
Moving out of your sweatshop apartment and into the bungalow is one of the biggest upgrades you’ll get in Schedule 1, finally giving you room to hire employees and get a good supply chain going. However, this does mean you’re thrown in at the deep end, not to mention the added confusion of managing employees.
After fiddling around with the management system, all the stations you’ve got access to, and the optimal drug recipes, I’ve devised the best Schedule 1 bungalow setup. Below, I’ll go over what you need and how to lay it all out. If you’re yet to get the bungalow, you can buy it from Ray’s Real Estate for $6,000.
Best Schedule 1 bungalow setup
The best bungalow setup in Schedule 1 needs:
- Employees: 1x cleaner, 2x botanists
- Stations: 1x mixing station, 1x packaging station MK.2, 16x grow pots, 1x lab oven, 1x chemistry station
- Other: At least two large storage racks, two bins, and three beds (excluding one for you)
Layout
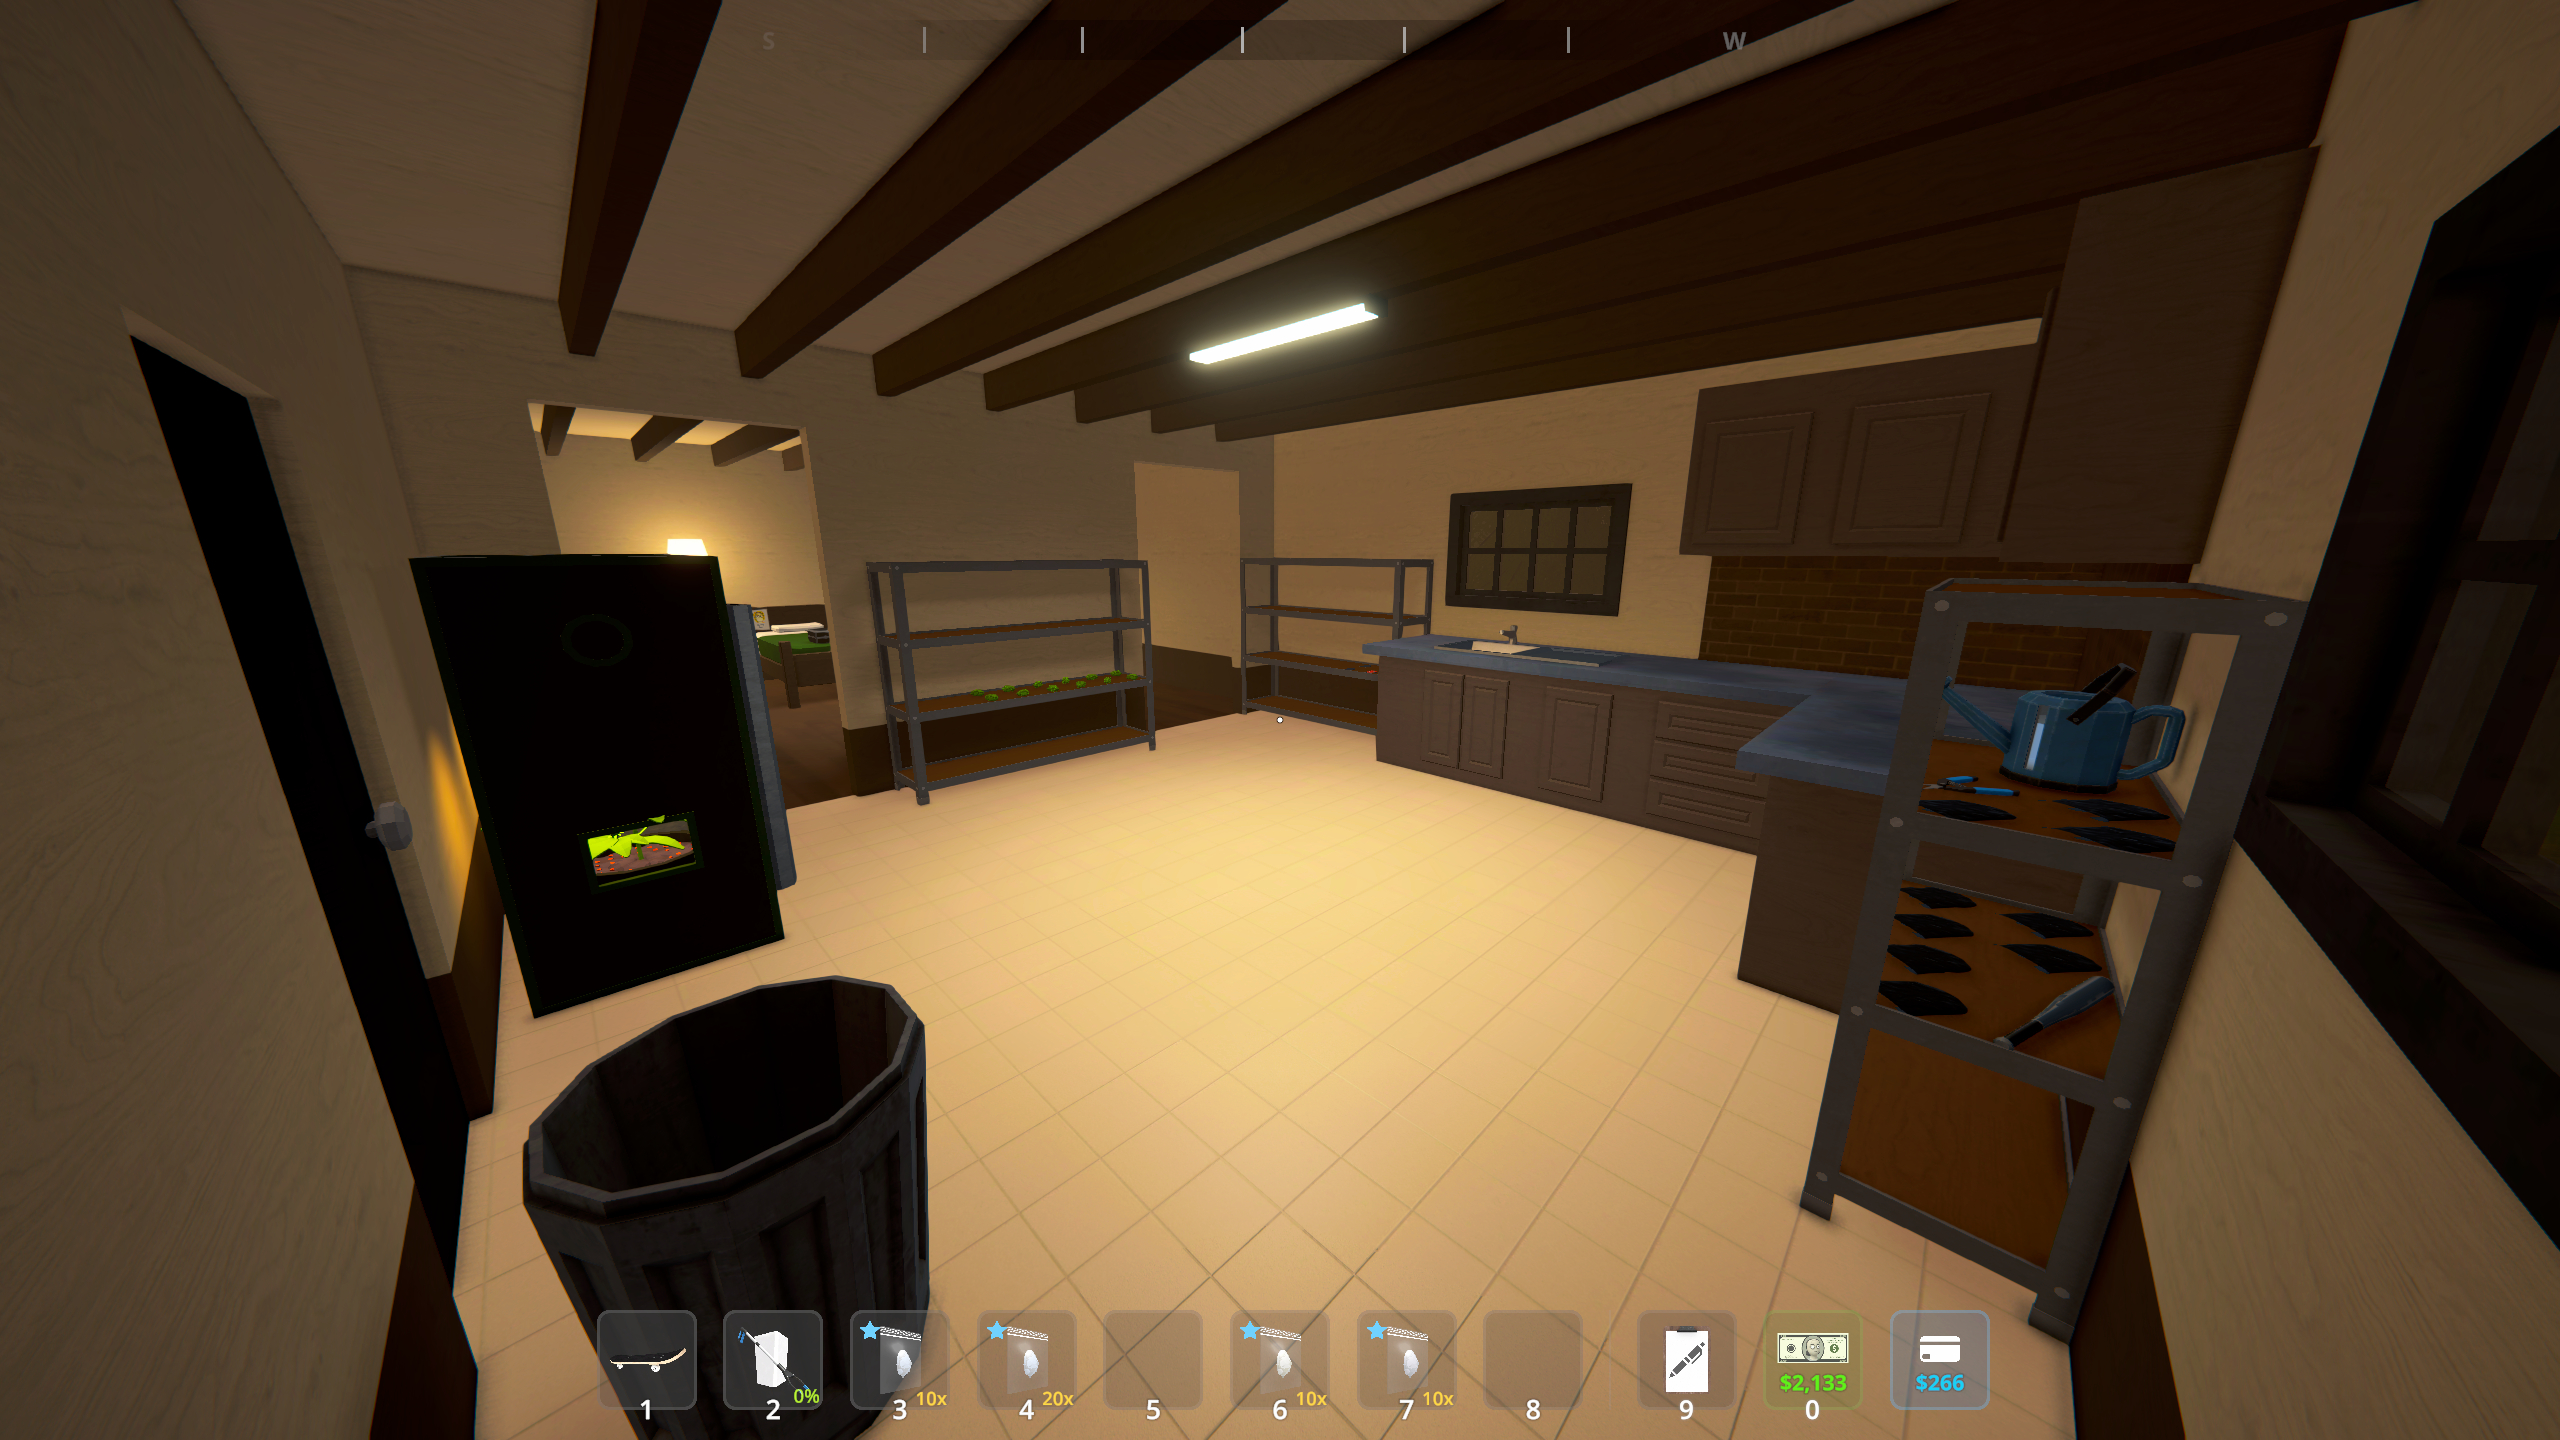
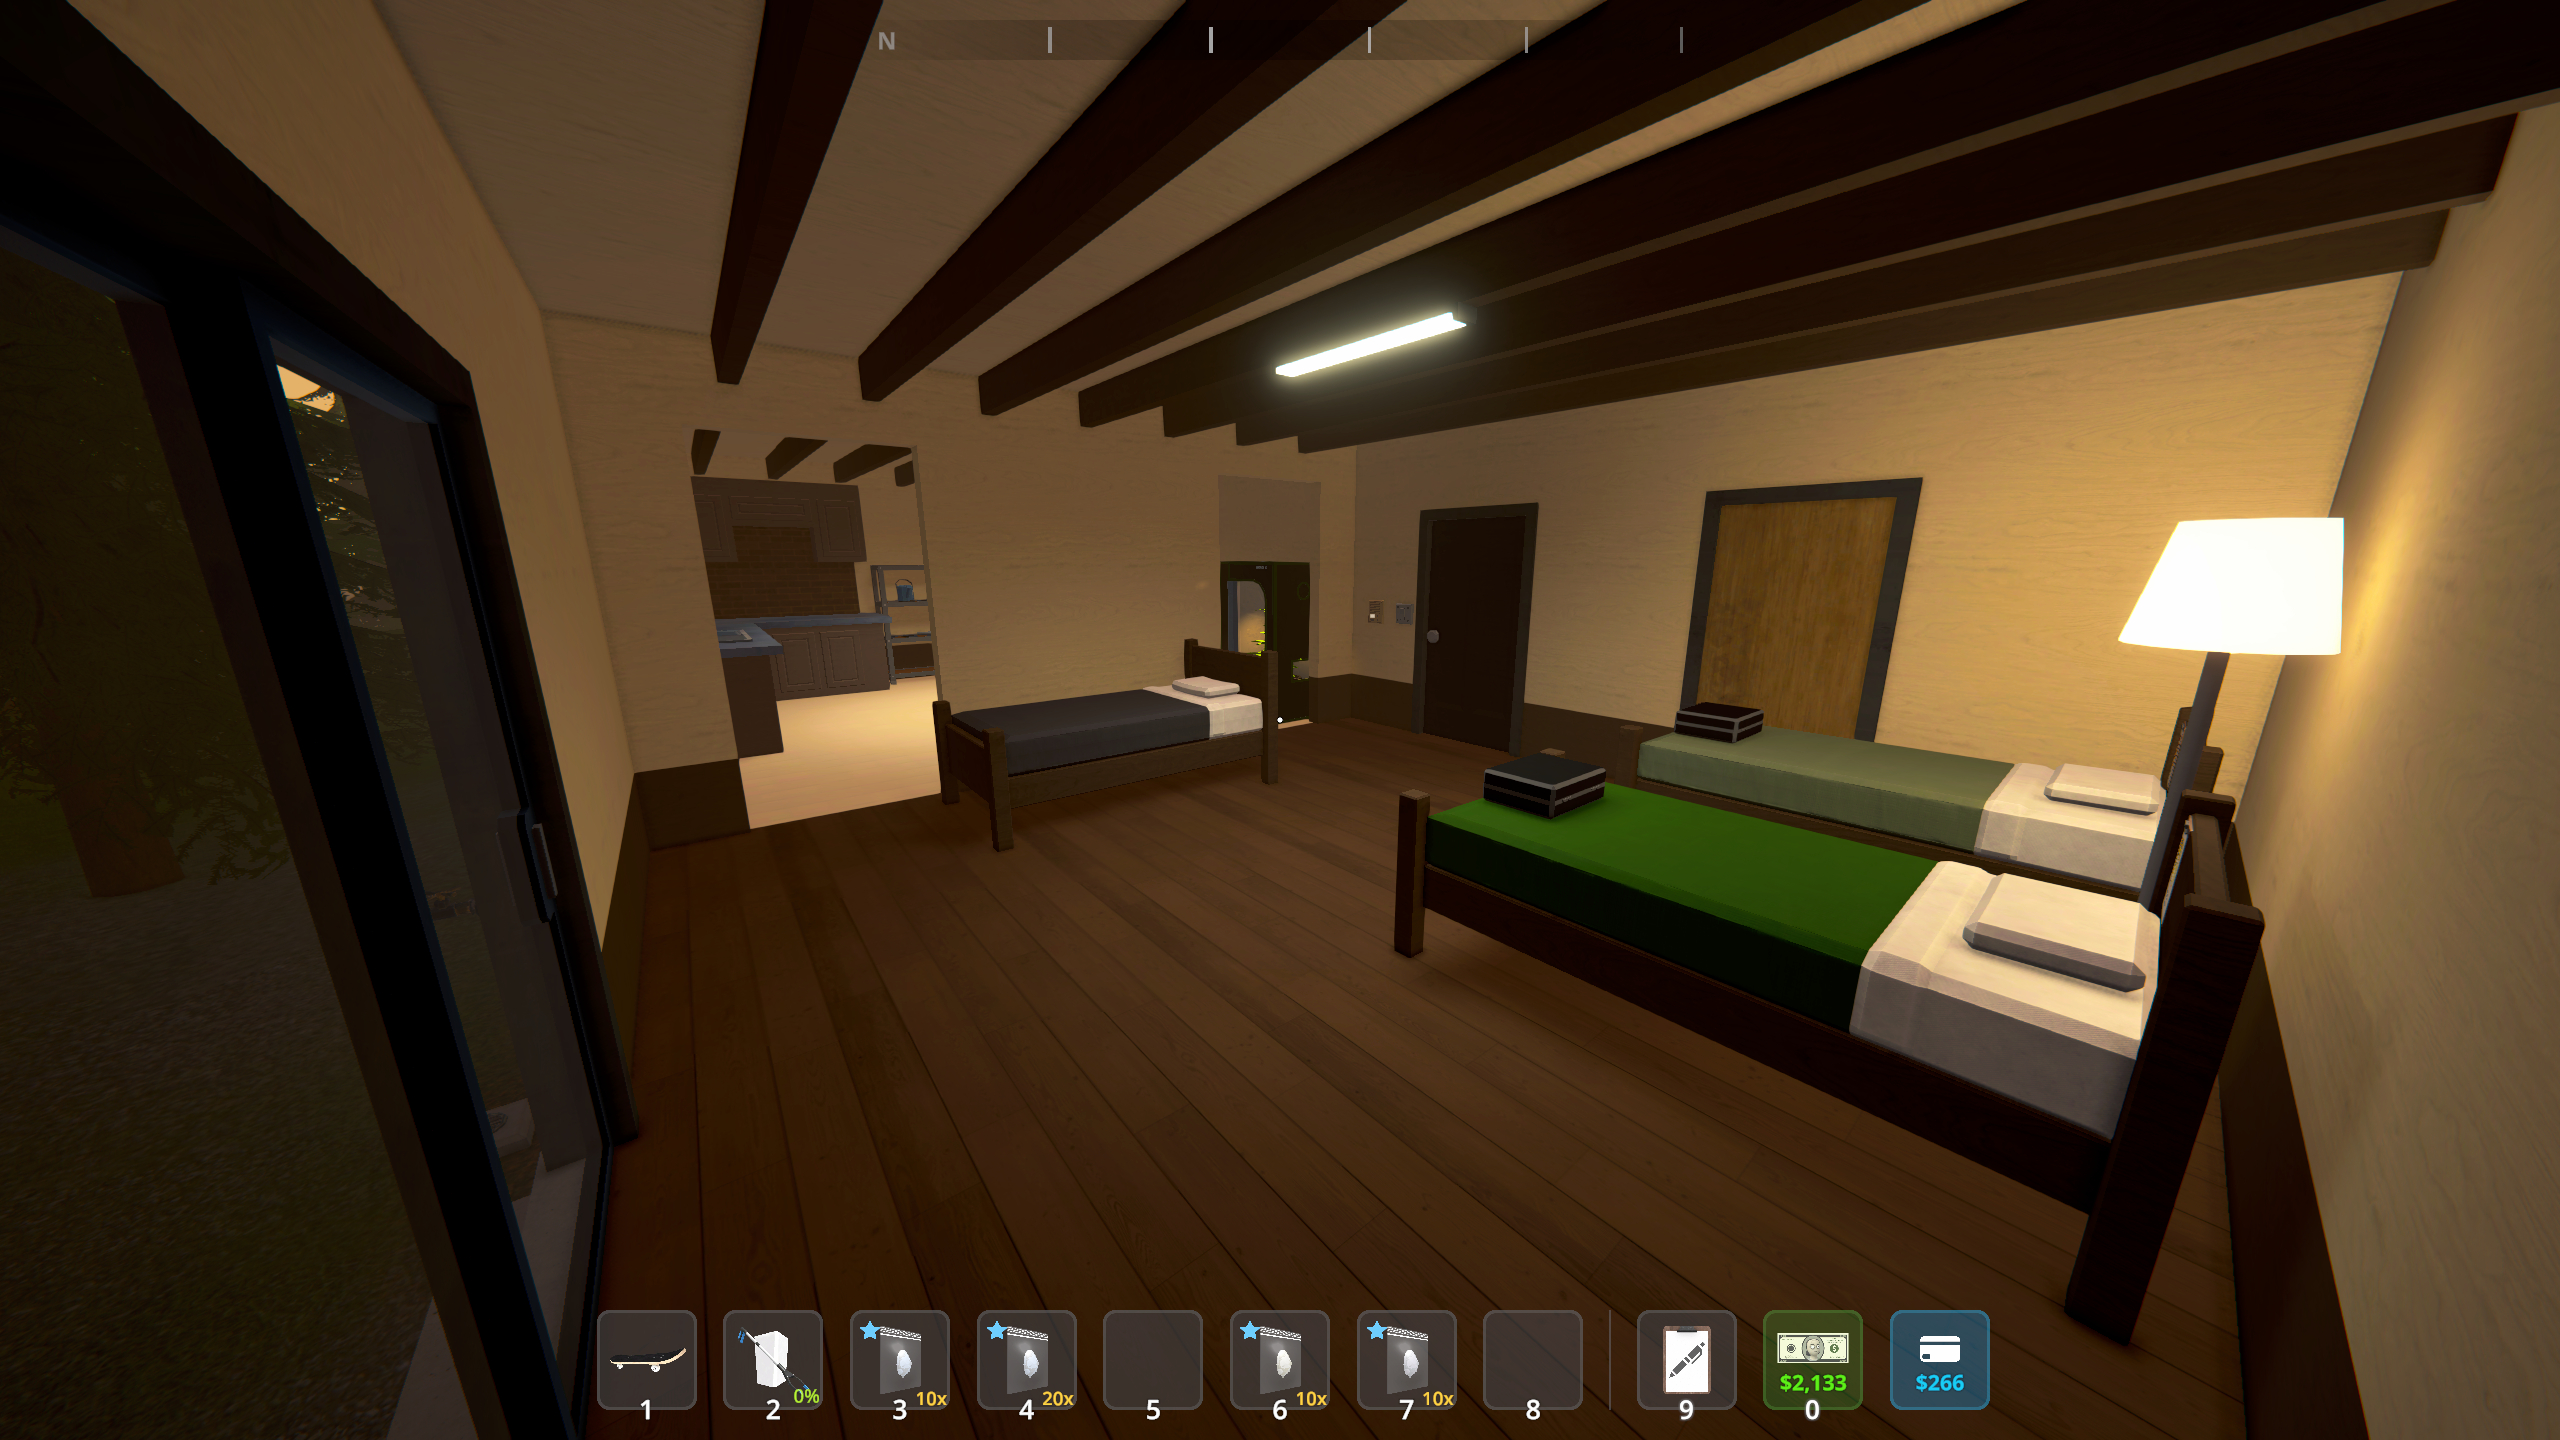
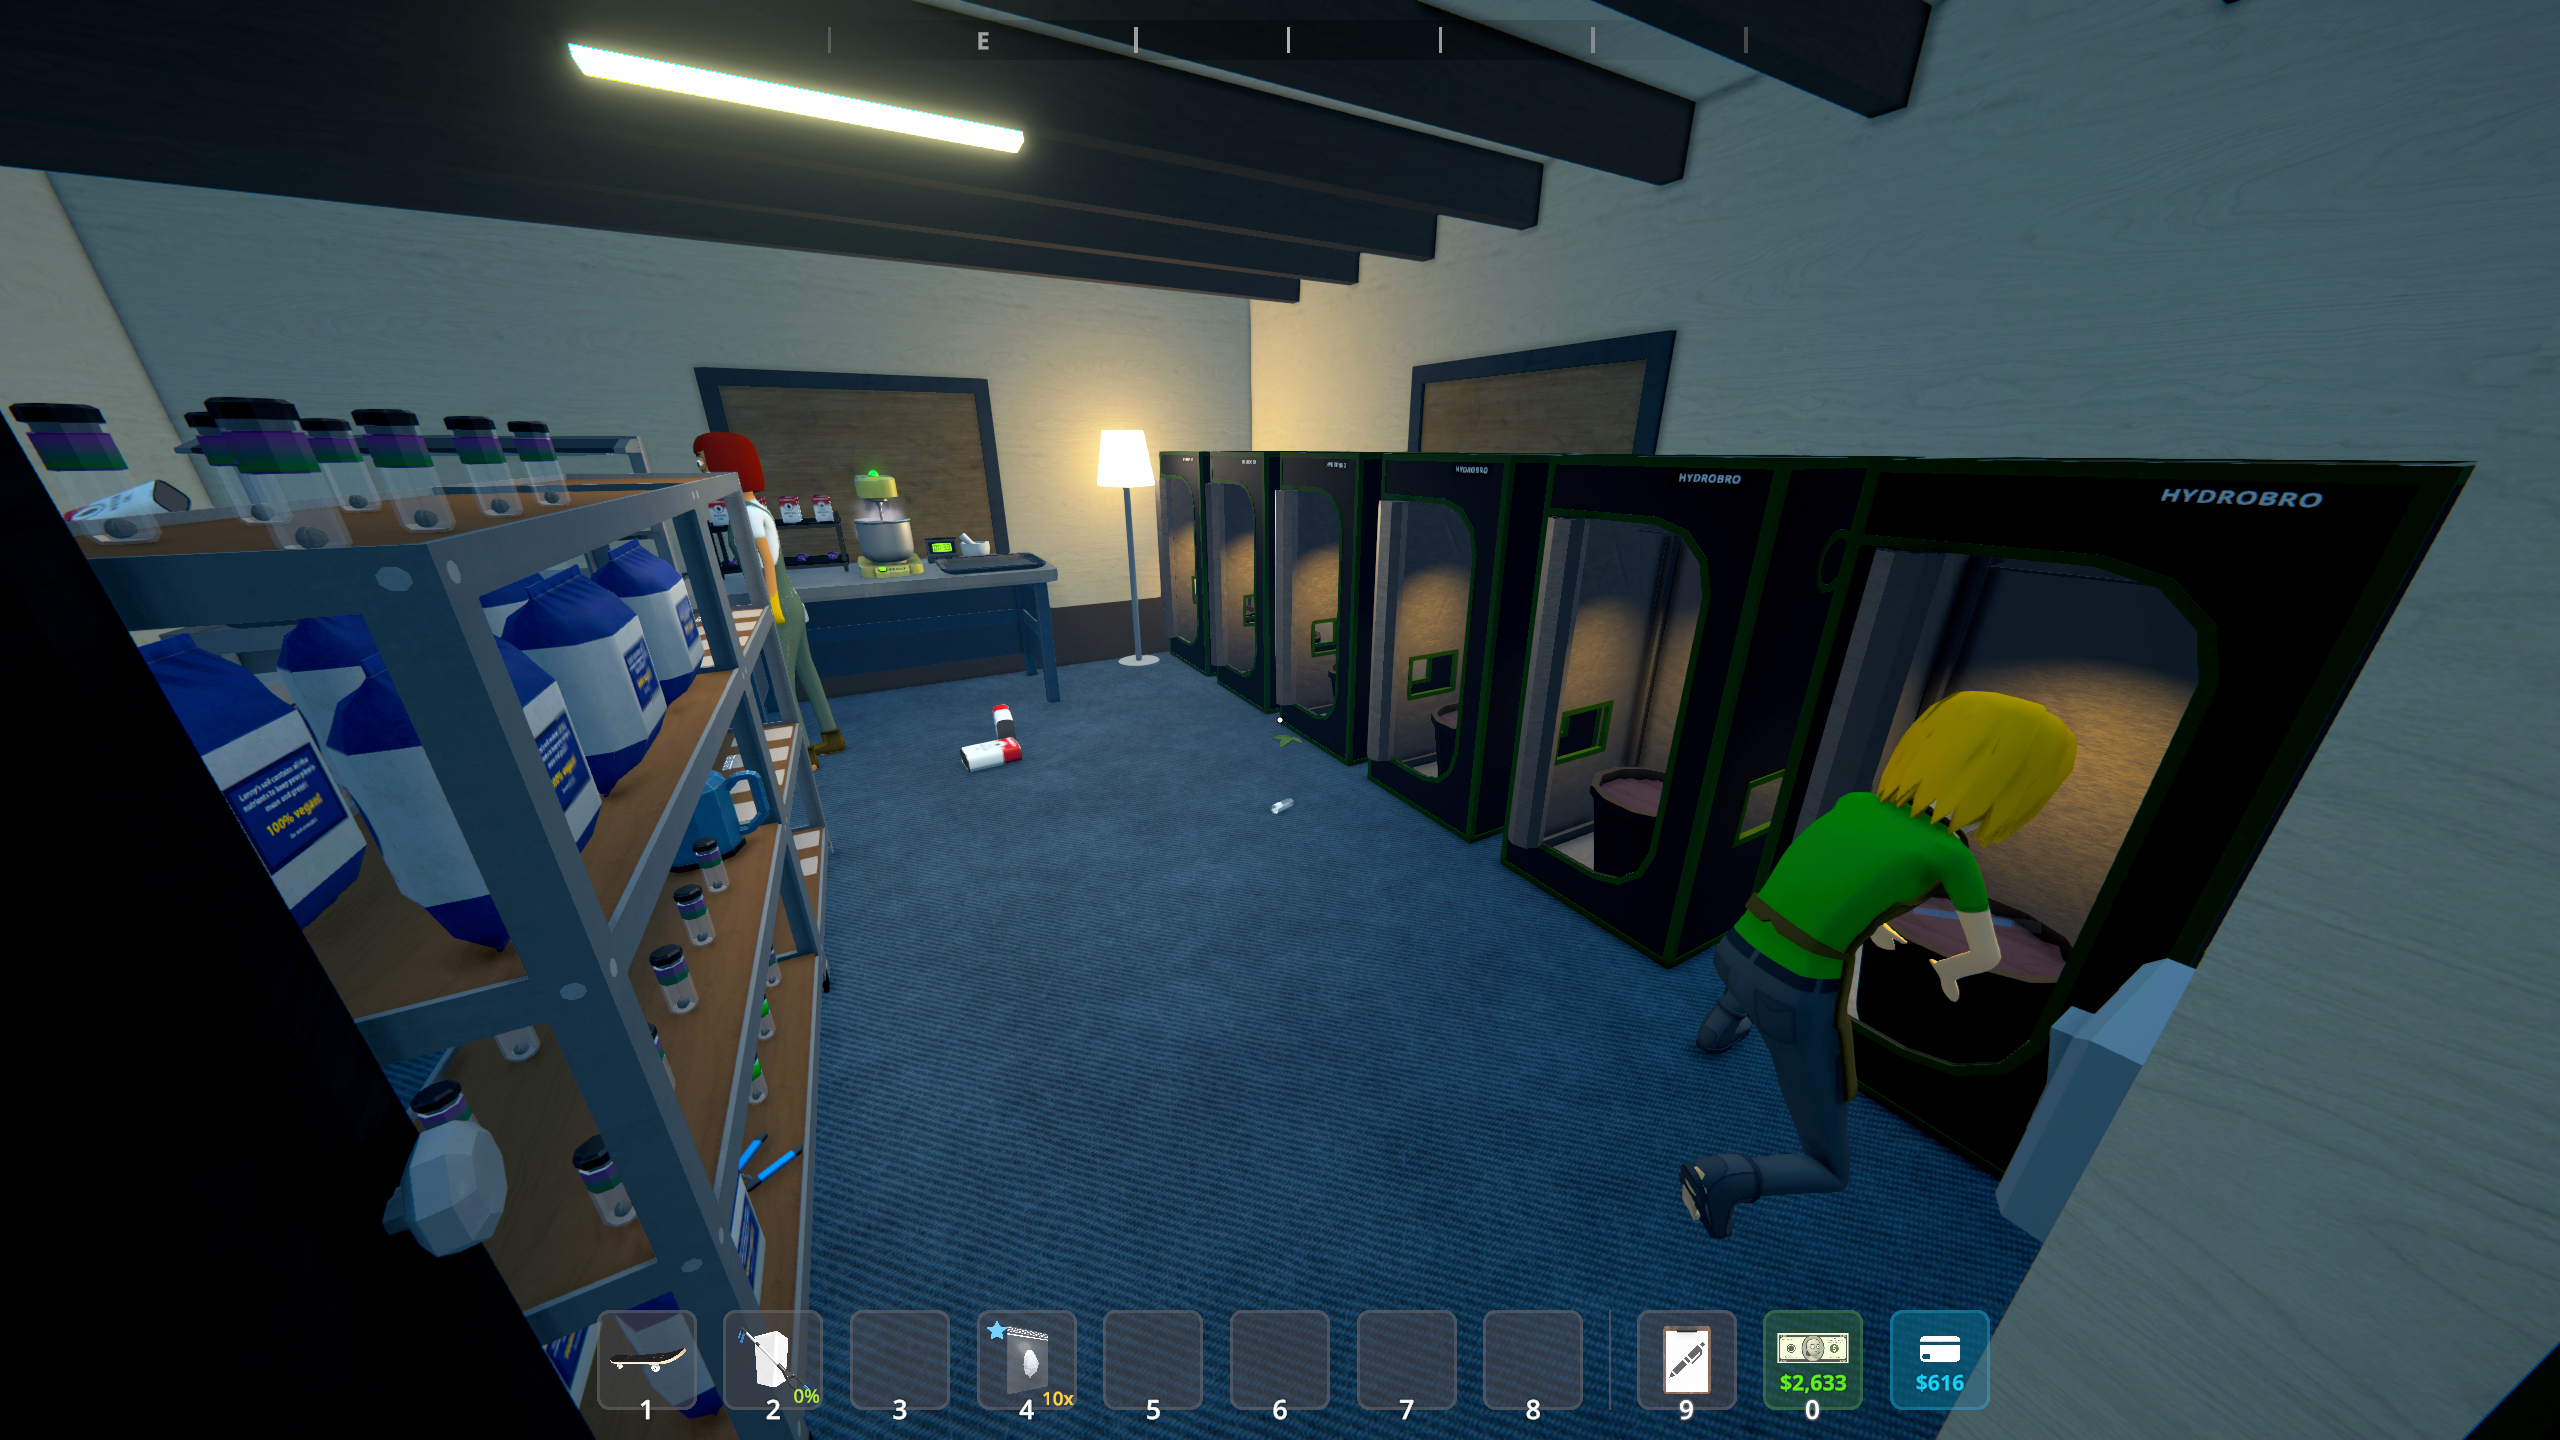
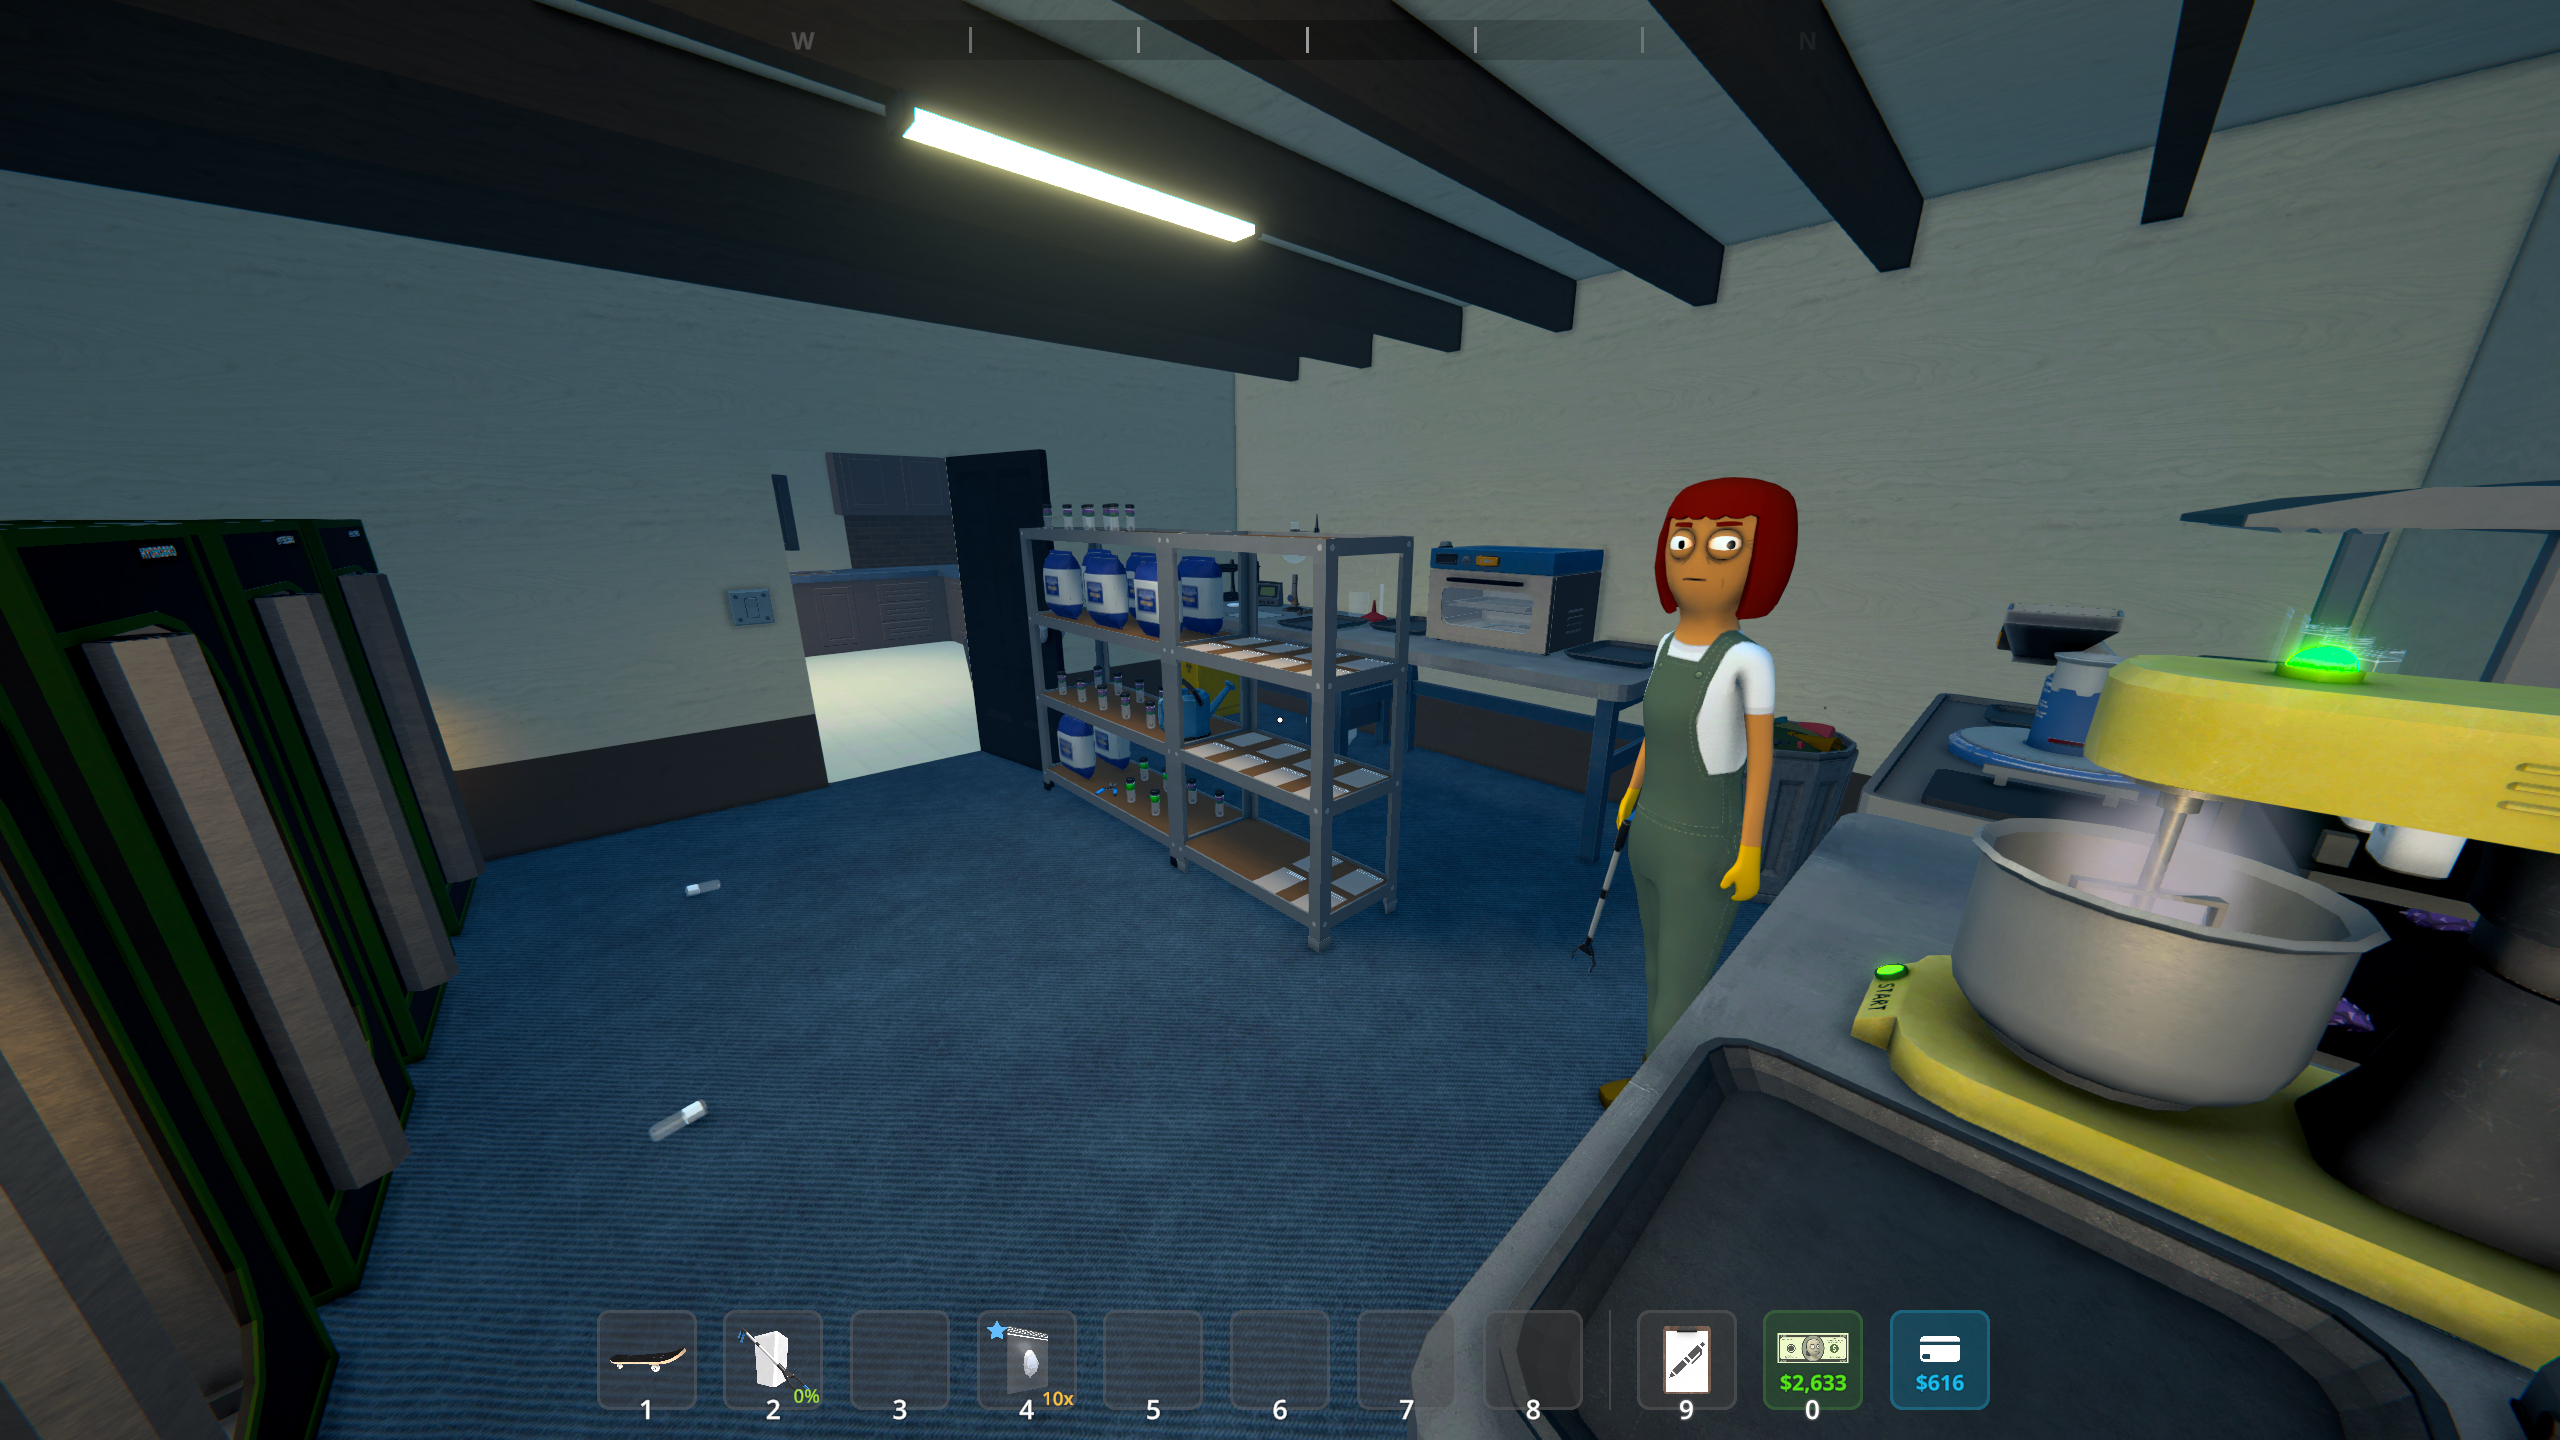
Your biggest expense in the bungalow compared to the sweatshop apartment is the addition of employees; now you can actually all fit in. Buy a bed for each employee from Oscar in the warehouse and place them in your bungalow. I put them in the main room as the beds take up quite a lot of space. Everything else is in the separate room to the right of the main door, aside from the shelving units in the kitchen and a few more grow tents squeezed into the empty space.
Employees and Stations
You’ll want to assign your botanists to take supplies (like soil, seeds, and PGR additive) from a nearby large shelf to plant them in the grow tents, then take the finished product to a separate large shelf where you can collect it. Don’t forget that you’ll need to use the management clipboard to assign soil additives to each grow tent, and each botanist can handle a maximum of eight tents. Take a look at the best Schedule 1 mixing recipes to maximise your profits from each product.
For the cleaner to work, you’ll just need to place three bins to cover the stations you’ll be working on, and the botanists’ grow tents. They’ll automatically pick up any rubbish and bin it for you to keep the area clean.
Since you’ll have an almost endless supply of kush, handled completely by your botanists, all you need to do is take it from the shelf, mix it, and package it. While one batch is mixing, quickly bag up another using the upgraded packaging station. Then, hand them off to your dealers and rake in the cash.
Now, you might be confused why I didn’t just hire a handler to package the product and a chemist to mix it. Well, it’s not that economical yet. The bungalow sure is a big upgrade from the apartment, but you’re still short on space. With how much product you’re making, it’s easy enough to handle the final steps yourself. You’ll quickly find yourself overwhelmed with too many cooks in the kitchen if you go on a hiring spree, as tempting as it sounds.
Once you upgrade to an even bigger space and can produce even more drugs, then it’s time to invest in a handler and chemist, but for now, it’s worth saving your cash.
Next steps
The lab oven and chemistry station, used to make meth, are best kept in the sweatshop to save space, where I recommend eventually hiring a chemist to sort this all out on your behalf. When you’re doing your rounds to deliver product to your dealers, you can check in on them. However, this is an extra expense, so until you can afford to hire another employee, sort it out yourself in the bungalow. Since both these stations take quite a bit of time to do their job, it’s easy enough to squeeze them in between your other duties.
Schedule 1 pseudo: how to use this ingredient
Schedule 1 change clothes: get a fresh fit
Schedule 1 mayor’s house: locate the meeting point
Schedule 1 drop items: make space
