Collect Taken Osseous Fragments for the Dyadic Perfection quest to earn Barrow-Dyad's final intrinsic upgrade.
You’ll need to find the Sunless Cell fragments in Destiny 2 if you want to complete the Dyadic Perfection quest and earn the final intrinsic upgrade for the Barrow-Dyad SMG. The Sunless Cell strike arrived alongside act three, so first you’ll have to progress the seasonal story all the way to act three to unlock it. You’ll also need to complete the Dyadic Ascension quest for Barrow-Dyad’s other intrinsic upgrades.
Once done, you can grab the Dyadic Perfection quest from the Shaping Slab, which tasks you with locating six Taken Osseous Fragments in Sunless Cell. Here I’ll walk you through where to find each. If you’d prefer a video walkthrough, I recommend the ever-reliable Esoterickk, and make sure to equip Barrow-Dyad during this strike, since doing so will get you one of the new catalyst quests when you finish it.
Sunless Cell fragment location #1
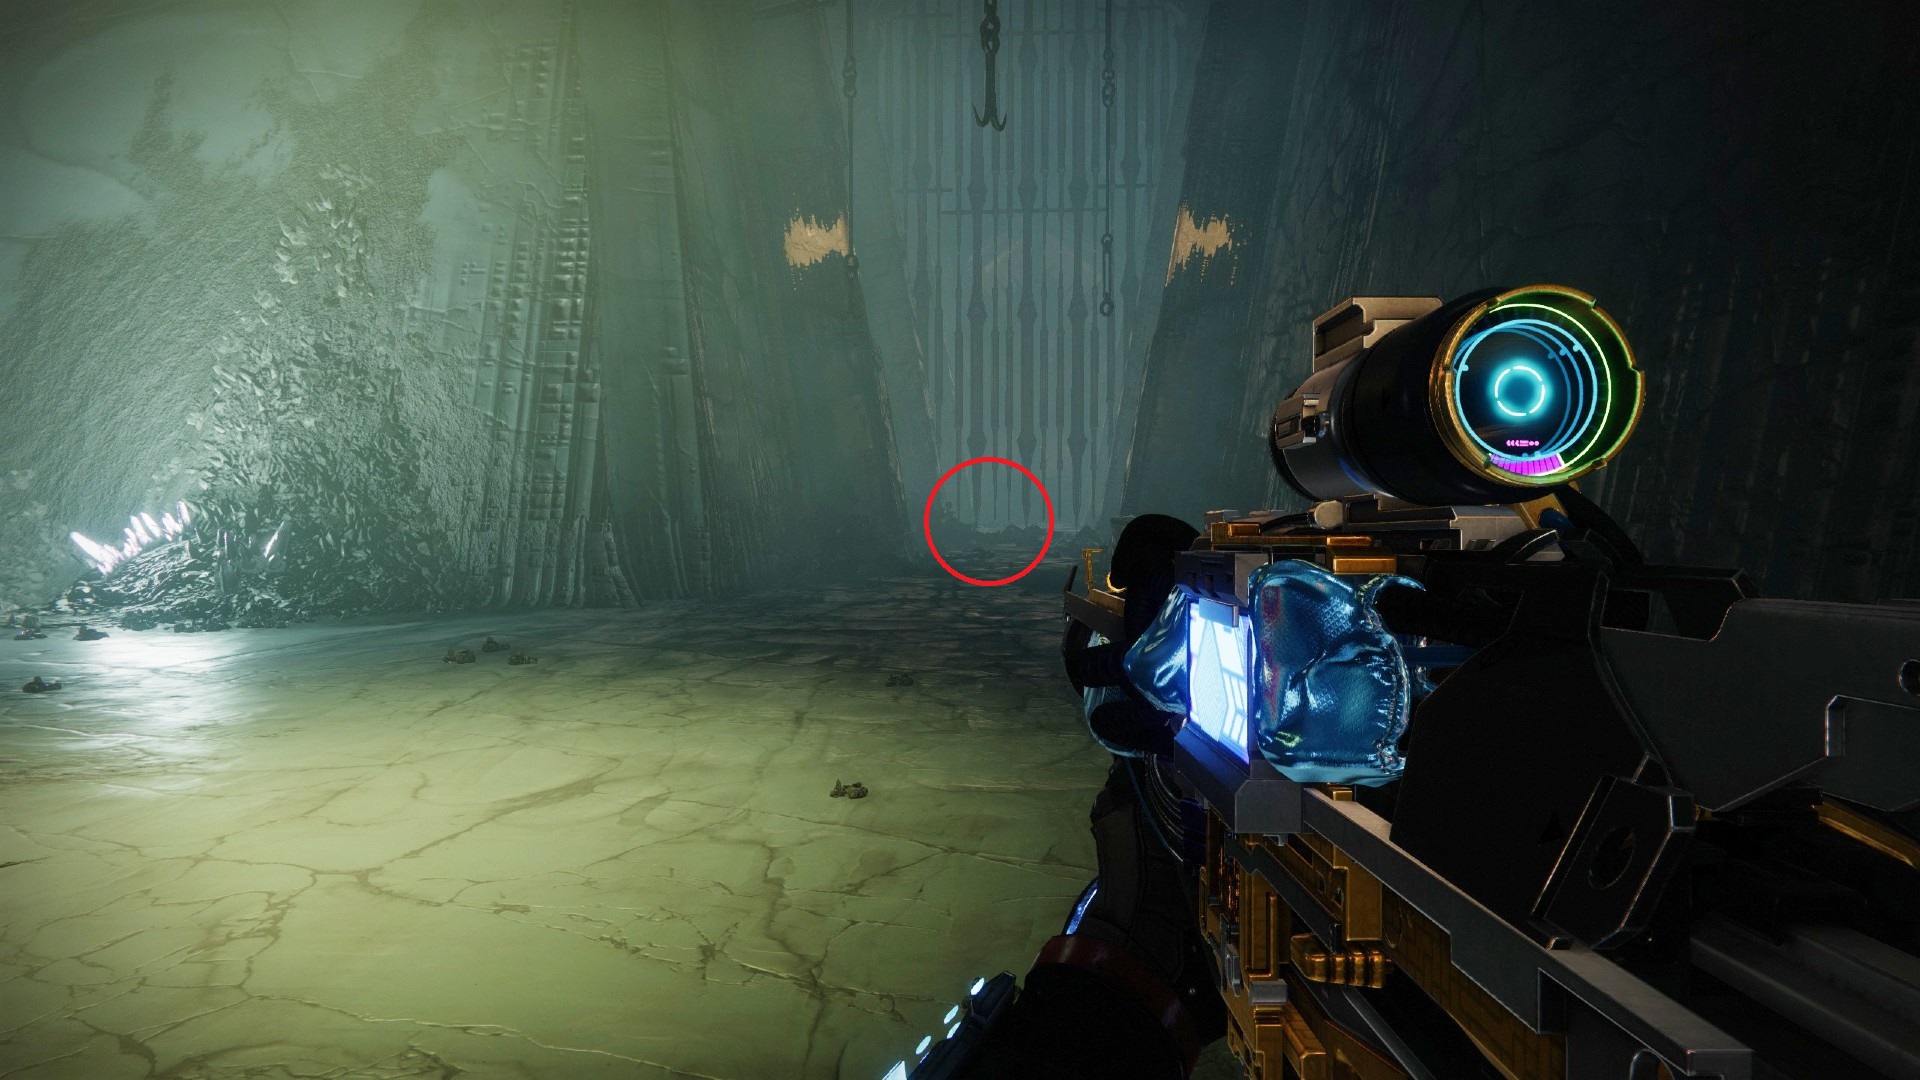
- As you enter from the start of the Nether into The Founts, instead of turning left, carry on towards the bars at the end of the corridor.
- Find the Taken Osseous Fragment glowing on the ground there.
Sunless Cell fragment location #2
- From the previous fragment, continue down the corridor.
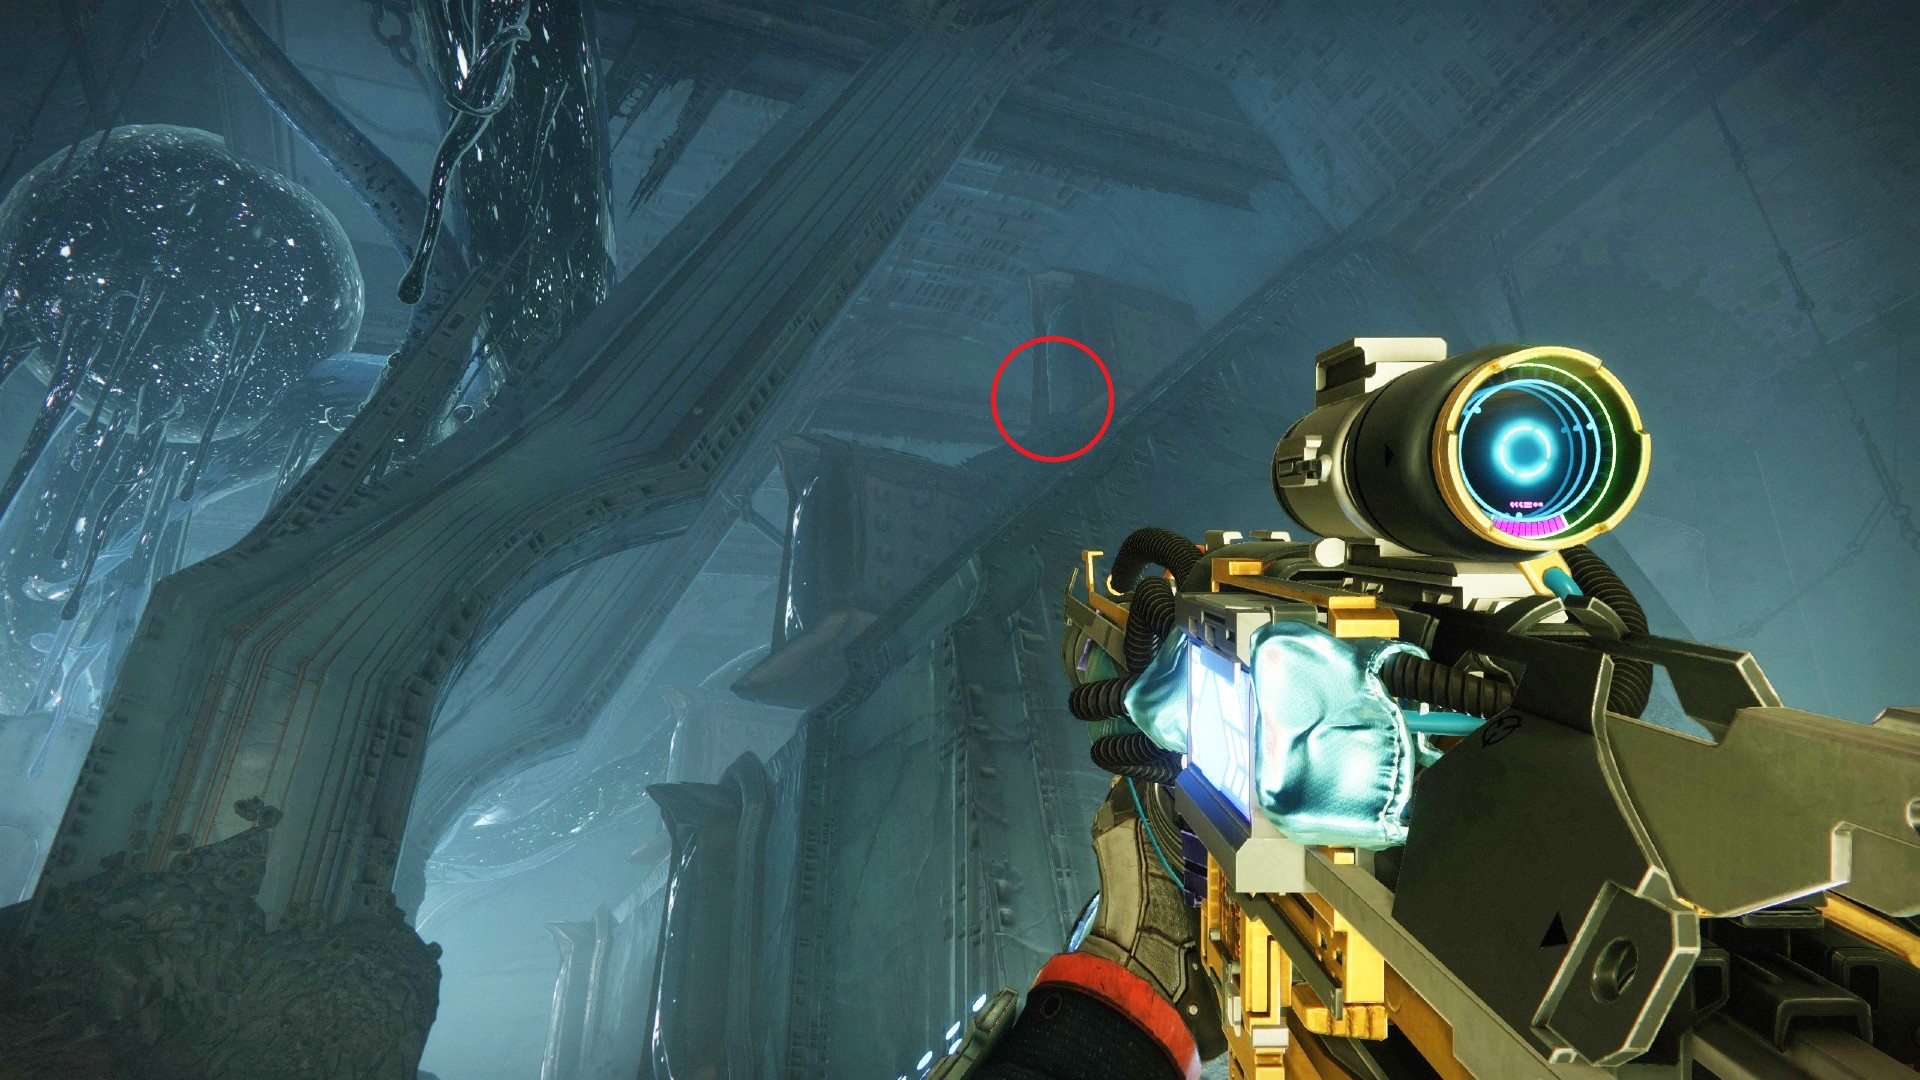
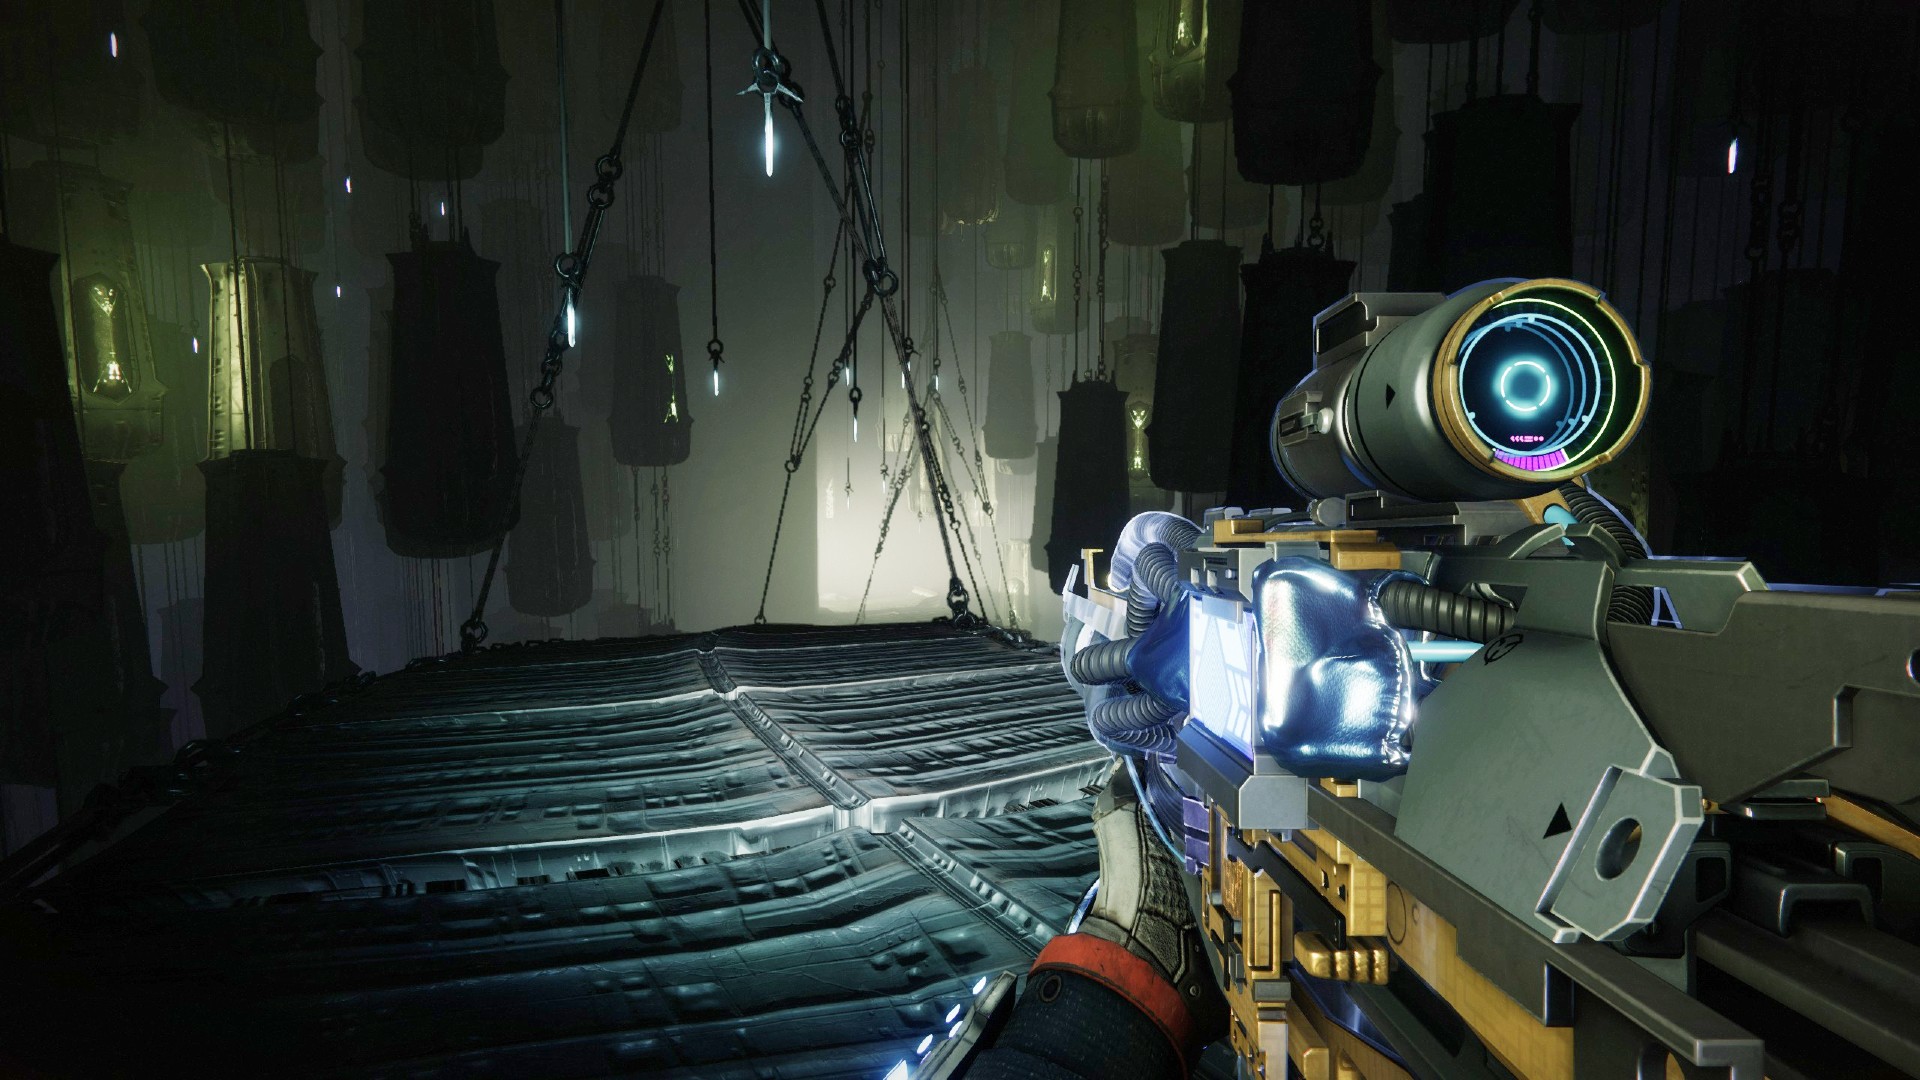
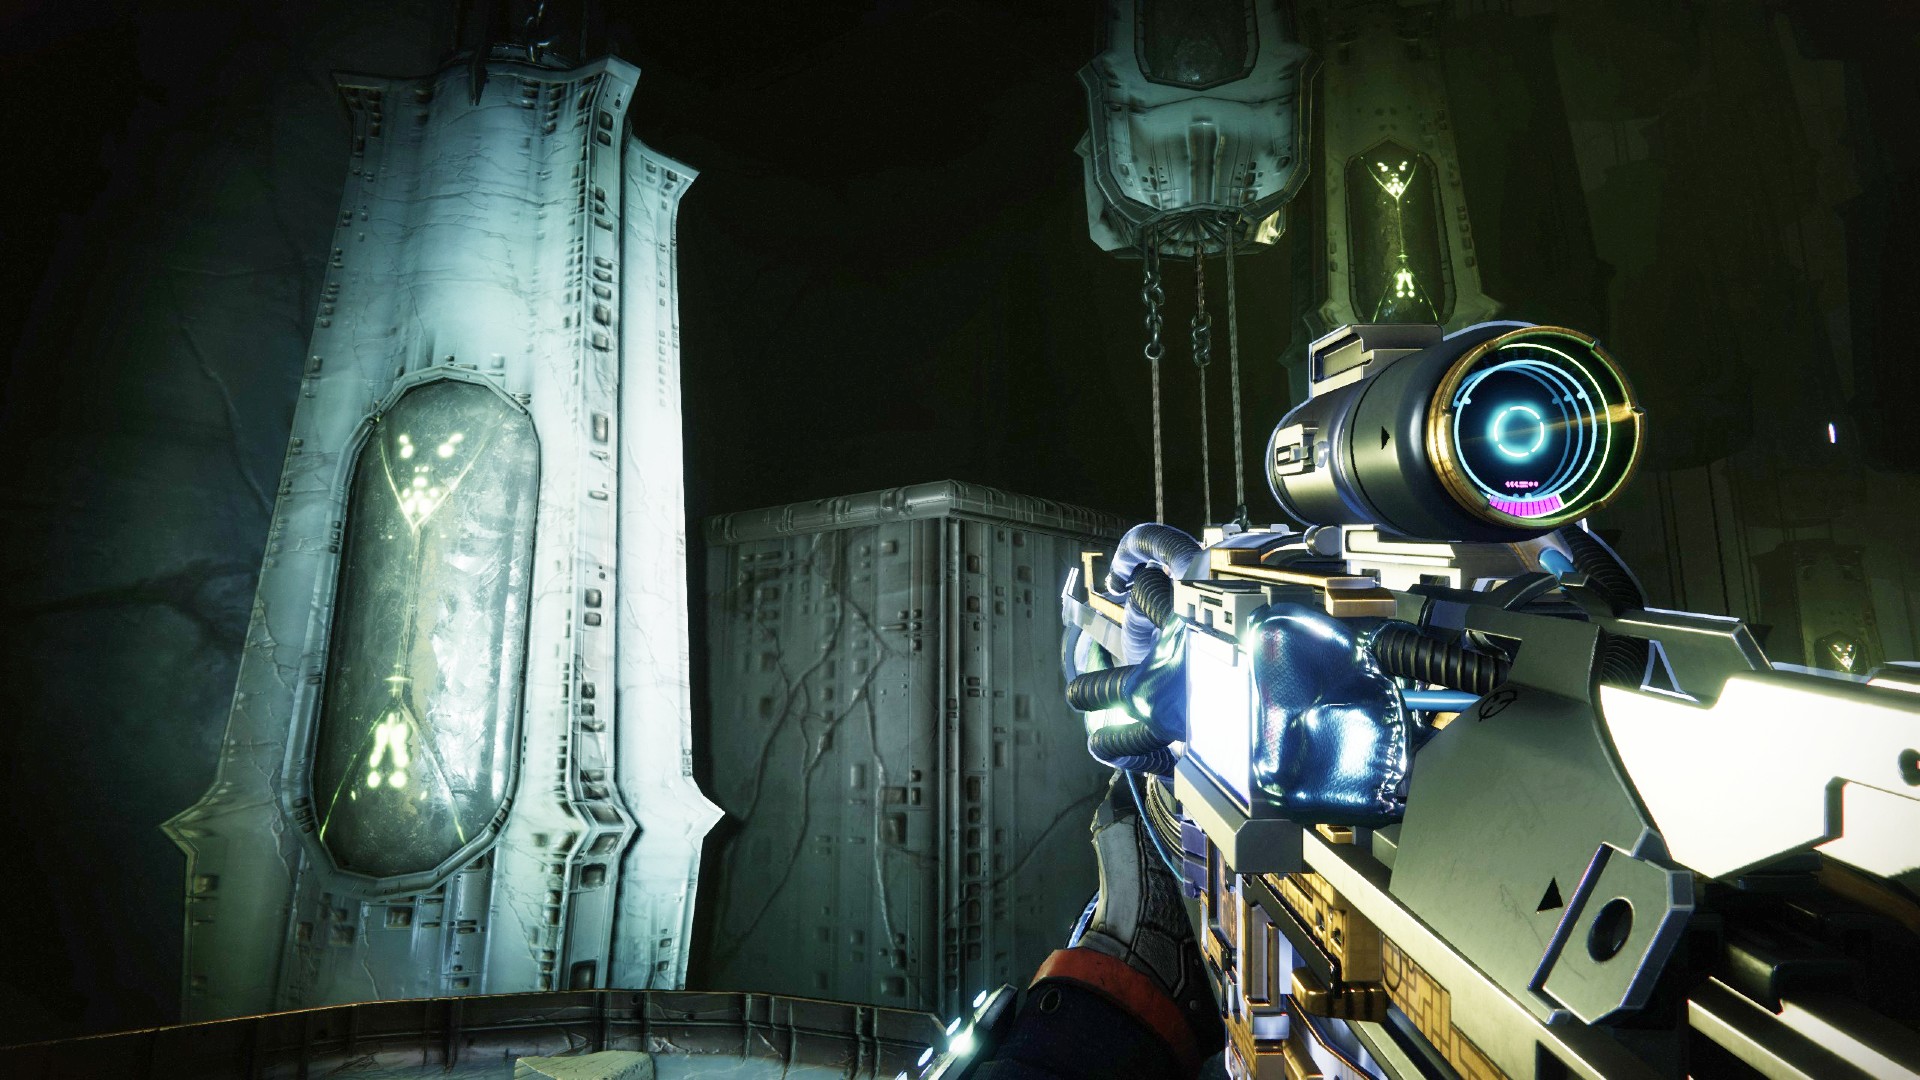
- Turn right and look up to your right to spot a series of vaulted hive structures sticking out of the wall.
- Climb to the top of the second level of these to find the fragment stuck to the front of one.
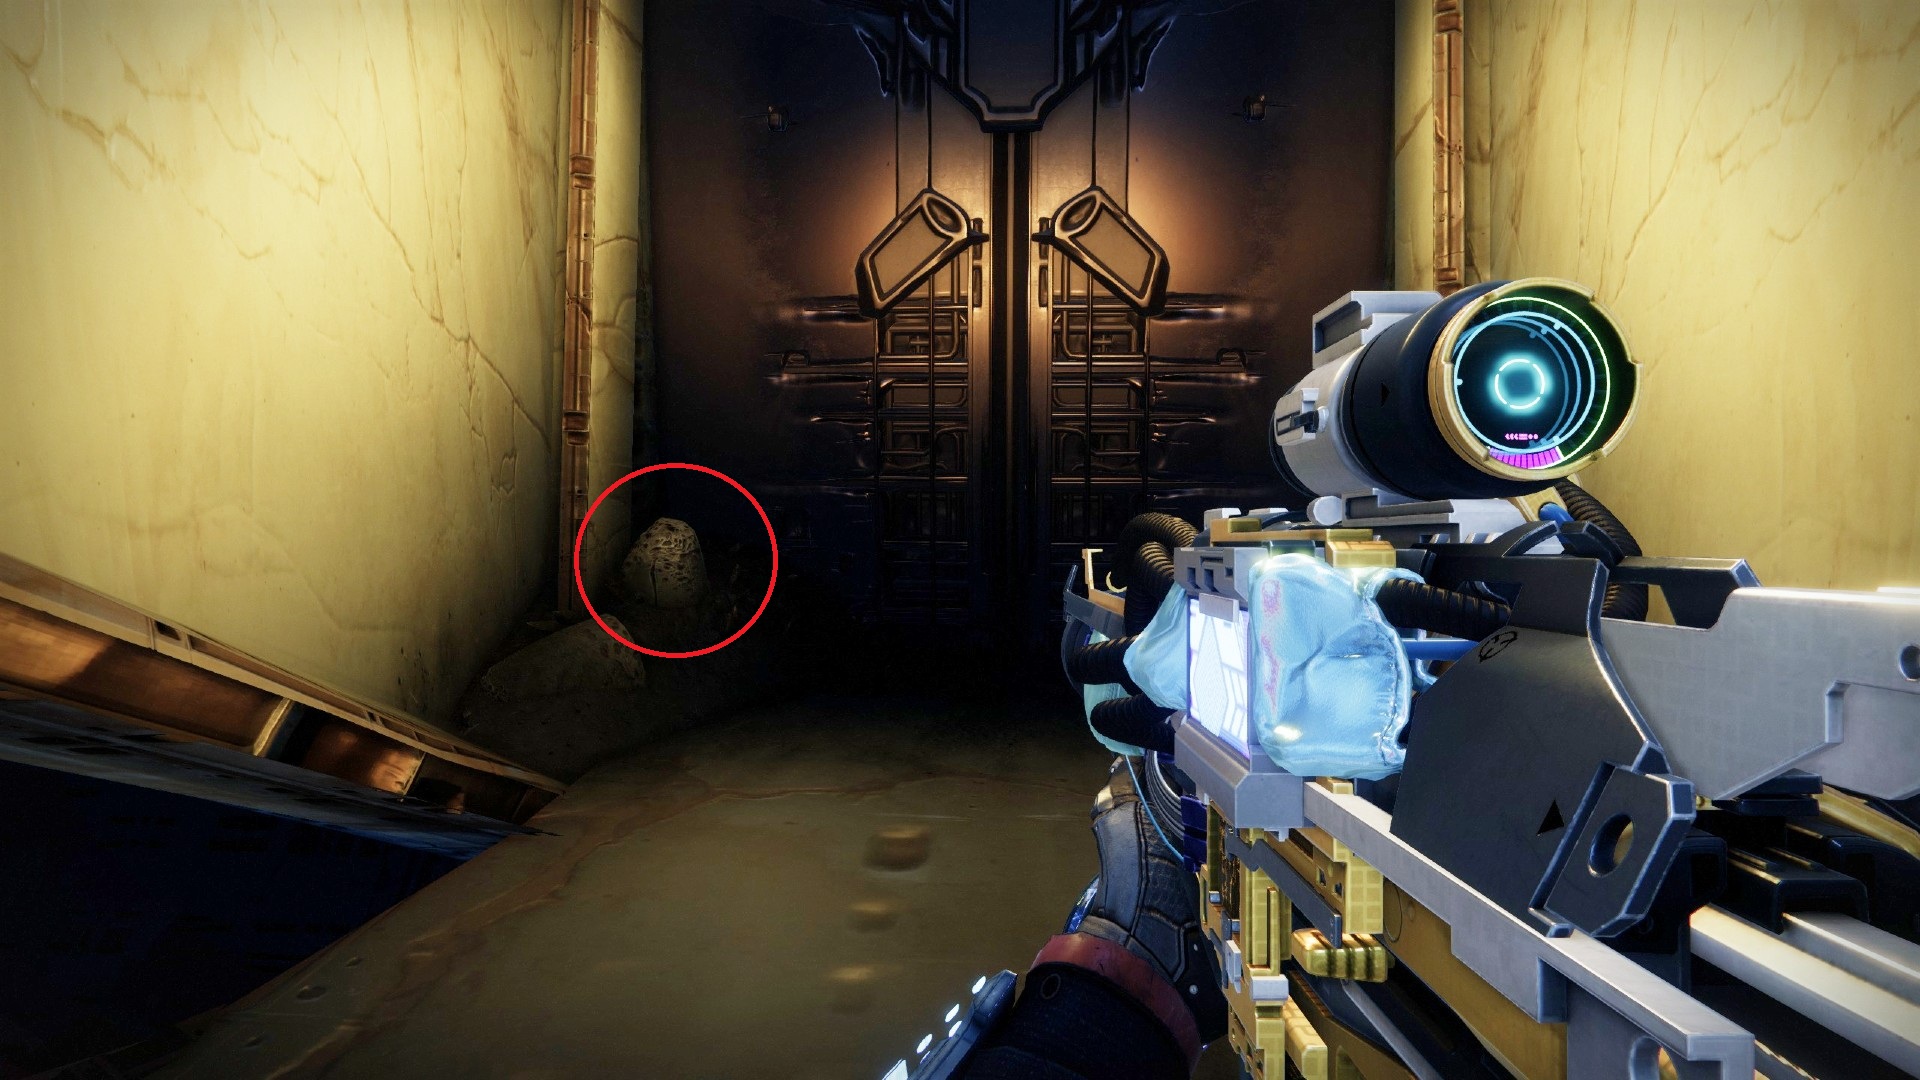
Sunless Cell fragment location #3
- Continue along the corridor and drop down into the lower section of The Founts.
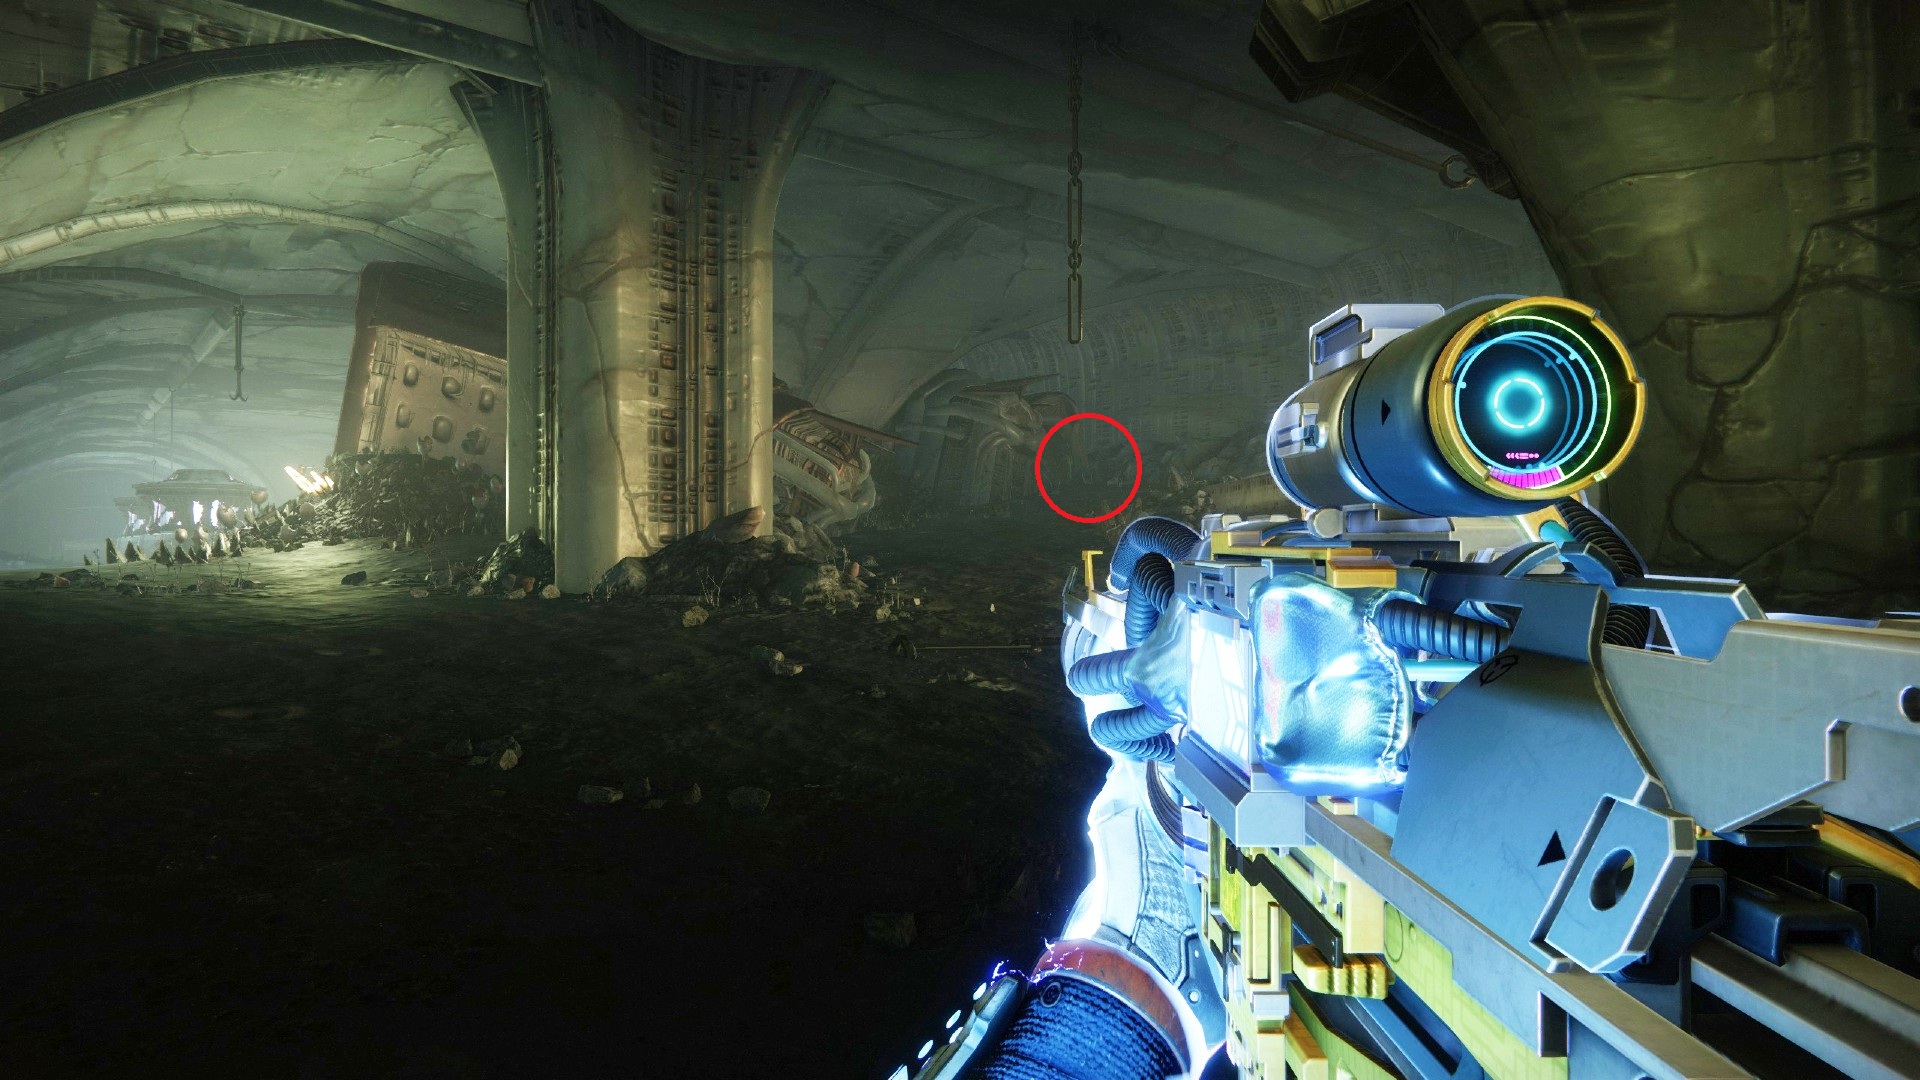
- Take a right and carry on until you pass the doorway on your left, sealed with Taken energy.
- Turn left behind the collapsed hive crate-like objects to find the fragment nestled near the wall.
Sunless Cell fragment location #4
- Carry on until you reach the big open Asylum area.
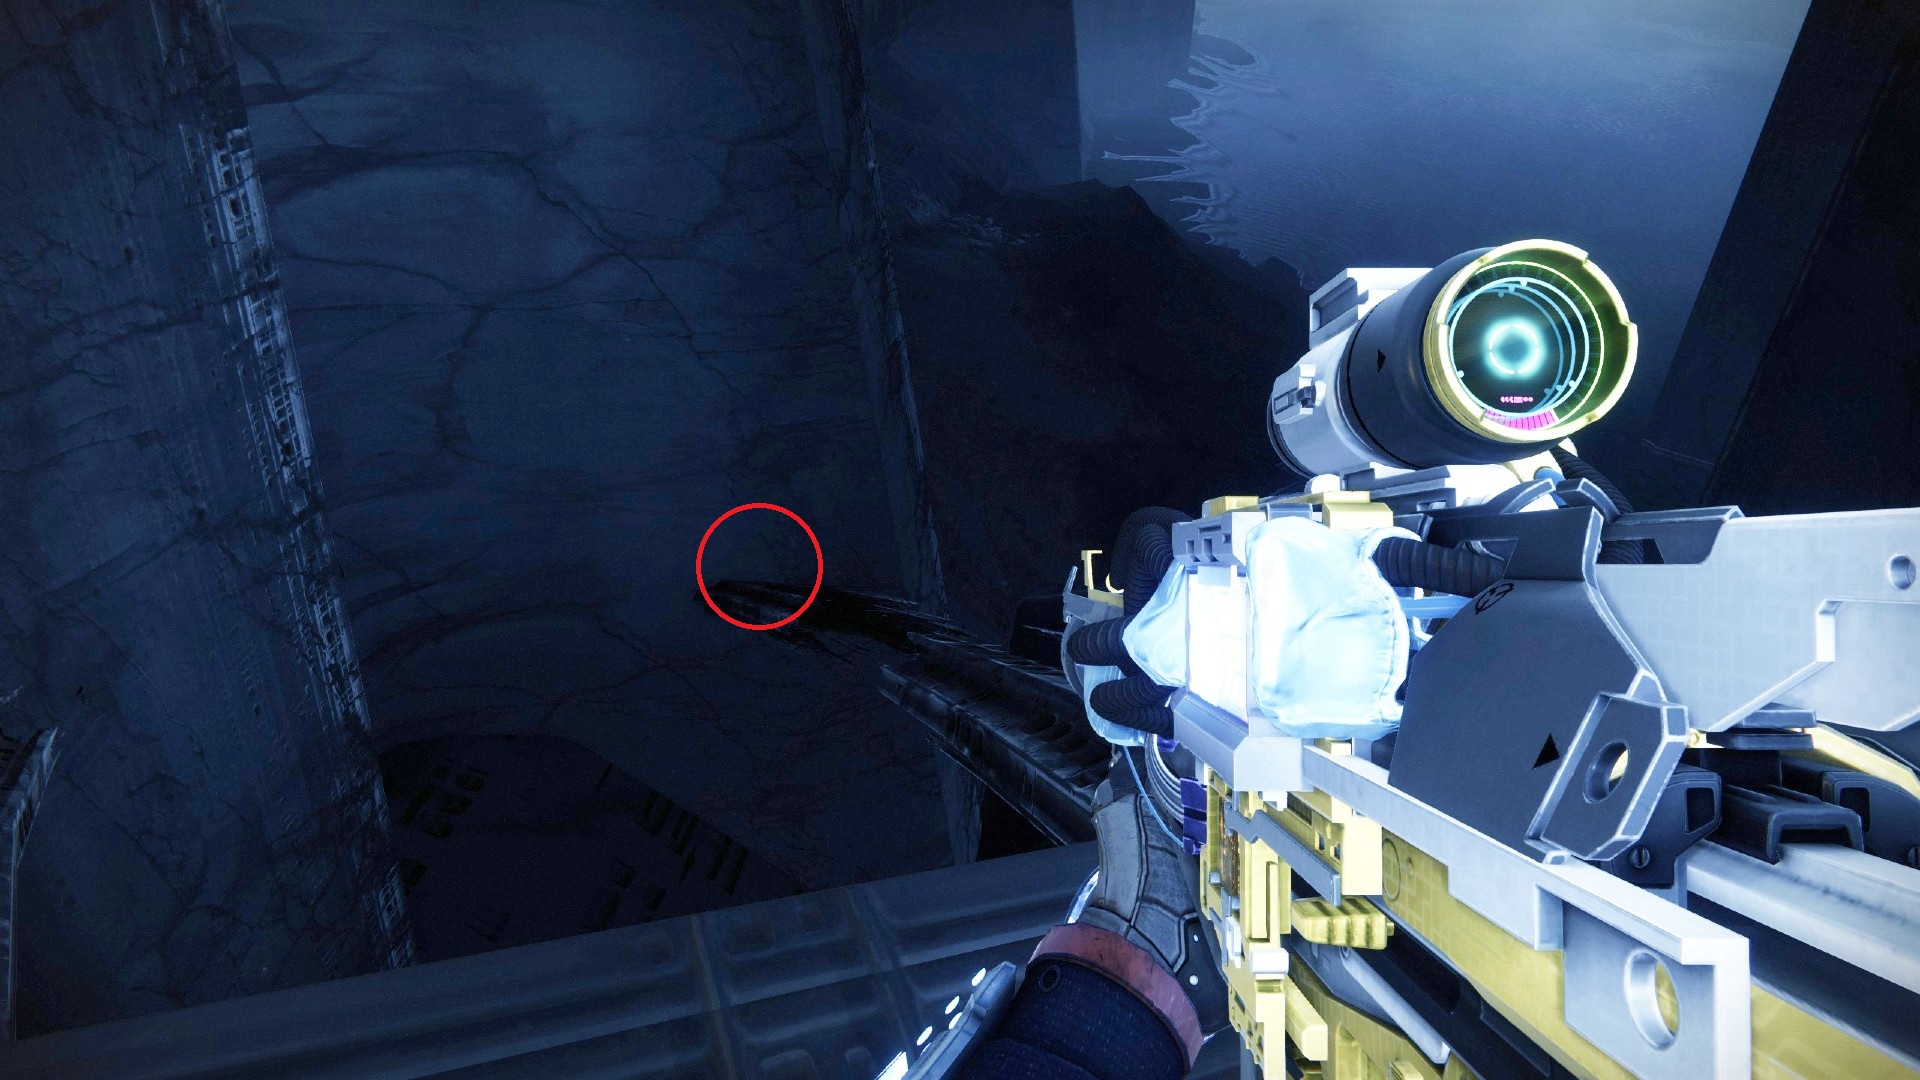
- Head down the left staircase and look for a sloping strut on your left—it’s broken in the middle.
- Descend down the strut to find the fragment glowing at the bottom.
Sunless Cell fragment location #5
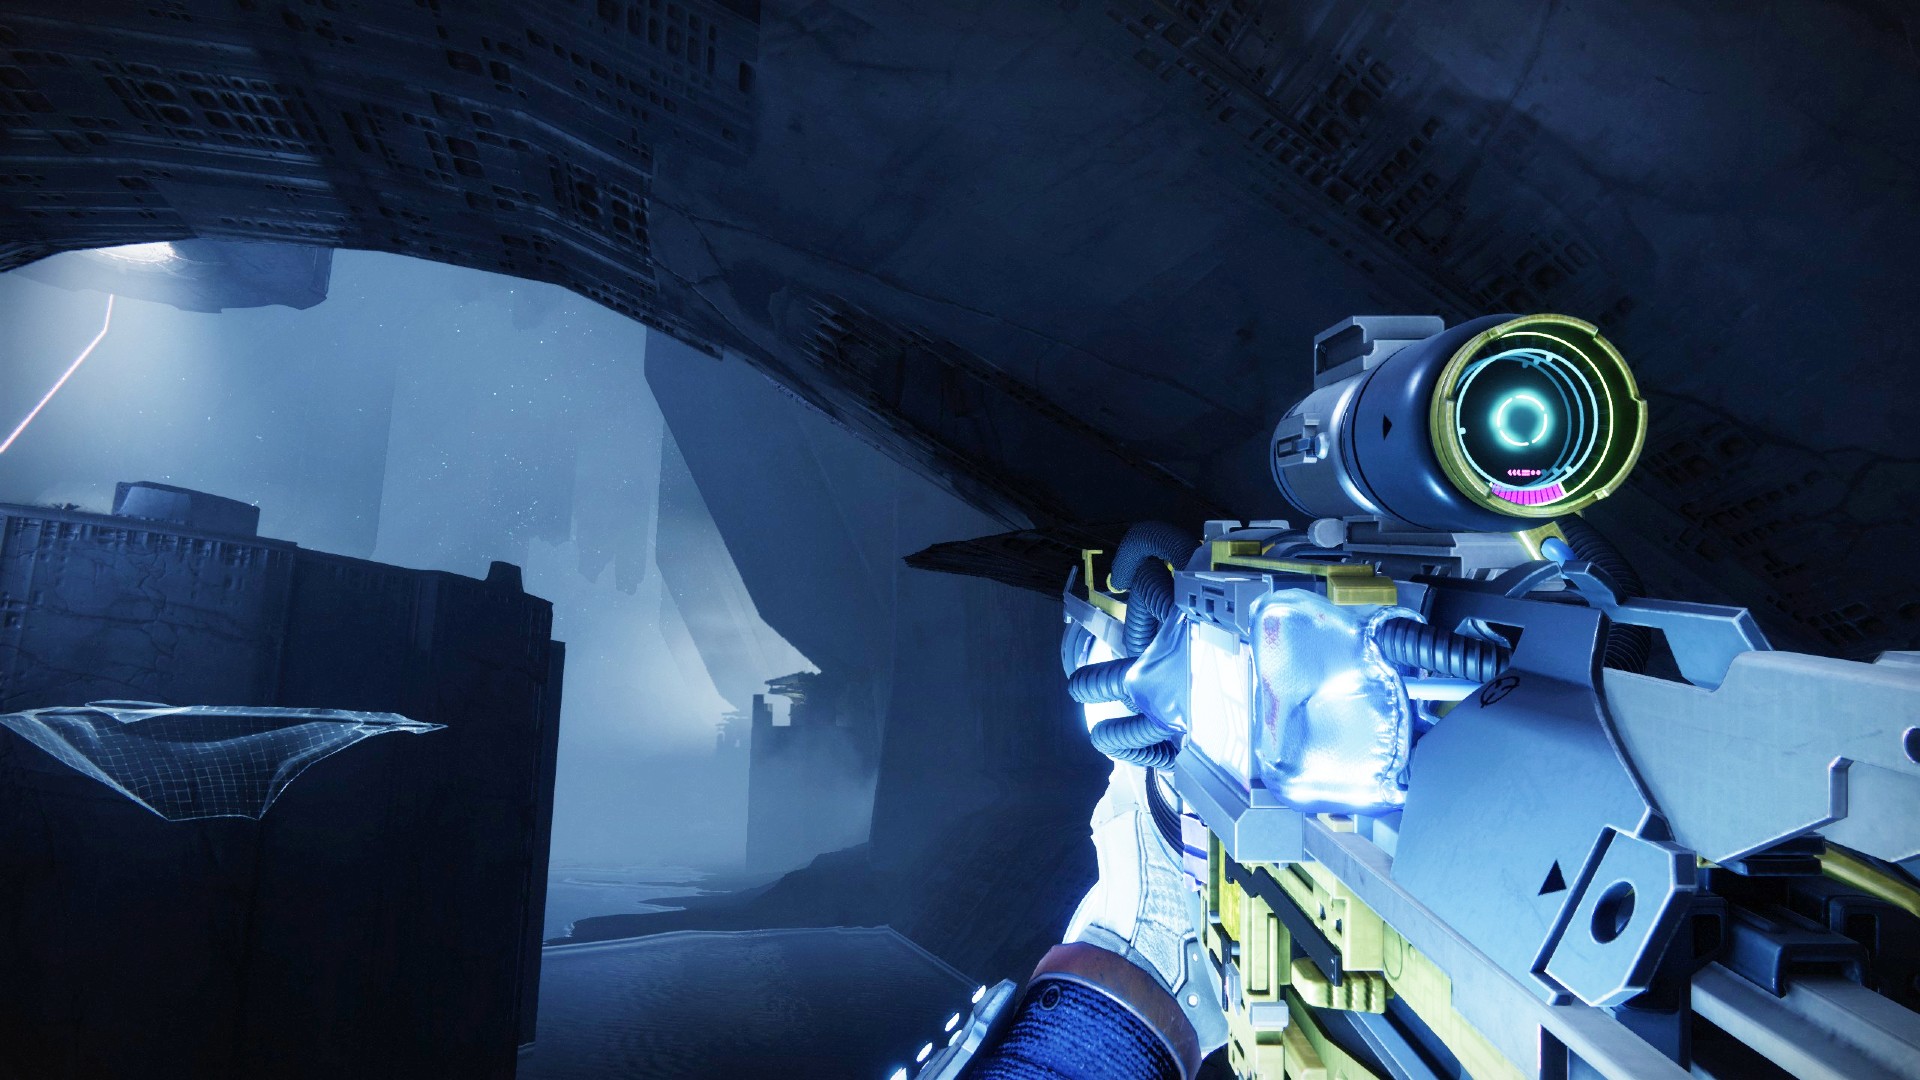
- Climb back onto the left staircase and continue a little further on, pulling out your ghost to reveal some platforms below.
- Drop down onto the lowest platform.
- Look to your right to spot a little platform sticking out underneath the bridge that you can hop to.
- Collect the fragment nestled inside.
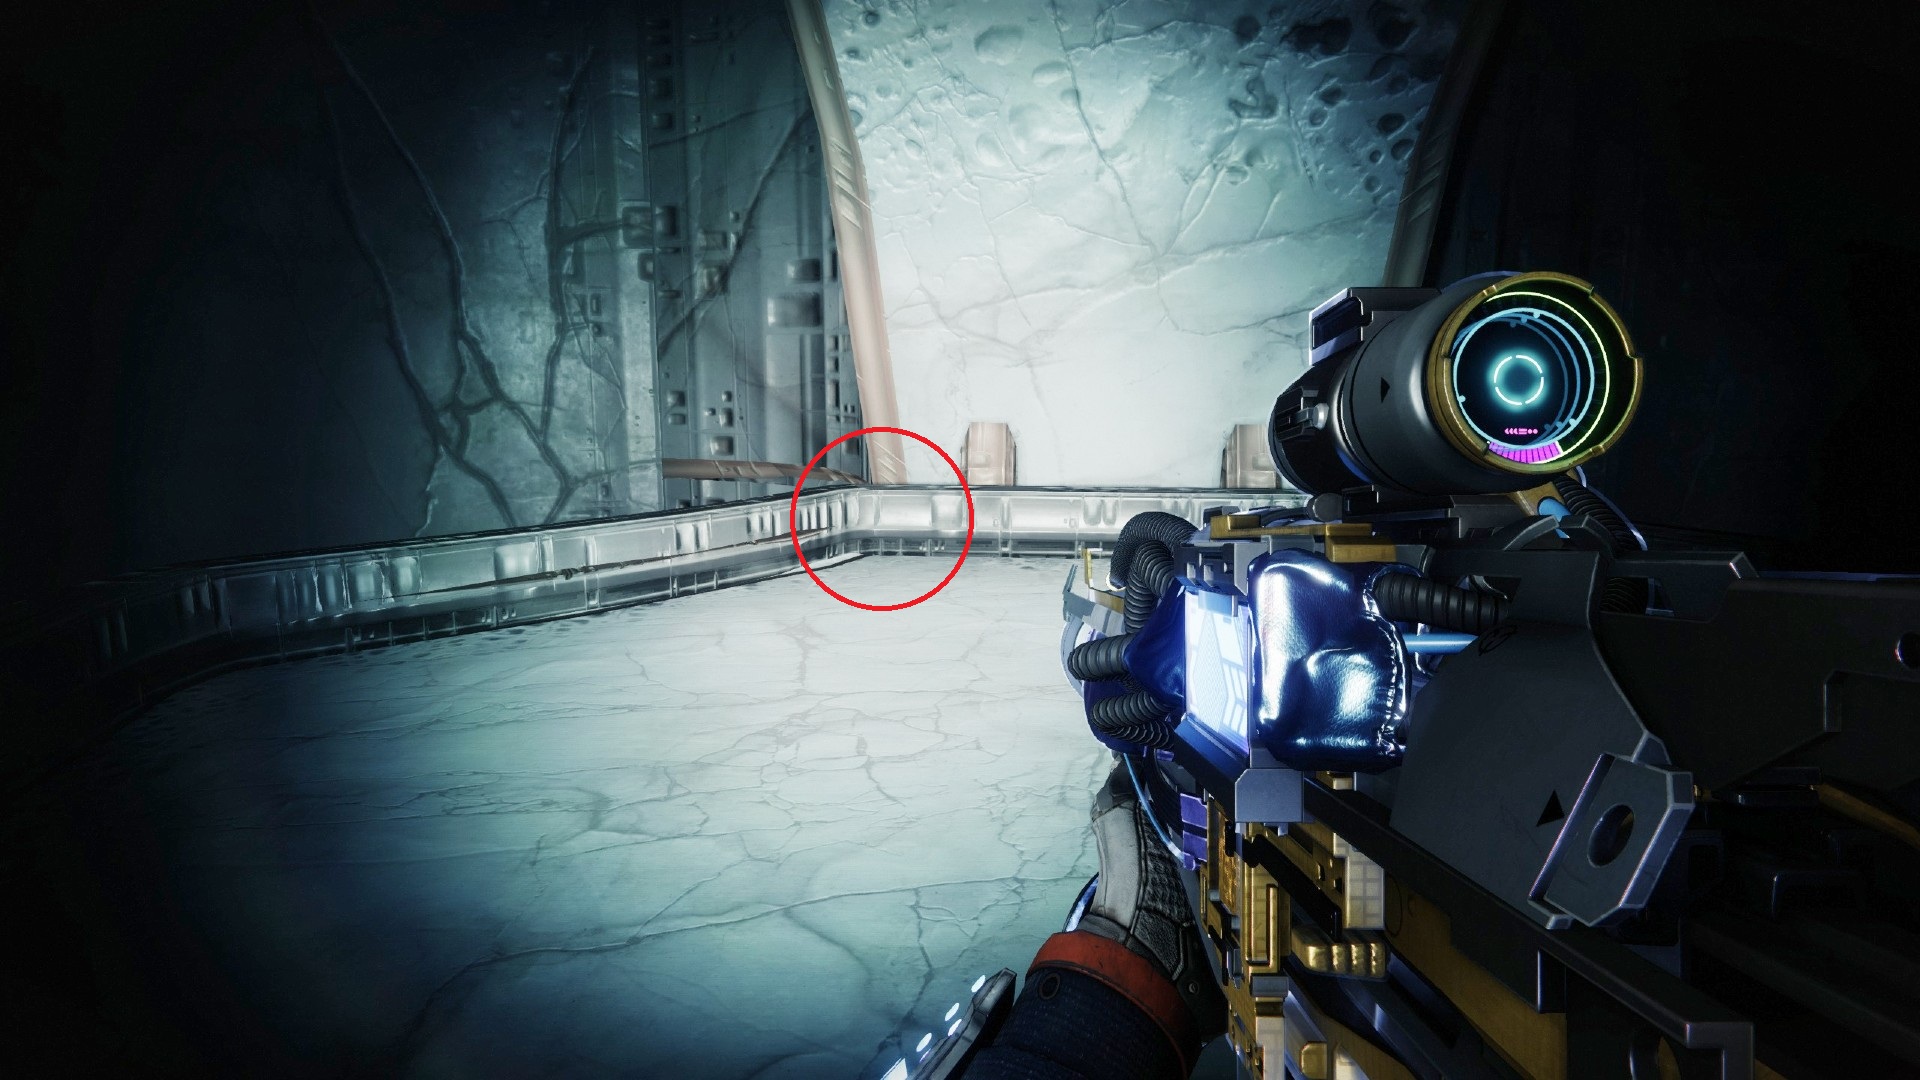
Sunless Cell fragment location #6
- After the first encounter with the floating eyes and the subjugator, you’ll emerge onto a bridge with hive totems hanging on chains to either side.
- At the start of the bridge, hop up to the platform on your left to find the fragment there.
Now you simply have to complete the Sunless Cell strike and you’re all done.
