
Hire workers to get a helping hand with your operations.
One of the best ways to improve your income in Schedule 1 is to hire employees. These workers can be assigned to various tasks, which they’ll handle on your behalf. You’ll have to pay them a wage, unfortunately, but it’s worth it in the long run.
When you first unlock employees, you won’t want to immediately go on a hiring spree. Workers aren’t cheap, and you don’t have much room in the sweatshop or bungalow to fit everyone anyhow. Get a proper understanding of what each employee does first so you can prioritise your initial hires.
All Schedule 1 employees explained

There are four types of employees in Schedule 1, each filling a different role in your operation. While you can perform each of these tasks yourself, hiring a worker to do it for you saves a great deal of time, letting you make product faster and turn them in for cash.
You’ll need to head to the office in the warehouse to hire employees. Here you’ll find Manny behind the counter, who’ll give you the different options available to you. Select an employee type to hire them, and you’ll be prompted to select a location.
Before you can put your employees to work, you’ll first need to buy them a bed to settle in. You can purchase beds from Oscar in the warehouse for $150 each. Once placed, use the management clipboard on the employee and select to edit the “bed” section at the top of their list. Then, walk up to an empty bed to assign it to them.
You’ll see their name and coloured bedsheets depending on their role suddenly appear, as well as a black box at the foot of the bed where you’ll put their salary. If you don’t pay their wages, they won’t work and will awkwardly stand outside staring at you every time you walk by. They’ll never quit, though, so there’s technically nothing wrong with not paying their wages when they’re not needed, which is likely to happen early on when you’re getting production lines set up.
It’s worth pointing out that you can’t move or relocate workers once hired. You’ll have to hire more workers each time you move to a new location, though you don’t need to fire the old ones. They’ll hang around in case you want two operations on the go, not costing you a dime unless you put money in their box.
Below you’ll find more details about each worker, including how to assign them and some tricks I’ve picked up over the many hours I’ve spent expanding my enterprise.
Cleaners

Cleaners are the most easily ignored workers, simply because they don’t add value to your business like the other employees do. Cleaners tidy up after you or your employees. They drain your money more than they’ll ever pay you back for it, but that’s not necessarily a bad thing.
Rubbish quickly piles up in your buildings if you’re not keeping things clean, and it’s an absolute pain trying to keep on top of it yourself. Sure, the cleaner won’t recycle the rubbish for cash like you can if you do it yourself, but it means you don’t have to run around with a litter picker all day and can instead focus your efforts entirely on production and dealing.
To assign a cleaner, all you need to do is place up to three bins and use the management clipboard on the worker to select the areas you want them to cover. Bins don’t have a massive radius, so you’ll need a few for effective coverage.
Botanists

Botanists are the lifeblood of your business, responsible for planting, maintaining, and harvesting any crops they’re assigned to. They’re not too expensive either, and they’ll quickly recover their cost once your production ramps up.
A single botanist can be assigned up to a maximum of eight crops, though you’ll quickly find out that even this can be a lot of work if you’re adding extra steps (like additives) to the mix.
To assign a botanist, use the management clipboard on them and select their stations, then walk up to any pots you want them to work on and click to assign them. Importantly, additives are not assigned to the botanist directly, but with the pots instead. To do this, use the management clipboard on their assigned pots, where you can specify seeds and up to three additives that will be added.
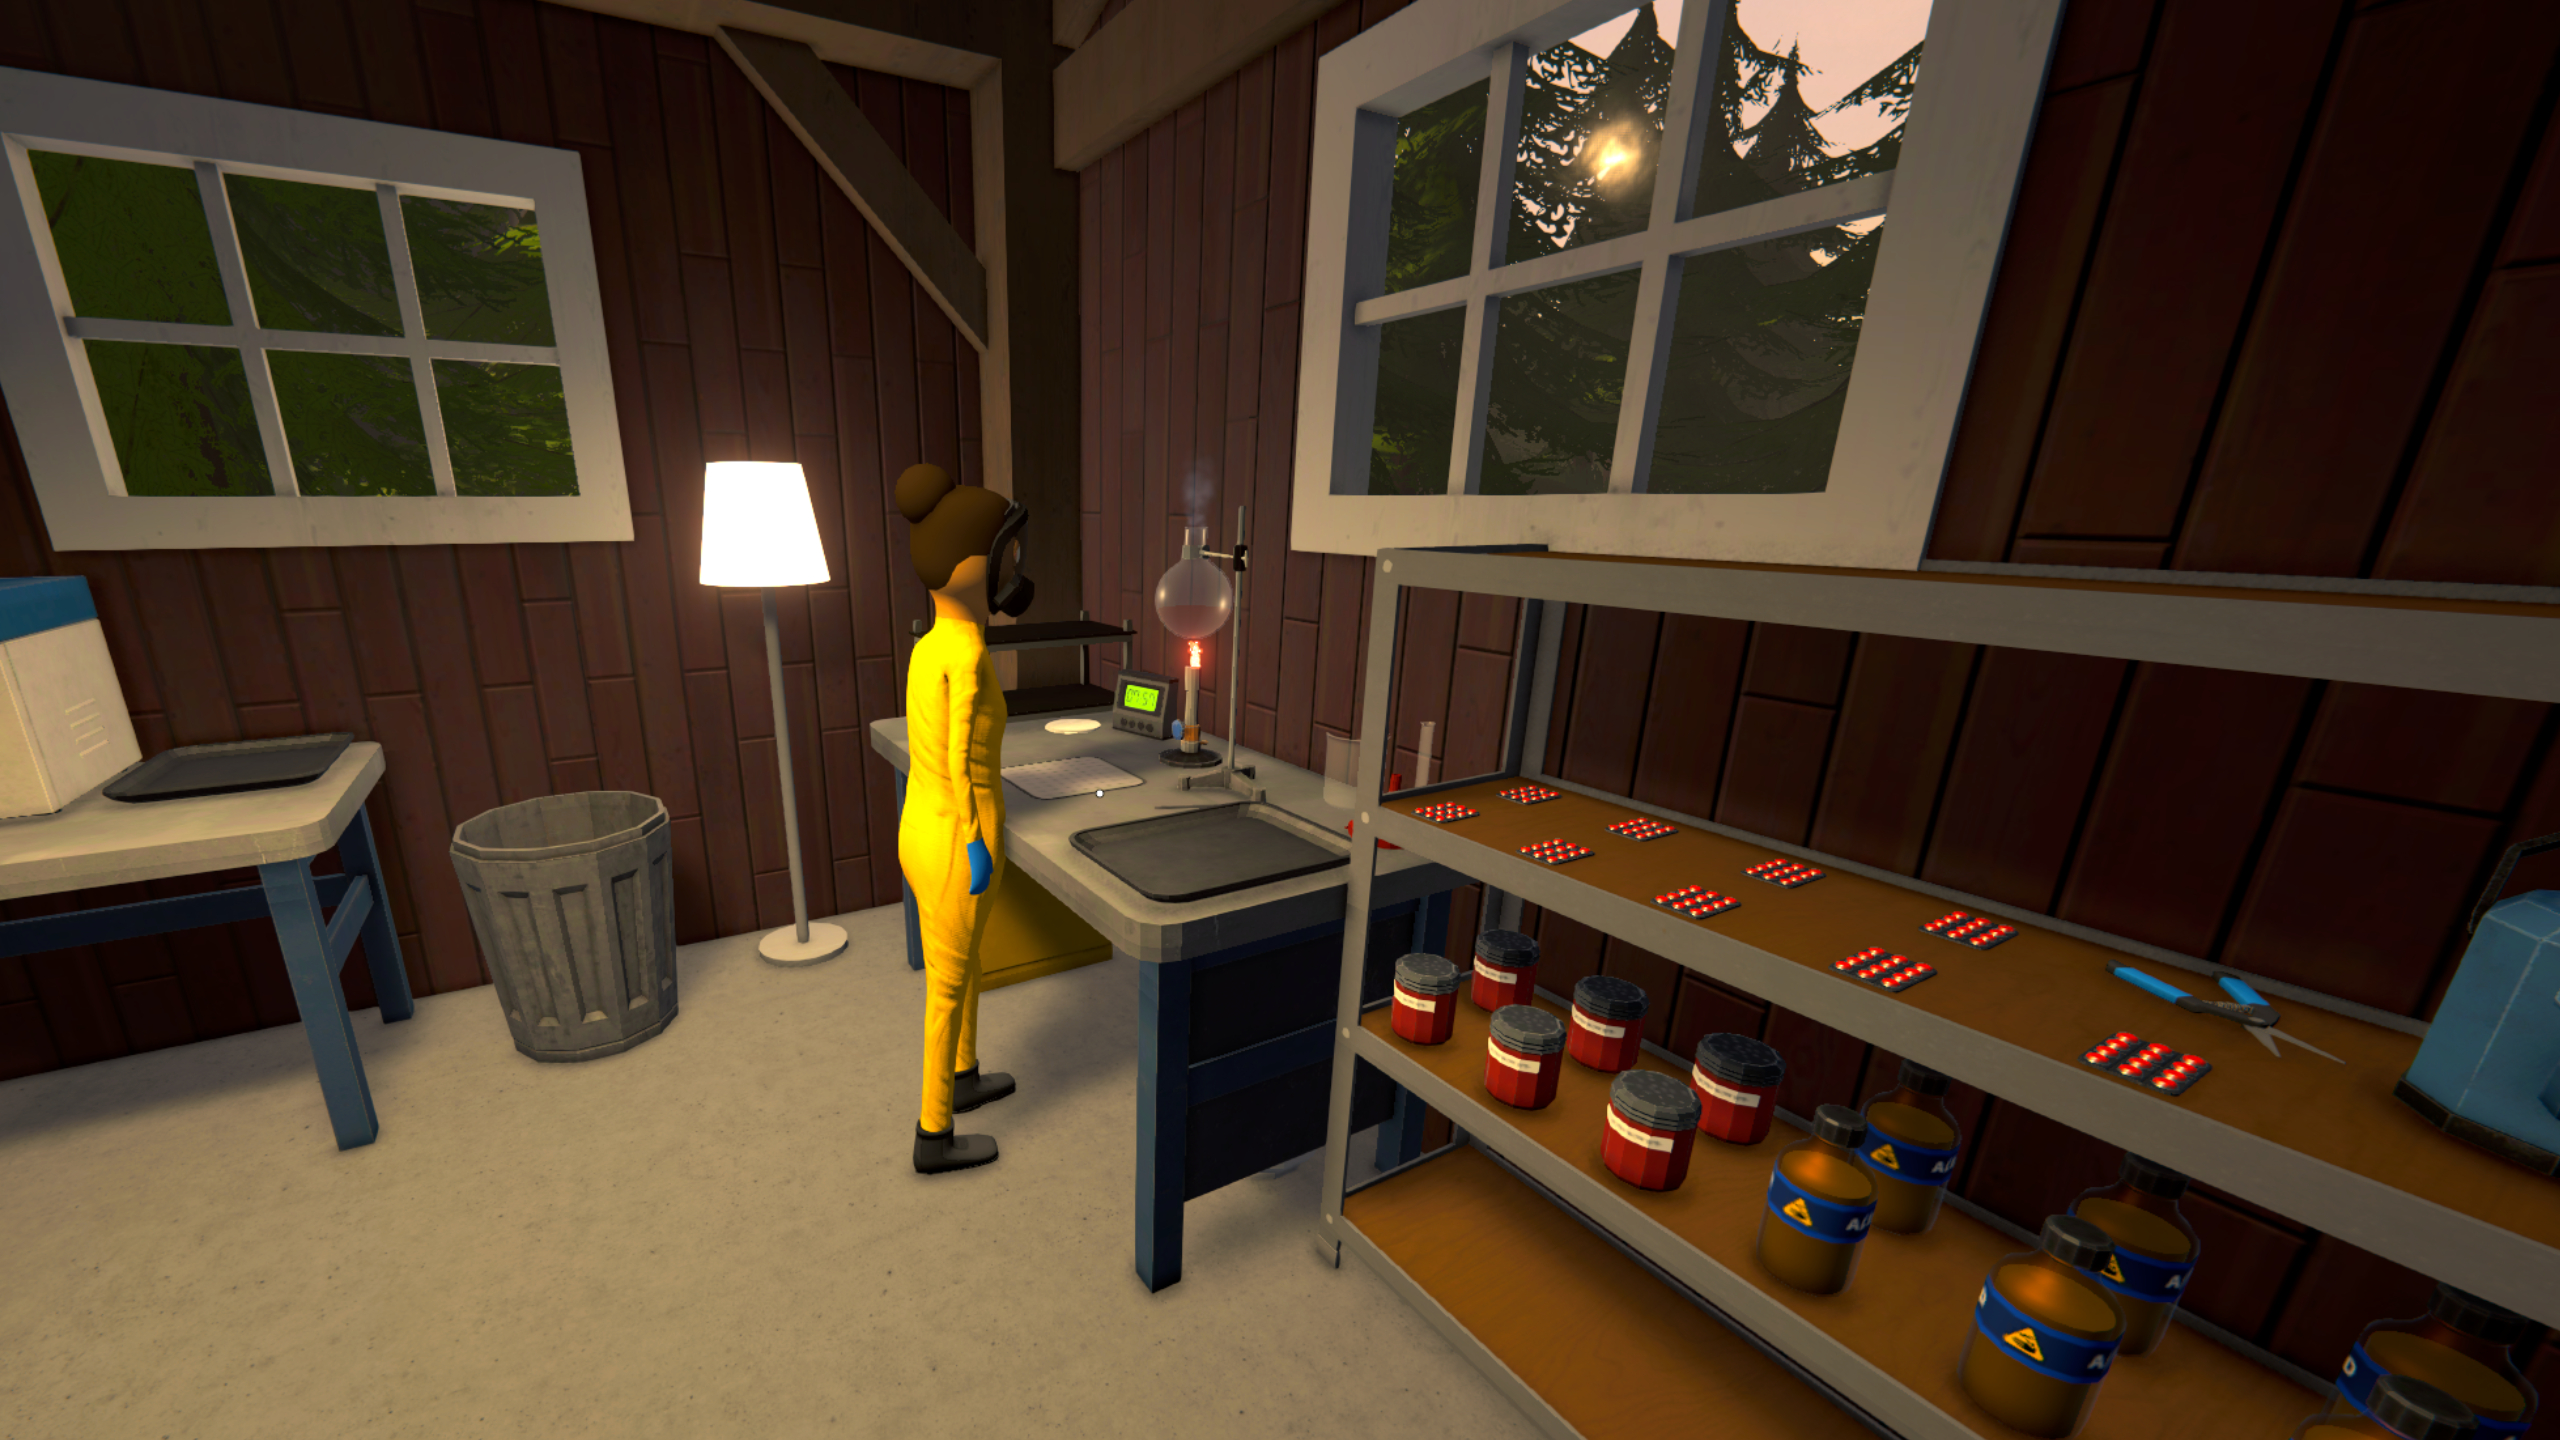
You’ll also want to assign a botanist a shelf, where you can conveniently stock all their items like soil, seeds, and additives, so they can automatically use them. Use the management clipboard on them once again, and select a shelving unit as a source.
Handlers

Able to move items around your building automatically, handlers are neck and neck with botanists to be the most valuable workers. Having someone move items might sound simple, but taking you out of the equation is crucial when it comes to establishing a proper production line. Think about it: you don’t have to put the increasingly important additives into mixers anymore, and you don’t need to package your drugs for distribution either.
Because of their versatility, handlers are also the most complicated workers to assign. Starting simple, you can assign handlers to packaging stations (using the management clipboard) where they will take any drugs already moved to the station and put them in bags for you to sell. For this to work, you’ll either need to use a handler to move the product to the station, or set the output of a mixer to a packaging station, which will cause a chemist to move it once they’ve finished mixing it.
It becomes much more complicated when you take advantage of the handler’s ability to follow routes. Using the management clipboard, select a handler and click on one of the empty boxes under the “routes” section. Then, you can select almost any type of station as either an input or an output, including shelves. A handler can have a maximum of five instructions, which you can quickly fill.
For example, I set a handler to collect mixing items from a shelf I stock up regularly and move them to four different mixers. I then hired two more handlers to work exclusively on packaging stations, with two simple instructions: grab bags from a nearby small shelf to stock their station, and move finished product from a mixer to their own station.
Chemists
Chemists are great for convenience; able to handle the arduous task of making meth (including combining the ingredients and baking them) and using mixing stations. You can assign a single chemist to a maximum of four stations, which is pretty generous. You could have one chemist making two batches of meth at once, while another singlehandedly mans four mixers. It’s a real time saver as your operation expands.
You can also assign chemists to stations using the management clipboard. Unlike handlers, they don’t require any extra commands. However, they won’t automatically grab necessary ingredients from shelves (and these can’t be set as inputs through the specific stations they work at), so you’ll either have to do this yourself or use a handler.
The one workaround to this is mixers, which have an output slot. If you’re mixing drugs multiple times—which you should be for maximum profit—you can actually daisychain mixers by selecting another mixer as the destination for mixed drugs. The chemist will take the mixed drugs and move them to the next mixer, where they’ll mix them again if you supply the stations with additives.

Best Schedule 1 mixing recipes: Make more money
Schedule 1 dealers: Best customers and stock
Best Schedule 1 bungalow setup: Upscaling
Best Schedule 1 barn setup: Get farming
Schedule 1 pseudo: How to use this ingredient
Schedule 1 management clipboard: New hires