Here’s how to battle the great ape of the Oilwell Basin.
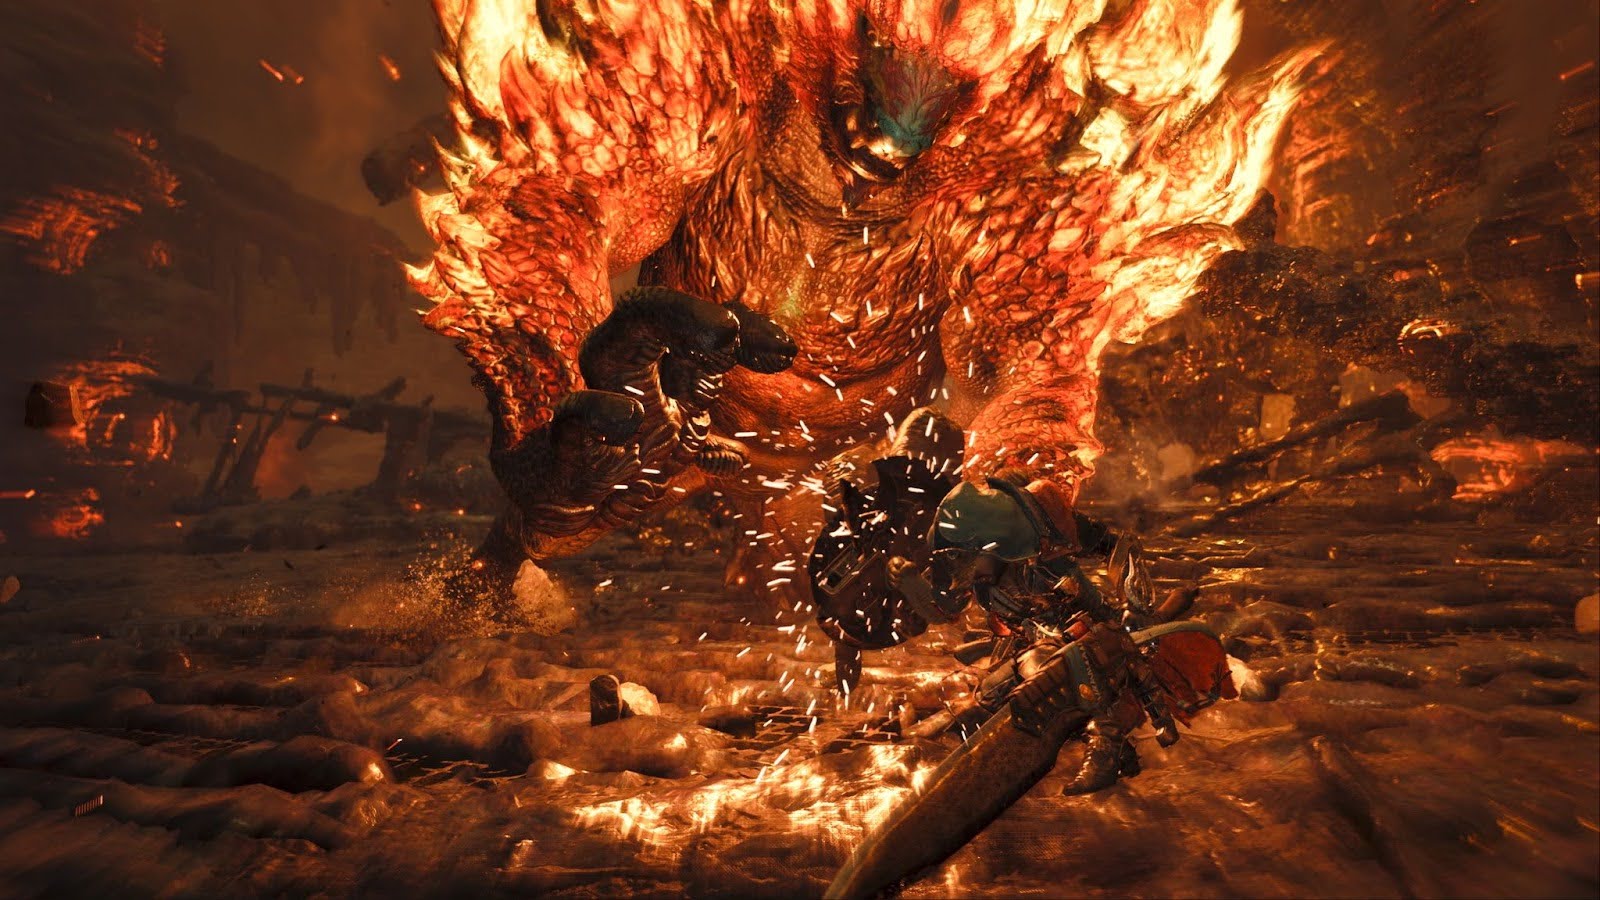
In the fiery depths of the Oilwell Basin, there can only be one Apex monster—and surprisingly it isn’t the Ajarakan, despite this big flaming ape being a force to be reckoned with. Not only are they imposing, but the first time you fight it, you’ll actually be face-to-face with two, so you’ll need to know how to beat the Ajarakan to survive the encounter.
Ajarakan arrives around the middle of Low Rank in Monster Hunter Wilds, so you’ll have plenty of time to prepare for battle and plenty of monsters to whip up some weapons and armor that can turn this beast from the champ chimp to a chump. This monster deals in Blastblight, which will make you explode if you don’t get rid of it, but thankfully a Nulberry will do the job, or, failing that, you can stop, drop, and roll across the ground three times to get rid of the dangerous status.
What type of monster is Ajarakan?
Monster Type: Fanged Beast
Elemental affinity: Blast
Ailments: Fireblight, Blastblight
Weaknesses: Water, Ice
Habitat: Oilwell Basin, Ruins of Wyveria
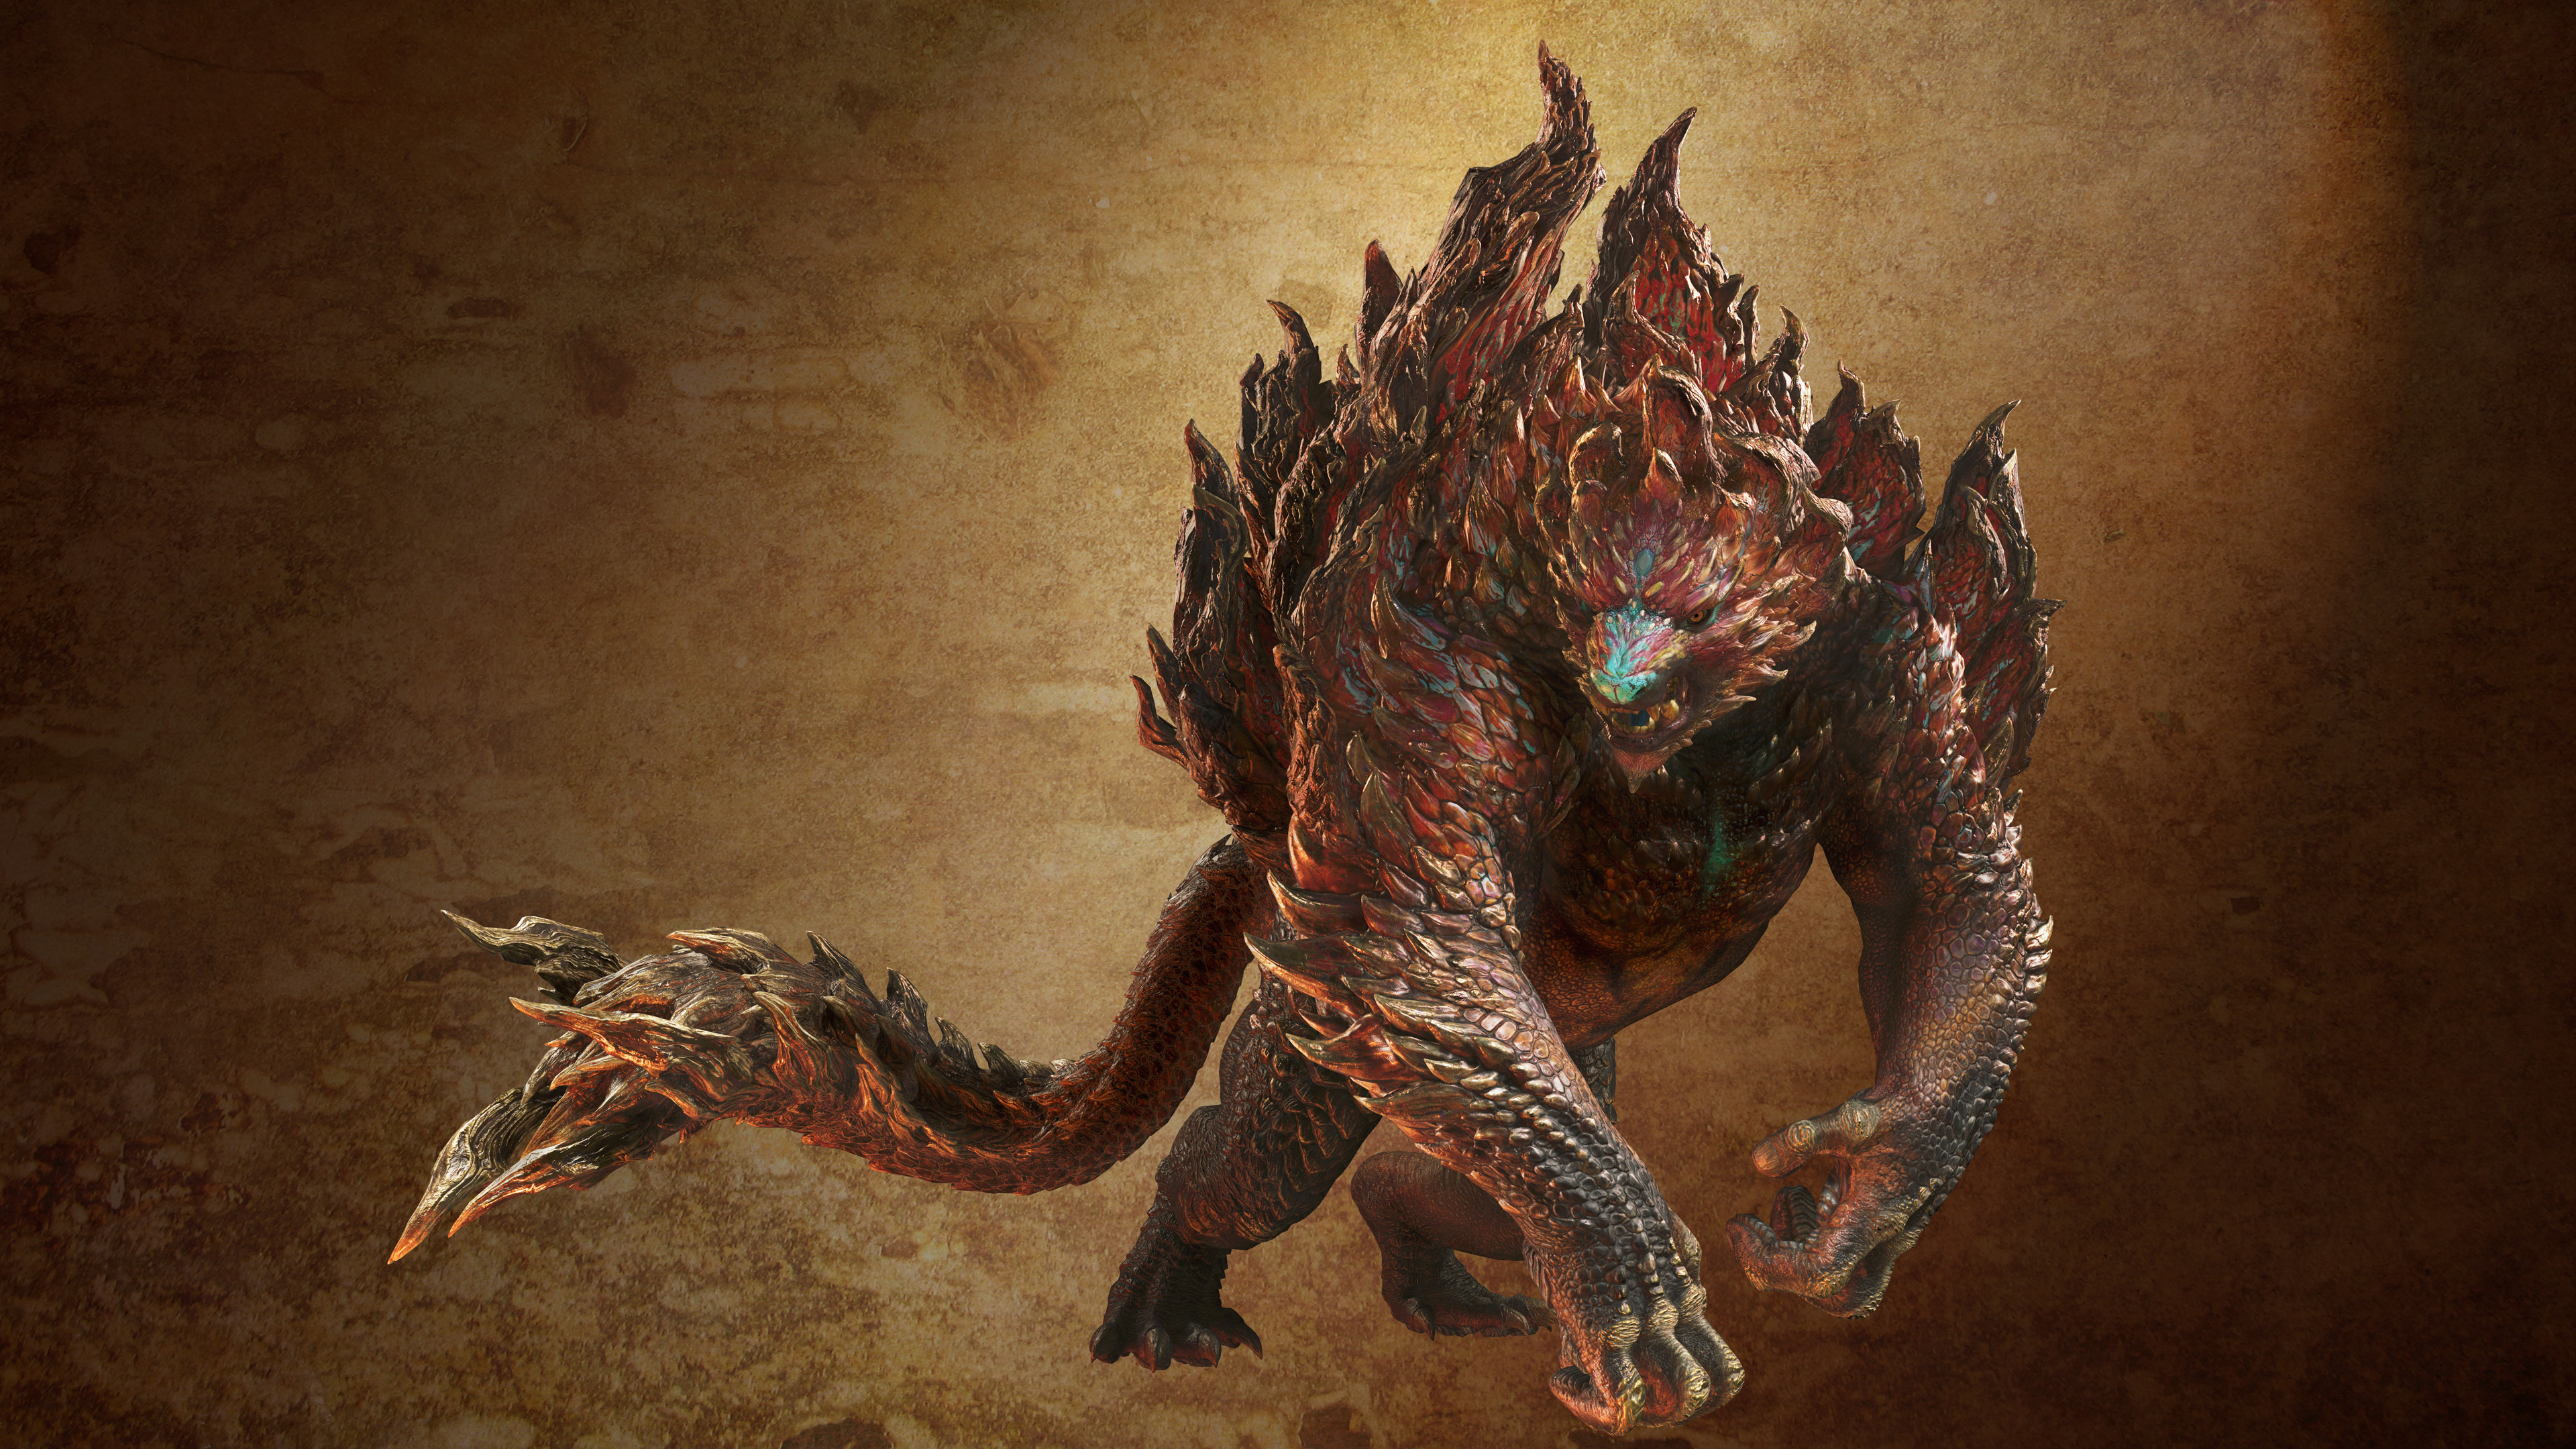
The Ajarakan is a Fanged Beast that is first introduced in Monster Hunter Wilds. It is one of many apes to grace the Fanged Beast category, joining the ranks of Rajang and Bishaten in past games and fellow banana fans Congalala and Blangonga in Monster Hunter Wilds. This is the first Ape monster to feature the fire element outside of some special variants of those other monsters.
Ajarakan has a lot in common with the fearsome Rajang as it’s fast, aggressive and not afraid to swing all over the place (in both the throwing hands and literal swinging senses).
How to fight Ajarakan
The first time you face off against the Ajarkan in Monster Hunter Wilds’ story, you and Olivia will be fighting two of them at once. During this bit your main focus is simply staying alive; don’t get too aggressive, as shortly after Olivia will lure one away and you’ll be stuck into a duel with merely a single giant flaming ape. The handy thing about this encounter is that if you cart during the battle, Olivia will show back up and help you take down the sole remaining enemy.
Being a big, angry gorilla, the Ajarakan mainly fights by throwing its hands around violently. The moveset consists of punches, ground swipes, and slam attacks that deal a lot of damage and knock you on your ass. It also has access to fireballs, which it will chuck at random intervals. You’ll want to be quick on your feet; I’d recommend going for small attacks rather than trying to line up big combos.
Eventually the monster will become enraged and will ignite itself (which is illustrated by it glowing orange). This mode will not only grant the Ajarakan some new attacks, but it also adds a lava effect to almost every move in its arsenal. A ground slam will spew out lava, the fireball projectiles cover a further range, and so on.
The Ajarakan also has the ability to use monkey bars in certain areas, such as area 6 of the Oilwell Basin. It can jump onto railings and swing around before crashing down on you like a wrestler flying from the top rope.
Other Ajarakan attacks to look out for
- Elbow Drop: The Ajarakan will drop elbow first onto the floor and then drag itself along the ground before lifting up and throwing sparks all over the place at the end of the move. When Ignited this will turn into a mass of lava, making the finale far more dangerous. This is fairly easy to avoid by rolling to either side.
- Meltdown: When Ignited, the Ajarakan will slam its fists into the floor and melt the ground in front of it. It then follows this up by flinging chunks of magma into the air, destroying anything in its path. You’ll want to stay at the side of the monster to dodge this. After this move, the Ajarakans hands will be wounded, meaning you can pull off a Focus Attack for massive damage.
High Rank Ajarakan attacks
The Ajarakan is even more of a force to be reckoned with in High Rank thanks to its increased attack damage and ferocity. It also gains access to a new move while Ignited that you’ll want to watch out for:
- Spin to win: The Ajarakan will start glowing orange and spinning around in a spot on the ground; after a few seconds of this it will shoot into the air before becoming a heat-seeking missile and crashing down upon the hunter and releasing a massive magma burst. As soon as you see it spin, put away your weapon, and when it flies into the air, you’ll want to book it in any direction.
Ajarakan weaknesses
More icons denote more effective damage, with 1 being minimum and 4 being maximum. Elements not listed deal no bonus damage.
The Ajarakan is weak to Water and Ice elements, and thankfully you’ll have some good options to work with ahead of fighting this monster. The most powerful weapons you can craft with these elements for the Ajarakan fight come from the Scarlet Forest’s apex monster Uth Duna, so I’d recommend going with an Uth Duna weapon if possible. However, you’ll also have fought the Balahara and the Hirabami, which deal Water and Ice damage, respectively, so either of those will do the job too when fighting Ajarakan.
For the High Rank rematch I’d recommend upgrading an Uth Duna weapon, but you’ll also have access to weapons from the Jin Dahaad and Xu Wu, which give you powerful Ice and Water element weapons, respectively.
As for a weapon recommendation, this is one where you can just go with whatever weapon you like with no drawbacks. Blunt and slashing damage is uniform across all of the monster’s parts, so you really cannot go wrong.
High Rank Ajarakan materials
- Ajarakan Scale+
- Target Rewards – 22%
- Wound Destroyed Reward – 45%
- Carving – 30%
- Ajarakan Ridge+
- Target Rewards – 11%
- Broken Back – 100%
- Carving – 13%
- Ajarakan Tail
- Target Rewards – 11%
- Carving – 11%
- Carving Severed Tail – 93%
- Ajarakan Carapace
- Target Rewards – 22%
- Wound Destroyed Reward – 43%
- Carving – 23%
- Ajarakan Jewel+
- Target Rewards – 16%
- Wound Destroyed Reward – 12%
- Carving – 18%
- Ajarakan Certificate S
- Target Rewards – 8%
- Ajarakan Marrow
- Target Rewards – 7%
- Ajarakan Medulla
- Target Rewards – 3%
- Carving – 5%
- Carving Severed Tail – 7%
Low Rank Ajarakan materials
- Ajarakan Scale
- Target Rewards – 25%
- Wound Destroyed Reward – 45%
- Carving – 28%
- Ajarakan Shell
- Target Rewards – 25%
- Wound Destroyed Reward – 43%
- Carving – 23%
- Ajarakan Ridge
- Target Rewards – 11%
- Broken Back – 100%
- Carving – 13%
- Ajarakan Tail
- Target Rewards – 11%
- Carving – 11%
- Carving Severed Tail – 88%
- Ajarakan Jewel
- Target Rewards – 15%
- Wound Destroyed Reward – 12%
- Carving – 18%
- Ajarakan Certificate
- Target Rewards – 8%
- Ajarakan Marrow
- Target Rewards – 5%
- Carving – 7%
- Carving Severed Tail – 12%

Monster Hunter Wilds guide: All our advice in one place
Monster Hunter Wilds tips: Hit the ground hunting
Monster Hunter Wilds weapons: Builds galore
Monster Hunter Wilds best armor: Defend yourself
Monster Hunter Wilds monsters: All the beasties
Monster Hunter Wilds multiplayer: How to co-op hunt