Pick your favourite chapter or create your very own custom look.
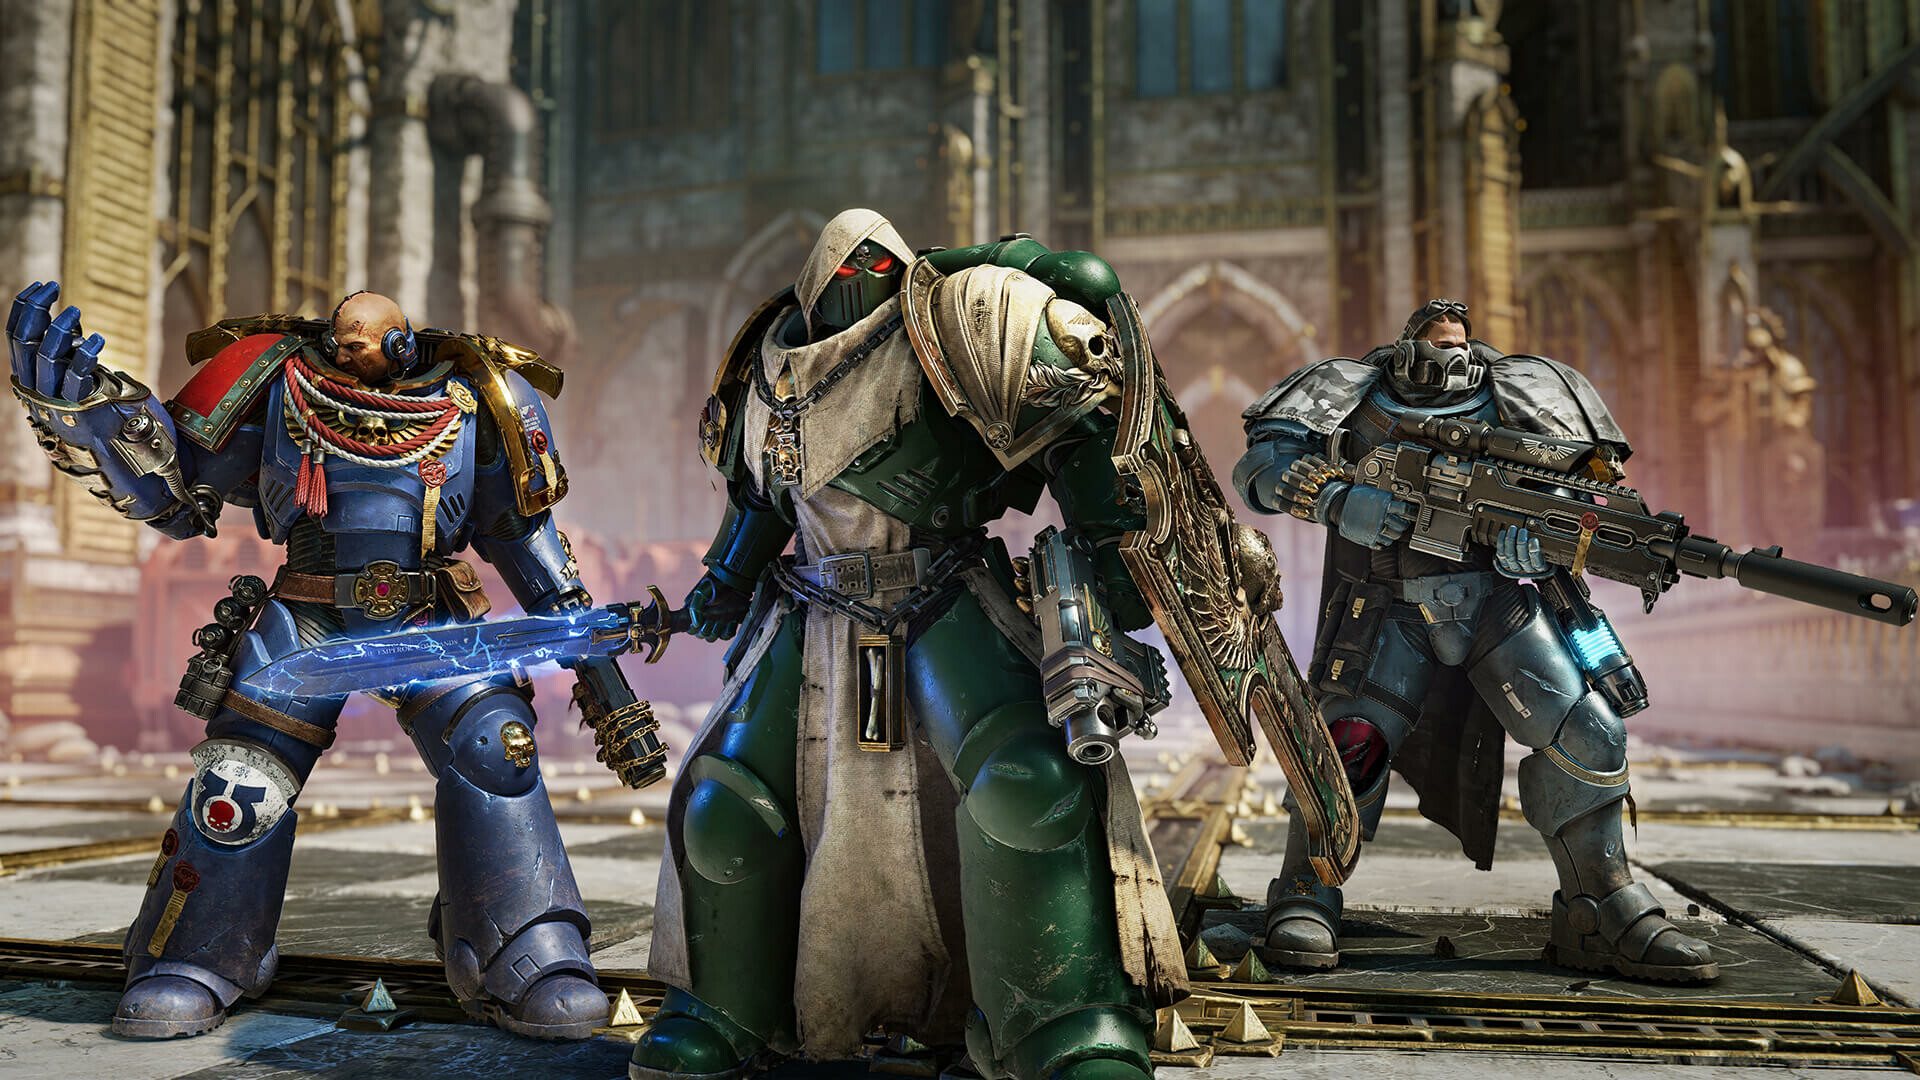
The Space Marine 2 armour customisation system is a little confusing to understand if you’ve just stepped into advanced access with the game. It’s simple enough to unlock new armour pieces by playing Operations and Eternal War, and it’s also pretty easy to purchase the heraldry of an established Space Marine chapter with requisition so you can represent your favourite.
Where it gets more complex is in creating your own custom chapter and tweaking individual armour pieces with decals and colour schemes. I’ll run through how to acquire new armour pieces, colours, patterns, and icons, plus how to bring all of that together to create your own custom armour set.
How to customise in Space Marine 2
You’ll unlock new armour sets as you play Operations and Eternal War (Image credit: Saber Interactive)
You can purchase new decals, colours, and patterns using requisition in heraldry (Image credit: Saber Interactive)
First create your armour in the Armour Set tab (Image credit: Saber Interactive)
Then swap to the Astartes Chapters tab and select a custom chapter creation slot (Image credit: Saber Interactive)
Create new custom rules for each armour piece to customise them individually (Image credit: Saber Interactive)
If you want to customise Titus in the campaign—if you have an extra skin for example—it’s as easy as visiting the Armouring Hall with campaign mode selected and clicking on appearance.
For Operations and Eternal War, the process is a little more complicated. Head to the Armouring Hall, cycle along to the class you want, and select edit armour to start the process. Here are the key features you need to understand:
In the top right you’ll see a selection of armour sets that unlock as you complete a certain number of missions in Operations or Matches in Eternal War; it’ll say how many when you hover over them. Once unlocked, these sets can be worn whole by selecting them, or their individual pieces can be used to customise. If you cycle across to Astartes Chapters you can see whole chapter colour and logo sets that you can purchase for requisition. Each of these generally consists of an emblem, a colour, and another emblem for the pauldron. Hover over one and hold the “show in heraldry” prompt, then purchase the elements using requisition earned from missions. Each of these unlocked elements can also be used in customisation.In this heraldry menu you can also cycle across to Heretic Astartes, Unknown Foundings, and Ultramarines. These sets consist of colours, emblems, and some even have colour patterns, so spend your requisition wisely.
Once you’ve got a few elements unlocked, you’re ready to customise:
1. Choose your armour set: Pick your armour in the Armour Sets tab. You can either choose one wholesale or use a selection of pieces down below by clicking the custom armour set option at the bottom.
2. Choose your heraldry or create a new chapter: Now this next step is important. Cycle across to the Astartes Chapters tab. Here you can choose the heraldry of any chapter you’ve unlocked or create your own by selecting the custom armour set option at the bottom.
3. Add custom rules to your heraldry: Selecting that custom armour set option at the bottom of the Astartes Chapters tab will open a heraldry customisation menu. To customise each part of your armour individually, select the custom rules option at the bottom of the page and choose the armour piece you want to tweak. I’d suggest adding a custom rule for all armour pieces, then you can just cycle down and tweak at will.
That’s about it. From that menu you can change emblems, patterns, and colours, based on what you’ve unlocked using requisition in the heraldry menu with all the chapters. As you play Operations and Eternal War, you’ll gradually amass more requisition for purchasing heraldry.


