Seems like too much effort for me, but I'm glad I can lay my eyes upon it.
You ever look at your gaming laptop and think, “Damn, I wish I’d built this thing myself over the course of the last 14 months?” Me either—but where would we be without those willing to boldly go where others won’t?
YouTuber Socket Science spent over a year making an entirely bespoke DIY gaming laptop (via Hackaday), and not only does it seem to actually run games pretty well, it also looks rather dashing. This seems to be as much a surprise to Socket Science as to me, because they say they’re “still amazed that it all came together and actually works”.
In explaining why they decided to undertake this task, Socket Science points out a somewhat open secret about gaming laptop GPUs: they’re not as good as the desktop graphics cards of the same name.
A laptop RTX 4080 isn’t as powerful as a desktop one. In fact, a laptop RTX 4080 uses the same AD104 GPU as a desktop RTX 4070 Ti. Throw in mobile power limitations and you have a not insignificantly worse chip.
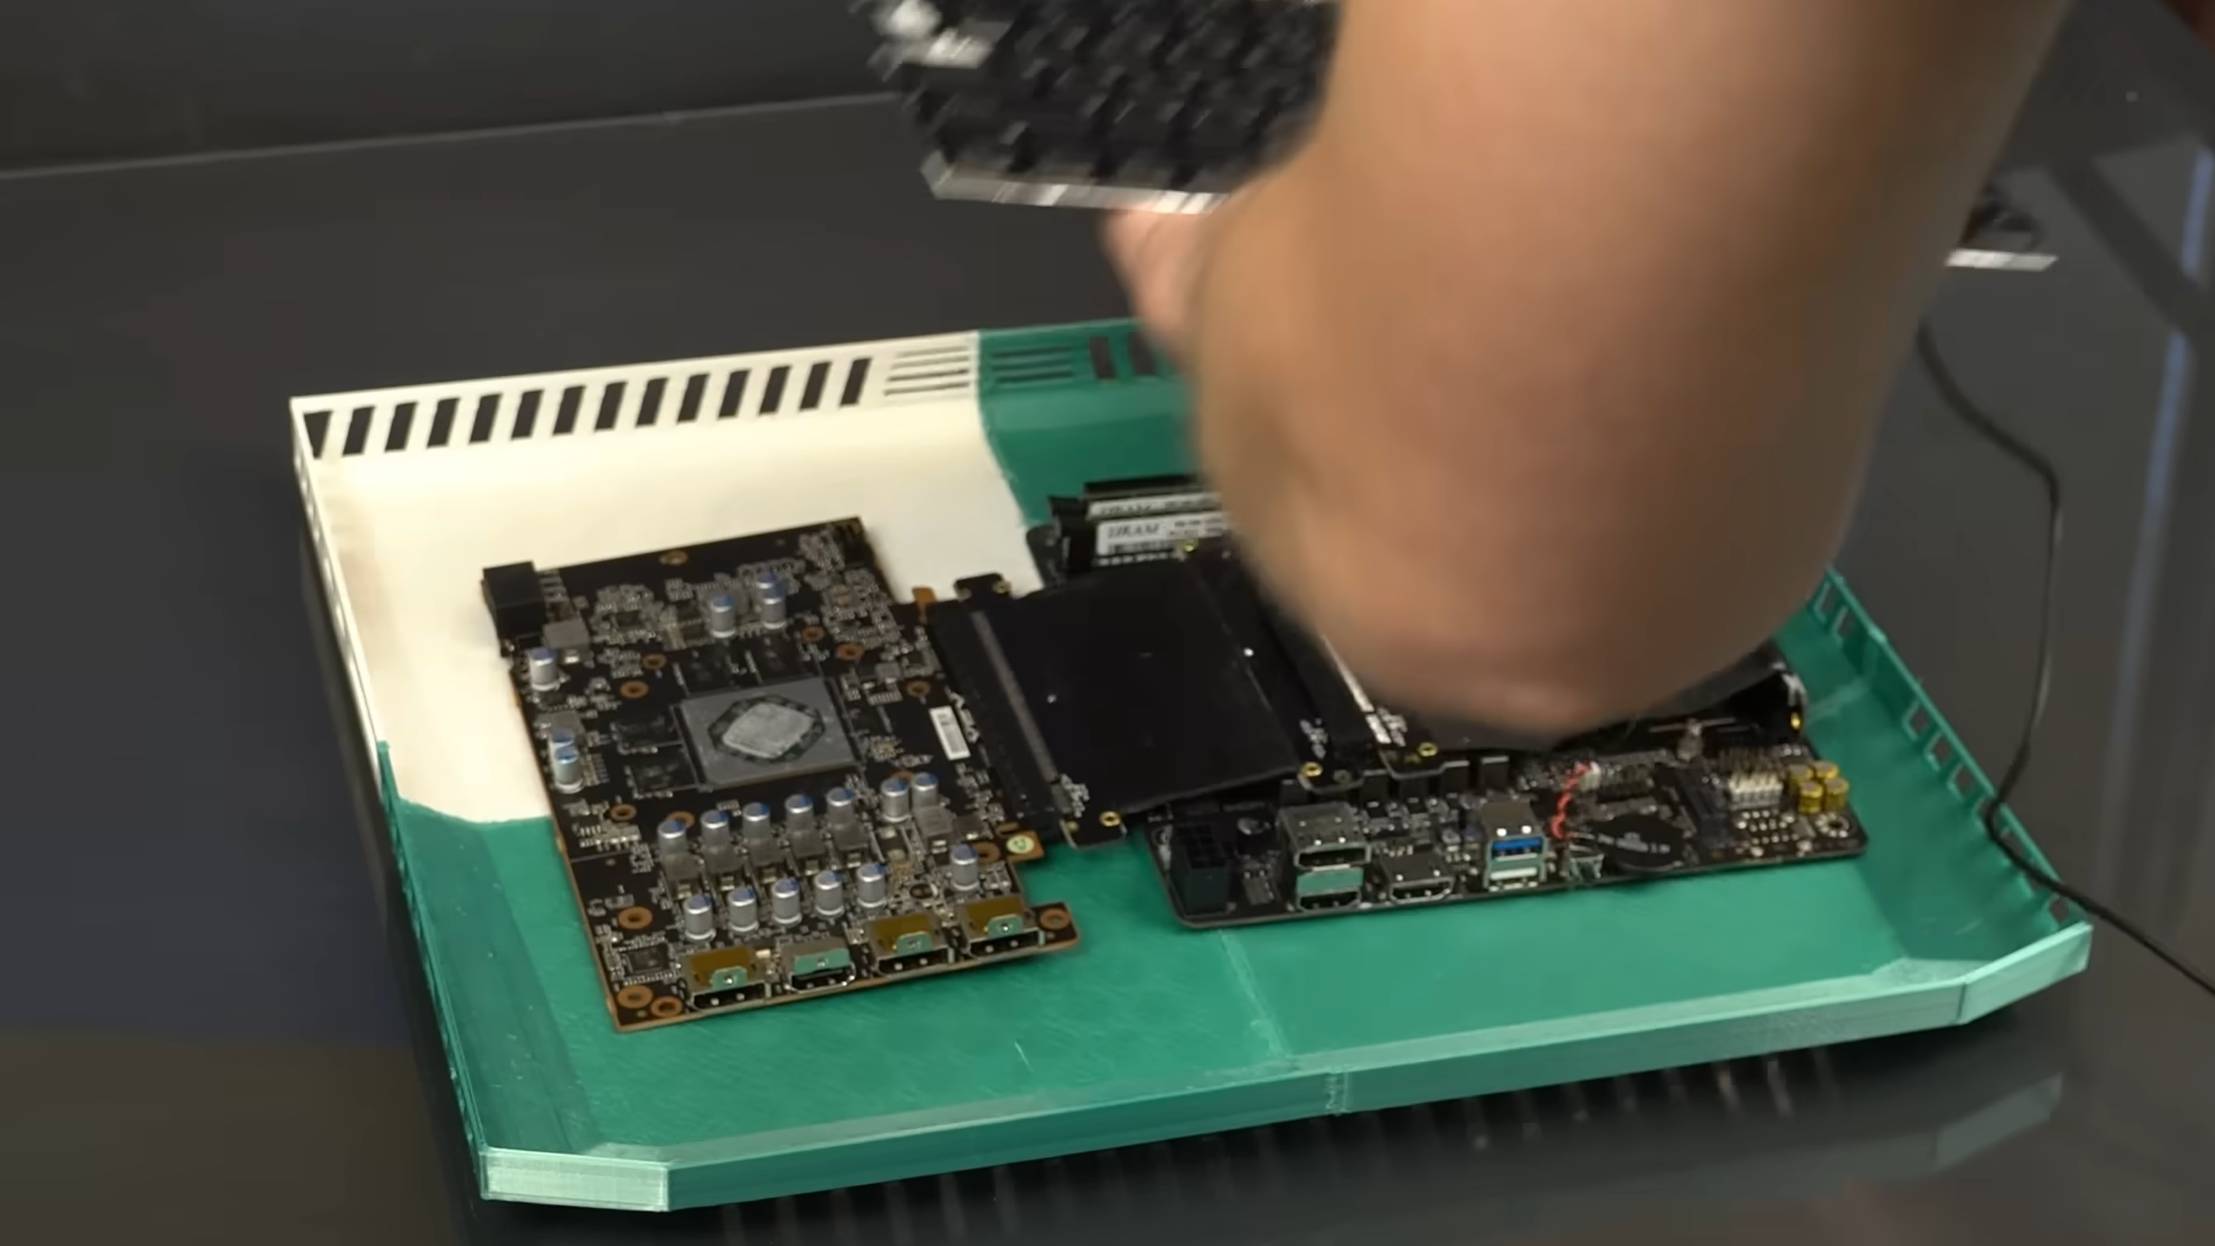
So, what does Socket Science do about this? Yep, they re-fashion desktop parts into a gaming laptop. The parts in question are an AMD Ryzen 5 5600X, an XFX Radeon RX 6600, a Gigabyte ITX motherboard, some “very low profile RAM”, a 120 Hz QHD portable gaming monitor, a thin keyboard, a touchpad, and a DC-to-DC power supply.
To state the obvious, building a laptop is nothing like building a PC. Building a PC is easy: Just order the parts and fit them all together with loads of space to spare. Not so with a laptop. Parts need to be packed together tightly with densely packed cooling and laid out very strategically. It’s usually not a job for home enthusiasts.
(Image credit: Socket Science on YouTube)
I won’t spoil every detail because the video’s well worth watching, but the general gist is as follows: Socket Science makes everything thin enough to place in laptop format thanks to a lot of motherboard desoldering and snipping followed by taking apart the graphics card to use just the PCB with the GPU on.
There’s lots of slapping together copper, heatsinks, and heatpipes, followed by putting this all together inside a 3D printed case alongside some 3D printed fans. The base of the build even includes fishing line and popsicle sticks, apparently.
Finally, the LCD is taken out of the portable monitor and set up in a bespoke 3D printed lid, and the keyboard and touchpad is fitted into the base of the case. None of this is even mentioning the mottled copper finish.
Just writing my very simplified version made me feel a little overwhelmed—I can see why it took Socket Science 14 months. Worth it, though? I’ll stick to spending a little extra on a laptop with a seemingly misnomered chip, myself, but I’m glad I’ve now witnessed a veritable gaming laptop being built in DIY fashion without having to raise a finger.


