Get the perfect balance of graphics and performance with our recommended quality settings.
If you were a fan of Capcom’s original Dragon’s Dogma, released on PC in 2016, then you will almost certainly be knee deep in pawns, monsters, and magic right now in its sequel. If you are, then you’ll also have noticed that the game’s performance isn’t great, even if you have a powerful gaming PC. But all is not lost, as with this guide, you’ll hopefully be able to tweak some settings and enjoy being the Arisen as Capcom intended.
That will depend on what CPU and graphics card you have, though, and whether you want the best performance in the open areas of the game, or just the main city. For example, if you have a Zen 3-based Ryzen 5 system with a Radeon RX 6600 or GeForce RTX 3060, the performance will be low no matter what setting you choose.
But if your CPU is better than that, preferably one of the latest generations with more than six cores, and paired with a decent mid-range GPU or higher, then there are a few settings well worth tweaking.
Best overall settings
All of the settings that affect performance can be found in the main and pause menus. You’re best off changing them in the former, as certainly settings can’t be altered whilst you’re in-game. Click on Options, then Graphics, and you’ll be faced with a raft of options to configure.
The Low and High presets are actually well balanced, in terms of graphics quality and performance, and you may well be happy just using them. However, there are certain settings that get applied in both presets that aren’t worth using and others that should be enabled, but aren’t.
As to what values you should everything to, well that will depend on what gaming PC you have. Having tested various systems and gone through each individual setting, here are what I recommend to achieve the best possible graphics while still retaining a decent level of performance.
Low-end PCs will have CPUs with six cores, 12 threads, along with 16GB of RAM and a graphics card with 8GB of VRAM. Good examples of the latter are a GeForce RTX 3060 or a Radeon RX 6600.
Moving up the scale, mid-range PCs will have eight cores, 16 threads, and 16 or 32GB of RAM. The graphics card will have more than 8GB of RAM, so something like a GeForce RTX 4070 or a Radeon RX 6800. Lastly, high-end PCs will have the best gaming CPUs and graphics cards in them.
The other settings in the Graphics menu should be set to the following, no matter what PC you have:
Dynamic Resolution: OffRendering Mode: InterlacedImage Quality: StandardRay Tracing: OffAnti-aliasing: FXAA+TAAShadow Cache: OnMotion Quality: HighMotion Blur: OffDepth of Field: OffLens Distortion: OffSubsurface scattering: Off
And finally, there’s Bloom and Lens Flare, which make very little difference to the performance of Dragon’s Dogma 2, but whether you want to use them or not is entirely down to your taste in graphics.
Despite being very heavy on the CPU, the main graphics setting that changes how well Dragon’s Dogma runs is the screen resolution. Unless you have a high-end graphics card, you’ll want to keep this at 1080p or 1440p. Even with upscaling, 4K is a bit too much for mid-range GPUs. The downside to using a low resolution is that the open world areas, especially those with lots of trees and grass, don’t look so hot.
PC Gamer settings versus presets
To give you an idea as to how our recommended settings compare to the presets in terms of performance, I ran various benchmarks in the Vernworth city and open world on three gaming PCs. For the low-end settings, I used a Ryzen 5 5600X, 16GB DDR4-3200, Radeon RX 6600 system at 1080p resolution
The mid-range settings were tested on a Ryzen 7 8700G, 32GB DDR5-6400, GeForce RTX 4070 combination at 1440p. Unfortunately I didn’t have a really powerful GPU to hand to examine the high-end settings, so you’ll just have to make do with a Core i7 14700KF, 32GB DDR5-6400, GeForce RTX 4070 Ti platform.
Dragon’s Dogma 2 is very CPU-limited in the city area, but even in the open world, it’s not massively stressful on the graphics card unless you use maximum settings at 4K, with everything enabled. And it’s really not worth playing it like that.
You might think that using our recommendations, if they result in worse performance than one of the presets, isn’t a great idea but remember that this is about having the best balance of visuals and frame rate. If you want more fps, just knock every setting down a notch, but slapping them all on their maximum values doesn’t actually make Dragon’s Dogma 2 look the best it can.
If you want to see how well it runs using maximum quality settings, with everything enabled, check out our performance analysis of the game.
(Image credit: Capcom)
(Image credit: Capcom)
(Image credit: Capcom)
(Image credit: Capcom)
(Image credit: Capcom)
(Image credit: Capcom)
Static screenshots don’t do a great job of highlighting some of the major differences between the quality presets and our recommended settings. The most notable being the edges of shadows, trees, leaves, and grass. These all exhibit aliasing (the edges appear to shimmer or crawl about) unless you have the maximum settings applied or you use upscaling.
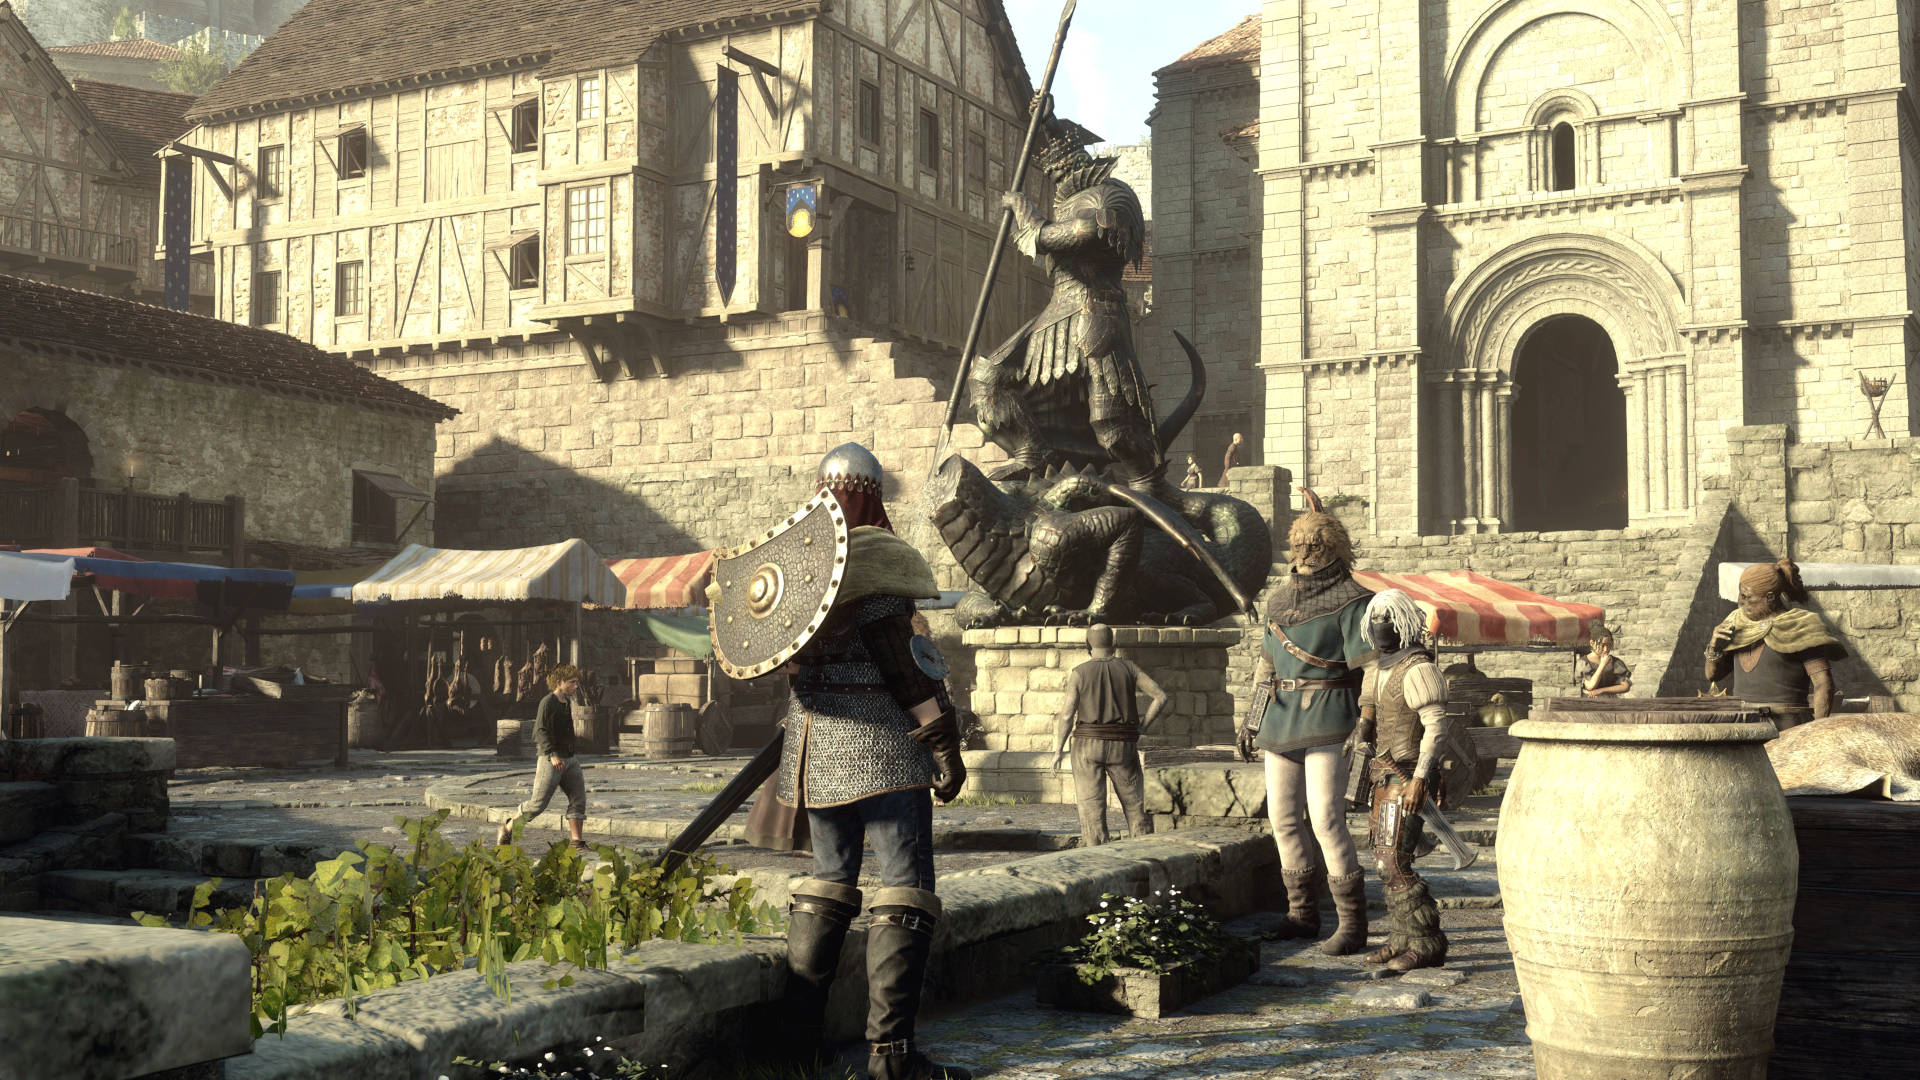
However, the above images of the main city area provide a useful comparison for you to make your own decision about which setting has the best balance between graphics quality and performance. As the city is very CPU-limited, you can use pretty high quality levels, as it won’t impact the frame rate all that much.
(Image credit: Capcom)
(Image credit: Capcom)
(Image credit: Capcom)
(Image credit: Capcom)
(Image credit: Capcom)
(Image credit: Capcom)
Out in the open world, the CPU isn’t being clogged with processing all the various NPCs that live in the city, and your graphics card will finally have a chance to shine. Or stutter, depending on what settings you’re using.
Again, still images aren’t perfect for seeing the impact the settings have, but they’re enough of a guide. The main aspects to focus on are the quality of the grass, the leaves on the trees, and how the water’s surface appears.
What each setting does
Dragon’s Dogma 2 has a comprehensive list of graphics settings you can play around with, so here’s a breakdown of each one. Where a setting has some degree of performance impact, there’s a corresponding mini-benchmark to go with it.
These were done on a variety of PC configurations, using either an RX 7800 XT, RTX 4070, or RTX 4070 Ti graphics card, so don’t compare them against each other. Instead, just look at the respective performance difference the setting has.
None were done on a low-end PC because the game relies heavily on the CPU, making the majority of GPU-dependent settings redundant. In the recommended settings above, the ones for low-end PCs are about reducing stuttering and frame rate variability as much as possible.
The game gives a small preview of each setting’s visual impact, so if you really want to know what you’re supposed to be looking for, you can see it in the graphics settings menu.
Frame Rate: 30, 60, 120, variable
This just puts a cap on the maximum frame rate and while you might be tempted to set this to variable, to allow the fps to reach any value, it’s worth using 60 if you have a mid-range or budget gaming PC. It doesn’t help your system run any better but a lower frame rate cap helps to give the game a smoother experience, particularly in the open world areas.
Dynamic Resolution: Off/On
This will make the game engine drop to a lower render resolution when the frame rate decreases, but it’s not clear as to what fps it uses to judge this. On low-end gaming PCs, it doesn’t really help the performance and you’re unlikely to need it on better machines, so just leave it off.
Rendering Mode: Interlaced/Progressive
The game’s menu doesn’t explain what this setting actually does, but it’s probably similar to a process used on consoles called checkerboard rendering for interlaced mode. There’s little difference in visual fidelity between them, though Interlaced is the worse of the two, but the performance hit with using Progressive simply isn’t worth it, despite that being the ‘normal’ way to render.
Image Quality: Sliding scale
This setting controls the resolution with which the engine renders the frame. The default setting matches the monitor’s resolution, and lower/higher values on the scale decreases or increases the internal resolution. There’s no point in going lower, as you’re better off using upscaling, but increasing it can make things look a lot nicer. Best off just leaving it on the standard value.
Ray Tracing: Off/On
With this option enabled, the engine replaces the use of standard ambient occlusion lighting with a ray traced effect. It’s a subtle but nice improvement, and not even a huge hit on performance, although that will depend on your GPU. However, ray tracing isn’t used for reflections or shadows, which would benefit the most from using it, so don’t bother enabling it.
Anti-aliasing: Off/TAA/FXAA+TAA
Although it’s not the best AA implementation I’ve seen, you really need this enabled, as without it trees and grass look very messy. The FXAA+TAA option is the only option worth considering, even though it adds a little more work to the GPU’s list of tasks.
Screen Space Reflections: Off/On
Activating this improves how liquid surfaces, such as rivers and lakes, reflect the environment around them. It’s not very good, though, as it generates a halo around objects and characters that stand in front of the surface. That said, reflections do look a lot better with it on.
Mesh Quality: Min/Low/Mid/High/Max
This setting controls how detailed and accurate the 3D models are. There’s not a huge difference between the options and only a small difference in the workload on the GPU. However, if your minimum frame rates are a bit too low, it’s a good setting to knock down a notch or two.
Texture Filtering: Low/Medium/4x High choices
Changing this value will determine how crips and detailed textures will look in the world. Don’t bother with Low or Medium, even if you’re using a very basic GPU, as all of the High options (anisotropic filtering) are visibly much better and don’t cost too much performance. High-end GPUs can use the Aniso x16 setting, whereas everything else will be fine with x4 or x8.
Texture Quality: Low/2x Medium/5x High choices
Like the above setting, this one affects how textures look apparently but oddly enough, not only is there very little performance difference between the values, they all look very similar.
Dragon’s Dogma 2 includes a VRAM counter in the settings menu and although it’s not 100% accurate, it’s close enough to use as a handy guide. There’s a 3GB difference between the lowest and highest settings, so just choose the highest value that doesn’t result in the counter turning red in colour. If you get stuttering, this is the first setting to drop down.
Grass/Tree Quality: Low/High
No guesses as to what this changes! High setting is much nicer than low and thankfully the performance impact is so minimal that you won’t notice anything with it set to High.
Resource-Intensive Effects Quality: Low/High
Visual effects such as smoke, flame, and air movement are affected by this setting. The differences are subtle between the two options but it does add a fair bit onto the GPU’s workload. Mid-range or better graphics cards will be fine with it on High.
Shadow Quality: Low/Mid/High/Max
Another very obvious setting but unlike many of the others, changing the shadow quality can drastically alter both the visual fidelity of the world around you and the game’s performance. In city areas, the frame rate won’t change too much, but set it too low and shadow edges will look very messy.
Out in the open world areas, maximum shadow quality can put a bit of dent in the performance, even on high-end GPUs but turn it down one notch and all will be well. If you have a low-end graphics card, though, you’ll need to drop it right down and just put up with the wobbly shadows.
Shadow Cache: Off/On
3D models that move about the world have constantly changing shadows. This setting caches them in VRAM to improve performance, at the cost of using more memory. Unless you’re really short on VRAM, there’s no reason to disable this.
Contact Shadows: Off/On
Improves how shadows interact with surfaces, making them look more realistic. It’s a minor performance hit but worth it for the visuals. Best leave this one enabled.
Motion Blur: Off/On
Off, off, off! Leave this off! The implementation of motion blur is very poor and doesn’t seem to work all that well with TAA. Overall, the graphics will look nicer by disabling it and you’ll gain a wee uplift in the frame rate.
Depth of Field: Off/On
This is an effect that blurs objects that aren’t within the camera’s focal point. To my eyes, it’s overly aggressive and disabling ensures the world around you looks crisper and more detailed, especially in the city areas.
Lens Distortion: Off/On/On+Chromatic Aberration
Do you really want your game world to look like it’s been filmed through a cheap, wonky camera? No, me neither. Switch it off, and enjoy better visuals and a little extra performance.
Bloom/Lens Flare: Off/On
These are both minor visual effects and neither produce any noticeable impact to the performance, even when used together. It comes down to whether you like the effect or not. If you do, whack them on.
Subsurface Scattering: Off/On
With this setting, you can improve how light interacts with characters’ skin but unless you’re constantly staring at people’s faces up close, you’ll never notice the difference. Like Depth of Field, it’s quite an aggressive settings, making skin textures look overly soft. Disable it and gain a few extra fps.
Motion Quality: Low/High
According to the game, this adjusts the quality of motion. Umm, thanks Capcom. Anyway, you’ll barely notice anything changing if you disable it but neither will you gain anything meaningful in the way of performance.
What about FSR 3 and DLSS?
Dragon’s Dogma 2 doesn’t support frame generation (even though the DLSS 3 FG file is present in the installation folder) but AMD’s FSR 3 and Nvidia’s DLSS Super Resolution are both options. I’ve covered the performance benefits upscaling brings in a separate analysis so I won’t repeat that here.
This is one of the very few games that arguably looks better with upscaling enabled, though there are some caveats to such a claim. The problem is the game’s anti-aliasing system which doesn’t do a very good job of reducing aliasing with trees, leaves, and grass. FSR 3 and DLSS replaces the use of FXAA+TAA and although it makes things quite blurry by default, you’ll have almost no aliasing.
You can recover some of the detail by dragging the upscaling sharpening slider all the way to the right. It won’t totally fix things but it goes a long way to help and doesn’t affect performance.
But there’s one final thing to consider. If you’re playing Dragon’s Dogma 2 at 1080p, using any upscaler in Performance or Ultra Performance mode will ruin the quality of the graphics, and no amount of sharpening will help. Even Quality modes don’t look all that nice, so just stick to native if you don’t have a system that’s capable of handling the game at 1440p or 4K normally.


