How to get equipped, start a fire, build a shelter, and save your game in Sons of the Forest.
Co-op horror survival game Sons of the Forest launched on Steam in early access today, and even though there was about an hour delay before it was unlocked, that didn’t stop it from immediately being catapulted to the top of Steam’s best-seller list within its first 90 minutes. People really, really want to play Sons of the Forest. Over 200,000 of them, all at once.
That’s a strong start! I’ve been playing it too, and if you’re planning on giving it a go I’ve got a few beginner’s tips to help you find your footing as you explore Sons of the Forest’s massive, mysterious island. You’ll have to gather supplies, build a shelter, cook meals, and fend off a collection of terrifying cannibals as you hunt for the missing billionaire you’ve been sent to find. You’ll also have to figure out how the unusual inventory works, how to save your game, and wrestle with the crafting system. I’m here to help.
You begin Sons of the Forest near the wreckage of a crashed helicopter. Here are some important tips to help you with what comes next.
Make sure you grab everything from the crash site
Around the wreck of the helicopter you’ll find several containers lying in the snow. Make sure you open all of them and collect the resources inside. That sounds obvious, but trust me, you should carefully double-check before you leave the area that you haven’t missed any. Even in the snow, the containers can be hard to spot and you don’t want to leave anything behind. I was just about to move on when I spotted two more crates some distance away.
The contents of the containers are mostly randomized, but you’ll definitely find a basic meal, a lighter, and a tarp, plus the all-important GPS, survival knife, and tactical axe. You’ll find an assortment of other items which may include a flashlight, spare ammo, duct tape, medicine, chocolate bars, and even hand grenades or C4 explosives.
The inventory screen doesn’t fit on one screen
When you tap I to open your inventory, you’ll lay everything you’re carrying out on the ground in front of you. It’s a bit weird, but it’s a nice organization system, and the inventory even has a light you can turn on so you can see your belongings at night.
Your inventory screen is a lot bigger than it first appears. To see everything, you’ll need to actually move your head (by moving your mouse to the edges of the screen). Sticks and rocks you collect, for example, will be stored to the right. Bones and limbs will be on the far, far right. There are extra containers if you move your head up and food items are stored on the lower edge. Make sure you take a good look around at just how big the inventory screen is so you don’t miss something you’re carrying.
To quickly equip items, use your backpack
(Image credit: Endnight Games)
Your inventory screen isn’t the only way to access items, which is a relief—when facing an angry cannibal, you don’t want to have to spread your entire inventory down on the ground just to get out your axe.
So there’s a shortcut, your backpack, which you can access by holding I instead of tapping I. This will pull up your backpack, and you can attach items to it, like your axe or a spear, to grab and equip them quickly. You can even store human limbs and severed heads for quick access, if that’s the kind of person you are.
To attach items to your backpack, open your inventory the usual way and select your backpack (it’s on the upper area of your inventory screen). Items that can’t be attached will automatically be grayed out, but everything else you can attach by selecting it.
Build a basic a shelter to save your game
(Image credit: Endnight Games)
At your starting area you’ll find a reflective silver tarp in one of the crates. Grab it, but don’t place it on the ground yet. As you leave the crash site and head further down the mountain, keep your eyes peeled for sticks lying on the ground. To build a basic shelter you’ll need two sticks to go with your tarp.
Once you’ve got them and feel you’re in a safe enough place, open your inventory and take your tarp (it’ll be stored in the top right of your inventory). Equip it, and look down. You’ll see a square outline on the ground, which you can rotate if needed.
Left-click to place the tarp, then aim your mouse at one corner and left-click again, then repeat on the next corner. You’ll auto-place the two sticks under the corners, and your shelter is done. Now you can use the shelter to save your game, or to sleep so time passes. (Propping up a single corner will only let you save your game, not sleep.)
To take your shelter down, smash one of the sticks with your axe. That’ll cause the tarp to fold up on the ground so you can add it back into your inventory.
Tap E to collect food, hold E to eat
(Image credit: Endnight Games)
You’re going to find a lot of sources of food in Sons of the Forest, but not everything is safe to eat. Items like berries, mushrooms, and herbs can poison you. While you’re scrounging around you’ll see prompts for food items on bushes or logs, but be careful! Tap E if you want to collect these items. If you hold E, you’ll automatically eat it, even if you didn’t intend to.
Items like berries and mushrooms are marked with a question mark until you’ve discovered their effects. Once you’ve confirmed a food source is safe (such as blueberries) it will then be marked with a green icon, so you can go ahead and safely eat it whenever you find it.
Make a fire by breaking sticks
Crafting instructions are pretty unobtrusive in Sons of the Forest, but sometimes they’re so minimalist you might miss them completely. If you want to make yourself a little fire to keep warm or cook a quick meal, start by making sure you’ve collected two sticks and have a lighter in your inventory.
With a stick in one hand, look down at the ground. It’s easy to miss, but you’ll see two faint outlines on the ground, made with dotted lines. This is the indicator that you can break your sticks into smaller pieces. Left-click and you’ll snap your stick over your knee, and then do it again. A prompt will appear to light the fire. Once it’s burning, hold E and you can add any cookable food items to the flames.
For now, avoid the locals
(Image credit: Endnight Games)
You’ll quickly begin seeing the island’s inhabitants as you move through the forest, and for now it’s best to avoid them. Many aren’t openly hostile, just curious or scared, but that can change very quickly if you get too close to them.
And keeping your distance can be a challenge. Many of the locals will follow you, sometimes for long distances, and if you’re building a camp they may come to investigate. If it’s at all possible, sprint away from any locals who seem to be getting too close. Some may throw rocks to warn you off, others (I met one carrying a large club) will attack if you linger too long. If you do need to fight, your tactical axe is a good weapon, but you’ll want to craft a spear and a bow and arrows as soon as you can.
You can access the original building system
The building system in Sons of the Forest is more contextual than the original system in The Forest. Placing items like logs to form a shelter or building is done in a more freeform way, with minimal on-screen information other than a few dotted lines or arrows. This allows you much more freedom in how you build, letting you dictate the floorplan you want.
But if you’re not interested in puzzling through a new building system, or are happy creating default shelters, you can still use the system found in The Forest. While looking at your building guide, you can click on the image of the structure you’re building. This will let you place a see-through 3D blueprint onto the ground. With that in place, you’ll have a list of resources you need to build it on your screen, and all you’ll need to do is bring them back and add them to the blueprint, the same way it worked in The Forest.
Don’t kill Kelvin!
(Image credit: Endnight Games)
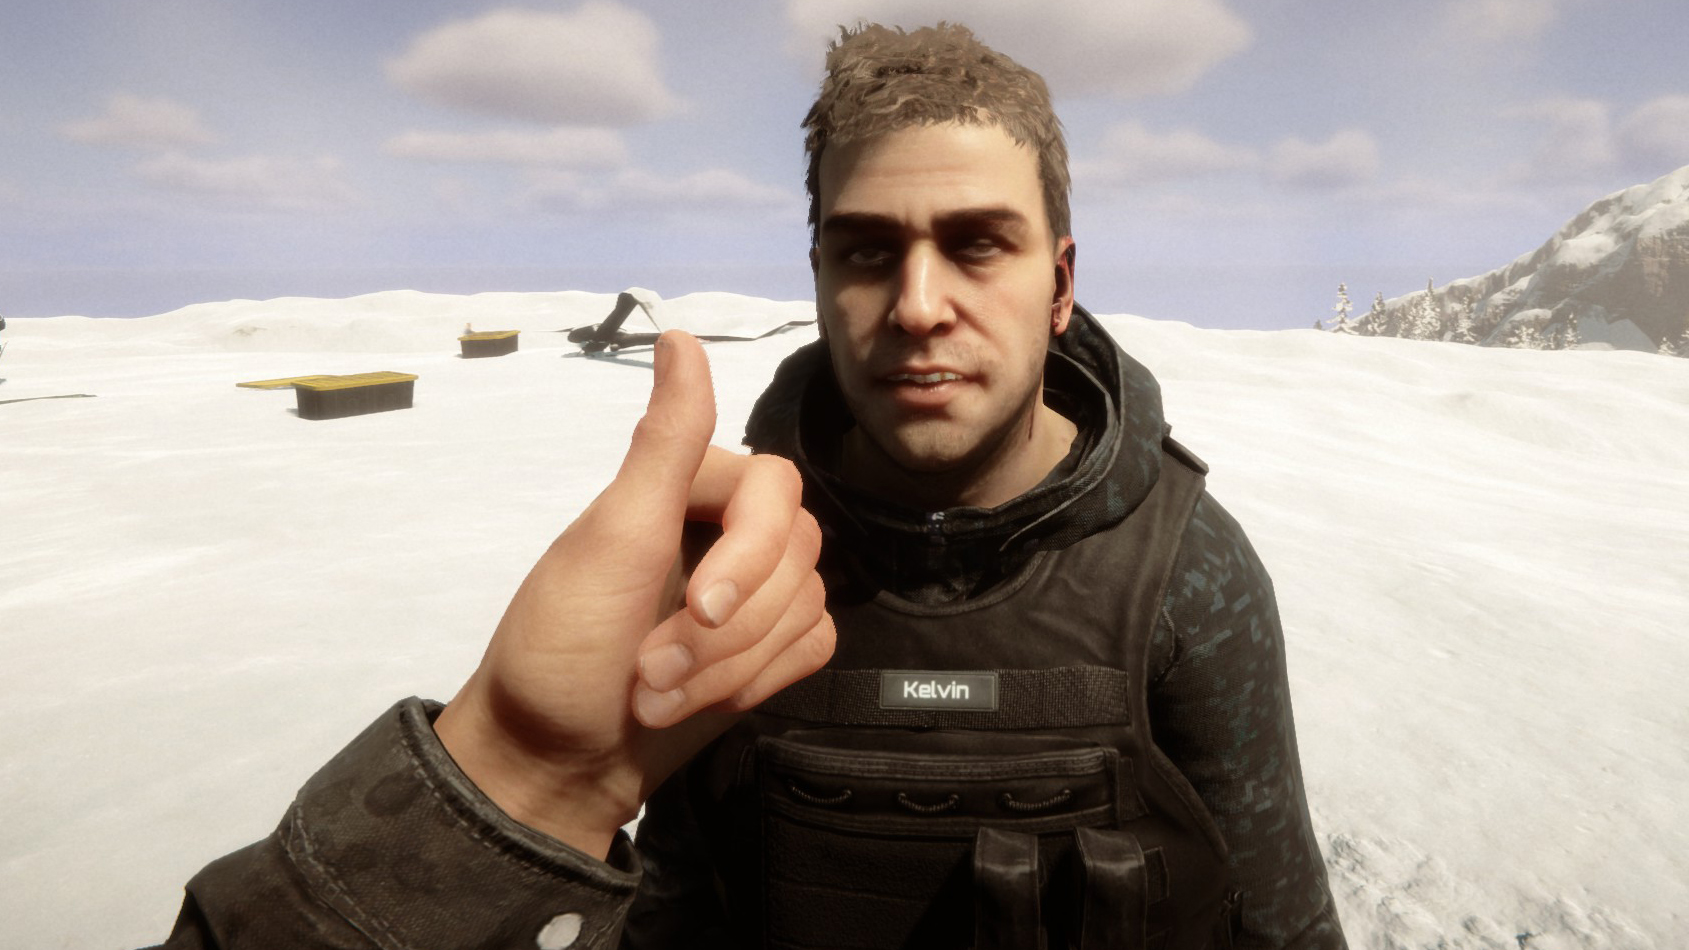
Your AI companion Kelvin is a very helpful guy. Though he can’t hear or speak, you can select words on your notepad to give him orders, like “Get logs and drop here” or “Get fish and give to me.” Tell him to follow you, and he’ll always be at your side (he does sometimes lag behind a little). Also, I don’t think he can swim. I tried building a shelter on a little island, and he wouldn’t come over and join me so I had to head back to the beach.
Most importantly, don’t kill Kelvin unless you definitely, absolutely want to go it alone. If you kill him, he’ll be gone from your game forever. Permadeath! There are other companions you can find in Sons of the Forest, but I’d definitely advise keeping Kelvin around in the meantime.


